
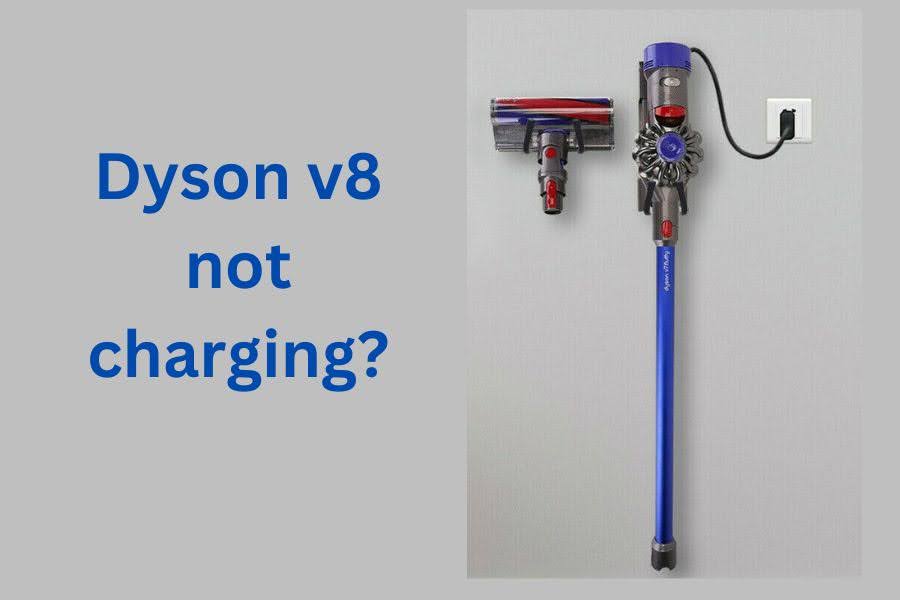
Are you having a charging issue with your Dyson v8?
Affiliate disclosure: As an Amazon associate, We'll earn a commission for every successful order through our affiliate links in the article. However, you won’t be charged anything for this.
The problem is either with your Dyson v8 charging components including the battery or it has a clogging issue. First, check the charger, adapter, and outlet for any damages. Replace the charging equipment if it is damaged or not working properly. Next, clean the filter; let it dry for 24 hours. If it still does not charge, you need to be sure whether the battery is good or dead. Blue flashing light means the problem is with charging or clogging. And red flashing indicates the problem is with the battery.
In this article, you will get details about how to detect and fix Dyson v8 (including absolute, animal, fluffy, and trigger) all versions not charging problems easily.
Signs of the problems
Experts can primarily detect problems by measuring the visual signs. It would be easy for you if you can learn about those signs. We have discussed details every point in the next section. Keep reading.
Get all about light signs
Light is the first visible sign. You can measure the problem by getting the colors and number of blinks of the light.
No light sign: If you see there is no light at all, it could be either power related issue or a battery, charger, and outlets. Check the power source along with the battery and its charging components.
Blue light flashing: Blue light flashing tells us either the battery is low in charge or the battery cannot transfer the power due to blockage. Solid blue light after connecting means it is getting charged.
Get rid of the blockage and leave it to charge for 3.5 hours.
Red light flashing: Red light flashes 4 to 12 or 32 times indicating the battery is dead.
Get a new one from Dyson if you still have the warranty. Or you need to buy one from amazon.
Blue and red light flashing: If it flashes blue and red after putting on the charge, that means the device is not placed correctly in the charging station.
Amber light flashing: Amber light flashing indicates there are temperature-related issues.
Keep it in a good place; this will solve the problem.
Now you know all about the sign. Now let’s get the details:
Dyson v8 not charging no light
If you put it on charge and notice there is no light on both sides of the battery, it has an issue with power, connectivity, or battery.
How to fix the no-light issue?
You need to check these things step by step.
1. Check your power sources: Check your plug and electric board if there are any issues with the power. Use other plugs to make sure there is no problem with that.
2. Check connectivity: Check the outlet if there are any splits and damages. Check the pins of the charger. Make sure the adapter or charging dock is working by its charging indicator light.
If it still has the problem, get a new charger.
3. Check the battery: After checking all the above, reconnect the vacuum to the power source. If it has a solid blue light, the battery is good. Leave it charged for three and a half hours.
Dyson v8 blue flashing light
In the v8 model, locate the blue flashing light beside the battery.
Whether it is blue, red, or amber the flashing indicates there must be some problems. Anyone would sense it. But you need to go a bit further.
One thing you need to understand is that blue flashes indicate the battery has no major problem. It just needs to be charged properly. Assume you charged it well but still the problem occurs.
How to fix the blue flashing problem?
Power system: Ensure the plug and electric board has no issue. Check the adapter or charger and outlets if there are any splits or damages.
Get rid of clogs:
If you go over the maximum level of the bin, it blocks the cyclone and stops it from working. Plus you need to take care of the filter.
Push down the red catch and empty the trash bin. Clean the inside with a rag or towel.
Pull up the filter from the top of the cyclone and wash it properly. Wring the filter properly after washing and leave it in a dry place for 24 hours.
Warning: Do not clean the filter using a washing machine or dishwasher and do not use an oven, microwave, tumble dryer or naked flame.
Tips: Keep an alternative filter in case you need to use your machine for 24 hours.
Dyson v8 red flashing light
As you know red light flashing more than 12 times indicates the problem is in the battery. Dyson v8 users could face red light flashing 4 times as well, which also indicates a faulty battery.
But you need to be sure before replacing the battery.
How to fix red flashing problems?
Check if there are any visible signs of damage in the battery. It would be better to take apart the battery for a closer inspection.
Firstly, you need to remove the bin by double pushing on the red latch. The first push will open the bin and the second will lose the canister.
Secondly, Take a Phillips screwdriver and unscrew one in the back of the handle. The second screw is located underneath the battery.
Now inspect the battery for any cracks or damages.
If you find no sign of visible damage and the red lights keep flashing, call Dyson to get customer support. They will send a new one if you still have the warranty.
But you need to buy a new one and replace it yourself.
We have covered a replacement guide and tips right at the bottom.
Dyson v8 amber light flashes
Amber or orange light indicates the battery got an environmental effect. If it flashes 7 times, it was affected by the cold, and 8 times indicates the vice versa.
How to troubleshoot the amber light problem?
You need to keep the Dyson between 37°F and 104°F to charge and function correctly. Move to a better place and it will resolve the issue.
How to replace the Dyson battery
Replacing a Dyson battery is pretty easy and you do not need to be an expert or gain technical knowledge. Just follow these simple steps.
Make sure the vacuum cleaner is not operating any power during the process
Lose the 1st screw on the back of the handle using a Philips screwdriver. Take apart the canister by pressing the red latch twice.
Locate the second screw underneath the battery
Pull out the battery from the slot
Insert the new battery in the correct position into the slot
Reverse the screw and make it tight
That is how you can replace your battery without any help.
Tips to extend battery life
1. Try not to use the MAX mode often
2. Don’t leave the charger plugged in after it is fully charged
3. Do not keep the machine in a too-cold or hot environment for long
4. Clean the filter once a month
Bottom line
As you know now solving the Dyson charging issue is not very hard. But it is not wise to spend over a hundred bucks every couple of years on replacing the battery.
So you need to keep your vacuum cleaner well-maintained and follow the above tips to extend its longevity.


