
When your Dyson vacuum cleaner’s wheel stops turning, it can transform a simple cleaning task into a frustrating experience. A malfunctioning wheel affects maneuverability and may indicate deeper issues with your vacuum. Whether you’re dealing with a completely stuck wheel or one that moves erratically, this problem requires prompt attention to restore your Dyson’s functionality.
Affiliate disclosure: As an Amazon associate, We'll earn a commission for every successful order through our affiliate links in the article. However, you won’t be charged anything for this.
In this comprehensive guide, we’ll explore the common causes behind Dyson wheel problems and provide detailed, actionable solutions to get your vacuum running smoothly again. From simple debris removal to more complex repairs involving bearings and axles, we’ll walk through each troubleshooting step. By following these instructions, you can potentially save money on professional repairs and extend the lifespan of your Dyson vacuum cleaner.
Identifying Dyson Wheel Issues
Before attempting any repairs, it’s important to correctly identify the symptoms of wheel problems in your Dyson vacuum. Recognizing these signs early can prevent further damage and simplify the repair process:
- Complete immobility: The wheel remains stationary even when the vacuum is powered on
- Jerky or uneven movement: The vacuum doesn’t glide smoothly across floors
- Unusual noises: Grinding, squeaking, or rattling sounds during operation
- Reduced suction power: Wheel issues can sometimes affect overall vacuum performance
These symptoms may appear gradually or suddenly, depending on the underlying cause. A wheel that becomes increasingly difficult to turn before completely stopping suggests a progressive problem like debris buildup or bearing wear. Conversely, a wheel that suddenly locks up might indicate a broken component or foreign object obstruction.
Root Causes of Wheel Failure
Debris Accumulation
The most common cause of wheel problems in Dyson vacuums is debris accumulation. Hair, string, carpet fibers, and other materials can wrap around the wheel axle and bearings, creating friction that prevents smooth rotation. This issue is particularly common in households with pets or people with long hair.
Bearing Deterioration
Wheel bearings facilitate smooth rotation but can wear down over time. Signs of bearing issues include:
– Squeaking or grinding noises during operation
– Wheels that spin freely when held but struggle when bearing weight
– Visible wobbling in the wheel when manually rotated
Bearing problems typically develop gradually and worsen with continued use if not addressed.
Axle Problems
The axle connecting the wheel to the vacuum body can become loose or break entirely. This may result from:
– Regular wear and tear
– Accidental drops or impacts
– Manufacturing defects
– Corrosion in humid environments
A loose or broken axle often causes the wheel to wobble visibly or detach completely from the vacuum.
Motor and Electrical Issues
In some Dyson models, particularly motorized brush heads, wheel movement depends on proper electrical connections. Problems can arise from:
– Faulty wiring between the main unit and the cleaning head
– Motor failure within the cleaning head
– Electrical shorts caused by moisture exposure
– Battery issues in cordless models
Electrical problems typically affect multiple functions beyond just wheel movement.
Diagnosing Your Dyson Wheel Problem: A Systematic Approach
Initial Visual Inspection
- Turn off and unplug your Dyson vacuum (or remove the battery in cordless models)
- Position the vacuum on its side or back for better access to the wheels
- Examine each wheel for visible damage, debris, or loose components
- Check surrounding areas for signs of wear, cracks, or broken parts
- Look for hair and string wrapped around axles or caught in wheel mechanisms
Manual Testing
- Attempt to rotate each wheel by hand to assess resistance
- Note any unusual sounds like grinding, clicking, or scraping
- Check for wobbling which could indicate a loose or damaged axle
- Compare problematic wheels with properly functioning ones to identify differences
- Test wheel movement in different positions to determine if the issue is position-dependent
Advanced Diagnostics
- Remove the wheel assembly if possible (consult your model’s manual)
- Inspect internal components for damage or wear
- Test electrical connections with a multimeter if dealing with a motorized component
- Examine bearings for smooth rotation and proper lubrication
- Check axle integrity throughout its length
Troubleshooting Dyson Wheel Problems: Detailed Solutions
Removing Debris from Wheel Mechanisms
Tools Required:
- Small scissors or precision cutting tool
- Tweezers or needle-nose pliers
- Soft brush (old toothbrush works well)
- Compressed air (optional)
Step-by-Step Process:
- Position the vacuum for optimal access to the affected wheel
- Cut away visible hair and string wrapped around the axle
- Work carefully to avoid damaging wires or plastic components
- Cut in small sections rather than pulling, which can damage internal parts
- Use tweezers to remove cut debris and other foreign objects
- Clean remaining debris with a soft brush
- Apply compressed air (if available) to dislodge stubborn debris
- Manually rotate the wheel to check for improved movement
- Repeat process for all affected wheels
Repairing or Replacing Wheel Bearings
If your Dyson’s wheel bearings are worn out, causing squeaking or difficulty in movement, replacing them can restore smooth operation.
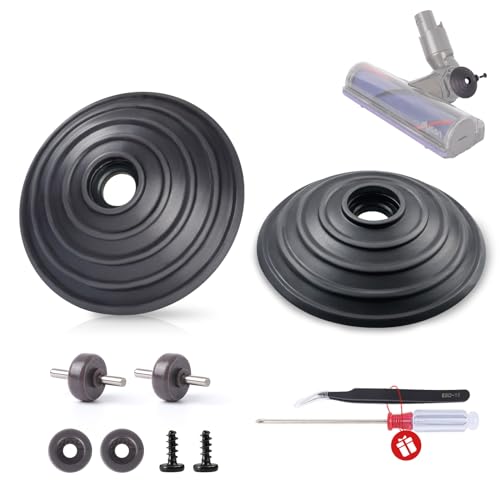
Genuine replacement for Dyson V6-V12 direct drive wheels
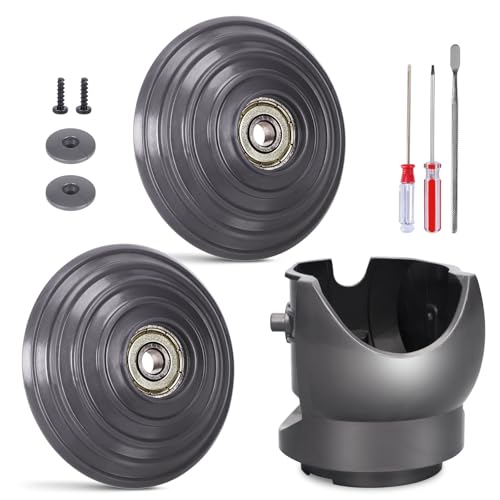
Official fit for high-torque Dyson models

Enhanced obstacle navigation for newer models

Original equipment for older Dyson models
Tools Required:
- Screwdriver set (Phillips and flathead)
- Small hammer or rubber mallet
- Replacement bearings (specific to your Dyson model)
- Needle-nose pliers
- Lubricant (silicone-based)
Step-by-Step Process:
- Disassemble the wheel assembly following your model’s specific design
- Most Dyson models require removing a cap or cover to access the wheel assembly
- Take photos during disassembly to aid reassembly
- Remove the wheel from its housing
- Extract old bearings using pliers or by gently tapping them out
- Clean the bearing housing thoroughly
- Apply a small amount of lubricant to the new bearings
- Install new bearings by pressing them firmly into place
- Ensure they’re seated evenly and completely
- Reassemble the wheel and test rotation manually
- Reattach to the vacuum and test functionality
Fixing Loose or Broken Axles
If the axle connecting the wheel to your Dyson is damaged, you’ll need a replacement to ensure the wheel functions correctly.
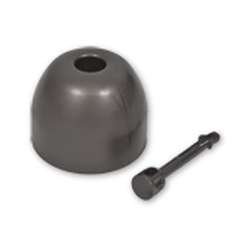
Official replacement for Dyson vacuum wheel axle assembly
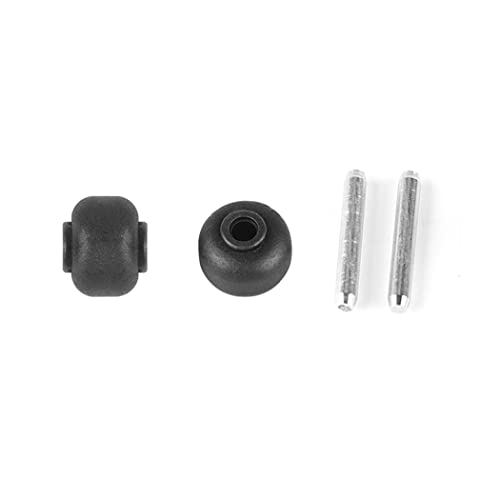
Prevents floor scratches and maintains suction performance

Economical solution for multiple Dyson vacuum models

Complete set for extended maintenance intervals
Tools Required:
- Screwdriver set
- Replacement axle (if broken)
- Pliers
- Small wrench set
Step-by-Step Process:
- Access the axle by removing necessary covers or components
- Assess the damage:
- For loose axles: Tighten any fasteners securing the axle
- For broken axles: Remove all pieces of the damaged axle
- For loose axles:
- Check for stripped threads or damaged fasteners
- Apply thread-locking compound if necessary
- Tighten to appropriate tension (not too tight to prevent rotation)
- For broken axles:
- Install replacement axle according to your model’s specifications
- Ensure proper alignment with wheel and housing
- Reassemble the wheel assembly
- Test wheel rotation manually before full reassembly
- Complete reassembly and test vacuum operation
Addressing Motor and Electrical Issues
If you’re experiencing electrical issues with your Dyson’s motorized brush head, the motor might be the problem. Replacing the motor can restore power to the wheel.

Official Dyson motor head for DC65/DC66/UP13 models

Genuine high-torque motor head for Dyson V11

Third-party motorized head with anti-tangle for V7/V8/V11
Anti-tangle motor head with 180° rotation for V7/V11
Tools Required:
- Multimeter
- Screwdriver set
- Electrical tape
- Wire strippers (if needed)
- Soldering iron (for advanced repairs)
Step-by-Step Process:
- Identify the electrical path to the wheel motor (if applicable)
- Test power delivery using a multimeter
- Check for proper voltage at connection points
- Test for continuity in wiring
- Inspect for damaged wires:
- Look for fraying, cuts, or melted insulation
- Check connection points for corrosion or looseness
- For minor wire damage:
- Cut and strip damaged sections
- Join wires using appropriate connectors
- Insulate with electrical tape
- For connection issues:
- Clean contact points with alcohol
- Ensure firm connections at all junction points
- For motor problems:
- Test motor function with direct power (if possible)
- Replace motor if non-functional (may require professional service)
- Reassemble and test the vacuum’s operation
Frequently Asked Questions (FAQ)
How often should I clean my Dyson vacuum wheels?
Regular maintenance should include wheel inspection every 1-2 months, depending on usage frequency and environment. Homes with pets or long-haired residents may require more frequent cleaning. A quick visual check after each use can help identify debris before it becomes problematic.
Can I use WD-40 or other household lubricants on Dyson wheel bearings?
Avoid using WD-40 or petroleum-based lubricants on Dyson components. These products can damage plastic parts and attract more dirt. Instead, use silicone-based lubricants specifically designed for appliance maintenance. Apply sparingly to prevent excess buildup.
Is wheel repair covered under Dyson’s warranty?
Wheel issues may be covered under warranty if they result from manufacturing defects. However, problems caused by normal wear and tear, improper maintenance, or accidental damage typically fall outside warranty coverage. Check your specific warranty terms or contact Dyson customer service for clarification about your model.
Why does my Dyson pull to one side when vacuuming?
A vacuum pulling to one side often indicates uneven wheel performance. This could result from one wheel being partially or completely stuck while the other rotates normally. Follow the diagnostic steps in this guide to identify which wheel is problematic and why. Sometimes, simply cleaning both wheels resolves this issue.
When should I seek professional repair for wheel issues?
Consider professional repair if:
– Your DIY attempts haven’t resolved the issue
– The problem involves complex electrical components
– You’re uncomfortable disassembling your vacuum
– The repair requires specialized tools you don’t possess
– Your vacuum is still under warranty (unauthorized repairs may void coverage)
Conclusion
A non-turning wheel on your Dyson vacuum doesn’t necessarily mean you need a replacement unit or expensive professional repair. In most cases, the issue can be resolved through careful diagnosis and targeted maintenance. By following the steps outlined in this guide, you can identify the specific cause of your wheel problem and implement the appropriate solution.
Regular maintenance remains the best prevention strategy for wheel issues. Taking a few minutes to inspect and clean your Dyson’s wheels after vacuuming high-debris areas can prevent many common problems from developing. Remember that proper care not only ensures smooth operation but also extends the overall lifespan of your vacuum cleaner.
If you’ve attempted the solutions described here without success, don’t hesitate to contact Dyson’s customer support for additional guidance. Their technical team can provide model-specific advice or direct you to authorized service centers where more complex repairs can be performed by trained professionals.


