
If your Dyson V8 vacuum refuses to power up, don’t panic. This common issue affects many users and typically has straightforward solutions. Whether you’re dealing with a battery problem, connection issue, or mechanical failure, this comprehensive guide will walk you through the troubleshooting process to get your vacuum running again.
Affiliate disclosure: As an Amazon associate, We'll earn a commission for every successful order through our affiliate links in the article. However, you won’t be charged anything for this.
In this article, we’ll explore the most frequent causes behind a non-responsive Dyson V8 and provide step-by-step instructions to diagnose and fix each problem. From simple battery checks to more advanced component inspections, you’ll find practical solutions that can save you time and money on unnecessary repairs or replacements.
Common Reasons Your Dyson V8 Won’t Power On
When your Dyson V8 refuses to turn on, several potential culprits could be responsible. The most frequent issues include battery problems, loose connections, faulty power buttons, and internal blockages that trigger safety mechanisms.
The battery is often the primary suspect, as it can become depleted, damaged, or fail to maintain a charge after years of use. Connection problems between the battery and the vacuum’s main body can also interrupt power flow. Additionally, the power button itself might be stuck or damaged from regular use.
Environmental factors can play a role too. Extreme temperatures—either too hot or too cold—can prevent your Dyson from operating correctly. The vacuum’s sophisticated thermal protection system will shut down operation if it detects unsafe temperature conditions, indicated by specific light patterns on the device.
Step-by-Step Troubleshooting Guide

Battery Inspection and Testing
The battery is the most common source of power issues with the Dyson V8. Here’s how to properly check and address battery-related problems:
Check the charge level: Ensure your vacuum has been properly charged for at least 3.5 hours. The indicator light should turn blue when fully charged.
Examine battery indicators: If you see a flashing amber light, your battery is too cold; a solid amber light indicates it’s too hot. Seven consecutive flashes mean the vacuum is too cold to operate, while eight flashes indicate it’s overheating.
Inspect for physical damage: Remove the battery and look for any swelling, leaking, or visible damage to the contacts. Damaged batteries will need replacement.
Clean the contacts: Use a dry, lint-free cloth to wipe the battery contacts. For corrosion, apply a small amount of rubbing alcohol with a cotton swab.
Reset the battery:
- Turn off the vacuum completely
- Remove the battery
- Hold down the power button for 10-20 seconds to discharge residual electricity
- Reattach the battery and charge fully
- Test the vacuum
If your Dyson V8 battery is damaged, won’t hold a charge, or is more than a couple of years old, replacing it can often resolve power issues.

Genuine Dyson battery for V8 with 4600mAh capacity

Highest capacity with 8000mAh and 10-layer safety protection

7000mAh battery with built-in safety protections

Budget-friendly 4500mAh option with CE certification
Checking for Blockages and Filter Issues
Blockages in the airflow path can trigger safety mechanisms that prevent your Dyson V8 from turning on:
Inspect the airway: Remove all attachments, the shaft, and bin inlet to check for and clear any debris blocking the airflow.
Empty the bin: Ensure the bin isn’t filled beyond the ‘MAX’ line, as this can restrict airflow and cause operational issues.
Check and clean the filter:
- Remove the filter and test the device without it
- If the vacuum works without the filter, clean the existing filter or replace it
- Wash the filter in cold water only (no soap or detergents)
- Allow the filter to dry completely for at least 24 hours before reinstalling
Verify filter dryness: A damp filter can prevent operation. If you’re in a hurry, place the filter in a dryer for 10 minutes on a no-heat setting, or allow 48 hours for complete air drying.
Examine the brushbar:
- Remove and check for tangled hair or debris
- Ensure the brushbar isn’t broken or damaged
- Reinsert properly, aligning all grooves correctly
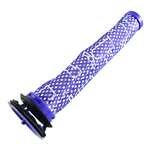
A clean and properly functioning filter is crucial for your Dyson V8’s performance. If cleaning doesn’t restore airflow, replacing the filter is a good idea.
Official Dyson replacement filter for V8 models
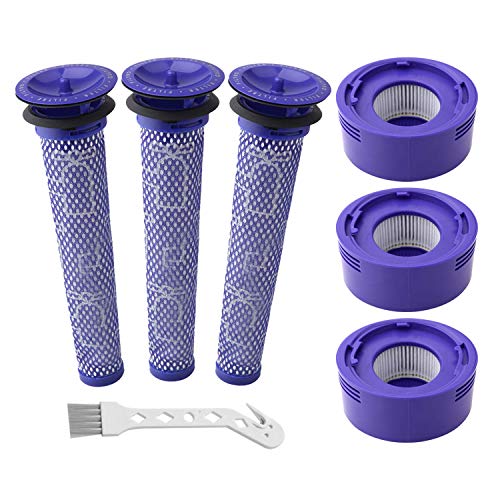
Cost-effective bulk replacement for V8 filters

Premium HEPA filters with high purification rate
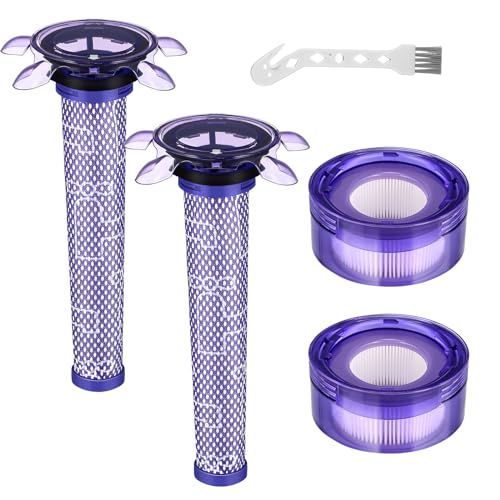
Advanced filtration for newer V8/SV25 models
If the brushbar is damaged or worn, it can significantly impact cleaning performance and even prevent the vacuum from turning on.
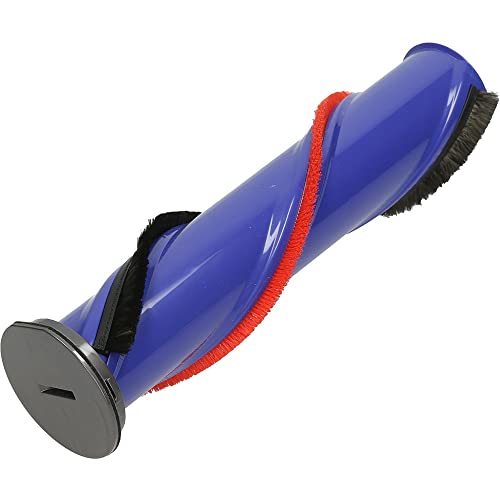
Official replacement ensures perfect compatibility and durability
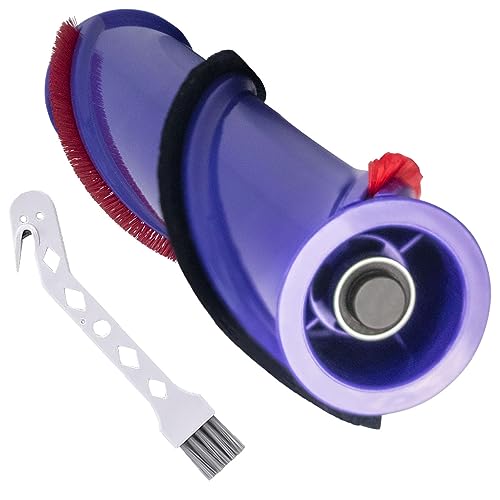
High-quality third-party with anti-tangle and noise reduction

Budget-friendly option with maintenance accessories
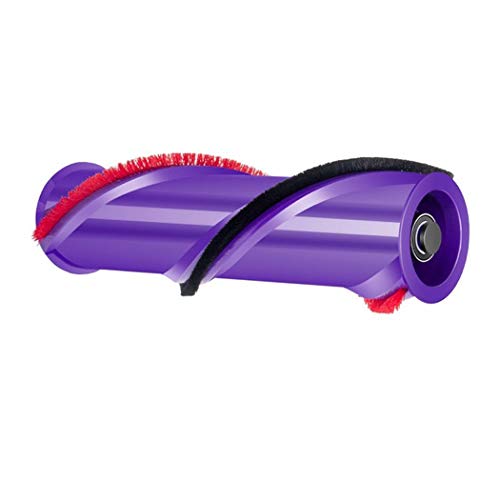
Cost-effective replacement with precise fit
Power Button and Connection Troubleshooting
If battery and blockage checks don’t resolve the issue, the power button or internal connections might be at fault:
Test the power button responsiveness: Press the button to see if it feels stuck or unresponsive. A properly functioning button should have a clear click feel.
Access the power button mechanism:
- Use a small screwdriver to carefully remove the handle cover
- Inspect the power button area for debris or damage
- Clean around the button with a cotton swab and rubbing alcohol
- Test the button’s functionality before reassembling
Check internal connections:
- Ensure the battery is properly seated and clicks into place
- Remove and reinsert the battery to reset the connection
- Inspect visible wiring for damage (if you’re comfortable opening the device)
Addressing Temperature-Related Issues
The Dyson V8 includes temperature protection features that can prevent operation:
For cold-related shutdowns: Move your vacuum to a warmer environment (room temperature) and allow it to warm up gradually before attempting to use it.
For heat-related shutdowns:
- Turn off the vacuum completely
- Allow at least one hour for cooling
- Check for blockages that might be causing overheating
- Ensure all components are properly assembled
Proper storage: Keep your Dyson V8 in a temperature-controlled environment, avoiding extreme heat or cold.
Advanced Repair Options
If basic troubleshooting doesn’t resolve the issue, these more advanced solutions might be necessary:
Battery Replacement Procedure
- Press the battery release button located near the handle.
- Carefully remove the old battery.
- Insert the new battery, ensuring it clicks securely into place.
- Charge the new battery fully before first use.
Replacement batteries can be purchased directly from Dyson or from reputable third-party suppliers. While genuine Dyson batteries tend to be more expensive, they offer guaranteed compatibility and performance.
Power Button Repair
If the power button is confirmed faulty:
- Purchase a replacement power switch compatible with the Dyson V8.
- Carefully disassemble the handle section following online guides specific to your model.
- Disconnect the old switch and connect the new one.
- Reassemble the handle and test functionality.
Motor Replacement
As a last resort, if all other solutions fail, the motor might need replacement:
- This is a more complex repair requiring disassembly of multiple components.
- Follow detailed guides or videos specific to the Dyson V8 model.
- Ensure you have the correct replacement motor.
- Consider professional repair services if you’re not confident in your technical abilities.
Frequently Asked Questions (FAQ)
How long should my Dyson V8 battery last before needing replacement?
With normal use, a Dyson V8 battery typically lasts 2-3 years before showing significant degradation. Using the “Max” power setting frequently can shorten this lifespan. When your fully-charged battery provides less than 10 minutes of runtime on normal mode, it’s likely time for a replacement.
Why does my Dyson V8 start then immediately stop?
This behavior usually indicates a blockage, overheating, or filter issue. First, check and clean all filters, ensuring they’re completely dry before reinstallation. Next, inspect for blockages in the airway, attachments, and brush bar. Finally, ensure the vacuum hasn’t overheated by allowing it to cool down for at least an hour before attempting operation again.
Can I use third-party batteries in my Dyson V8?
Yes, third-party batteries can work in a Dyson V8, often at a lower cost than official replacements. However, quality varies significantly between manufacturers. Look for batteries with positive reviews, warranties, and safety certifications. Be aware that using non-Dyson batteries may void any remaining warranty on your vacuum.
What do the different light patterns on my Dyson V8 mean?
Different light patterns indicate specific issues:
– Solid blue: Fully charged and ready to use
– Flashing blue: Partially charged
– Solid amber: Too hot/cold to charge
– Flashing amber: Battery too cold to operate
– Seven flashes: Vacuum too cold
– Eight flashes: Vacuum too hot
– No lights when charging: Check charger connection or replace charger
Is it normal for my Dyson V8 to get hot during use?
Some warmth is normal during operation, especially when using the “Max” setting. However, excessive heat that makes the device uncomfortable to touch indicates a problem. This could be caused by blockages restricting airflow or a failing motor. Always check for and clear blockages if your vacuum seems unusually hot.
Conclusion
A Dyson V8 that won’t turn on can usually be fixed through methodical troubleshooting. In most cases, the issue stems from battery problems, blockages, or simple connection issues that you can resolve at home without professional help.
Start with the simplest solutions—checking the battery charge and connections—before moving to more complex fixes like filter cleaning or component replacement. Regular maintenance, including emptying the bin after each use and monthly filter cleaning, can prevent many of these issues from occurring in the first place.
If all troubleshooting steps fail, contact Dyson customer support or consider professional repair services. With proper care and timely intervention when problems arise, your Dyson V8 can provide many years of reliable service, making it a worthwhile investment for keeping your home clean.


