
The Dyson V7 cordless vacuum is known for its powerful suction and convenience, but many users encounter battery charging issues over time. If your Dyson V7 isn’t holding a charge like it used to, you’re not alone. This comprehensive guide explores why this happens and provides practical solutions to get your vacuum working properly again.
Affiliate disclosure: As an Amazon associate, We'll earn a commission for every successful order through our affiliate links in the article. However, you won’t be charged anything for this.
Battery problems can be incredibly frustrating, especially when your vacuum runs for just a few seconds before dying. Whether your V7 is relatively new or you’ve had it for years, the following troubleshooting steps and maintenance tips will help you diagnose and resolve charging issues effectively. In many cases, you can fix the problem yourself without needing expensive professional repairs.
Why Your Dyson V7 Won’t Hold a Charge
The Dyson V7’s battery issues typically stem from several common causes. Identifying the specific problem is the first step toward finding an effective solution:
Battery Degradation
Lithium-ion batteries, like those in the Dyson V7, naturally degrade over time. The original 2000 mAh battery generally begins showing significant performance decline after about two years of regular use. Signs of degradation include:
- Drastically reduced runtime (minutes instead of the expected 30+ minutes)
- Needing to recharge more frequently
- Vacuum shutting off unexpectedly during use
Poor charging habits can accelerate this degradation. Completely draining the battery before recharging puts additional stress on the cells, shortening their lifespan.
Charging System Problems
Sometimes the issue isn’t with the battery itself but with the charging mechanism:
- Loose connections between the vacuum and charging dock
- Damaged power adapter or charging cord
- Dust buildup on charging contacts preventing proper connection
- Malfunctioning charging indicators giving false readings
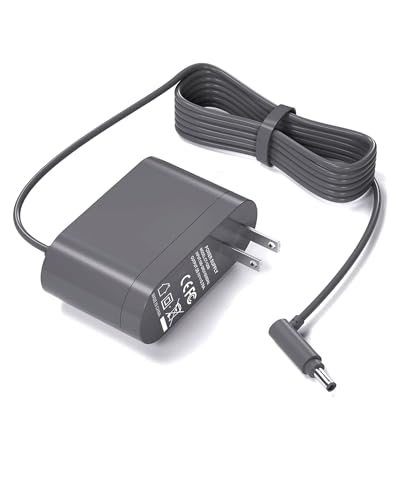
If you suspect that your Dyson V7’s power adapter or charging cord is damaged, it’s essential to replace it with a compatible and reliable option to ensure proper charging and prevent potential hazards.
Premium third-party charger with safety certifications and extended warranty
UL-certified replacement with multi-safety protections and long warranty
Cost-effective option with UL safety certification and return guarantee
High-quality replacement with comprehensive safety features
Overheating Issues
Overheating can significantly impact battery performance and longevity:
- Using the vacuum for extended periods without breaks
- Operating in high-temperature environments
- Blocked airflow due to clogged filters increasing motor strain
- Internal component failure causing heat buildup
Troubleshooting Your Dyson V7 Battery Problems
Before considering a battery replacement, try these troubleshooting steps to diagnose and potentially resolve the charging issues:
Basic Checks and Quick Fixes
Verify Proper Charging Connection
- Ensure the charging dock is properly plugged into a functioning power outlet
- Check that the vacuum is seated correctly on the charging dock
- Look for the charging indicator light – it should illuminate when charging properly
- Try a different wall outlet to rule out power supply issues
Clean the Charging Contacts
Dust and debris can prevent proper electrical connection:
- Unplug the charger from the wall outlet
- Locate the metal contacts on both the vacuum and charging dock
- Gently clean the contacts using a cotton swab lightly dampened with rubbing alcohol
- Allow contacts to dry completely before reconnecting
- Reconnect and check if charging improves
Try the 20-Second Reset Trick
This community-discovered method has helped many users:
- Unplug the charger from the wall
- Plug it back in
- Place the vacuum on the charger
- Press and hold the trigger (power button) for approximately 20 seconds
- Release the button and observe if the charging lights indicate normal operation
- Allow the vacuum to charge fully before testing
Deep Cleaning Your Vacuum
Accumulated dirt and debris can force the motor to work harder, draining the battery faster:
- Remove and clean the filter according to manufacturer instructions
- Empty the dust bin and clean it thoroughly
- Check for and remove any blockages in the suction path
- Clean the brush roll and remove any tangled hair or fibers
- Ensure all airways and vents are clear of obstructions
Clogged or damaged filters can significantly impact your Dyson V7’s performance and battery life. Replacing them with high-quality filters ensures optimal airflow and prevents the motor from overworking.
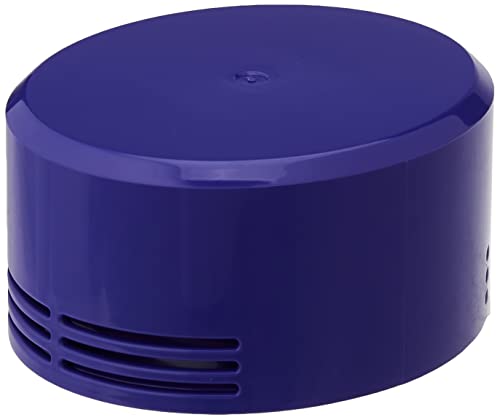
Official Dyson motor filter for V7/V8 series
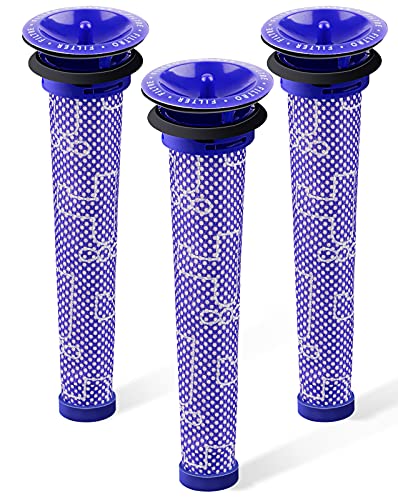
3-pack pre-filters with double sealing for enhanced suction
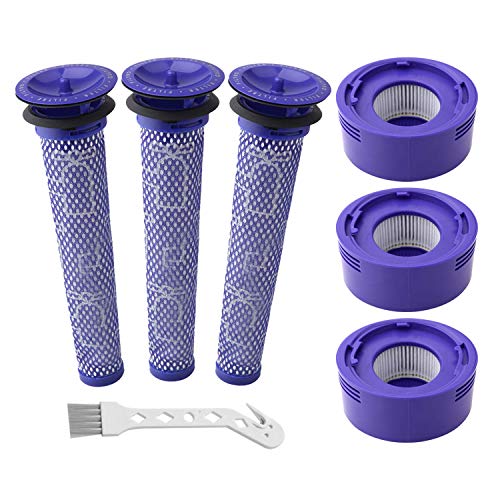
6-pack kit with pre and post filters for V7/V8 models
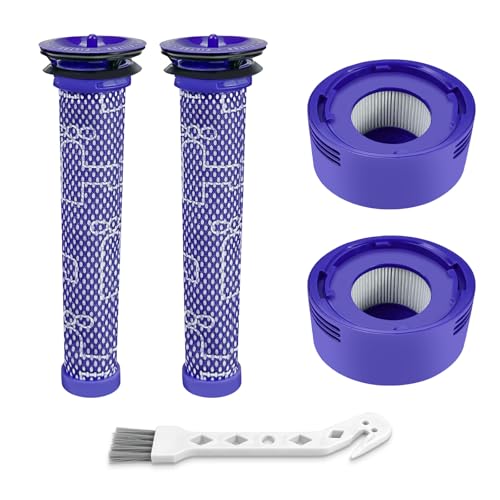
4-pack pre/post filters with HEPA technology
For optimal results, disassemble the filter completely:
1. Lift the perimeter catches to separate filter components
2. Clean both interior and exterior surfaces
3. Hold the filter up to light – it should be transparent when properly cleaned
4. Allow to dry completely (at least 24 hours) before reinstalling
Advanced Troubleshooting Techniques
Factory Reset Procedure
If software issues are causing battery problems:
- Ensure the vacuum is off and removed from the charger
- Press and hold the power button for 10-20 seconds
- Release the button and wait 30 seconds
- Place the vacuum on the charger and allow it to charge fully
- Test the vacuum to see if runtime has improved
Battery Voltage Testing
For those comfortable with basic electronics:
- Use a multimeter set to DC voltage
- Carefully test the battery terminals
- A healthy Dyson V7 battery should read close to 21.6V when fully charged
- Readings significantly below this indicate battery degradation
Replacing Your Dyson V7 Battery
If troubleshooting doesn’t resolve the issue, battery replacement is likely necessary. Here’s what you need to know:
Signs It’s Time for Battery Replacement
- Vacuum runs for only seconds before shutting down
- Battery takes unusually long to charge
- Vacuum fails to start despite being charged
- Battery becomes excessively hot during charging
- Charging indicator shows errors or doesn’t light up
Battery Replacement Options
Official Dyson Replacement Batteries
- Most reliable option with guaranteed compatibility
- Typically cost between $90-$129
- Available directly from Dyson or authorized retailers
- Come with limited warranty protection
- Designed to match original specifications
Third-Party Alternatives
- More affordable, typically $30-$45
- Quality varies significantly between manufacturers
- Some offer higher capacity (up to 5000 mAh vs. original 2000 mAh)
- May not include same protection circuits as OEM batteries
- Warranty coverage varies by manufacturer
If troubleshooting steps haven’t improved your Dyson V7’s battery life, replacing the battery is often the best solution. A new battery can restore your vacuum’s original performance and extend its lifespan.

Genuine Dyson battery for V7 with reliable performance
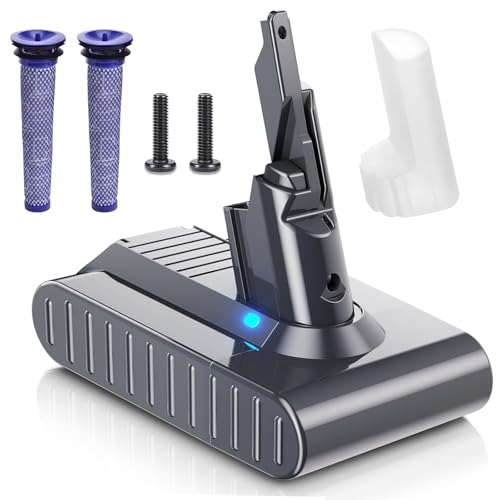
Extended runtime with 30% higher capacity than OEM
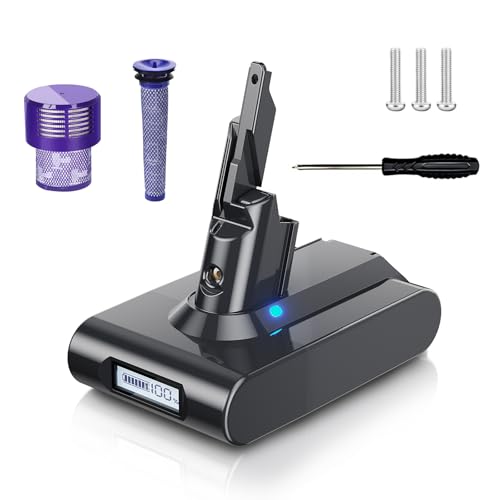
Real-time battery monitoring with upgraded safety features

Intelligent power level display with dual filter protection
Battery Replacement Procedure
- Power off the vacuum completely
- Locate the battery compartment (typically requires removing Phillips screws)
- Carefully disconnect and remove the old battery
- Insert the new battery, ensuring proper alignment
- Reconnect any disconnected wires
- Secure the battery compartment
- Charge fully before first use
For detailed step-by-step instructions:
1. Remove the two Phillips screws (one on the device body, one on the handle)
2. Extract the battery tray carefully
3. Install the new battery in the same orientation
4. Replace screws and secure the assembly
After Battery Replacement Reset
After installing a new battery, perform this reset procedure:
1. Turn off the vacuum
2. Press and hold the power button for 10-20 seconds to discharge residual power
3. Place on charger and allow to charge fully (typically 3.5-4 hours)
4. Test the vacuum’s runtime on different power settings
Maintaining Your Dyson V7 Battery Life
Proper maintenance can significantly extend your battery’s lifespan:
Optimal Charging Practices
- Avoid completely draining the battery before recharging
- Maintain charge levels between 20% and 80% when possible
- Store at around 50% charge if not using for extended periods
- Use the original Dyson charger or authorized replacements only
- Charge at room temperature for best results
Regular Maintenance Schedule
- Clean filters every month (more frequently with heavy use)
- Empty the dust bin after each use
- Check for blockages regularly
- Clean the brush bar weekly to remove hair and debris
- Wipe down charging contacts monthly
Power Management Tips
- Use standard power mode instead of max power when possible
- Max power can reduce runtime by 80% (30 minutes to 6 minutes)
- Give the vacuum breaks during extended cleaning sessions
- Consider using attachment tools for certain tasks to reduce motor strain
- Store in a cool, dry place away from direct sunlight
Frequently Asked Questions (FAQ)
Why does my Dyson V7 only run for a few seconds?
A Dyson V7 that runs for only seconds before shutting down typically indicates a severely degraded battery. This happens when battery cells become imbalanced, causing the battery management system to cut power to prevent damage. Other possible causes include clogged filters restricting airflow or motor problems. Try cleaning filters thoroughly and performing a reset before replacing the battery.
Can I replace the Dyson V7 battery myself?
Yes, replacing the Dyson V7 battery is a relatively straightforward DIY project. The process involves removing two Phillips screws to access the battery compartment, disconnecting the old battery, and installing the new one. Many users successfully complete this repair with basic tools and careful handling of components. If you’re uncomfortable with the process, Dyson service centers can perform the replacement for a fee.
How long should a Dyson V7 battery last before replacement?
The original Dyson V7 battery typically lasts about 2-3 years with regular use before showing significant capacity reduction. Factors affecting lifespan include usage patterns, charging habits, and environmental conditions. With proper care, some users report batteries lasting 3-4 years before requiring replacement. When new, the battery should provide approximately 30 minutes of runtime on standard power mode.
Why is my Dyson V7 flashing blue lights during charging?
Flashing blue lights during charging often indicate a battery management system issue. This happens when the system detects cell imbalance or other battery abnormalities. Try unplugging the charger, waiting 10 minutes, then reconnecting. If the problem persists, perform the 20-second reset trick by holding the power button while the vacuum is on the charger. Persistent flashing usually indicates the battery needs replacement.
Are third-party replacement batteries safe for my Dyson V7?
Quality third-party batteries from reputable manufacturers can be safe alternatives to OEM Dyson batteries. However, quality varies significantly among brands. Look for batteries with positive reviews, proper certification (CE, RoHS, FCC), and built-in protection circuits. Avoid the cheapest options as they often lack proper safety features and may degrade quickly. For peace of mind, OEM Dyson batteries remain the safest choice despite their higher cost.
Conclusion
Battery issues are among the most common problems Dyson V7 owners face, but many can be resolved with proper troubleshooting and maintenance. Regular cleaning, proper charging habits, and timely battery replacement when necessary will keep your vacuum performing optimally for years.
If basic troubleshooting doesn’t resolve your charging problems, don’t hesitate to contact Dyson support for additional assistance. Their technical team can provide model-specific guidance and determine if your vacuum might be eligible for warranty service. With the right approach, you can extend the life of your Dyson V7 and avoid premature replacement of this premium appliance.


