
When your reliable Dyson V7 vacuum cleaner refuses to charge, it can be frustrating and disrupt your cleaning routine. Many owners face this common issue where the battery doesn’t charge when plugged in – you might notice the light turning blue briefly before stopping, or the vacuum working for only a short time before needing another recharge.
Affiliate disclosure: As an Amazon associate, We'll earn a commission for every successful order through our affiliate links in the article. However, you won’t be charged anything for this.
This comprehensive guide explores the various causes behind your Dyson V7 charging problems and provides practical solutions to get your vacuum back to full power. From simple fixes you can try at home to identifying when you need a replacement battery or professional help, we’ll walk through the troubleshooting process step by step. With the right approach, you can often resolve charging issues without expensive repairs or replacements.
Common Dyson V7 Charging Issues
When your Dyson V7 fails to charge properly, several telltale signs may appear. The most obvious indicator is a flashing blue light on the vacuum, which typically signals a battery problem. You might also notice that your vacuum runs for significantly shorter periods than before, especially in “max” mode where it might operate for just 5-6 seconds before shutting down completely.
These symptoms often stem from problems with the battery itself, but issues can also originate from the charging dock, power source, or internal components. Understanding these potential causes is the first step toward finding an effective solution for your specific situation.
Quick Fixes for Charging Problems

Inspect and Clean the Charging Port
One of the simplest yet most effective troubleshooting steps is examining the charging port:
- Unplug the vacuum from the power source
- Check the charging port for dust, fluff, or debris
- Gently clean any obstructions using compressed air or a soft brush
- Ensure the contacts are free from corrosion or damage
Accumulated dirt can create a physical barrier that prevents proper electrical contact, so regular cleaning of this area is essential for maintaining charging functionality.
Check the Charging Cable
A loose or damaged charging cable is often responsible for charging failures:
- Examine the entire length of the cable for cuts, frays, or kinks
- Ensure the cable is firmly connected at both the wall outlet and vacuum end
- Gently wiggle the cable while connected to check for intermittent connections
- Try repositioning the cable to eliminate any strain on connection points
A loose connection might cause the charging light to illuminate briefly before cutting out, mimicking more serious battery issues.
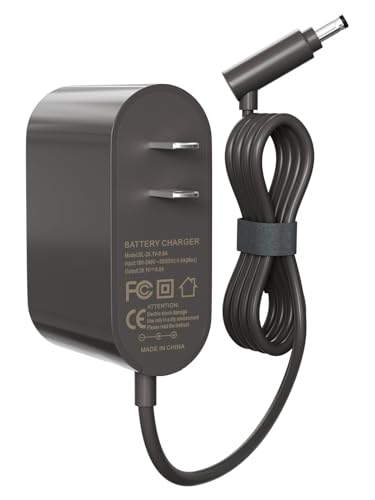
If you find any damage to the cable during your inspection, it’s best to replace it to ensure proper charging.
Affordable replacement with global compatibility and 1-year warranty
Certified safety with 15-month warranty and universal compatibility

Budget-friendly with 1-year return policy and broad model compatibility
UL-certified with 18-month warranty and multi-safety protections
Test the Power Source
Before assuming the vacuum is at fault, verify your power source works correctly:
- Plug another device into the same outlet to confirm it’s functioning
- Try charging your Dyson in a different outlet, preferably on a different circuit
- Check if the outlet is controlled by a wall switch that might be turned off
- If using an extension cord or power strip, connect directly to a wall outlet instead
Sometimes what appears to be a vacuum problem is simply an issue with the power supply.
Advanced Troubleshooting Methods
Test with a Compatible Charger
If you have access to a Dyson V6 charger, it’s compatible with the V7 and can help diagnose the problem:
- Connect the V6 charger to your V7 vacuum
- Check if the light turns blue, indicating charging is occurring
- If charging begins with the alternative charger, your original charger is likely faulty
- Consider purchasing a replacement charger if this test is successful
This cross-compatibility between models provides a convenient diagnostic tool for isolating the problem.
Verify Voltage Output
For those comfortable with basic electrical testing:
- Use a digital voltmeter to measure the output at the charger cable end
- Set the voltmeter to DC voltage mode
- The reading should be approximately 20 volts
- Significantly lower readings indicate a failing charger
This test provides definitive evidence of charger functionality and can prevent unnecessary battery replacements.
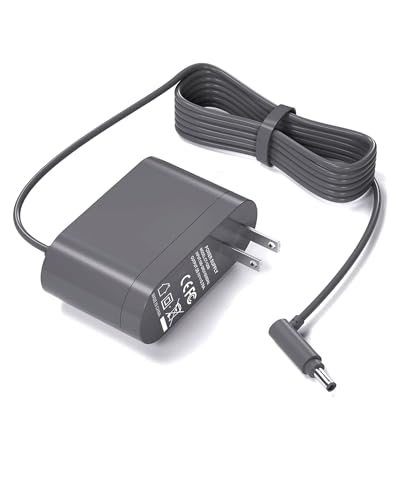
If the voltmeter test confirms that your charger isn’t outputting the correct voltage, it’s time to get a replacement.
Budget-friendly replacement with global voltage compatibility
Certified safety with extended warranty and customer support
Safety-focused with 15-month warranty and multi-protect features
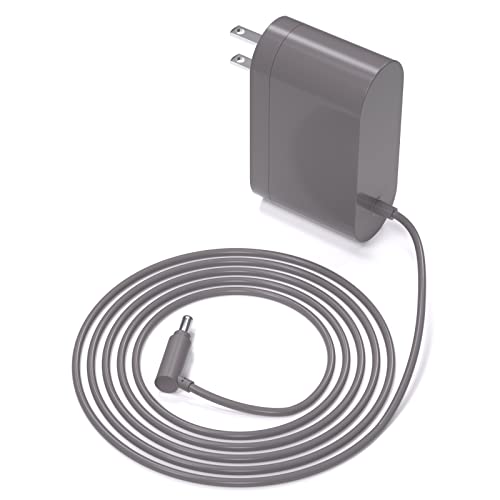
Professional-grade charger with comprehensive safety certifications
Reset the Vacuum’s Charging System
Sometimes the charging system needs a simple reset:
- Unplug the charger from the wall outlet
- Wait approximately 30 seconds
- Plug the charger back in
- Connect your Dyson V7
- Press and hold the trigger (power button) for about 20 seconds
This procedure can reset the internal charging circuits and resolve temporary electronic glitches that prevent charging.
Diagnosing Battery Problems

Check for Physical Battery Issues
Examine the battery for visible problems:
- Remove the battery if possible (refer to your user manual)
- Look for swelling, leaking, or physical damage
- Check for discoloration or corrosion on the battery contacts
- Note any unusual heat during charging attempts
Physical damage usually indicates the battery needs replacement rather than repair.
Evaluate Battery Performance History
Consider the battery’s usage patterns:
- Calculate how long you’ve owned the vacuum
- Estimate how frequently you’ve used and charged it
- Consider whether the performance decline was gradual or sudden
- Determine if the battery is original or a replacement
Lithium-ion batteries typically last 2-3 years with regular use. Gradual decline suggests normal wear, while sudden failure might indicate a manufacturing defect.
The Technical Cause of Battery Failure
The root of many Dyson V7 battery problems lies in the Battery Management System (BMS). This sophisticated component monitors the health of individual cells within the battery pack. When one cell degrades faster than others—a common occurrence in aging batteries—the BMS triggers a safety shutdown.
This uneven cell degradation creates an imbalance that the system detects as potentially dangerous. Rather than risking overheating or further damage, the BMS limits performance or prevents operation entirely. While frustrating for users, this safety mechanism protects both the device and its owner.
Battery Replacement Process
Identifying When Replacement Is Necessary
Your Dyson V7 likely needs a new battery if:
- The battery flashes immediately upon plugging in
- The vacuum shuts off seconds after starting
- Runtime has decreased dramatically despite proper charging
- The battery feels unusually hot during charging attempts
- Basic troubleshooting steps haven’t improved performance
These symptoms indicate the BMS has detected critical battery issues that can’t be resolved through resets or cleaning.
Removing the Old Battery
To access and replace the battery:
- Ensure the vacuum is completely powered off and disconnected
- Locate the two critical screws: one on the handle and another on the device back
- Use an appropriate screwdriver to remove these screws carefully
- Gently slide out the battery tray
- Disconnect any connectors attaching the battery to the main unit
- Remove the old battery completely
Handle all components with care to avoid damaging connectors or circuit boards.
Installing the New Battery
For proper installation:
- Obtain a compatible replacement battery (Dyson V7 specific)
- Align the new battery with the connection points
- Gently press until connections are secure
- Slide the battery tray back into position
- Replace and tighten both screws
- Connect to the charger to initialize the new battery
After installation, allow the battery to charge fully before first use, which may take up to 4 hours.
Choosing Quality Replacement Batteries
When purchasing a replacement:
- Prioritize genuine Dyson batteries when possible
- If selecting third-party options, read reviews carefully
- Avoid the cheapest alternatives, which often fail quickly
- Purchase from reputable sellers with return policies
- Verify compatibility specifically with the V7 model
A quality replacement battery typically costs between $50-$100, depending on the source and whether it’s genuine Dyson or third-party.
Once you’ve determined that a battery replacement is necessary, finding a reliable replacement is crucial for restoring your Dyson’s performance.

Official Dyson battery with authentic performance and reliability
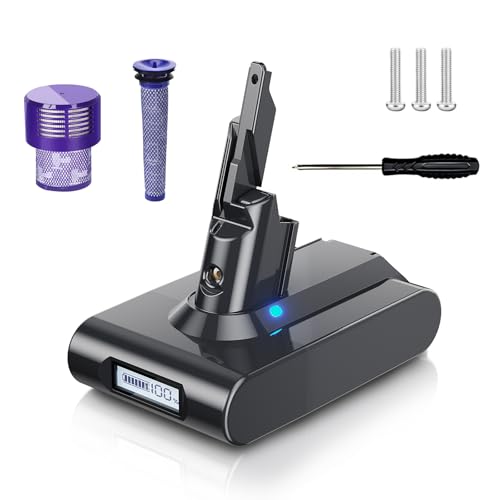
High-capacity third-party battery with enhanced runtime and monitoring

Balanced performance with intelligent power monitoring
Long-lasting battery with extended cycle durability
Maintaining Your Dyson V7 Battery
Optimal Charging Practices
To maximize battery lifespan:
- Allow the battery to discharge significantly before recharging
- Avoid constant partial charging cycles
- Don’t leave the vacuum permanently connected to the charger
- Store at room temperature, avoiding extreme heat or cold
- If storing long-term, leave the battery at about 50% charge
These practices help prevent the uneven cell degradation that triggers BMS protection systems.
Regular Maintenance Routine
Implement these habits for better performance:
- Clean filters monthly according to Dyson instructions
- Keep charging contacts clean and free from debris
- Empty the dust container after each use to maintain airflow
- Check for blockages in the vacuum head and tubes regularly
- Store the vacuum in a cool, dry location
Proper maintenance prevents the vacuum from working harder than necessary, which can drain the battery faster.
When to Seek Professional Help

If your troubleshooting efforts haven’t resolved the charging issue, professional assistance may be necessary:
- Contact Dyson support if your vacuum is still under warranty
- Provide your serial number and detailed description of the problem
- Follow their guidance for potential warranty service
- Consider authorized repair centers for out-of-warranty units
- Weigh repair costs against replacement costs for older models
For complex internal issues like motherboard failures, professional repair is often more cost-effective than DIY attempts.
Frequently Asked Questions (FAQ)
Why does my Dyson V7 battery flash blue when charging?
A flashing blue light typically indicates that the Battery Management System has detected an issue with one or more cells in the battery pack. This safety feature prevents charging when the system identifies potential risks. In most cases, this signals that the battery needs replacement, as internal cell degradation has reached a critical point where safe charging is no longer possible.
Can I use my Dyson V7 while it’s charging?
No, the Dyson V7 is designed to be used cordlessly and cannot operate while connected to the charger. This design choice allows for the lightweight maneuverability that Dyson vacuums are known for. You’ll need to fully charge the unit before use, which typically takes 3.5 to 4 hours for a complete charge from empty.
How long should a Dyson V7 battery last before replacement?
With normal household use, a Dyson V7 battery typically lasts between 2-3 years before significant performance degradation occurs. Factors affecting lifespan include frequency of use, charging habits, and whether the vacuum is regularly used in high-power “max” mode. Using the vacuum primarily in standard mode rather than max mode can extend battery life considerably.
Why does my Dyson V7 only run for a few seconds?
When your Dyson V7 runs for just a few seconds before shutting down, it’s usually because the Battery Management System has detected an unsafe condition in the battery cells. This is a protective measure rather than a malfunction. The vacuum will shut down to prevent potential overheating or damage when it detects significant battery cell imbalance. This short runtime is a clear indicator that battery replacement is needed.
Is it worth replacing the battery in a Dyson V7?
Replacing the battery in a Dyson V7 is typically worthwhile if the vacuum is otherwise functioning properly. A new battery costs between $50-$100, which is significantly less than purchasing a new vacuum. The replacement process is relatively straightforward and can extend the life of your vacuum by another 2-3 years. However, if your vacuum has additional mechanical issues beyond battery problems, you might want to consider the total repair costs versus replacement.
Conclusion
Dyson V7 charging problems, while frustrating, can often be resolved through systematic troubleshooting. From simple fixes like cleaning charging contacts and checking power sources to more involved solutions like battery replacement, this guide has covered the spectrum of potential remedies.
Remember that the sophisticated Battery Management System in your Dyson prioritizes safety over performance, which explains why symptoms like flashing lights and short runtimes occur. This design prevents potential hazards but also means that certain battery issues cannot be fixed through resets or cleaning alone.
If your troubleshooting efforts indicate a battery replacement is necessary, follow the outlined steps carefully, and consider investing in a quality replacement to ensure longevity. With proper maintenance and occasional component replacement, your Dyson V7 can continue to provide excellent cleaning performance for many years to come.


