
The Dyson V7 Animal is a powerful cordless vacuum, but like any battery-operated device, charging issues can arise over time. When your Dyson V7 stops charging properly, it can disrupt your cleaning routine and cause frustration. Fortunately, many charging problems can be resolved without professional help.
Affiliate disclosure: As an Amazon associate, We'll earn a commission for every successful order through our affiliate links in the article. However, you won’t be charged anything for this.
This comprehensive guide walks you through the most common reasons your Dyson V7 Animal might not be charging and provides practical solutions to get your vacuum working again. From simple fixes like cleaning battery contacts to more involved troubleshooting like testing battery voltage, we’ll cover everything you need to know to diagnose and resolve charging issues with your Dyson V7 Animal vacuum.
Identifying Common Dyson V7 Charging Issues

When your Dyson V7 Animal vacuum refuses to charge, several components could be at fault. The most frequent culprits include battery degradation, which naturally occurs over time as the battery cells lose their ability to hold a charge. A faulty power adapter is another common issue—the adapter might appear fine externally but have internal damage preventing proper power delivery.
Dust accumulation on charging contacts is surprisingly common and easy to overlook. Even a thin layer of dust or debris can interrupt the electrical connection between the vacuum and charger. In more serious cases, internal damage to the vacuum’s circuitry might be the problem, particularly if the vacuum has been dropped or exposed to moisture.
Signs of charging problems include flashing blue lights, significantly reduced runtime in high-power mode (sometimes as little as 5-6 seconds), or the vacuum failing to power on despite being connected to the charger. Recognizing these symptoms early can help you address the issue before it worsens.
Quick Diagnostic Steps to Try First
Test Your Vacuum at a Retail Store
One of the most effective ways to narrow down the source of charging problems is to visit a physical retailer with Dyson vacuum displays:
- Locate a store with V8 stands and chargers (V7 and V8 use compatible chargers)
- Bring your Dyson V7 Animal vacuum to the store
- Ask a Dyson Field Agent or knowledgeable staff member for assistance
- Test your vacuum on their charger to determine if the issue lies with your charger or the vacuum itself
This simple test can save you time and money by immediately identifying whether you need a new charger or if the problem is with the vacuum itself.
Try a Generic Replacement Battery
If visiting a store isn’t convenient, purchasing an inexpensive generic replacement battery can help determine if the battery is the problem:
- Order a generic replacement battery from Amazon or other retailers (typically under $25)
- Install the new battery following manufacturer instructions
- Attempt to charge the vacuum with the new battery installed
If the vacuum charges properly with the new battery, you’ve identified the original battery as the culprit. While generic batteries may not last as long as official Dyson replacements, they’re excellent diagnostic tools and temporary solutions.
If you’ve determined the battery is the issue, you’ll need a replacement.

Genuine Dyson battery with longer runtime for V7 models
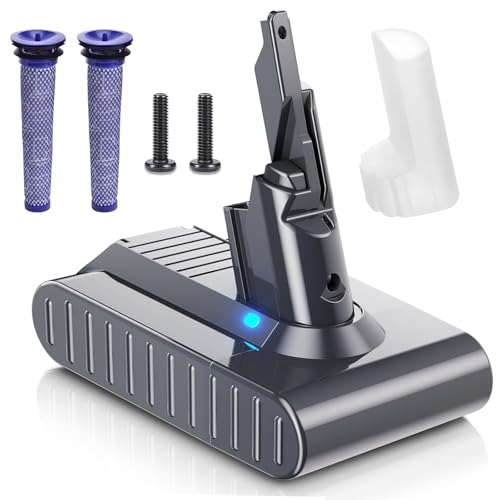
High-capacity third-party battery with advanced protection

Longer runtime with power-level monitoring for V7 models
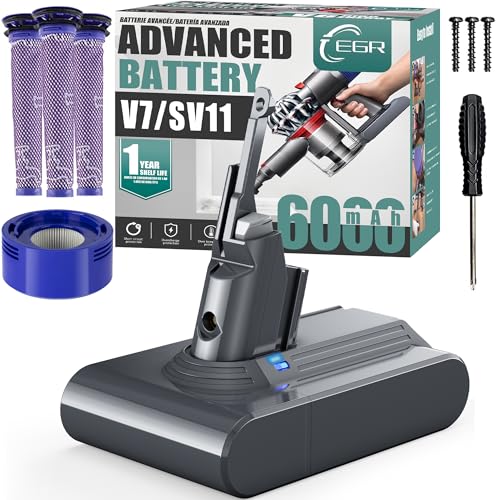
Enhanced grip design for wall stability and extended use
Comprehensive Troubleshooting Guide
Checking and Testing the Battery
Inspect Battery Contacts
- Remove the battery from the vacuum (consult your user manual for specific instructions)
- Examine the metal contacts on both the battery and vacuum for signs of corrosion, dirt, or damage
- Clean the contacts using a cotton swab lightly dampened with rubbing alcohol
- Allow contacts to dry completely before reconnecting
Test Battery Voltage
For those comfortable with basic electrical testing:
- Obtain a digital multimeter
- Set the multimeter to DC voltage measurement
- Touch the multimeter probes to the battery contacts
- A healthy, fully charged Dyson V7 battery should read approximately 25.2 volts
- Significantly lower readings indicate a failing battery
Identify Battery Failure Symptoms
Watch for these telltale signs of battery failure:
– Flashing blue light when attempting to charge
– Extremely short runtime in high-power mode (5-6 seconds)
– Vacuum runs normally for a brief period, then suddenly stops
– Battery feels unusually warm during charging
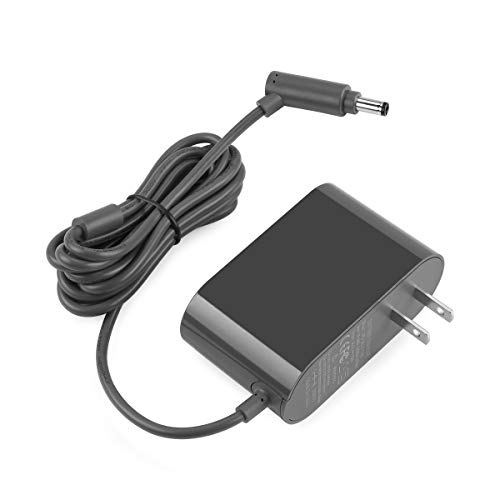
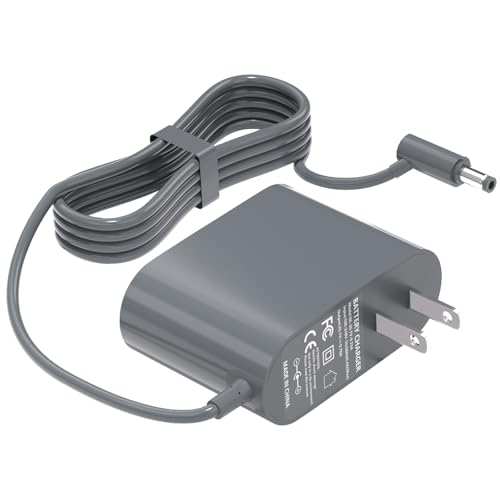
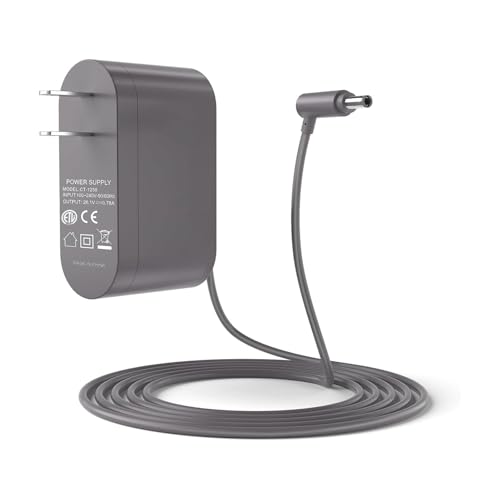
Power Adapter Troubleshooting
Inspect the Power Cord
- Examine the entire length of the power cord for cuts, frays, or kinks
- Pay special attention to the areas where the cord enters the adapter and plug
- Check for discoloration which might indicate internal damage
- Replace the adapter if any damage is found
If you find damage to the power cord, it’s time to replace the adapter.
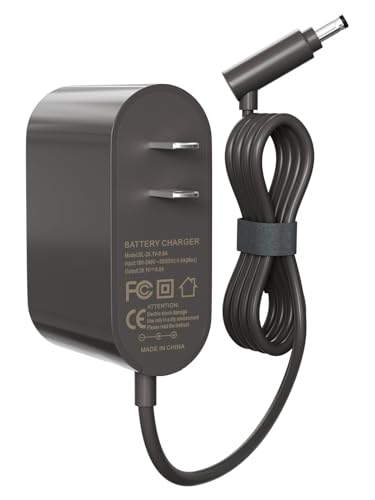
Affordable universal replacement with worldwide compatibility
Certified safety with 15-month warranty
Multi-safety protection with 12-month warranty
Premium safety with 18-month exchange
Verify the Power Source
- Unplug the Dyson charger from the wall outlet
- Plug in another device (like a lamp or phone charger) to confirm the outlet works
- Try charging the Dyson using a different outlet in another room
- If using a power strip or extension cord, try connecting directly to a wall outlet
Alternative Adapter Testing
If possible, borrow a compatible Dyson charger to determine if your adapter is the problem:
1. Connect your vacuum to the borrowed charger
2. Observe if charging begins normally
3. If the vacuum charges with the alternative adapter, you’ll need to replace your original charger
Cleaning the Charging System
Dock Maintenance
- Unplug the charging dock from the power source
- Use compressed air or a small brush to remove dust from the charging contacts
- Wipe the contacts with a cotton swab dipped in rubbing alcohol
- Allow the contacts to dry completely before reconnecting to power
Vacuum Contact Cleaning
- Locate the charging contacts on your Dyson V7 Animal (typically where the vacuum connects to the charger)
- Clean these contacts using a cotton swab with rubbing alcohol
- Gently scrub to remove any oxidation or residue
- Dry thoroughly before attempting to charge
Internal Component Inspection
Check for Overheating Issues
- Feel the vacuum body while charging – it should be warm but not hot
- If the vacuum becomes very hot during charging, disconnect immediately
- Allow the vacuum to cool completely (at least 1-2 hours)
- Try charging again after cooling – persistent overheating indicates internal damage
Circuit Board Examination
For those comfortable with basic disassembly:
1. Ensure the vacuum is completely powered off and disconnected
2. Remove the battery and any accessible covers
3. Inspect the visible circuit boards for signs of damage, such as burnt components or corrosion
4. Look for loose connections that might be reattached
5. Do not attempt repairs unless you have appropriate electronics experience
Effective User-Recommended Solutions
The Power Cycle Method
Many users have successfully resolved charging issues with this simple technique:
1. Unplug the charger from the wall outlet
2. Wait approximately 30 seconds
3. Plug the charger back into the wall
4. Connect your Dyson V7 to the charger
5. Press and hold the trigger (power button) for about 20 seconds
6. Release the trigger and leave the vacuum to charge
This method can reset the internal charging circuit and resolve minor electrical glitches.
Deep Cleaning Procedure
Dust accumulation in critical areas can affect charging performance:
1. Disassemble the vacuum according to the user manual
2. Clean the filter housing thoroughly
3. Remove and wash the filter according to Dyson instructions
4. Pay special attention to the cyclone assembly where dust can accumulate
5. Ensure all components are completely dry before reassembly
6. Attempt charging after complete reassembly
Advanced Repair Options
Bin Lid and Filter Maintenance
For vacuum performance issues that may affect charging:
Bin Lid Repair
- Identify any damage to the bin lid catch mechanism
- Apply a small amount of super glue to the damaged area
- While the glue is still wet, sprinkle bicarbonate of soda onto it
- This creates a strong acrylic-like paste that reinforces the catch
- Allow to dry completely before using
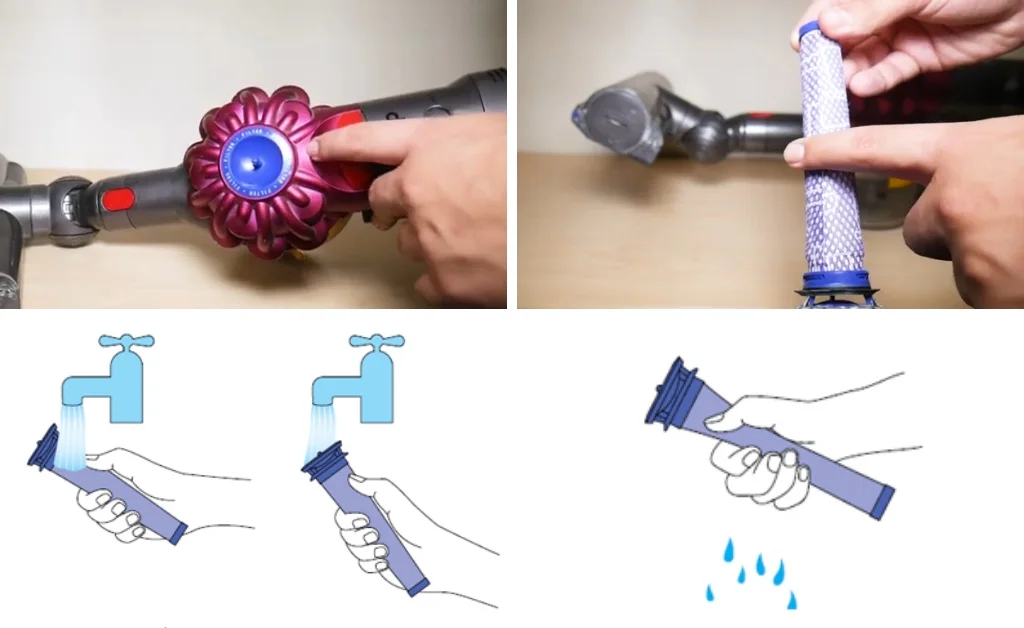
Thorough Filter Maintenance
- Remove the filter assembly
- Lift the perimeter catches to fully disassemble the filter
- Clean the interior cone thoroughly – this is often neglected
- Rinse until water runs clear and the filter appears completely transparent
- Allow to dry for at least 24 hours before reinstalling
- Proper filter maintenance improves airflow, which can reduce strain on the battery
Addressing Airway Blockages
Airway blockages can cause the motor to work harder, draining the battery faster:
- Empty the dust bin completely
- Tap the bin gently during emptying to dislodge trapped dust
- Check all pathways for blockages, including the:
– Main vacuum tube
– Cyclone assembly
– Connection points between attachments
– Floor head (remove and inspect brushes)
- For persistent blockages, consider a deeper cyclone cleaning:
– Use appropriate screwdrivers (flat-head, Phillips, and Torx T8)
– Remove the dust bin and filter (secured by four screws)
– Detach the cyclone assembly
– Clean all internal channels and narrow gaps
– Reassemble carefully, ensuring proper alignment
If you find that the floor head or its brushes are damaged or excessively worn, consider replacing them.

Official replacement for V7 vacuum with durable motorhead assembly
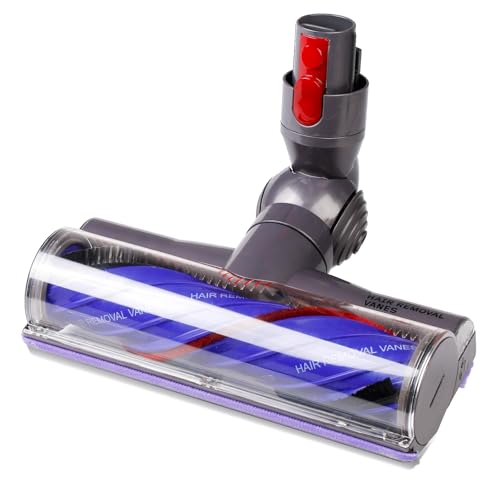
Third-party replacement with hair-clearing technology and flexible rotation
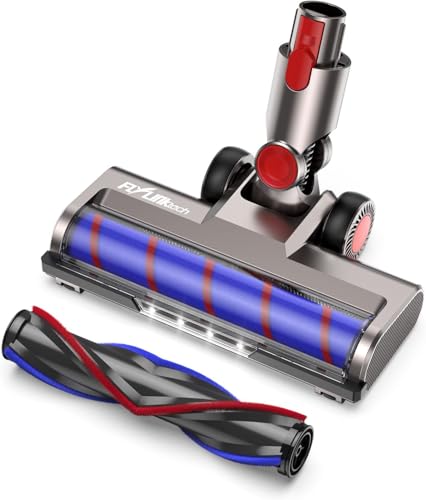
Budget-friendly option with 4 built-in lights for dark corner cleaning
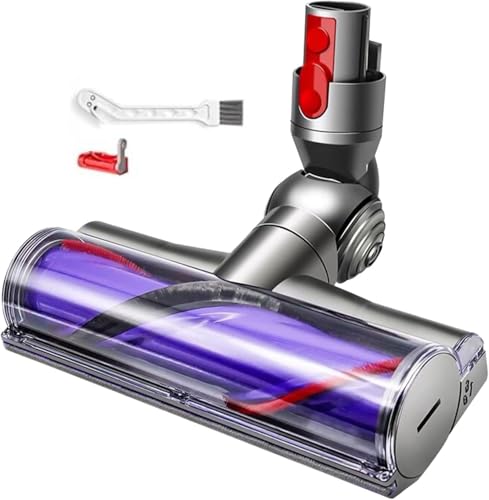
Cost-effective alternative with enhanced hair clearance and easy maintenance
Frequently Asked Questions (FAQ)
How long should a Dyson V7 Animal battery last?
A typical Dyson V7 Animal battery should last 2-3 years with regular use before showing significant capacity reduction. With normal usage, expect about 20-30 minutes of runtime on standard power mode when the battery is in good condition. If your runtime has decreased dramatically, it’s likely time for a battery replacement.
Can I replace the Dyson V7 battery myself?
Yes, you can replace the Dyson V7 battery yourself with basic tools. You’ll need a small Phillips screwdriver to remove the handle screw that secures the battery. Third-party replacement batteries are available for $25-60, though it’s advisable to avoid the cheapest options as they may have inferior performance. Official Dyson replacement batteries cost more but typically offer better reliability.
Why does my Dyson V7 stop working after a few seconds?
If your Dyson V7 runs for only a few seconds before shutting off, this typically indicates a failing battery with uneven cell discharge. Other possible causes include overheating due to blockages in the airways or dust buildup in the cyclone chamber. Thoroughly clean all components and check for blockages before determining if a battery replacement is needed.
Is it worth repairing a Dyson V7 with charging issues?
In most cases, yes. The Dyson V7 is a high-quality vacuum, and most charging issues can be resolved with battery replacement or charger replacement, both of which are significantly less expensive than purchasing a new vacuum. Even in cases requiring motor unit replacement ($100-120), repair is often more economical than replacement, especially if the vacuum is otherwise in good condition.
If you determine the motor unit is damaged and needs replacement.
Conclusion
Charging issues with your Dyson V7 Animal vacuum can be frustrating, but most problems have straightforward solutions. By following the troubleshooting steps outlined in this guide, you can identify and resolve many common charging problems without professional assistance.
Start with the simplest solutions—checking power sources, cleaning contacts, and testing alternative charging methods—before moving on to more complex repairs like battery replacement. Remember that proper maintenance, including regular filter cleaning and checking for blockages, can prevent many charging issues from developing in the first place.
If all else fails, consider reaching out to Dyson customer support or visiting an authorized repair center. With proper care and occasional maintenance, your Dyson V7 Animal vacuum can provide many years of reliable service, making the effort to resolve charging issues well worth your time.


