
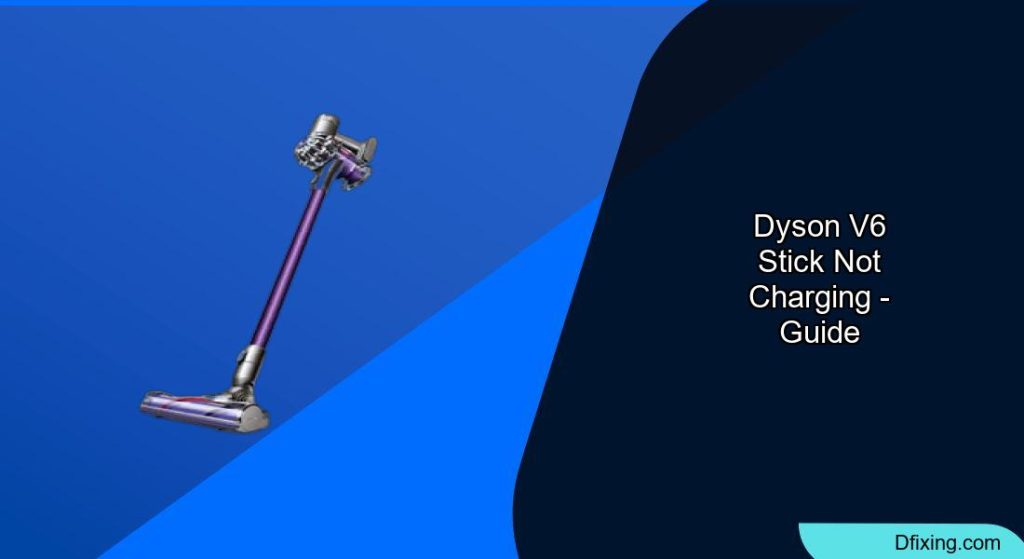
The Dyson V6 stick vacuum is a powerful cleaning tool, but many users encounter charging issues, especially after periods of non-use. If your Dyson V6 suddenly stops charging, don’t rush to replace it yet. This comprehensive guide will walk you through the common causes and effective solutions to get your vacuum working again.
Affiliate disclosure: As an Amazon associate, We'll earn a commission for every successful order through our affiliate links in the article. However, you won’t be charged anything for this.
When a Dyson V6 won’t charge, the problem typically appears after the device has been unplugged for about two weeks. This can be particularly frustrating if the vacuum was working perfectly before. The good news is that in many cases, you can resolve these issues without purchasing a brand new vacuum.
Why Your Dyson V6 Won’t Charge
Battery Degradation Issues
The most common reason your Dyson V6 won’t charge is battery degradation. The vacuum uses six 18650 lithium-ion cells that naturally degrade over time. As these cells age, they develop increased internal resistance, reducing capacity and causing faster drainage.
When left unplugged for extended periods, one or more cells can drop below the minimum charging voltage (approximately 2.5 volts). Once this happens, the charging circuit fails to initiate the charging process, effectively rendering the battery “dead.”
Another scenario involves uneven cell degradation. If one cell drains faster than others, the battery management system detects this imbalance and cuts power to prevent damage. While temporarily recharging might restore functionality by bringing the depleted cell above the minimum threshold, this isn’t a permanent fix.
Faulty Charging Circuit
A less common but equally problematic cause is failure in the charging circuit. This component manages power input and ensures proper battery charging. When the charging circuit malfunctions, your vacuum will show no signs of life when plugged in—no indicator lights, no sounds, nothing.
Charger Malfunction
Sometimes the issue lies with the charger itself. Even if you’ve tried different power outlets, the charger might be faulty due to internal wear and tear or electrical problems. A damaged charger won’t deliver the necessary power to charge your vacuum’s battery.
If you suspect the charger is the problem, consider testing with a replacement.
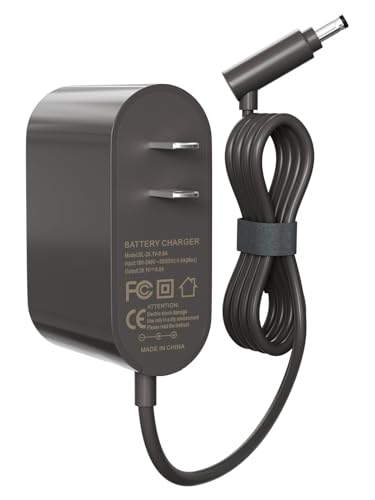
Affordable replacement with universal compatibility and 1-year support
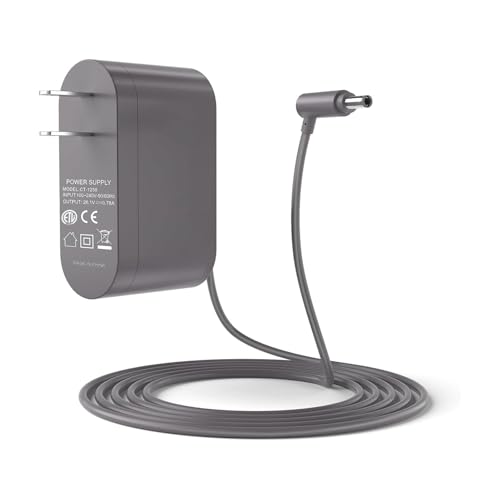
UL-certified charger with extended 18-month warranty and safety features
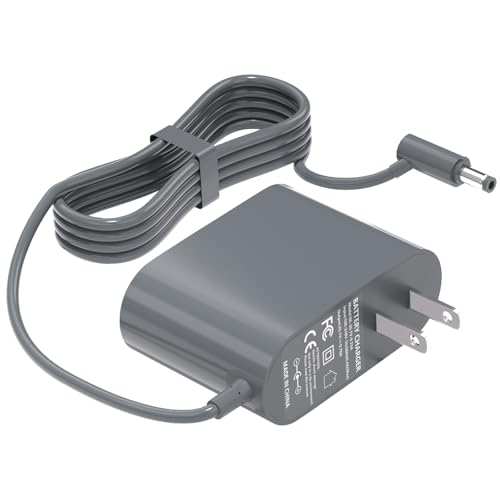
CE/FCC certified with 6FT cable and 15-month warranty

Premium option with 12-month warranty and global voltage support
Diagnosing Your Dyson V6 Charging Problem
Checking the Battery Health
- Remove the battery by following your model’s specific instructions (usually involves removing screws or pressing release buttons)
- Visually inspect the battery for any obvious signs of damage like swelling, leaking, or corrosion
- Test the voltage with a multimeter if you have one available—a reading significantly below 2.5 volts per cell indicates a degraded battery
Examining the Charger
- Inspect the charger cable and adapter for visible damage such as fraying or breaks
- Test the charger in multiple outlets to rule out problems with your power source
- Look for indicator lights on the charger that should illuminate when plugged in
Inspecting Contact Points
- Check the battery contacts for dirt, debris, or corrosion
- Examine the charging dock contacts for similar issues
- Look for any bent or damaged pins that might prevent proper connection
Step-by-Step Troubleshooting Solutions
Battery Reset Procedure
- Power off the vacuum completely
- Disconnect from the charger and remove the battery if possible
- Press and hold the power button for 10-20 seconds to discharge any residual power
- Reinstall the battery and connect to the charger
- Allow to charge fully before testing operation
For the Dyson V6 Trigger specifically:
1. Disassemble the casing to access the battery compartment
2. Reset the outlet socket while holding the top button
3. Follow your user manual for model-specific instructions
Cleaning the Contacts
If cleaning the contacts is necessary, using an electronics cleaner can help remove stubborn dirt and corrosion.

Budget-friendly, fast-acting electronics contact cleaner

Premium contact cleaner with conductivity enhancement

Mid-range cleaner for sensitive electronics

Dual-pack for heavy-duty electronics cleaning
- Power off and unplug the vacuum
- Clean battery terminals with an electronics cleaning pen or a cotton swab dipped in rubbing alcohol
- Gently scrape terminal contacts with a fine screwdriver to remove oxidation
- Apply slight tension to contacts if needed to ensure secure connections
- Allow contacts to dry completely before reassembling
Battery Replacement Process
If diagnostics indicate a failed battery, replacement is often the most straightforward solution:
- Purchase a compatible replacement battery (either from Dyson or a reputable third-party vendor)
- Remove the battery tray by unscrewing the internal screw with a small Phillips screwdriver
- Locate and remove the second screw on the handle
- Extract the faulty battery and insert the new one
- Reassemble the device by securing all screws and reinserting the battery tray
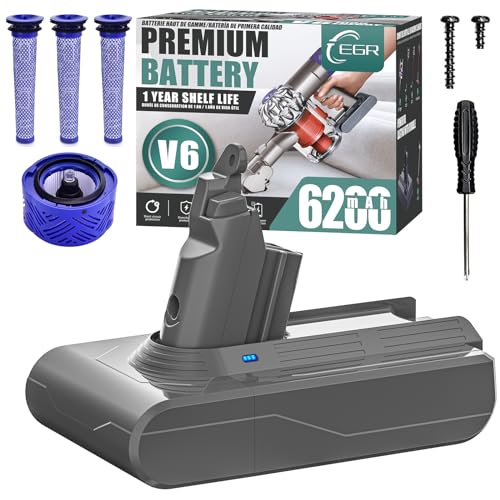
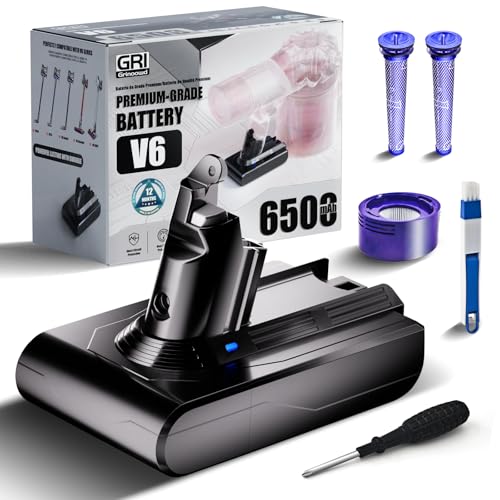
If the battery is determined to be the issue, you’ll need a replacement. Make sure it’s compatible with your Dyson V6 model.
High-capacity battery with advanced safety features and extended runtime
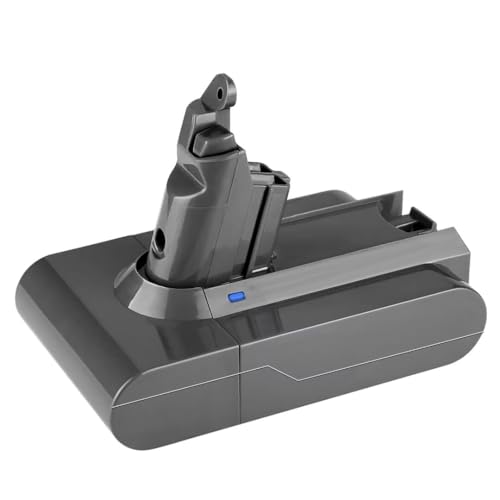
Affordable lithium-ion replacement with essential safety protections
Premium battery with extended warranty and bundled filters

Balanced option with comprehensive safety and accessories
For the Dyson V6 Trigger:
1. Disassemble the casing by pressing the designated area
2. Unscrew the Phillips screw and carefully pry the casing upward
3. Reinsert the outlet socket into its housing while pressing the top button to reset
Advanced Solutions for Persistent Problems
DIY Battery Repair (For Experienced Users Only)
Some technically inclined users have successfully repaired battery packs by boosting the voltage of degraded cells. This involves:
- Opening the battery pack (voiding warranty)
- Identifying the degraded cells
- Using a power supply to bring the voltage above the minimum threshold
WARNING: This method is potentially dangerous and not recommended for inexperienced users. It can cause electrical shock, fire, or further damage to your device.
Circuit Board Inspection
If you’re comfortable with electronics:
- Disassemble the vacuum according to your model’s specifications
- Inspect the circuit board for any visible damage, burnt components, or loose connections
- Check for corrosion on solder joints or connectors
- Look for blown fuses that might need replacement
Seeking Professional Repair
When DIY solutions fail, professional repair might be necessary:
- Contact Dyson Support for guidance specific to your model
- Consider authorized repair centers that specialize in Dyson products
- Weigh repair costs against replacement to determine the most economical option
Frequently Asked Questions (FAQ)
How do I know if my Dyson V6 battery is completely dead?
A completely dead Dyson V6 battery typically shows these symptoms:
– Flashing blue light indicating a battery fault
– Device works briefly after charging but quickly dies
– Vacuum runs for only 5-6 seconds when switched to “max” mode
– Battery fails to hold any charge despite overnight charging
– Persistent flashing lights when attempting to charge
Can I use third-party batteries for my Dyson V6?
Yes, third-party batteries can work well for the Dyson V6, but quality varies significantly. Choose reputable brands with good reviews and avoid the cheapest options, which often fail within weeks. A good third-party battery for the Dyson V6 costs approximately $25-$26, significantly cheaper than a new vacuum ($300-$400).
How long should a Dyson V6 battery last before needing replacement?
With proper care, a Dyson V6 battery typically lasts 2-3 years before noticeable degradation occurs. However, this varies based on usage patterns, charging habits, and environmental factors. Frequent use of “max” power mode will shorten battery lifespan.
Why does my Dyson V6 work when plugged in but not on battery?
This usually indicates a failed battery that can still pass through power when connected to the charger. The battery cells have likely degraded to the point where they can’t hold a charge but still allow current to flow when directly connected to power.
How can I extend my Dyson V6 battery life?
To maximize battery lifespan:
– Keep the vacuum plugged in when not in use (but not continuously for weeks)
– Clean filters monthly to prevent motor strain
– Use “max” power mode sparingly
– Store in moderate temperatures (extreme heat or cold accelerates degradation)
– Perform regular maintenance on contacts and connections
Preventive Maintenance Tips
Regular Cleaning Routine
Maintaining your Dyson V6 properly can prevent many charging issues:
- Clean the filter system monthly by rinsing with water and allowing to dry completely (24 hours minimum)
- Inspect hose and pipe connections for blockages that increase motor strain
- Clean battery and charger contacts quarterly to prevent buildup
- Check for debris around the brush bar that might cause motor overload
Optimal Charging Practices
- Keep the vacuum plugged in when not in use to prevent deep discharge
- Avoid storing with a completely depleted battery
- Don’t leave continuously charging for weeks without use
- Store in moderate temperature environments away from heat sources
Conclusion
Charging problems with the Dyson V6 stick vacuum are common but often fixable without replacing the entire unit. By understanding the root causes and following the troubleshooting steps outlined in this guide, you can potentially save hundreds of dollars on a replacement.
Whether the issue stems from battery degradation, charging circuit failure, or simple contact problems, methodical diagnosis and appropriate intervention can restore your vacuum’s functionality. When DIY solutions aren’t enough, professional repair or strategic component replacement offers a cost-effective alternative to buying a new vacuum.
Remember that regular maintenance plays a crucial role in preventing future charging issues. By implementing the preventive measures described above, you can extend your Dyson V6’s lifespan and ensure it remains a reliable cleaning companion for years to come.


