

Dealing with a Dyson V6 brush motor that refuses to spin can turn routine cleaning into a frustrating task. This issue often stems from tangled debris, worn components, or electrical faults—but the good news is that many fixes are simple and cost-effective. Whether you’re battling a clogged brush bar or a faulty belt, this guide will walk you through diagnosing the problem, executing repairs, and maintaining your vacuum to prevent future issues. By the end, you’ll know how to restore your Dyson V6’s performance without relying on costly professional services.
Affiliate disclosure: As an Amazon associate, We'll earn a commission for every successful order through our affiliate links in the article. However, you won’t be charged anything for this.
Understanding the root causes of a non-spinning brush motor is the first step toward resolution. Common culprits include hair or debris buildup, damaged belts, or electrical connection problems. Fortunately, most of these issues can be resolved with basic tools and a bit of patience. This article provides a comprehensive repair roadmap, from disassembling the floor tool to testing voltage with a multimeter, ensuring you can tackle the problem confidently.
Diagnosing the Problem: Common Causes
The Dyson V6’s brush motor relies on seamless coordination between mechanical and electrical components. When the brush bar stalls, the following issues are most likely to blame:
– Physical obstructions: Hair, string, or debris the brush bar or bearings.
– Worn belts: A stretched or broken belt disconnects the motor’s power from the brush bar.
– Faulty motor: Internal motor damage due to overheating or wear.
– Electrical issues: Loose wires, corroded contacts, or snapped cables disrupt power flow.
– Bearing jam: Accumulated dust or debris prevents smooth rotation.
Identifying the exact cause early saves time. Start by inspecting the brush bar for visible tangles before diving into electrical diagnostics.
Step-by-Step Repair Guide
1. Safety First
- Unplug the vacuum and remove the battery to avoid electrical hazards.
- Ensure the unit is fully discharged.
2. Disassemble the Floor Tool
- V6 models: Press the red handle button to detach the floor tool.
- Remove sole plate screws (turn a quarter counterclockwise) and slide out the brush bar.
- Use Torx T10 or T8 screws to disassemble the motor housing and access internal components.
3. Clear Blockages
- Brush bar: Cut away tangled hair or debris with scissors.
- Bearings: Scrub hidden areas with a toothbrush and rubbing alcohol.
- Clear Window: Wash the transparent cover to remove dust buildup.
4. Replace the Belt
- Remove the old belt from the motor shaft and brush bar.
- Slide the new belt into place, ensuring proper tension. A misaligned belt causes uneven spinning.
5. Repair Electrical Connections
- Inspect wires: Check for fraying or disconnections. Solder broken cables if needed.
- Clean contacts: Use contact cleaner or emery cloth on terminals. Test continuity with a multimeter.
- Voltage test: Confirm 21V at the motor terminals. Zero voltage suggests a power delivery fault.
6. Lubricate Bearings
- Apply a drop of WD-40 to the drive bearing and rotate the brush bar manually to distribute it.
7. Reassemble and Test
- Reattach the sole plate, cover, and wiring.
- Reconnect the floor tool and test the brush motor. If it spins freely, you’ve succeeded!
Model-Specific Considerations
Certain Dyson models require tailored fixes:
– DC44 Animal: A swivel head issue may cause intermittent spinning when flipped. Clean slip rings or replace the head unit if inaccessible.
– V6 Motorhead: Reduced airflow when touching carpets points to blocked vents. Clean filters and check suction settings.
If you’re experiencing cable breakage or want to upgrade for better performance, consider replacing the entire head.
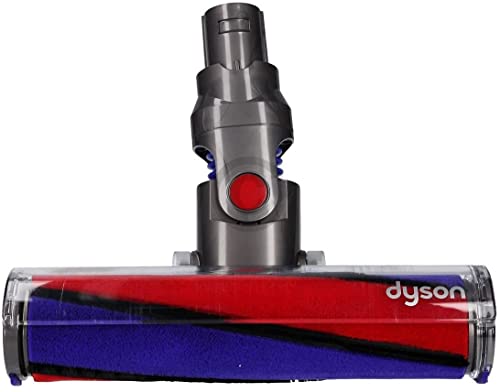
Official Dyson replacement for V6 models with precise compatibility
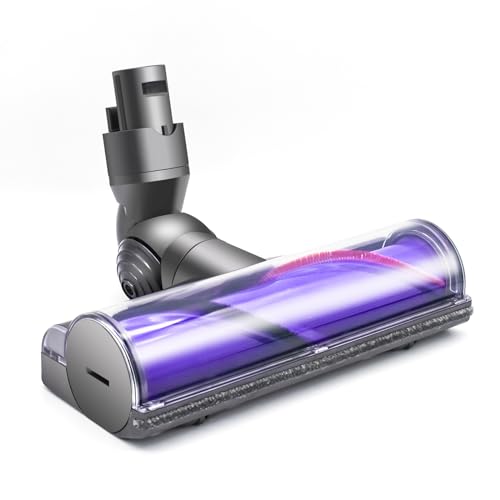
Budget-friendly motorized head with efficient carpet cleaning

LED-illuminated head for dark corners and multi-surface cleaning

Premium bristle design for deep carpet and hardwood cleaning
Preventive Maintenance: Extending Your Brush Motor’s Lifespan
Regular upkeep prevents recurring issues:
– Monthly: Remove hair from bearings and bristles.
– Every 3–6 months: Clean connectors with alcohol and inspect the belt for wear.
– Every 6 months: Replace the belt, even if no damage is visible.
– Storage: Keep the vacuum upright in a cool, dry area to avoid component strain.
Community-Tested Solutions
DIY enthusiasts recommend these fixes for stubborn cases:
– Loosen seized components: Manually rotate the brush bar and apply lubricant to bearings.
– Enhance contact: Gently bend terminal points for a tighter connection.
– Deep clean: Disassemble the head entirely to remove hidden debris like plastic fragments.
Frequently Asked Questions (FAQ)
How do I test the brush motor voltage?
Use a multimeter to measure voltage at the motor terminals. A reading of 21V confirms proper power delivery.
Why does the motor overheat?
Blocked airflow from dirty filters or vents causes overheating. Clean all vents and allow the motor to cool before reuse.
Can I replace the brush motor myself?
While possible, motor replacement is complex. Consider professional help unless you have electrical repair experience.
How often should I replace the belt?
Every six months or when visible wear occurs.
What if the brush motor spins backward?
Check wiring orientation during reassembly. Reverse connections to correct rotation.
Conclusion
A Dyson V6 brush motor not spinning is a solvable issue with the right approach. By systematically addressing blockages, electrical faults, and mechanical wear, you can restore your vacuum’s performance and extend its lifespan. Regular maintenance, like cleaning debris and replacing belts, prevents future headaches. For persistent problems, consult Dyson support or reputable third-party repair guides. With these strategies, your Dyson V6 will tackle cleaning tasks efficiently for years to come.


