

The Dyson V6 Animal is a powerful cordless vacuum, but like all battery-operated devices, it can face charging issues over time. If your once-reliable cleaning companion is no longer holding a charge, you’re not alone. Many Dyson V6 owners encounter this frustrating problem, but the good news is that most battery issues can be diagnosed and resolved without replacing the entire unit.
Affiliate disclosure: As an Amazon associate, We'll earn a commission for every successful order through our affiliate links in the article. However, you won’t be charged anything for this.
In this comprehensive guide, we’ll explore why your Dyson V6 Animal battery might be failing to hold a charge, walk through diagnostic steps to pinpoint the exact problem, and provide detailed solutions ranging from simple maintenance tricks to complete battery replacement. Whether you’re dealing with an aging battery, charging base issues, or potential internal problems, this article will help you get your Dyson V6 Animal back to its full cleaning potential.
Why Your Dyson V6 Animal Battery Won’t Hold a Charge
When your Dyson V6 Animal battery begins failing to hold a charge, several factors could be at play. The most common cause is natural battery degradation. Over time, the lithium-ion battery in your Dyson V6 experiences increased internal resistance, which leads to faster self-discharge and reduced overall performance.
Deep discharge is another frequent culprit. If your vacuum sits unused for extended periods, especially when unplugged, the battery can drop below the minimum voltage threshold (approximately 2.5 volts). When this happens, the charging circuit may struggle to initiate the recharging process.
Other potential causes include:
- Faulty charging base with dirty or damaged contacts
- Damaged battery cells (visible as dents, cracks, or bulges)
- Overheating due to environmental factors or clogged filters
- Software glitches interfering with the charging process
How to Diagnose Battery Problems in Your Dyson V6
Visual Inspection
Begin your troubleshooting journey with a thorough visual inspection:
- Examine the battery pack for any physical damage, swelling, or leakage
- Check the charging base for visible damage or excessive wear
- Inspect the charging contacts on both the vacuum and base for dirt, debris, or corrosion
If you notice damage or excessive wear on your charging base, it may be time for a replacement to ensure proper charging.

Charges Dyson V6 handheld on docking station with space-saving design
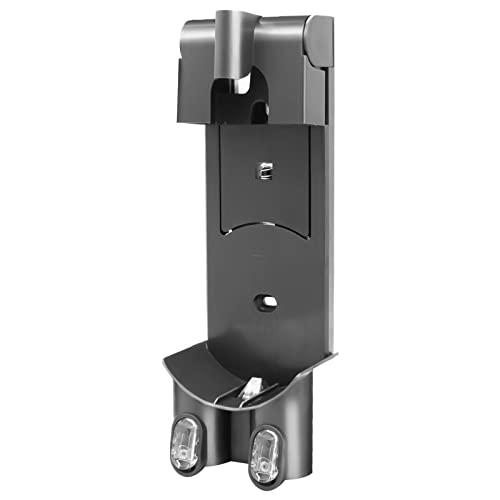
Premium wall mount for Dyson V6 with organized storage solution
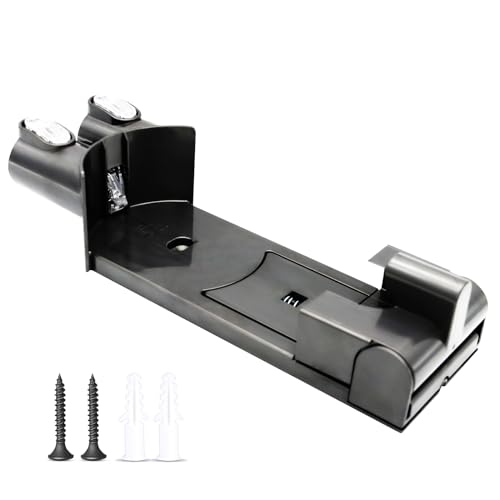
Official-style replacement for Dyson V6 wall mount docking system
Performance Testing
Next, evaluate the battery’s performance:
- Note how long the vacuum runs on a full charge
- Compare this duration to when the vacuum was new
- Observe the battery indicator lights during charging – they should be consistent and eventually show a full charge status
Charging System Check
To determine if the charging system is at fault:
- Test the charger in multiple outlets to rule out electrical issues
- If possible, test the charging base with another compatible Dyson device
- Check if the charging indicator lights illuminate properly when connected
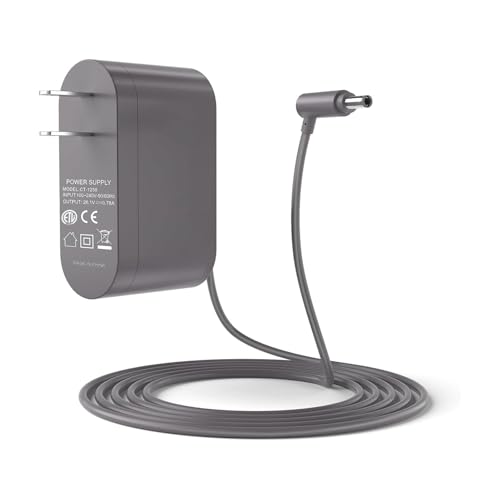
If the charger isn’t working in any outlet, it could be the issue. Replacing the charging adapter can resolve this.
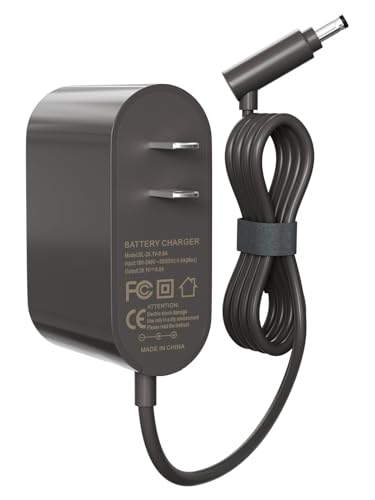
Budget-friendly replacement with 1-year warranty
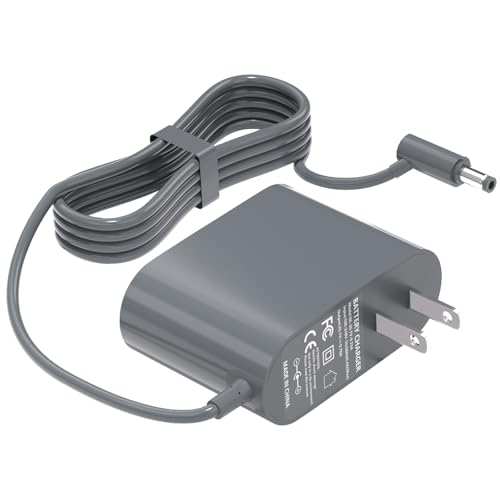
CE/FCC/UL certified with 15-month exchange
UL-certified with multi-safety protections

High-end option with global voltage support
Overheating Assessment
Overheating can significantly impact battery performance:
- Consider where you store your vacuum – is it exposed to heat or direct sunlight?
- Check if the filters are clogged, which forces the motor to work harder
- Feel the battery after use – excessive warmth may indicate an overheating issue
Quick Fixes for Dyson V6 Battery Issues
The 20-Second Reset Hack
Many users have successfully resolved battery issues with this simple reset procedure:
- Unplug the charger from the wall outlet
- Plug it back in
- Attach the vacuum to the charger
- Press and hold the power button for exactly 20 seconds (the vacuum will not turn on during this time)
- Release the button and check if the vacuum is working properly
This method can reset the battery’s internal circuitry and often resolves charging issues.
Thorough Cleaning Procedure
Dust and debris can interfere with proper charging and operation:
- Remove the battery and clean the contacts with a dry cloth
- Disassemble the vacuum according to the user manual
- Clean all filters thoroughly – neglected filters can cause performance issues
- Pay special attention to the filter housing, removing all trapped dust
- Reassemble the vacuum and test the battery performance
Battery Reset Instructions
For a complete battery reset:
- Power off the vacuum and unplug it
- If your model allows, remove the battery
- Hold the power button for 10-20 seconds to discharge any remaining power
- Reinstall the battery (if removed)
- Charge fully using the original dock
- Test to confirm functionality
Complete Battery Replacement Guide
If diagnostic steps indicate your battery needs replacement, you have several options:
Official Dyson Replacement
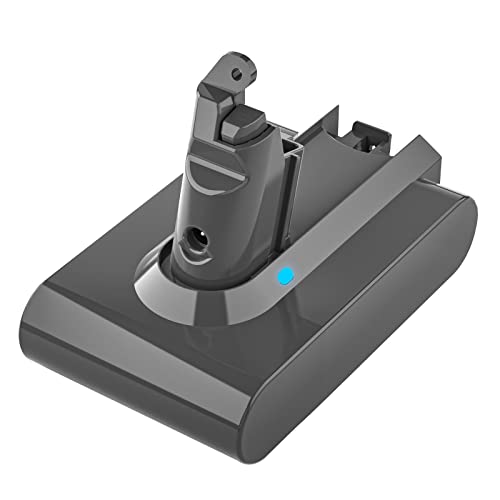
Purchasing a battery directly from Dyson ensures compatibility and quality:
- Order from Dyson’s official website or authorized retailers
- Expect to pay approximately $129 for a genuine replacement
- Benefit from potential warranty coverage and customer support
Third-Party Alternatives
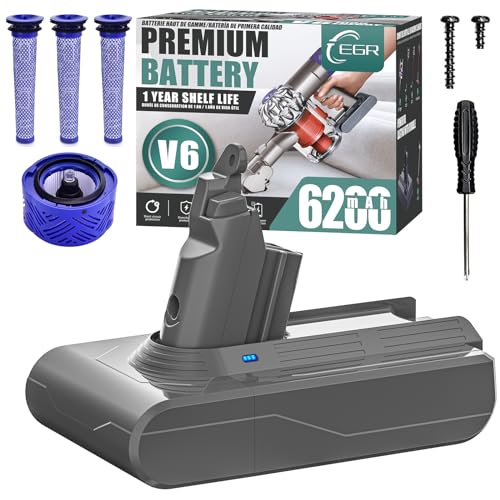
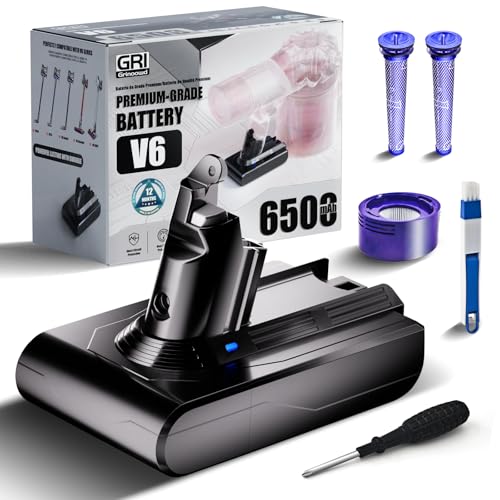
Some users opt for third-party batteries:
- Available on platforms like Amazon or eBay at around $35-60
- Some aftermarket options offer higher capacity (3000 mAh vs. original 2100 mAh)
- Quality varies significantly – choose reputable sellers with positive reviews
- Be aware that generic alternatives may not match the performance or durability of genuine parts
Replacing the battery can give your Dyson V6 Animal new life, especially if the original battery is no longer holding a charge effectively.

Highest capacity with LED monitoring and extended runtime
Official-like features with comprehensive safety protections
Premium Japanese cells with long-term durability guarantee
Affordable option with essential safety features
Step-by-Step Replacement Procedure
-
Preparation:
– Ensure the vacuum is unplugged
– Remove all attachments
– Release the dust bin by pushing the red lever twice and slightly twisting -
Battery Removal:
– Locate the two screws – one on the handle’s back and one beneath the battery
– Remove both screws carefully
– Extract the old battery
– Set aside for proper recycling (contains hazardous materials) -
New Battery Installation:
– Insert the new battery, ensuring it clicks into place
– Reattach both screws securely
– Reassemble the dust bin -
Testing:
– Activate the trigger to test the vacuum
– If no charge is detected, charge overnight and retest
– Ensure the “max” button is not pressed before testing
Troubleshooting Specific Dyson V6 Problems
Pulsating or Intermittent Operation
If your Dyson V6 starts and stops repeatedly despite having a charge:
-
Empty the Dust Bin:
– Remove and thoroughly clean the bin
– Check for debris caught in the cyclone assembly -
Inspect Attachments:
– Remove all attachments
– Use a flashlight to check for obstructions
– Clear any blockages with appropriate tools -
Check Internal Components:
– Inspect the motor housing for lodged debris
– Pay special attention to the mesh filter
– Clear all obstructions to restore proper airflow
Battery Drains Too Quickly
If your battery runs out faster than expected:
-
Avoid Max Power Settings:
– Using maximum power significantly reduces runtime
– A deteriorating battery may last only 5-30 seconds on max power versus 5-8 minutes on regular settings -
Check for Blockages:
– Clogs force the motor to work harder, draining the battery
– Follow the steps above to clear all potential blockages -
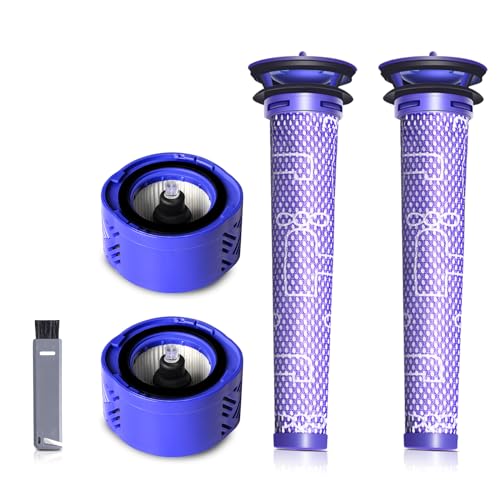
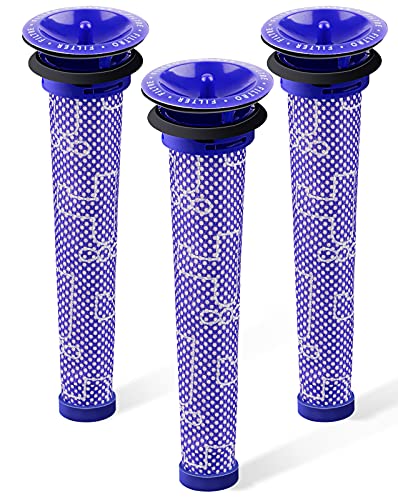
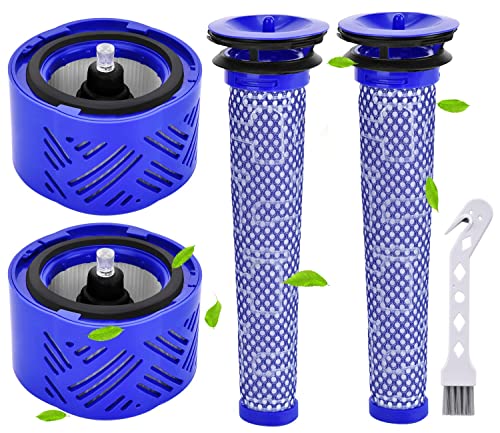
Evaluate Filter Condition:
– Dirty filters restrict airflow, causing the motor to draw more power
– Clean or replace filters according to Dyson recommendations
If cleaning doesn’t improve performance, consider replacing the filters to ensure optimal airflow and battery efficiency.
Precise fit for Dyson V6 with enhanced filtration and suction performance

Enhanced air quality with high-grade HEPA filtration and strong suction
Improved suction with double-sealed design for V6/V7/V8 compatibility
High-performance replacement for V6 Absolute with dual filters included
Preventive Maintenance for Longer Battery Life
Regular Charging Practices
Adopt these habits to maximize battery lifespan:
- Keep the vacuum plugged in when not in use to maintain charge
- Avoid complete battery depletion whenever possible
- If storing long-term, charge fully before storage
- Consider using a timer switch for periodic charging during extended absences
Cleaning and Maintenance Schedule
Establish a regular maintenance routine:
- Clean filters every month (or more frequently with heavy use)
- Inspect for clogs before each use
- Periodically check battery contacts for cleanliness
- Store in a cool, dry place away from direct sunlight and heat sources
Component Care
- Use genuine Dyson filters when possible for optimal performance
- Clean the brush bar regularly to prevent motor strain
- Empty the dust bin after each use to maintain proper airflow
Frequently Asked Questions (FAQ)
How long should a Dyson V6 Animal battery last?
A new Dyson V6 Animal battery typically provides about 20 minutes of runtime on standard power and 6 minutes on maximum power. As the battery ages, this runtime gradually decreases. With proper care, the battery should last approximately 2-3 years before significant performance decline.
Can I leave my Dyson V6 on the charger all the time?
Yes, Dyson recommends keeping the V6 connected to the charger when not in use. The charging system is designed to prevent overcharging, and keeping it plugged in helps maintain optimal battery health and prevents deep discharge.
Why does my Dyson V6 only run for a few seconds?
If your Dyson V6 runs for only a few seconds before shutting off, this typically indicates either a severely degraded battery that needs replacement or a blockage in the airflow system. Check for clogs in the filters, brush head, and tubes before assuming the battery needs replacement.
Are third-party batteries safe for my Dyson V6?
Third-party batteries vary in quality and safety. While many users report good experiences with aftermarket batteries, they generally don’t match the performance or longevity of genuine Dyson batteries. If choosing a third-party option, select one from a reputable manufacturer with positive reviews and safety certifications.
How can I tell if my Dyson V6 battery needs replacement?
Your battery likely needs replacement if: runtime has decreased significantly (less than half the original duration), the vacuum won’t hold a charge at all, the battery becomes unusually hot during charging or use, or you notice physical swelling or damage to the battery pack.
Conclusion
Battery issues with your Dyson V6 Animal can be frustrating, but with proper diagnosis and the right approach, most problems can be resolved. Start with simple solutions like the 20-second reset hack and thorough cleaning before moving to more involved options like battery replacement.
Remember that preventive maintenance is key to extending your Dyson’s battery life. Regular cleaning, proper storage, and good charging habits will help ensure your vacuum provides reliable service for years to come. Whether you choose to repair your existing battery or invest in a replacement, the steps outlined in this guide will help you get your Dyson V6 Animal back to its powerful, cord-free cleaning capability.


