

When your Dyson V6 Absolute cordless vacuum starts to lose its charging capacity, it can be frustrating to deal with shortened cleaning sessions and unexpected power losses. This powerful handheld vacuum relies on its battery system to deliver the exceptional cleaning performance Dyson is known for. However, like all rechargeable devices, the battery can develop issues over time.
Affiliate disclosure: As an Amazon associate, We'll earn a commission for every successful order through our affiliate links in the article. However, you won’t be charged anything for this.
This comprehensive guide will help you diagnose and resolve battery problems with your Dyson V6 Absolute. We’ll explore common symptoms, identify potential causes, and provide step-by-step solutions to get your vacuum back to its optimal performance. Whether your vacuum is running for only a few minutes before dying or not charging at all, the following information will help you troubleshoot and fix these issues without necessarily requiring professional assistance.
Common Dyson V6 Battery Problems
The Dyson V6 Absolute uses a sophisticated lithium-ion battery system consisting of six 18650 cells. Over time, these cells naturally degrade, which can manifest in several ways:
- Dramatically reduced runtime (only a few minutes of operation)
- Complete failure to charge (no lights or indicators)
- Quick power loss during use despite being fully charged
- Flashing blue light indicating potential battery failure
- Significantly reduced performance in “max” mode (only 5-6 seconds before shutting off)
These symptoms often appear gradually as the battery ages, though sometimes they can develop suddenly, especially if the vacuum has been left unused for extended periods. The battery degradation process increases internal resistance within the cells, leading to lower capacity and faster self-discharge rates.
How Battery Degradation Affects Performance
When your Dyson V6 battery degrades, several technical issues occur:
- Internal resistance increases, reducing overall capacity
- Self-discharge rates accelerate when not in use
- Extended periods unplugged can drain cells below the minimum voltage threshold (approximately 2.5 volts)
- The Battery Management System (BMS) may cut power to prevent damage if one cell drains faster than others
The BMS is designed to maintain cell balance, preventing overuse of degraded cells, which explains why sometimes the vacuum may shut off unexpectedly even when the battery isn’t completely depleted.
Effective Solutions for Battery Issues
Battery Replacement: The Most Reliable Fix
For most users experiencing significant battery degradation, replacement is often the most practical solution, especially considering the age of many Dyson V6 models currently in use.
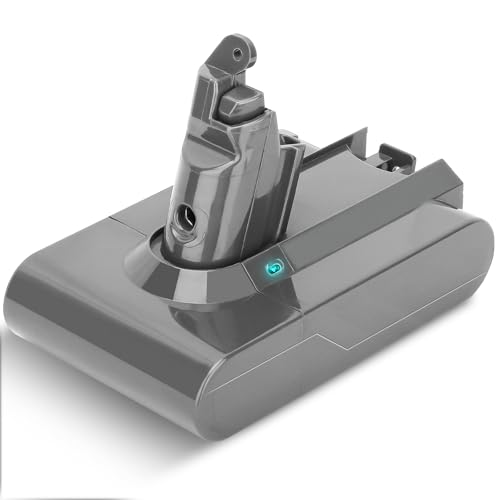
If you’re looking to replace the battery in your Dyson V6, you have a couple of options. You can either go with an official Dyson replacement battery for guaranteed compatibility, or you can opt for a third-party replacement battery for a more budget-friendly solution.

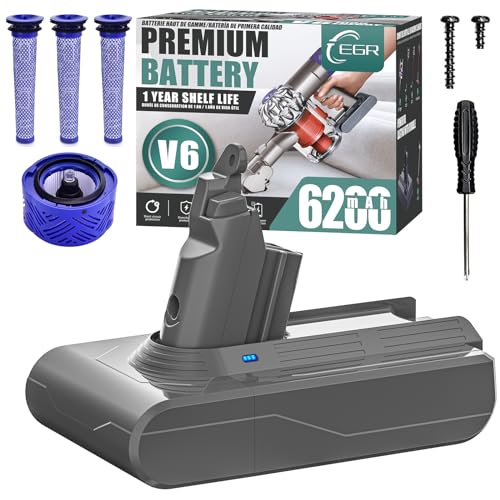
Highest capacity with real-time charge monitoring and extended runtime
Official-like quality with comprehensive safety features and extended warranty
Premium battery with long lifespan and included washable HEPA filters
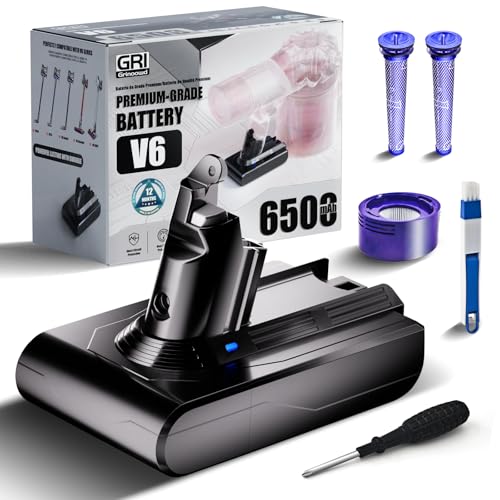
Cost-effective replacement with essential safety protections and quick charging
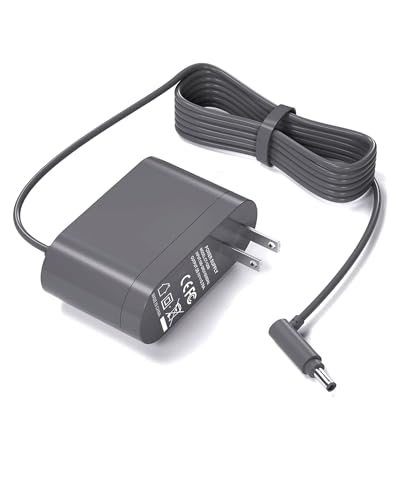
Option 1: Official Dyson Replacement Battery
Purchasing directly from Dyson ensures compatibility and quality: – Typically costs around $100-150 USD (one user reported success with a CAD 100 replacement) – Comes with manufacturer warranty – Guaranteed compatibility with your model
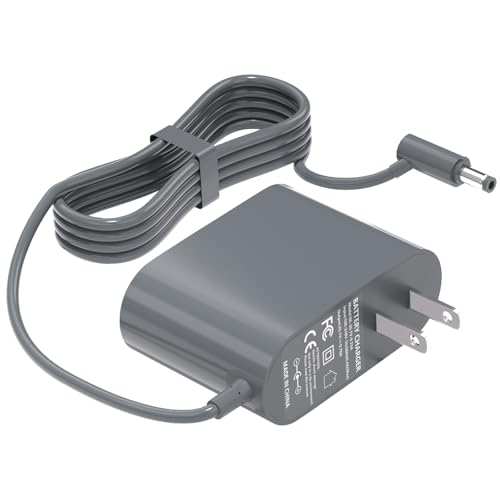
Option 2: Third-Party Replacement Batteries
These alternatives can offer good value: – Available on platforms like Amazon and eBay – Generally less expensive than official Dyson batteries – Quality varies significantly—avoid the cheapest options as they may fail within weeks – Some users report excellent results with mid-priced third-party options, even in larger homes
Battery Installation Process
- Locate the battery tray on your Dyson V6
- Remove the internal screw using a small Phillips screwdriver
- Remove the second screw on the handle
- Extract the old battery carefully
- Insert the new battery, ensuring proper alignment
- Reassemble by securing the screws and reinserting the tray
When purchasing replacements, always verify compatibility with the Dyson V6 Absolute model specifically. Follow manufacturer guidelines for battery care to maximize the lifespan of your new battery.
Battery Reset Procedure
Before investing in a replacement, try this reset procedure which sometimes resolves charging issues:
- Power off and unplug your vacuum
- Remove the battery (if your model allows)
- Discharge any residual power by holding the power button for 10-20 seconds
- Reinstall the battery
- Connect to the charger and allow it to charge fully
- Test the vacuum to confirm functionality
For non-removable battery models, try this alternative reset method: 1. Unplug the charger from the wall 2. Plug it in again 3. Attach your Dyson 4. Press and hold the trigger (power button) for approximately 20 seconds
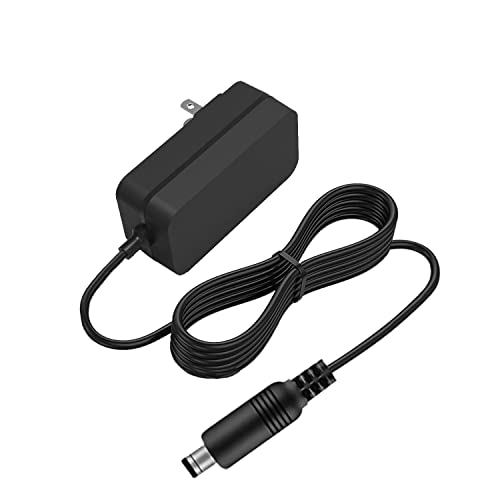
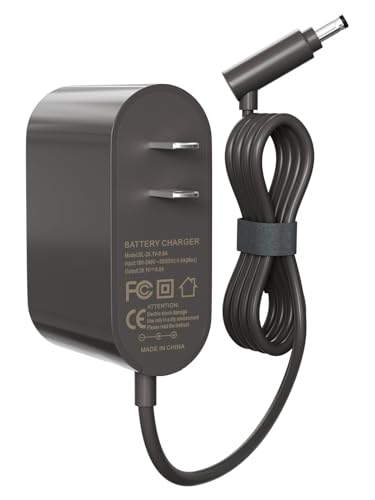
Addressing Charger Malfunctions
If your Dyson V6 isn’t charging properly, the issue might stem from a faulty charger rather than the battery itself. Replacing the charger can resolve charging problems and restore your vacuum to full functionality.
Budget-friendly replacement with 1-year warranty and safety certifications
Premium option with 15-month exchange and lifetime support
Mid-range with 45-day return and 18-month warranty
Official part number compatibility with 5.6FT cable
- Inspect the charger for visible damage to the cable or adapter
- Test the charger in multiple power outlets to rule out electrical issues
- Check for debris or damage to the charging contacts on both the vacuum and charger
- If available, test with another compatible Dyson charger
If you suspect charger issues, contact Dyson support: – US: 866-693-9766 – UK: 0800-298-0298 – CA: 1-877-397-6622 – AU: 1800 397 666 – NZ: 0800 397 667
Improving Battery Performance Through Maintenance
Thorough Cleaning for Better Battery Life
A dirty vacuum forces the motor to work harder, draining the battery faster. Regular cleaning can significantly improve battery performance:
Cleaning the Battery Contacts
- Locate the metal contacts where the battery connects to the vacuum
- Gently clean with a dry cloth or cotton swab
- For stubborn oxidation, use a pencil eraser to gently remove buildup
- Ensure contacts are completely dry before reconnecting
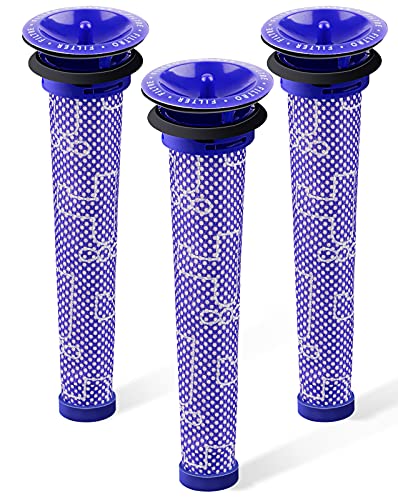
Filter Maintenance
A clogged filter is one of the most common causes of poor performance and battery drain:
- Locate and remove the filter assembly
- Lift the catches around the filter’s edges to disassemble
- Empty the inner conical chamber where debris accumulates
- Rinse the filter under cold water until it appears transparent
- Allow to dry completely (at least 24 hours) before reinstalling
- Replace filters annually for optimal performance
To maintain optimal performance and extend the life of your Dyson V6, it’s essential to replace the filter regularly. A new filter ensures efficient airflow and prevents debris from damaging the motor, ultimately improving battery life and overall cleaning effectiveness.
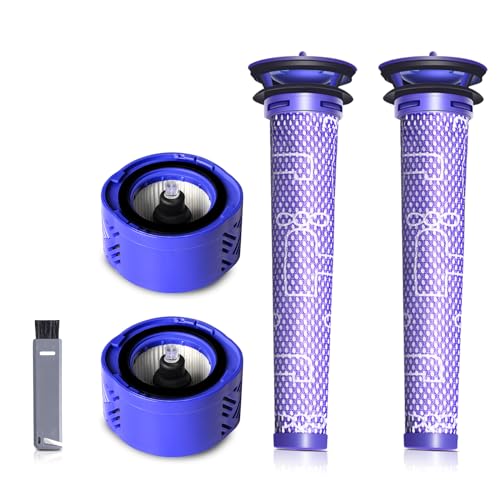
4-pack set with HEPA and pre-filters for enhanced suction and air quality

Cost-effective 6-pack set with dual-layer filtration for extended use
Affordable 3-pack pre-filters with reinforced durability for standard V6 models
Checking for Blockages
Blockages force the motor to work harder, draining battery life:
- Remove all attachments and inspect each one
- Check the main intake and connecting tubes
- Examine the brush bar for hair and string wraps
- Use a flashlight to inspect internal pathways
- Use a long, thin object (like a chopstick) to carefully dislodge any clogs
Resolving Pulsating or Intermittent Operation
If your Dyson V6 starts and stops unexpectedly, this often indicates a different type of problem that affects battery performance.
Systematic Troubleshooting Approach
- Verify Battery Charge: Ensure the battery is fully charged before troubleshooting
-
Empty and Clean the Dust Bin: – Remove and empty the dust bin completely – Wipe down the interior surfaces – Check the cyclone assembly for debris buildup
-
Inspect for Hidden Clogs: – Remove all attachments – Use a flashlight to examine internal components – Pay special attention to areas with a black rim and mesh interior – Check both sections of the vacuum’s internal airflow pathway
-
Clear Obstructions: – Look for hair, small objects, or debris blocking airflow – Use appropriate tools to dislodge clogs without damaging components – Ensure all pathways are completely clear before reassembly
Resolving these issues typically improves battery performance as the motor no longer needs to work against restrictions.
Frequently Asked Questions (FAQ)
How long should a Dyson V6 battery last before needing replacement?
The Dyson V6 battery typically lasts 2-3 years with regular use before showing significant capacity reduction. With proper care and maintenance, some users report up to 4 years of satisfactory performance. When runtime drops below 50% of the original specification, it’s usually time to consider replacement.
Can I leave my Dyson V6 on the charger all the time?
While modern lithium-ion batteries have overcharge protection, it’s not recommended to leave your Dyson V6 constantly charging. Once fully charged, disconnect it from the charger. However, storing the vacuum with some charge is important—never store it completely depleted, as this can damage the battery cells beyond recovery.
Why does my Dyson V6 have full power in normal mode but dies quickly in max mode?
This is a classic symptom of battery degradation. The “max” mode requires significantly more power than normal operation. As batteries age, they lose the ability to deliver high current loads, even though they might still function adequately under lower demands. This explains why your vacuum might work fine in normal mode but quickly shut off when switched to max power.
Is it worth replacing the battery, or should I buy a new vacuum?
If your Dyson V6 is otherwise functioning well and you’re satisfied with its cleaning performance, replacing the battery is typically more economical than purchasing a new vacuum. A replacement battery costs around $100-150, whereas a new comparable Dyson model starts at $300-400. Consider the age and condition of other components before deciding.
How can I maximize my new battery’s lifespan?
To extend your replacement battery’s life: – Avoid completely depleting the battery before recharging – Store at room temperature, avoiding extreme heat or cold – Clean filters regularly to reduce strain on the motor – Use “max” mode sparingly, only when necessary – Perform regular maintenance to keep airflow optimal
Conclusion
Battery issues with the Dyson V6 Absolute are common as these devices age, but many problems can be resolved through proper troubleshooting and maintenance. For most users experiencing significant battery degradation, replacement is the most effective solution, though cleaning and maintenance can help maximize performance and extend battery life.
When purchasing replacements, consider both official Dyson options and quality third-party alternatives, weighing cost against reliability. The installation process is straightforward and can be completed with basic tools in just a few minutes.
By following the comprehensive troubleshooting steps outlined in this guide, you can restore your Dyson V6 Absolute to reliable operation and continue enjoying its powerful cleaning capabilities for years to come. Regular maintenance will not only improve battery performance but also extend the overall lifespan of your investment in this premium cleaning tool.


