
A non-spinning Dyson turbine tool can severely limit your vacuum’s ability to tackle pet hair, carpets, and debris. This comprehensive guide addresses the root causes and provides actionable fixes, from cleaning electrical contacts to resolving mechanical jams. Whether you own a Dyson V6, V7, or V8 model, this article will walk you through troubleshooting steps, model-specific repairs, and preventive strategies to restore peak performance.
Affiliate disclosure: As an Amazon associate, We'll earn a commission for every successful order through our affiliate links in the article. However, you won’t be charged anything for this.
Troubleshooting Electrical and Mechanical Problems
Cleaning Electrical Contacts
Dirty or corroded contacts are a frequent culprit. Here’s how to fix it:
1. Locate contacts: Check the turbine tool, canister, and hose (V6 models) or motorized head pins (Animal models).
2. Clean thoroughly: Use a cotton swab with rubbing alcohol or compressed air to remove debris. For Dyson Animal models, separate the canister halves by pressing white clips to access both sides.
3. Reconnect and test: Reattach the tool and verify the turbine spins.
Clearing Gear Mechanism Obstructions
Hair or debris tangled in the gear can halt rotation. Steps to resolve:
1. Remove the brush bar and inspect the motor drive gear.
2. Use scissors or a small tool to clear obstructions.
3. Manually spin the gear (while disconnected) to ensure smooth movement.
4. Reinstall components and test the vacuum.
Resolving Belt-Related Issues
A worn or misaligned belt can prevent the roller from spinning. Fix it by:
1. Removing the roller assembly cover to access the belt.
2. Checking for wear, damage, or detachment.
3. Replacing the belt if necessary, ensuring proper alignment.
Addressing Motor and Lubrication Problems

Diagnosing Motor Malfunctions
If the belt and gears are functional, the motor might be at fault. Check these:
– Secure all motor connections.
– Listen for unusual sounds (e.g., humming).
– Refer to the user manual for model-specific troubleshooting.
– Ensure motor wires are connected correctly to avoid reverse spinning.
Lubricating Internal Mechanisms
Lack of lubrication can cause jams. Follow these steps:
1. Disassemble: Use a star-head screwdriver for Dyson Spinner Heads or a Torx T10 for V6 Cordless models.
2. Clean: Remove dust from bearings, drive shafts, and motor assemblies.
3. Lubricate: Apply silicone spray (avoid WD-40) to bearings and moving parts. For V6 models, clean the drive shaft bearing area and reapply lubricant.
Using a silicone lubricant spray can help ensure smooth operation of the internal mechanisms after cleaning.

Lubricates and protects multiple surfaces with no residue
Industrial-strength with enhanced silicone concentration
Teflon-enhanced formula for non-metal surfaces

Specialized lubricant for garage door components
Model-Specific Repairs and Upgrades
Dyson V6 and V6 Cordless
- Electrical contacts: Focus on canister and hose connections.
- Brush bar maintenance: Use a Torx T10 screwdriver to remove eight screws, clean the motor assembly, and wash filters thoroughly.
Dyson V7 Direct Drive
- Jammed bearings: Clean bearings and replace the motor if water damage is suspected.
- Snapped cables: Inspect and replace broken cables, adjusting tension during installation.
- Upgrade option: Consider the V8 Fluffy or Direct Drive head for improved durability.
If the motor of your Dyson V7 Direct Drive is damaged, especially due to water, replacing it may be necessary.

Official replacement motorhead for Dyson V7 series
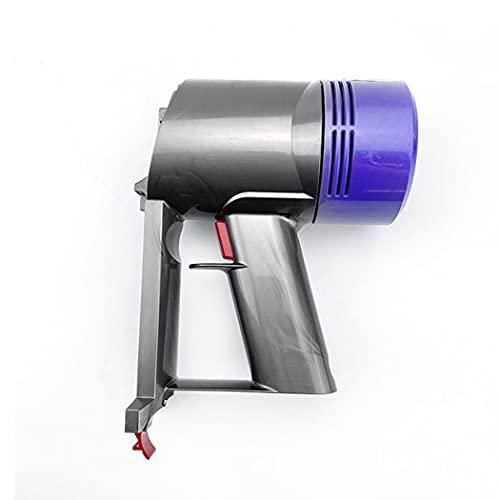
Premium motor housing with integrated HEPA filtration
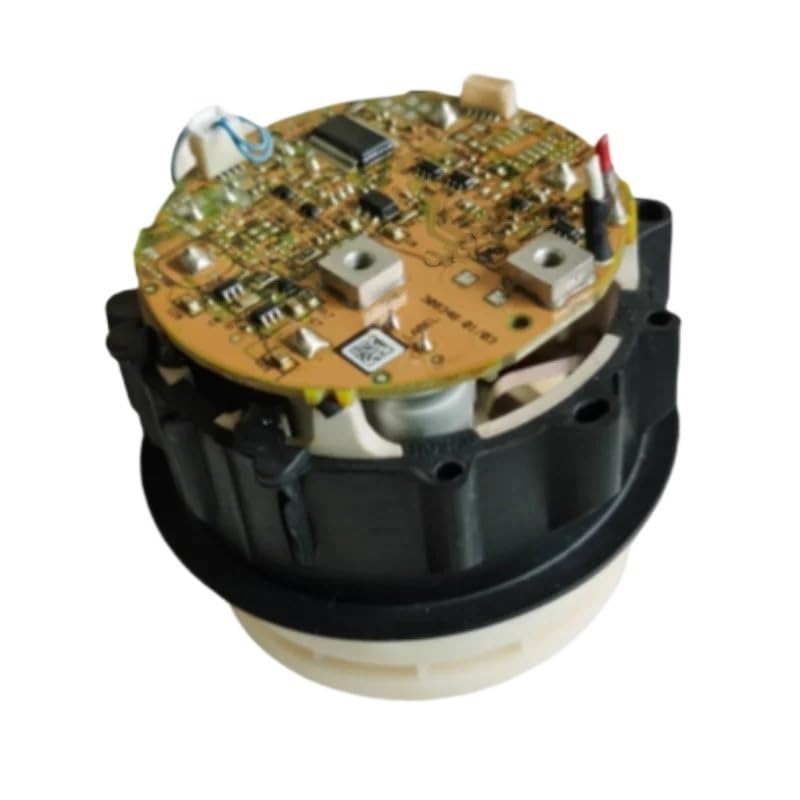
Advanced motor control board with overload protection
Energy-efficient circuit board with smart features
Dyson V8 and Animal Models
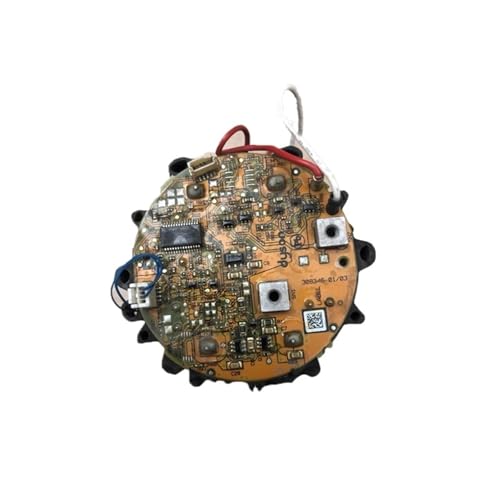
- V8 compatibility: The V8 Fluffy head works with V7 models featuring a green motherboard.
- Animal model care: Disassemble the motor unit with a T8 Torx screwdriver, clean hair around the motor shaft, and maintain the cyclone filter system.
Common User Challenges and Solutions
Reported Issues
- Brush won’t spin after cleaning: Some users found replacement heads necessary (e.g., jetlag222).
- Stuck roller brush: Ensure proper reinstallation alignment (Yaelsilvermanpeet).
- Slow spinning: Check for pet hair near the intake (niclonnic).
If the brush head is damaged beyond repair, replacing it might be the most effective solution.

Premium genuine replacement for V10 models with direct drive

Anti-tangle design with flexible rotation for multiple models
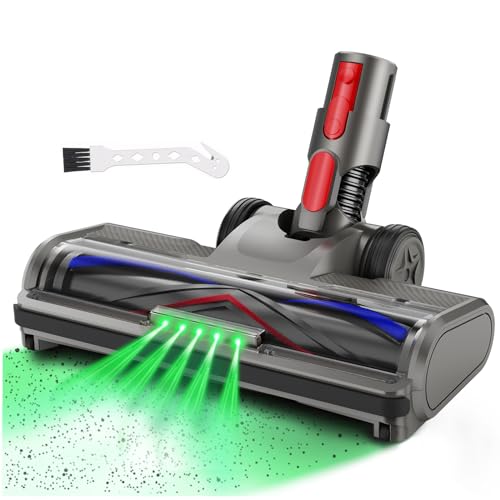
Budget-friendly with LED lights for dark corners

Quick-release design for easy cleaning and rotation
Preventive Measures
- Clean the roller and dust bin after each use.
- Replace filters regularly and avoid large debris.
- Inspect electrical contacts and lubricate moving parts every 1–2 weeks.
Frequently Asked Questions (FAQ)
Why won’t my turbine tool spin after cleaning?
Ensure all contacts are clean and reconnected properly. If the issue persists, the motor or belt may need replacement.
Can I use WD-40 for lubrication?
No. Use silicone spray to avoid attracting dust and damaging components.
How do I know if the belt is broken?
Inspect the roller assembly for wear or detachment. A broken belt will require replacement.
Are V8 heads compatible with V7 models?
Yes, but only if your V7 has a green motherboard and back filter.
Conclusion
A malfunctioning Dyson turbine tool can be resolved with targeted troubleshooting. From cleaning electrical contacts to upgrading to a V8 head, these steps ensure long-term performance. Regular maintenance, such as filter cleaning and lubrication, prevents future issues. If DIY repairs fail, contact Dyson support or seek professional assistance to avoid warranty voidance.
Pro tip: Always test the vacuum after repairs to confirm brush bar spin and suction effectiveness. For persistent problems, replacement parts or a service appointment may be necessary.
Need further help? Reach out to Dyson support at 866-693-9766 (US) or visit their website for model-specific guidance.


