
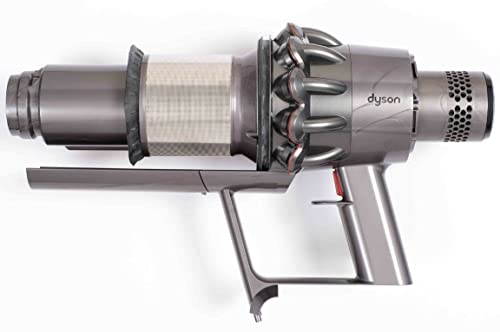
The Dyson turbine head is a critical component of your vacuum cleaner, responsible for effectively picking up dirt and debris from various surfaces. When it stops working properly, your cleaning efficiency dramatically decreases, leaving floors less than pristine despite your best efforts.
Affiliate disclosure: As an Amazon associate, We'll earn a commission for every successful order through our affiliate links in the article. However, you won’t be charged anything for this.
If your Dyson turbine head isn’t picking up dirt as it should, you’re not alone. This common issue can stem from several causes, from simple blockages to more complex mechanical problems. In this comprehensive guide, we’ll walk through the most common reasons your Dyson turbine head might be failing and provide detailed, step-by-step solutions to get your vacuum working like new again. Whether you’re dealing with a brush roll that won’t spin, reduced suction, or strange noises from the turbine head, we’ve got you covered with practical fixes that can save you a service call.
Common Causes of Dyson Turbine Head Failures
When your Dyson vacuum’s turbine head stops picking up debris effectively, several potential culprits could be responsible. Identifying the specific issue is crucial for implementing the right fix.
Blocked Brush Roll
One of the most common reasons for a Dyson turbine head to stop picking up is a blocked brush roll. Hair, string, and other debris can become wrapped around the brush, preventing it from rotating properly. Over time, significant hair buildup can accumulate behind the black spindle, creating resistance that impedes the brush roll’s movement.
Belt and Motor Issues
The belt that drives the brush roll can wear out or become damaged with regular use, causing it to slip or break entirely. Similarly, the motor responsible for powering the brush roll may fail or struggle to operate if the battery is weak or if there are issues with the power delivery system.
Mechanical Problems
Bearing issues at the edge of the brush head can cause the brush to spin slowly or not at all. Internal blockages, such as pieces of plastic or other foreign objects, might get lodged inside the roller mechanism. Structural damage, like cracks in components, can also prevent proper operation.
Connection Problems
Loose or disconnected wires can interrupt power flow to the motor, resulting in a non-spinning roller. This issue is particularly common in models that have been in use for several years.
Comprehensive Repair Guide for Dyson Turbine Head
Tools You’ll Need
Before beginning any repair work on your Dyson turbine head, gather these essential tools:
- Small flat-head or Phillips screwdriver
- Star-head (Torx) screwdriver
- Scissors or razor blade
- Lint roller or clean cloth
- Cleaning brush or old toothbrush
- Compressed air (optional)
- Silicone spray lubricant (avoid petroleum-based lubricants like WD-40)
- Spoon or similar tool for removing side notches
- Multimeter (for electrical testing)
Safety First: Always unplug your Dyson vacuum before attempting any repairs, and empty the dust bin to avoid complications.
Accessing and Cleaning the Brush Roll
- Locate the front plate of the vacuum head
- Depending on your model, either unscrew or pop off this plate
- Examine the brush roll for visible blockages or damage
- Use scissors to carefully cut away tangled hair or string
- For severe blockages, remove the brush roll completely
- Clean the area around the brush roll with a lint roller or cloth
- Check for hair buildup behind the black spindle – this often-overlooked area can harbor significant debris
Deep Cleaning the Brush Roller
For a more thorough cleaning:
- Find the side notch on the roller housing
- Twist the cap to the left to remove it
- Slide the roller out completely
- Use scissors to cut hair between red bristles (be careful not to damage the bristles)
- Peel out accumulated hair and clean the roller thoroughly
- Reinsert the roller and secure the cap by turning it to the right
Checking and Replacing the Belt
If the brush roll moves freely but doesn’t spin when the vacuum is running:
- Locate the belt connecting the brush roll to the motor
- Examine it for signs of wear, stretching, or damage
- Remove the old belt from both the motor shaft and brush roll
- Install the new belt, ensuring proper tension
- Reattach the front plate and test the vacuum
If the belt is damaged or worn, it’s important to replace it with a new one to ensure proper brush roll function.
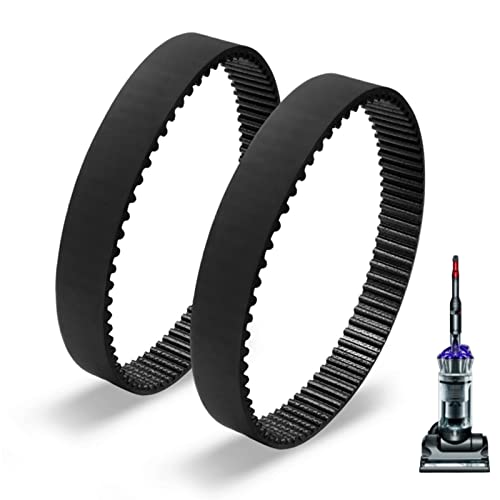
Affordable elastic rubber belts for Dyson DC17 models with easy installation
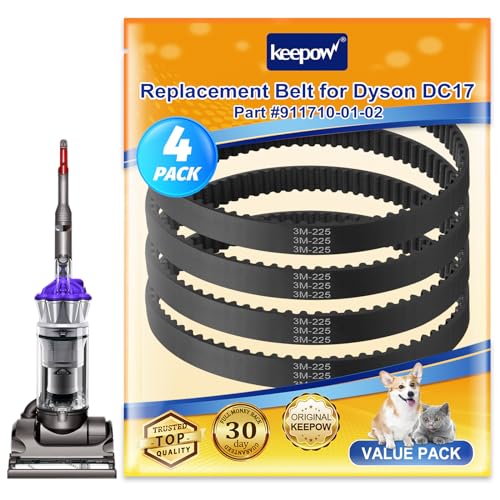
Premium thick belt set with extended durability for DC17 models
Universal elastic belt for DC04/DC07/DC14/DC33 series vacuums

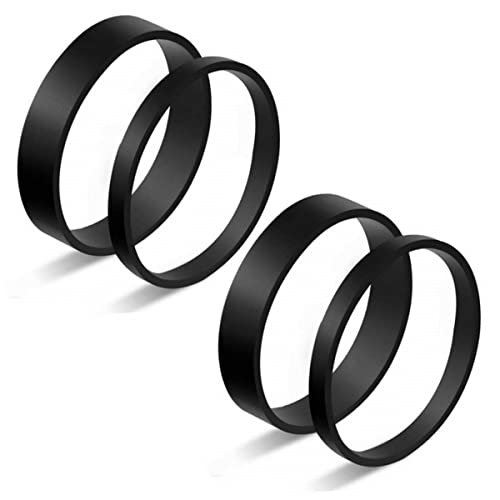
Durable rubber belts for DC04/DC07/DC14/DC33 with extended coverage
Addressing Motor Issues
If the motor appears to be the problem:
- Identify the motor that drives the brush roll
- Check for signs of wear or damage
- Ensure all connections to the power source are secure
- Listen for any sounds indicating the motor is attempting to spin
- If the motor is faulty, replacement may be necessary
If the motor is faulty and needs replacing then you can find a replacement motor that matches your Dyson model.
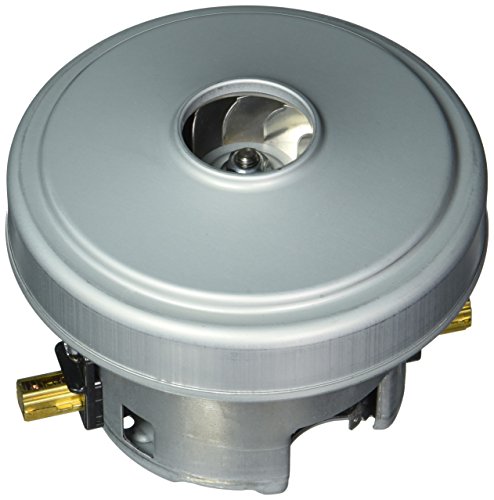
Official Dyson motor replacement for DC40 and UP16 models
Official Dyson service assembly for V11 models with airflow warnings
High-quality replacement for V11 motor with easy installation
Original motor motherboard for V10/SV12 vacuum cleaners
Fixing Hidden Hair Accumulation
Sometimes hair can build up in hard-to-see internal mechanisms:
- Remove the end cap of the head unit
- Use a Torx screwdriver to remove screws securing outer plastic guards
- Access the internal mechanism
- Locate and remove the small screw at the back
- Unscrew the mechanism and remove any hair ball found inside
- Reassemble all components carefully
Spinner Head Maintenance and Lubrication
If your spinner head is slowing down over time:
- Remove all star-head screws from the top of the spinner head
- Separate the top housing from the base
- Locate and remove the small, hard-to-reach screw on the side
- Apply silicone spray lubricant to the internal mechanism
- Reassemble components in reverse order
- Ensure the side screw is securely replaced
Important: Use only silicone spray for lubrication. Petroleum-based products like WD-40 will attract dust and debris, making the problem worse over time.
Troubleshooting Specific Dyson Turbine Head Problems
Brush Spins When Upside Down But Not When Upright
This specific issue often indicates a problem with the motor/pulley assembly:
- Disassemble the brush head completely
- Check for any debris caught in the pulley system
- Ensure the motor is receiving proper power
- Examine the pulley for signs of wear or damage
- Replace the motor/pulley assembly if necessary
Brush Makes Grinding Noise
A grinding noise typically indicates bearing issues:
- Remove the brush roll completely
- Examine the bearings on each end of the brush roll
- Clean any debris from the bearing areas
- Apply a small amount of silicone lubricant
- Replace bearings if they show signs of damage
Reduced Suction With Spinning Brush
If the brush is spinning but suction remains poor:
- Check for blockages in the airflow path
- Ensure the dust bin is properly sealed
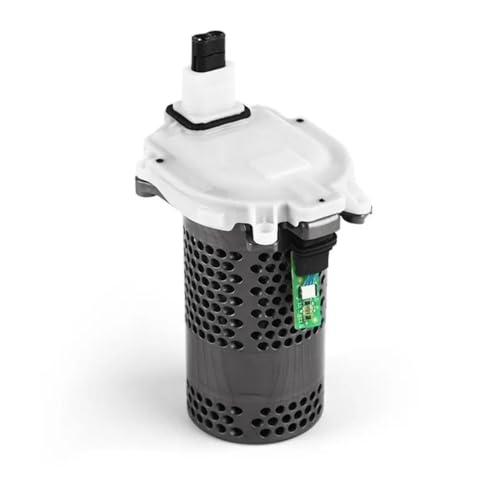
- Examine the filters and clean or replace as needed
- Check for cracks or damage in the turbine head housing
- Verify that all seals and gaskets are intact
If the turbine head housing is cracked or damaged, it may need to be replaced to restore proper suction.
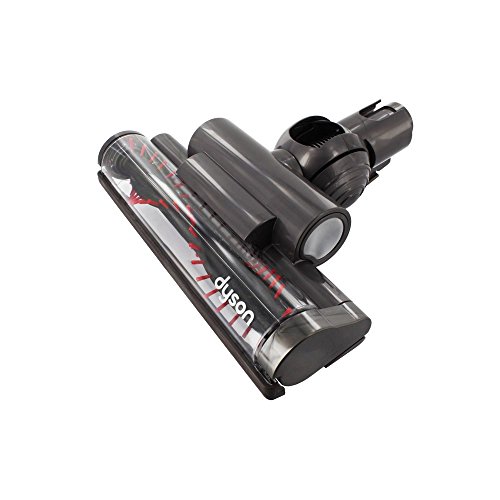
Official replacement for DC39 models with original Dyson part

Premium genuine part for Cinetic Big Ball vacuums

Genuine V10 cordless vacuum turbine head
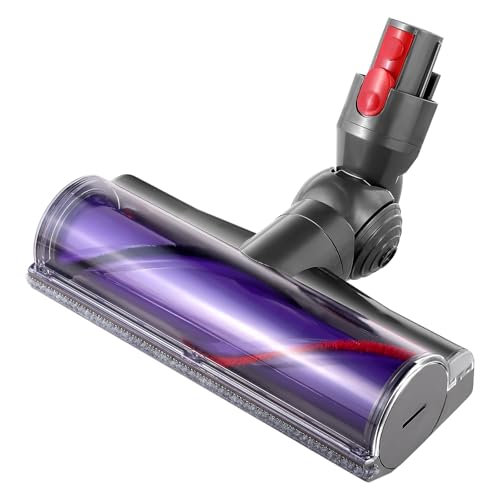
Budget-friendly third-party option for V7-V15 models
Structural Damage Repair
If you discover cracks in components:
- Remove the damaged component
- Clean all surfaces thoroughly
- Apply appropriate adhesive for plastic repair
- Hold components together firmly until adhesive sets
- Note that functionality may be compromised despite repair
Advanced Diagnostic Techniques
Electrical Testing
For electrical issues:
- Use a multimeter to test continuity in the motor circuit
- Set the multimeter to the continuity or resistance setting
- Test the connections to the motor
- If no continuity is detected, trace the wiring to locate breaks
- Repair or replace damaged wiring as needed
Carbon Brush Inspection
Carbon brushes in the motor can wear out over time:
- Open the main unit to access the motor
- Locate the carbon brushes (small rectangular components)
- Check for excessive wear
- Replace if they appear worn down
- Ensure proper seating when installing new brushes
Preventative Maintenance Tips
To avoid future issues with your Dyson turbine head:
- Inspect the brush roll weekly for beginning accumulation of hair or debris
- Perform a deep clean monthly
- Use appropriate attachments for different surfaces
- Avoid vacuuming large amounts of hair or string at once
- Regularly check the belt and motor for signs of wear
- Keep the vacuum’s filters clean to maintain proper airflow
Frequently Asked Questions (FAQ)
Why does my Dyson turbine head stop spinning after a few minutes?
This is typically caused by overheating due to blockages or excessive friction. Clear any debris from the brush roll and bearings, and ensure the belt isn’t worn or damaged. If the problem persists, the motor may be failing and require replacement.
Can I use WD-40 to lubricate my Dyson turbine head?
No. Petroleum-based lubricants like WD-40 attract dust and debris, making the problem worse over time. Use only silicone-based lubricants, which repel dust and provide long-lasting performance.
Why does my Dyson brush roll spin freely by hand but not when the vacuum is on?
This usually indicates an electrical or motor issue rather than a mechanical blockage. Check the connections to the motor, test the motor with a multimeter, and examine the belt for signs of wear or damage. The motor itself may need replacement if it’s receiving power but not functioning.
How often should I clean my Dyson turbine head?
For optimal performance, inspect the brush roll weekly and perform a deep cleaning monthly. However, if you vacuum areas with significant hair (like pet areas), you may need to clean it more frequently.
Is it worth repairing a cracked Dyson turbine head?
Minor cracks can sometimes be repaired with adhesive, but this may not fully restore functionality. If the crack affects critical components, replacement is often more cost-effective than repair. Compare the cost of a new turbine head against the potential limited performance of a repaired one.
Conclusion
A Dyson turbine head that’s not picking up properly doesn’t necessarily mean you need a new vacuum. In most cases, the issue can be resolved with proper cleaning, maintenance, or minor repairs. By following the comprehensive troubleshooting and repair steps outlined in this guide, you can restore your Dyson vacuum’s performance and extend its useful life.
Remember that regular maintenance is key to preventing future issues. Establishing a routine of checking and cleaning your Dyson turbine head will help ensure it continues to operate effectively for years to come. If your repair attempts don’t resolve the issue, consider reaching out to professional repair services, as they may have access to specialized tools and replacement parts that can address more complex problems.


