
The Dyson SV12 is a powerful cordless vacuum, but like any electronic device, it can experience charging issues. When your Dyson SV12 refuses to charge, it can be frustrating, especially when you’re in the middle of cleaning. However, many charging problems can be resolved without professional help.
Affiliate disclosure: As an Amazon associate, We'll earn a commission for every successful order through our affiliate links in the article. However, you won’t be charged anything for this.
This comprehensive guide will walk you through the most common reasons why your Dyson SV12 might not be charging and provide practical solutions to get it working again. From simple fixes like cleaning the contacts to more complex solutions like battery replacement, we’ll cover everything you need to know to troubleshoot your Dyson vacuum’s charging problems.
Common Causes of Dyson SV12 Charging Failures
Before diving into specific solutions, it’s important to identify what might be causing your Dyson SV12 to stop charging. Several components could be at fault when charging issues occur:
Battery Issues
The battery is often the primary culprit when a Dyson SV12 won’t charge. Look for these signs of battery problems:
- Visible swelling or damage to the battery pack
- Corrosion on the battery terminals
- Significantly reduced runtime compared to when the vacuum was new
- Battery that feels unusually hot during charging attempts
Charging Station Problems
The charging dock itself might be the source of the issue:
- Loose connection to the power outlet
- Internal wiring damage
- Dirty or corroded charging contacts
- Faulty internal components
Cable and Power Supply Concerns
Don’t overlook these potential issues:
- Frayed or damaged charging cables
- Bent connectors that prevent proper contact
- Power outlet problems (no electricity reaching the charger)
- Faulty power adapters
Step-by-Step Dyson SV12 Charging Troubleshooting
Checking Power Supply Connections
- Verify that the outlet is working by plugging in another device
- Ensure the charging station is firmly plugged into the wall outlet
- Try a different outlet to rule out circuit breaker issues
- Check for loose connections between the power cord and charging dock
Examining the Charging Contacts
- Locate the metal charging contacts on both the vacuum and the charging station
- Inspect for visible dirt, dust, or debris covering the contacts
- Look for any signs of corrosion (greenish buildup) on the metal surfaces
- Ensure the vacuum is properly seated on the charging dock with contacts aligned
Cleaning the Charging Contacts
Dirty contacts are a surprisingly common cause of charging problems:
- Unplug the charging station from the wall outlet
- Use a soft, dry cloth to gently wipe the metal contacts on both the vacuum and charging dock
- For stubborn dirt, lightly dampen a cotton swab with isopropyl alcohol
- Gently clean the contacts and allow them to dry completely before reconnecting
- Reconnect and test if charging begins
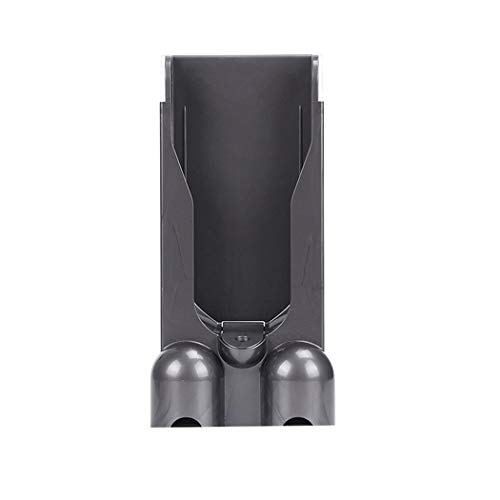
If cleaning doesn’t resolve the charging issue, the charging dock itself might be faulty.

Official genuine charging dock for Dyson V10/SV12 models with secure wall mounting.
Affordable third-party replacement with durable construction and precise compatibility.
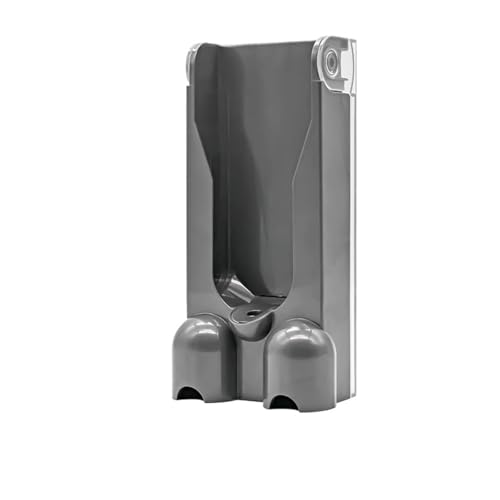
Wall-mounted dock with integrated storage for organized charging and accessories.
Performing a System Reset
Sometimes the Dyson SV12 needs a simple reset to resolve charging issues:
- Remove the vacuum from the charging station
- Press and hold the power button for approximately 30 seconds
- Release the button and wait another 30 seconds
- Place the vacuum back on the charging dock
- Check if the charging indicator lights up
Testing the Battery
To determine if your battery is the problem:
- Remove the battery from the vacuum (if your model allows this)
- Inspect for any physical damage or swelling
- Clean the battery terminals with a dry cloth
- Reinsert the battery, ensuring it clicks securely into place
- Place on the charging dock and observe for charging indicators
Advanced Troubleshooting for Persistent Issues
If basic troubleshooting doesn’t resolve the charging problem, try these more advanced solutions:
User-Recommended Quick Fixes
Many Dyson SV12 owners have shared successful fixes for charging issues:
Power Cycle Method
- Unplug the charger from the wall outlet
- Wait approximately 30 seconds
- Plug the charger back into the outlet
- Attach the vacuum to the charging station
- Press and hold the trigger (power button) for about 20 seconds
- Release and check if charging begins
Contact Reset Technique
- Remove the vacuum from the charging dock
- Clean all contacts thoroughly
- Remove the battery if possible
- Wait 2-3 minutes
- Reinstall the battery
- Place on the charging dock for 30 seconds
- Remove and replace on the dock to see if charging begins
Deep Cleaning Approach
- Perform a thorough cleaning of the entire vacuum
- Pay special attention to the filter (a clogged filter can cause system issues)
- Remove and clean the brush bar
- Clean the cyclone assembly
- Reassemble and test charging
Addressing Firmware Issues
Some Dyson models have firmware that can be updated:
- Check if your Dyson SV12 model connects to the Dyson app
- If available, open the app and check for firmware updates
- Follow the in-app instructions to update the firmware
- If your model doesn’t have an app, check Dyson’s website for manual update instructions
- After updating, test if charging functionality is restored
Battery Replacement Guide

If all troubleshooting steps fail, you may need to replace the battery:
Determining if Battery Replacement is Necessary
Look for these signs that indicate battery replacement is needed:
- Vacuum only runs for a few minutes after charging
- Battery doesn’t hold a charge at all
- Charging indicator never shows full charge
- Battery is visibly swollen or damaged
Obtaining a Replacement Battery
If all troubleshooting failed and battery replacement is needed, it’s time to get a new one.
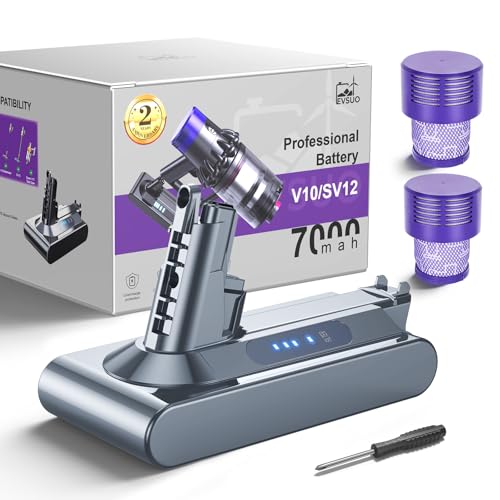
High-capacity battery with 2-year warranty and advanced safety features for extended runtime.

Affordable 7000mAh battery with safety certifications and a free filter for enhanced performance.

Balanced option with 3-year warranty and efficient runtime for budget-conscious users.

Cost-effective battery with reliable performance and safety certifications for everyday use.
Installing the New Battery
- Ensure the vacuum is powered off and disconnected from the charging station
- Locate the battery release button or latch (usually on the handle)
- Press the release mechanism and carefully remove the old battery
- Align the new battery with the connection points
- Slide the battery into position until it clicks securely
- Place the vacuum on the charging station
- Allow the new battery to charge fully before first use (typically 3-4 hours)
Preventative Maintenance Tips
To avoid future charging issues with your Dyson SV12, implement these maintenance practices:
Regular Cleaning Routine
- Clean the charging contacts monthly with a dry cloth
- Wash the filter according to Dyson’s recommendations (usually monthly)
- Clear hair and debris from the brush bar weekly
- Empty the dust bin after each use
Proper Storage Practices
- Store your Dyson SV12 in a cool, dry place
- Avoid exposing the vacuum to extreme temperatures
- Keep away from high-humidity areas like bathrooms
- Use the wall-mounted dock for storage when possible
Battery Care Guidelines
- Allow the battery to fully discharge occasionally (improves battery memory)
- Don’t leave the vacuum on the charger for extended periods after full charge
- If storing long-term, maintain the battery at about 50% charge
- Use the vacuum regularly to keep the battery active
Frequently Asked Questions (FAQ)
Why does my Dyson SV12 only work for a few minutes after charging?
This is typically a sign of battery degradation. Lithium-ion batteries naturally lose capacity over time, but premature failure can occur from overcharging, exposure to extreme temperatures, or internal component failure. Try a system reset first, but if the problem persists, you likely need a battery replacement.
Can I replace the Dyson SV12 battery myself?
Yes, the Dyson SV12 battery is designed to be user-replaceable. The battery can be removed by pressing the release button typically located on the handle, and a new one can be installed by aligning it properly and sliding it into place until it clicks. Always use genuine Dyson replacement batteries for safety and compatibility.
Why won’t my Dyson SV12 charging light turn on?
If the charging indicator light doesn’t illuminate when placed on the dock, first check that the charging station is receiving power. Then inspect and clean the charging contacts on both the vacuum and dock. A system reset may also help resolve electronic glitches that prevent the charging indicator from functioning correctly.
How long should a Dyson SV12 battery last before replacement?
Under normal use, a Dyson SV12 battery should last approximately 2-3 years before showing significant capacity reduction. However, factors like usage patterns, charging habits, and environmental conditions can affect battery lifespan. If your vacuum is less than a year old and experiencing battery issues, contact Dyson as this may be covered under warranty.
Is it normal for the Dyson SV12 to get warm while charging?
Some warmth during charging is normal, but the vacuum should never become hot to the touch. Excessive heat during charging indicates a potential problem with the battery or charging system. If your Dyson becomes unusually warm or hot while charging, disconnect it immediately and contact Dyson support.
Conclusion
Charging issues with your Dyson SV12 can often be resolved through simple troubleshooting steps like cleaning the contacts, performing a system reset, or replacing a degraded battery. By following the comprehensive guide outlined above, you can diagnose and fix most charging problems without professional assistance.
If your troubleshooting efforts don’t resolve the issue, don’t hesitate to contact Dyson’s customer support. They can provide model-specific guidance and determine if your vacuum qualifies for warranty service. With proper maintenance and care, your Dyson SV12 should provide years of reliable cleaning performance.


