
The Dyson SV06 (also known as the V6) is a popular cordless vacuum, but like all battery-powered devices, it can develop charging problems over time. If your Dyson SV06 isn’t holding a charge properly, you’re experiencing a common issue that affects many users. The lithium-ion batteries in these vacuums typically last between two and three years with regular use, after which their performance begins to decline.
Affiliate disclosure: As an Amazon associate, We'll earn a commission for every successful order through our affiliate links in the article. However, you won’t be charged anything for this.
Several factors can contribute to charging problems in your Dyson SV06. These include natural battery degradation, improper charging habits, physical damage to the battery or charging components, and technical issues with the battery management system. Understanding these causes is the first step toward resolving the problem and getting your vacuum back to full functionality.
Primary Causes of Charging Failures
Battery Age and Natural Degradation
The lithium-ion batteries in Dyson SV06 vacuums have a limited lifespan. After approximately 2-3 years of regular use, these batteries naturally begin to lose their ability to hold a full charge. This degradation manifests as progressively shorter run times and diminished suction power.
Signs of an aging battery include:
– Significantly reduced runtime compared to when the vacuum was new
– Needing to recharge more frequently during cleaning sessions
– The vacuum losing power before completing your usual cleaning routine
Improper Charging Practices
Your charging habits can significantly impact battery health and longevity:
- Overcharging: Leaving your Dyson SV06 plugged in for extended periods after it’s fully charged can generate excess heat, which accelerates battery degradation.
- Partial Discharge Cycles: Not allowing the battery to fully discharge before recharging can lead to reduced capacity over time.
- Infrequent Use: Letting the vacuum sit unused for long periods can cause the battery to deteriorate faster than with regular use.
Physical Damage
Physical damage to either the battery or charging components can prevent proper charging:
- Dropping the vacuum can damage internal battery connections
- Damaged charging ports may fail to establish proper electrical contact
- Swollen batteries (a sign of internal damage) can prevent proper charging
- Broken charging cables or adapters can interrupt power flow
If you suspect the charging adapter is damaged, it’s crucial to replace it with a compatible one to ensure safe and efficient charging.
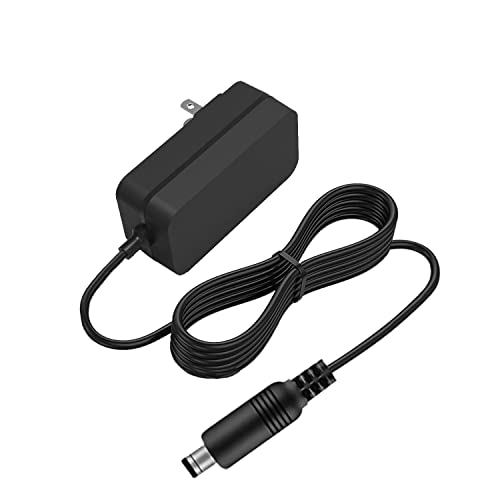
Budget-friendly replacement with 5FT cable and 30-day return
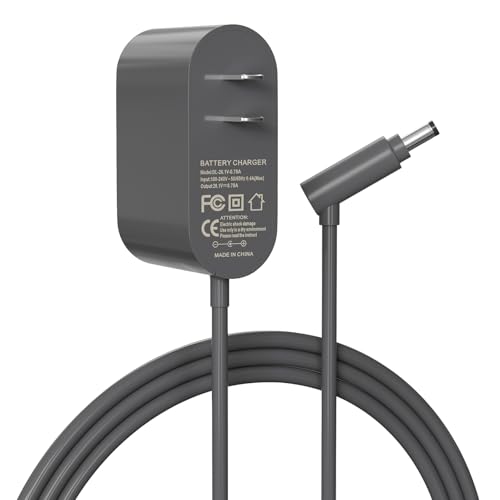
Mid-range option with 5.6FT cable and 1-year warranty
Premium model with 6FT cable and safety protections
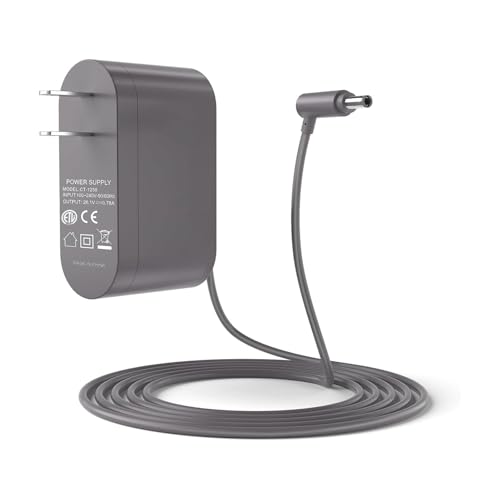
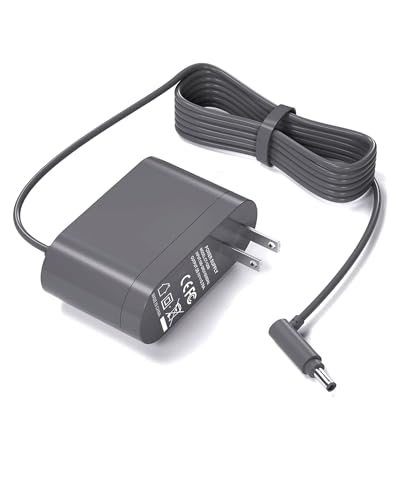
Safety-focused option with UL certification
Technical Battery System Issues
Sometimes the problem lies within the battery management system:
– The system may detect irregularities in cell performance, where one cell drains faster than others
– This imbalance can trigger protective measures that cut power to prevent damage
– Internal circuit issues can prevent proper charging or cause premature power cutoff
Troubleshooting Your Dyson SV06 Charging Problems
Reset the Battery System
One of the simplest yet most effective fixes is resetting the battery system:
- Unplug your vacuum from the power source
- Leave it disconnected for at least 30 minutes (several hours is better)
- Reconnect to the charger and allow it to charge fully
- Test the vacuum to see if runtime has improved
Try the 20-Second Button Press Method
Many users report success with this technique:
- Unplug the vacuum from the wall outlet
- Place the vacuum into the charging dock
- Press and hold the power button for exactly 20 seconds
- The vacuum won’t turn on during this process
- After 20 seconds, check if the charging indicator shows improvement
- Allow the vacuum to charge fully before testing
Inspect and Clean the Charging Components
Dirty or damaged charging components can prevent proper power transfer:
- Examine the charging cable for any visible damage like fraying or kinks
- Inspect the charging port for debris, dust, or damage
- Clean the battery contacts with a soft, dry cloth
- For stubborn residue, use a cotton swab lightly dampened with rubbing alcohol
- Ensure all contacts are completely dry before attempting to charge again
If you find that the charging dock itself is damaged or not functioning correctly, replacing it might be necessary to ensure proper charging.
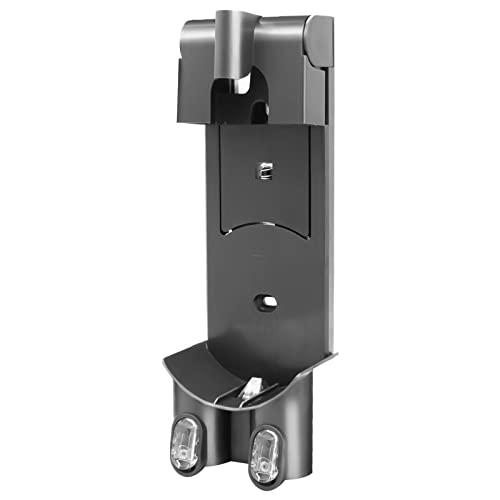
Affordable wall mount with organizational storage and charging functionality

Replacement bracket with dual filters and model-specific compatibility

Space-saving wall mount with dual accessory storage slots
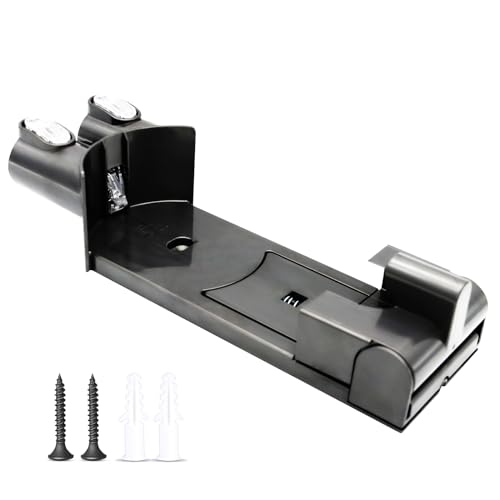
Official part replacement with secure wall-mount design
Check for Physical Obstructions
Sometimes physical issues can interfere with charging:
- Verify the “Max” button isn’t stuck in the engaged position (blue)
- Ensure the power button moves freely and isn’t stuck
- Check that the battery is properly seated in its compartment
- Look for any visible damage to the battery housing
Perform a Complete Battery Reset
For persistent issues, try this more thorough reset procedure:
- Turn off the vacuum completely and unplug from power
- If your model allows, remove the battery (some V6 models require disassembly)
- Press and hold the power button for 10-20 seconds to discharge any residual power
- Reinstall the battery securely
- Connect to the charger and allow for a full charging cycle
- Test the vacuum’s performance after charging
Replacing Your Dyson SV06 Battery
If troubleshooting doesn’t resolve the issue, battery replacement may be necessary. Here’s a comprehensive guide to replacing your Dyson SV06 battery:
Signs It’s Time for Battery Replacement
- Runtime has decreased to less than half of original capacity
- The vacuum only works for a few minutes (or seconds) after charging
- Battery shows visible swelling or deformation
- Charging indicator flashes abnormally
- Vacuum operates intermittently or cuts out during use
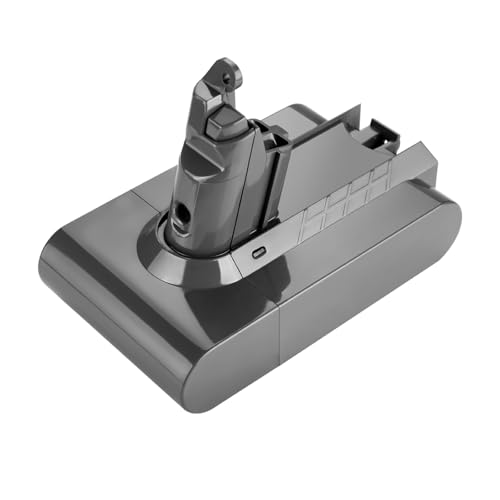
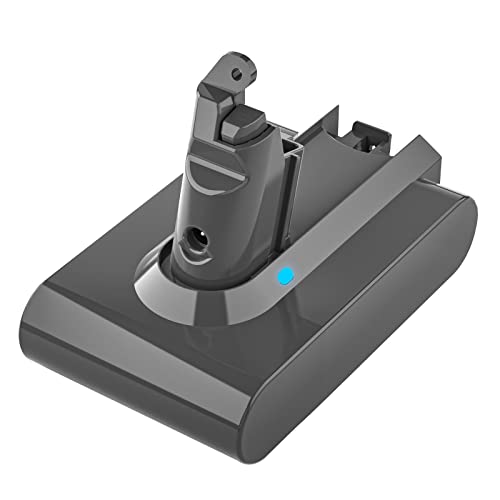
Choosing the Right Replacement Battery
- Genuine Dyson Batteries: Provide optimal performance and compatibility
- Third-Party Options: Less expensive but may offer reduced performance or lifespan
- Compatibility: Ensure the battery is specifically designed for the Dyson SV06/V6 model
To replace your old battery, you’ll need a compatible replacement. Ensure it matches the voltage and specifications of the original Dyson SV06 battery.
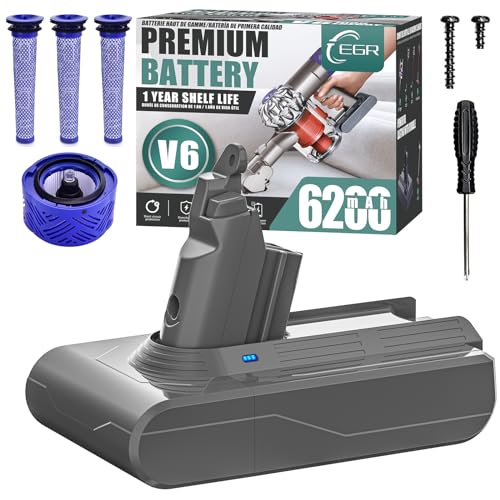
High-capacity battery with non-slip design and dual LED safety features
Extended runtime with 1000+ cycle lifespan and comprehensive safety protections
Budget-friendly option with smart chip protection and wall mount compatibility
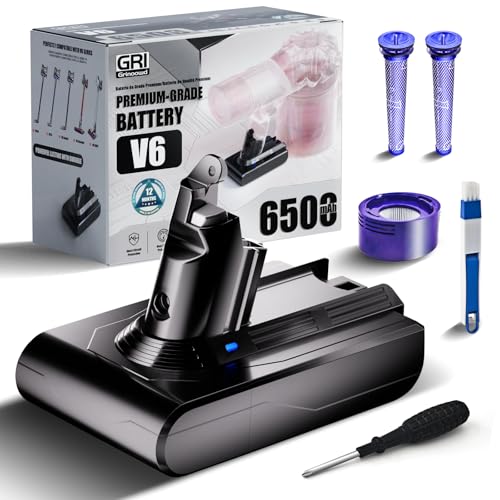
Includes dual washable filters and 24-month replacement guarantee
Battery Replacement Tools
You’ll need:
– Compatible Dyson V6 replacement battery
– Torx T10 screwdriver
– Small flathead screwdriver or plastic pry tool
– Clean workspace with good lighting
– Optional: work gloves and safety glasses
Step-by-Step Battery Replacement Process
Prepare the Vacuum
– Ensure the vacuum is completely powered off
– Remove from charging dock and place on a flat surfaceRemove the Dust Canister
– Press the dust canister release button
– Pull the canister away from the main body
– Remove the filter cage from the backAccess the Battery Compartment
– Locate the screws on the back of the handle
– Remove all screws securing the battery compartment cover
– Carefully pry off the cover to expose the batteryRemove the Old Battery
– Disconnect the battery connector from the circuit board
– Note the orientation and connection points
– Gently remove the old battery from its housingInstall the New Battery
– Place the new battery in the compartment in the same orientation
– Connect the battery connector to the circuit board
– Ensure connections are secure and properly alignedReassemble the Vacuum
– Replace the battery compartment cover
– Secure all screws without overtightening
– Reattach the filter cage and dust canisterInitial Charging
– Place the vacuum on the charger
– Allow it to charge fully (approximately 3.5 hours)
– The charging indicator should show proper charging progressTesting
– After full charging, test the vacuum’s performance
– Verify improved runtime and suction power
– Check that the vacuum maintains power throughout operation
Preventive Maintenance for Battery Longevity
Optimal Charging Practices
- Allow the battery to fully discharge before recharging
- Don’t leave the vacuum on the charger for extended periods after charging is complete
- Charge the battery fully before using the vacuum
Proper Storage Conditions
- Store your Dyson in a cool, dry place away from direct sunlight
- Avoid storing in extremely hot or cold environments
- If storing long-term, maintain the battery at about 50% charge
Regular Usage Habits
- Use your vacuum at least once a week to keep the battery active
- Avoid running the battery completely empty frequently
- Use the “Max” power setting sparingly, as it dramatically reduces battery life
- Clean filters regularly to prevent the motor from working harder than necessary
A clogged or damaged filter can cause the motor to work harder, reducing battery life. Regularly replacing the filter can help maintain optimal performance.

High-value pack with enhanced air quality and suction performance

Premium upgrade with stronger suction and sealing performance
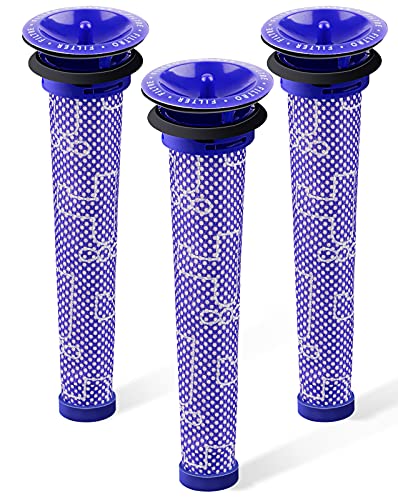
Budget-friendly option with improved vacuum suction

Cost-effective solution for regular maintenance
Temperature Considerations
- Avoid using or charging in extremely hot or cold environments
- Let the vacuum return to room temperature before charging if it’s been in a hot or cold area
- Never store in places that reach high temperatures (like car trunks in summer)
Frequently Asked Questions (FAQ)
Why does my Dyson SV06 only run for a few seconds after charging?
This typically indicates a failing battery that can no longer hold sufficient charge. The battery management system may be cutting power to prevent damage when it detects abnormal cell behavior. Try the reset methods described above, but if the problem persists, battery replacement is likely necessary.
Is it worth replacing the battery or should I buy a new vacuum?
A genuine replacement battery costs significantly less than a new Dyson vacuum. If your SV06 is otherwise functioning well (good suction, no motor issues), battery replacement is cost-effective. However, if your vacuum is over 5 years old or has other problems, upgrading to a newer model with improved technology might be worth considering.
Can I use third-party replacement batteries?
Yes, but with caution. Third-party batteries are less expensive but may not provide the same performance or lifespan as genuine Dyson batteries. They can also potentially damage your vacuum if poorly manufactured. If choosing a third-party option, research thoroughly and select batteries from reputable manufacturers with positive reviews.
How long should a new battery last?
A new genuine Dyson battery should provide approximately 20 minutes of runtime on standard power settings (less on “Max” power). With proper care, the battery should last about 2-3 years before significant performance decline. Third-party batteries may have different specifications.
Why does the charging light keep flashing?
Flashing lights often indicate a communication problem between the battery and the charging system. This could be due to dirty contacts, a faulty charger, or a battery that’s reached the end of its useful life. Try cleaning the contacts and resetting the battery before considering replacement.
Conclusion
Charging issues with the Dyson SV06 vacuum are common and often related to battery degradation or charging system problems. In most cases, you can resolve these issues through proper troubleshooting techniques like resetting the battery, cleaning contacts, or using the 20-second button press method. For older vacuums, battery replacement provides a cost-effective solution that can extend the life of your device for several more years.
By following proper maintenance practices and handling your vacuum with care, you can maximize battery performance and longevity. Regular use, proper charging habits, and appropriate storage all contribute to keeping your Dyson SV06 running efficiently. If all troubleshooting fails, remember that replacing the battery is a straightforward process that can breathe new life into your vacuum cleaner.


