

A Dyson vacuum’s motorhead stopping mid-clean is a frustrating problem that impacts performance, especially on carpets. Models like the V6, V7, V8, DC50 Nine, and Syntec are particularly prone to this issue, with causes ranging from simple blockages to electrical failures. Understanding the root of the problem—whether debris buildup, worn components, or connectivity issues—can save time and restore your vacuum’s efficiency. This guide breaks down actionable solutions to get your motorhead spinning again.
Affiliate disclosure: As an Amazon associate, We'll earn a commission for every successful order through our affiliate links in the article. However, you won’t be charged anything for this.
Beyond immediate fixes, regular maintenance plays a critical role in preventing recurring issues. From cleaning hair to inspecting belts and electrical contacts, proactive care extends your vacuum’s lifespan. Whether you’re troubleshooting a stubborn blockage or diagnosing a faulty motor, this article covers step-by-step repairs, model-specific tips, and preventive strategies to keep your Dyson running smoothly.
Primary Causes and Solutions
Blocked Brush Bar
Hair, string, or debris around the brush bar is the most common cause of motorhead failure. To resolve:
1. Unplug the vacuum and remove the front plate.
2. Inspect the brush bar and bearing area for debris.
3. Use scissors or a cleaning brush to clear.
4. Manually spin the brush bar to confirm it moves freely.
Regular checks after each use can prevent future blockages.
If you find that your current brush bar is damaged beyond simple cleaning, consider replacing it.
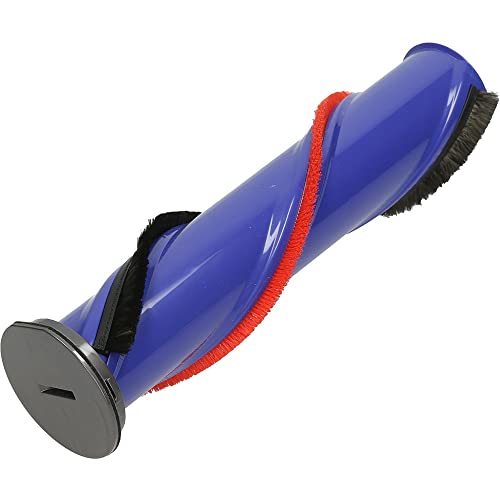
Official replacement with 967485-01 part number for V8 models
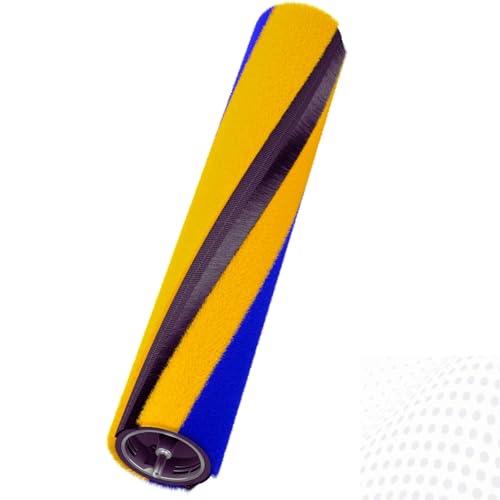
Anti-static bristles for deep cleaning on hard floors

Prevents hair tangling on V8/V10/V11 models
Affordable dual-bristle replacement for V8 vacuums
Worn or Broken Belt
The belt connecting the motor to the brush bar can fray or snap over time. To replace it:
1. Remove the brush bar housing with a Phillips screwdriver.
2. Check the belt for wear or misalignment.
3. Install a new belt, ensuring proper tension.
4. Test the brush bar’s rotation manually.
Belt replacement is a low-cost fix that restores functionality in most cases.
If the belt is worn or broken, replacing it is essential for restoring the motorhead’s function. Ensure you choose a belt compatible with your specific Dyson model.
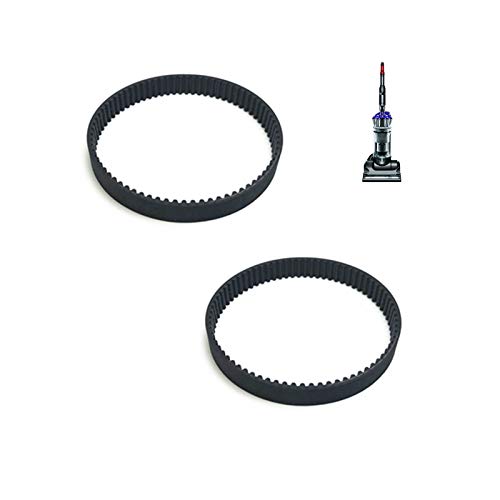
Direct OEM replacement for DC17 models with part number 911710-01
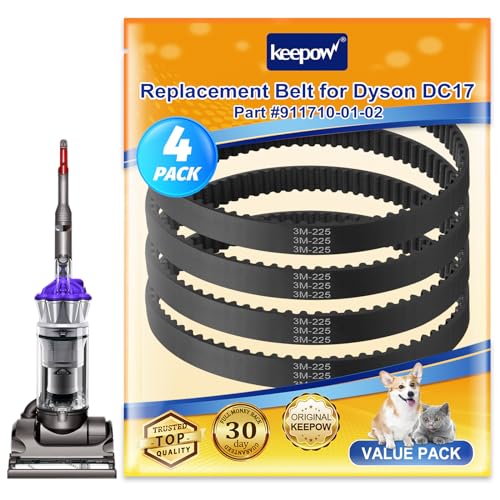
Cost-effective bulk replacement for DC17 vacuum belt maintenance

Premium clutch belts for older Dyson models with clutch system
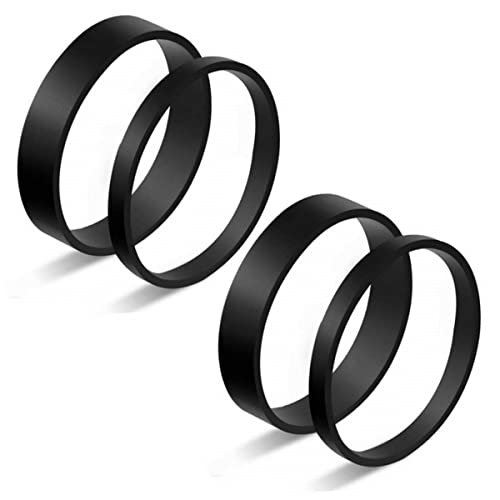
Elastic rubber belts for DC04/DC07/DC14 with clutch drive system
Model-Specific Troubleshooting
DC50 Nine: Electrical Connector Maintenance
The DC50 Nine often suffers from dirty contacts in the canister. To address:
– Remove the canister by pressing twice and twisting.
– Clean connectors with a dry Q-tip, then apply isopropyl alcohol.
– Repeat for the hand unit’s contacts to ensure conductivity.
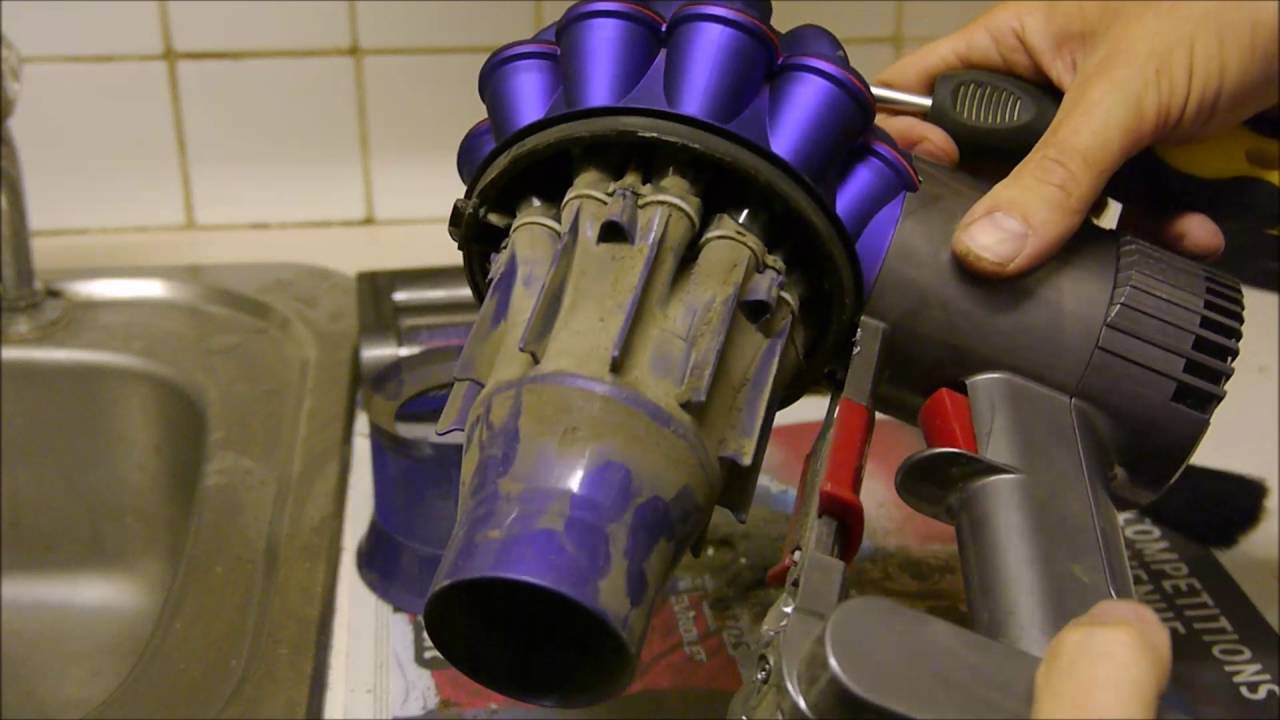
V6/V7/V8: Internal Chamber Access
For these models, hidden debris in internal chambers is a frequent culprit:
– Use a T8 screwdriver to access the dust filter compartment.
– Remove hair from the bearing area with a spoon or coin.
– Inspect the hidden T8 Torx screw chamber for buildup.
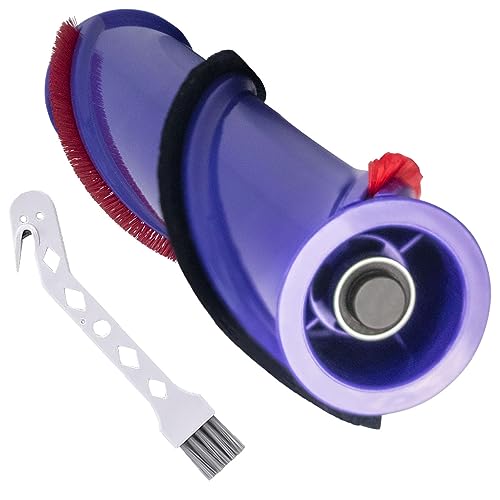
Syntec: Rear Mechanism Hair Removal
Hair often traps in the Syntec’s rear mechanism:
– Remove the outer plastic guard with a flathead screwdriver.
– Unscrew the rear mechanism to extract hair balls.
– Clean pin contacts thoroughly to restore power flow.
Electrical and Mechanical Fixes
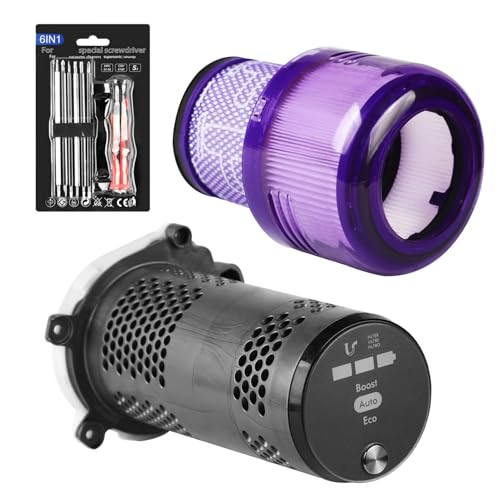
Faulty PCB (Power Control Board)
If the brush head lacks voltage, the PCB may be at fault. Steps to address:
1. Test voltage at the brush head terminals with a multimeter.
2. Clean contacts with rubbing alcohol or contact cleaner.
3. Adjust connectors for better contact, or manually rotate the brush to loosen stiffness.
Note: Avoid soldering direct connections, as this voids warranties.
Loose Endcap or Improper Assembly
A misaligned endcap or poorly reassembled components can halt rotation. Ensure:
– The endcap is tightened securely.
– All connectors align properly during reassembly.
– Refer to Dyson’s manual for model-specific assembly instructions.
Preventive Maintenance Tips
- Weekly Cleaning: Remove hair from bristles and bearings.
- Monthly Belt Checks: Inspect for wear and replace if frayed.
- Electrical Contact Care: Clean connectors with isopropyl alcohol every 3 months.
- Avoid Overheating: Monitor for unusual noises or smells, which signal motor strain.
In cases where the motorhead is beyond repair due to extensive damage, replacing the entire unit may be the most effective solution.
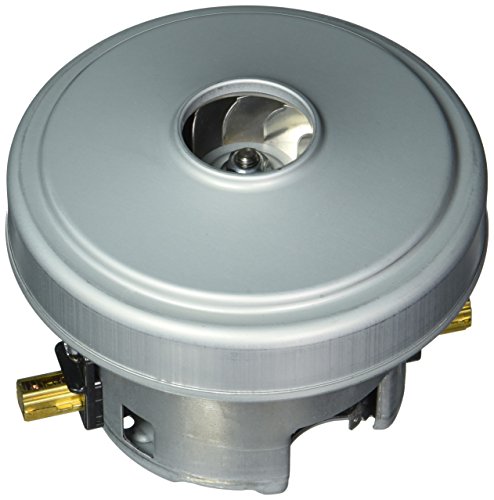
Genuine Dyson OEM motor for DC40 and UP16 models
Genuine upgrade for V11 models with LED compatibility
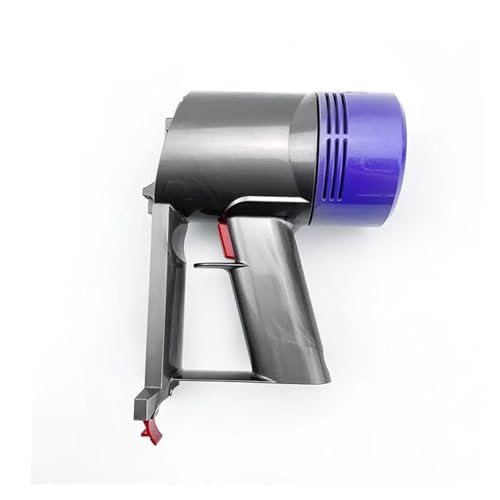
Third-party replacement for V6-V8 models
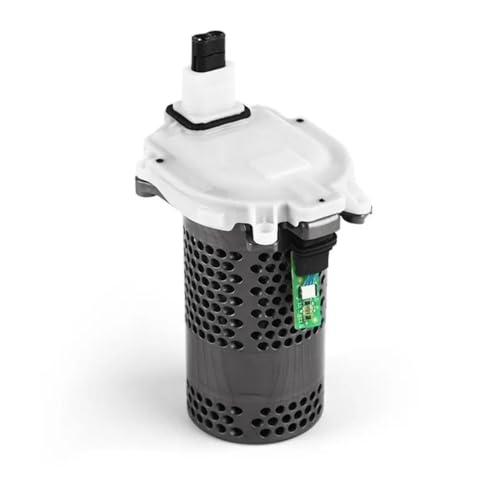
Original motor motherboard for V10/SV12 models
Frequently Asked Questions (FAQ)
How do I check for a blocked brush bar?
Turn off the vacuum, remove the front plate, and visually inspect the brush bar and bearing area. Use scissors to cut away缠结 hair or debris.
How often should I replace the motorhead belt?
Inspect the belt monthly. Replace it every 6–12 months or immediately if frayed or broken.
Can I clean electrical contacts with household products?
Yes—rubbing alcohol or contact cleaner effectively removes dirt. Avoid water or abrasive materials.
Why does my motorhead spin slowly after cleaning?
Residual debris in the bearing or misaligned belt tension could be the cause. Recheck the brush bar’s rotation and belt placement.
Is motor replacement the only fix for electrical failures?
Not always. Clean contacts first. If the motor still fails, professional repair or replacement is recommended.
If cleaning the contacts doesn’t resolve the electrical issue, the motor itself might be failing. Replacing the motor can restore full functionality to your Dyson.
Conclusion
A Dyson motorhead not spinning is often fixable with basic tools and regular maintenance. Addressing blockages, replacing worn belts, and cleaning contacts can restore performance across models like the V6, V7, V8, DC50 Nine, and Syntec. For persistent issues, such as faulty PCBs or motors, professional assistance ensures safe repairs. By incorporating preventive care into your routine, you’ll minimize downtime and extend your vacuum’s lifespan. When in doubt, consult Dyson’s official guidelines or a certified technician for complex electrical problems.


