
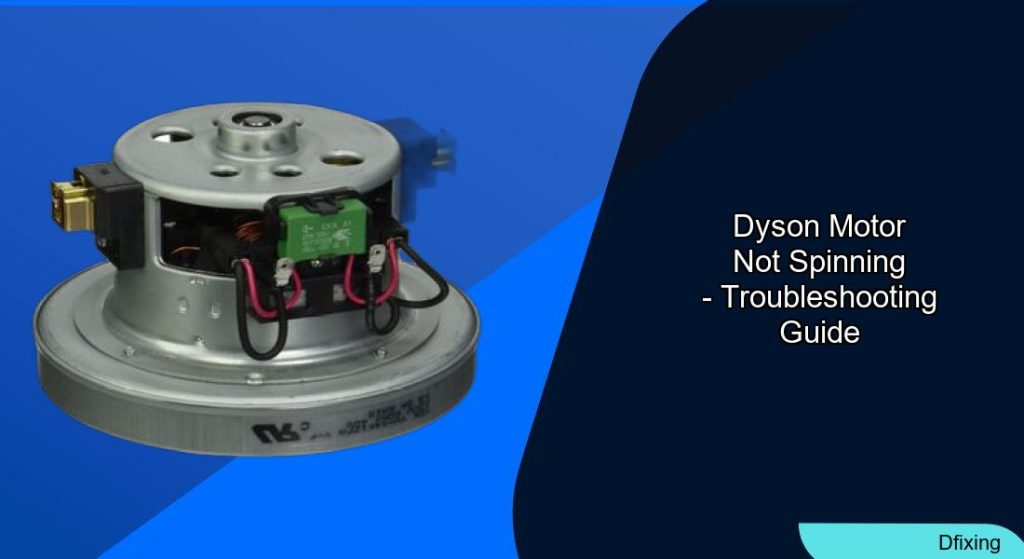
Dyson vacuum owners often rely on their machines for powerful, efficient cleaning. However, when the motor or brush head stops spinning, performance plummets, leaving floors inadequately cleaned. This issue can stem from simple blockages to complex electrical failures, but many fixes are manageable with basic tools and patience. Whether you’re dealing with a tangled brush bar or a malfunctioning motor, this guide provides actionable steps to restore your vacuum’s functionality.
Affiliate disclosure: As an Amazon associate, We'll earn a commission for every successful order through our affiliate links in the article. However, you won’t be charged anything for this.
From identifying debris jams to testing electrical components, understanding the root cause is key to effective repair. We’ll walk through common symptoms, troubleshooting techniques, and preventive measures to keep your Dyson running smoothly. By the end, you’ll have the knowledge to tackle the problem confidently—or know when to seek professional help.
Common Causes and How to Identify Them
Brush Bar Blockages
A lack of brush bar movement is often due to hair, string, or debris缠绕 the roller. Turn off and unplug the vacuum, then remove the motorhead cover to inspect. If the brush bar resists manual spinning, tangled fibers are likely the culprit. Use scissors to cut away obstructions and a cloth to wipe away dust. Don’t forget to check the end caps for hidden debris.
Worn or Broken Drive Belts
The drive belt connects the motor to the brush bar. If frayed or snapped, the motor spins but fails to turn the roller. Access the belt by removing the brush bar, then check for visible damage. Replacing it requires aligning the new belt around the motor and brush bar pulleys.
Motor and Electrical Issues
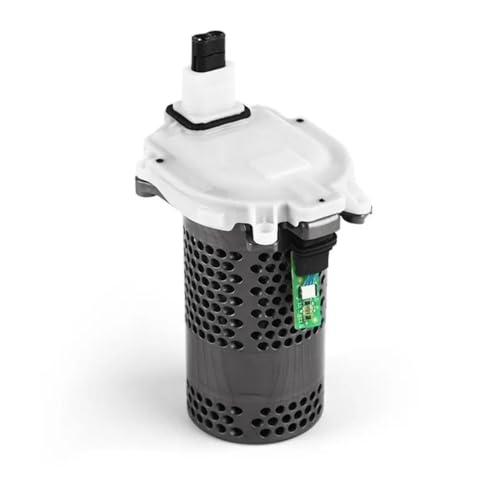
Faulty motors or electrical connections can silence the brush head. Use a multimeter to test motor continuity—if no power registers, replacement may be necessary. Dirty contacts between the canister and motor unit also disrupt function. Clean them with rubbing alcohol and a cotton swab, ensuring they dry completely before reassembly.
If testing reveals that your Dyson’s motor has failed, replacing it is often the most effective solution. Ensure you select a motor that is compatible with your specific Dyson model to guarantee proper fit and performance.
Genuine Dyson main body with motor assembly for V11 models
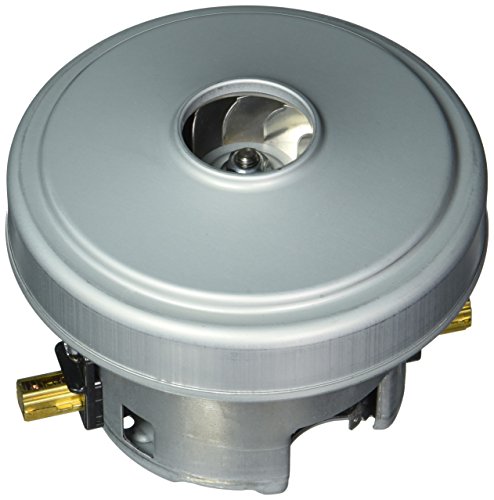
Authorized replacement motor for select Dyson canister vacuums
High-quality compatible motor assembly for V11 models
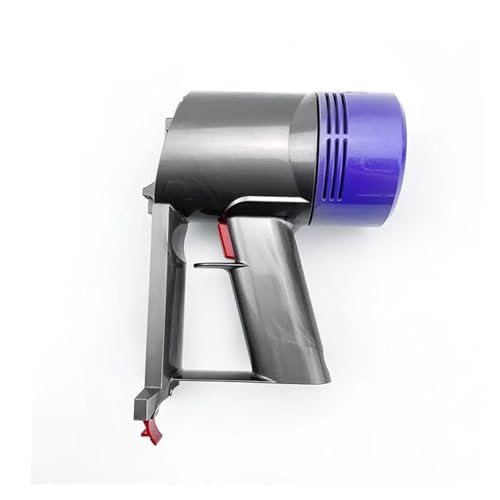
Ergonomic main body motor replacement for older Dyson models
Gear and Bearing Problems
The gear mechanism driving the brush bar can accumulate dirt, preventing motion. Disassemble the brush head and inspect the gear. If it resists manual rotation, remove obstructions with a screwdriver. Worn bearings may require lubrication or replacement to restore smooth operation.
Step-by-Step Solutions for Motor and Brush Head Problems
Cleaning the Brush Bar: A Simple Fix
- Turn off and unplug the vacuum for safety.
- Remove the motorhead cover using a screwdriver or by releasing clips.
- Extract the brush bar and cut away tangled hair or debris.
- Clean the roller thoroughly, including end caps and surrounding areas.
- Reinstall the brush bar and cover.
Replacing the Drive Belt
- Inspect the old belt for fraying or breaks.
- Purchase a compatible replacement belt.
- Loop the new belt around the motor pulley and brush bar pulley, ensuring proper seating.
- Reassemble the motorhead and test the brush bar’s movement.
When replacing the drive belt, it’s important to use a belt that is specifically designed for your Dyson model. A compatible, high-quality belt will ensure optimal performance and longevity.
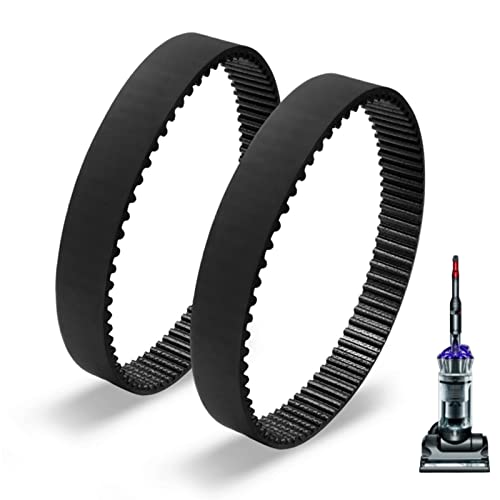
Durable elastic rubber belts for Dyson DC17 models
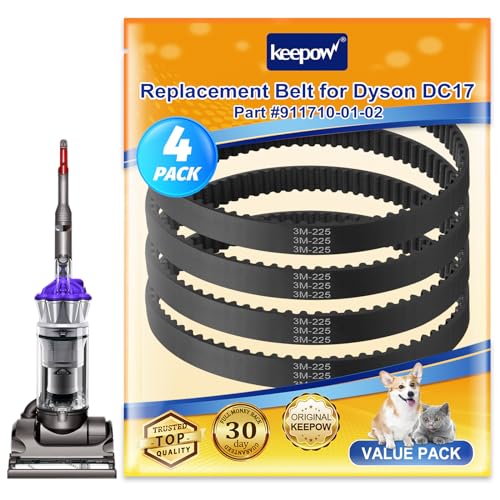
Premium 4-pack with 10mm toothed belts for DC17

Budget-friendly clutch belts for older Dyson models
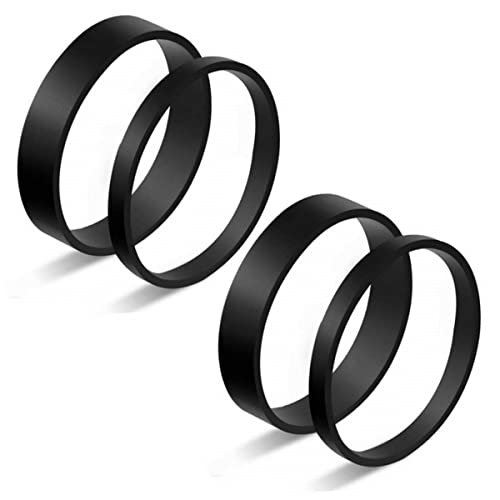
Versatile 2-set for multiple Dyson upright models
Testing and Replacing the Motor
- Access the motor by removing panels as per the user manual.
- Check for burnt wires or visible damage.
- Test with a multimeter to confirm power delivery.
- Replace the motor if faulty, securing all connections tightly.
If your Dyson’s motor is no longer functioning, a replacement motor designed for your specific model is essential. This will restore the vacuum’s suction power and overall cleaning efficiency.
Official Dyson replacement for V11 models with LCD display
Upgraded motor assembly with dual compatibility and improved performance

Authentic replacement for V8/SV10 models with ergonomic design
Genuine replacement motor board for V10 models with noise reduction
Resolving Electrical Contact Issues
- Locate contacts on the brush head and canister.
- Clean with alcohol-dipped Q-tips, focusing on junctions between the canister, motor unit, and extension tube.
- Reassemble carefully, aligning tabs to ensure proper connectivity.
Preventive Maintenance Tips
Regular Cleaning Routines
After every few uses, inspect and clean the brush bar to prevent hair and debris buildup. This simple habit avoids clogs that strain the motor.
Monitoring Wear and Tear
Check the drive belt and bearings periodically. Replace the belt if fraying appears, and lubricate or replace damaged bearings to maintain efficiency.
Proper Storage Practices
Store the vacuum upright to prevent hose kinks and keep the motorhead free of dust. Avoid overfilling the dust bin, which can overload the motor.
Frequently Asked Questions (FAQ)
Why isn’t my Dyson motor spinning?
Common causes include blockages in the brush bar, a broken drive belt, motor failure, or dirty electrical contacts. Start by cleaning the brush bar and checking connections.
How do I reset the beater brush on a Dyson DC41?
Extend the brush to full length, locate the on/off button, and toggle it five times while holding the power button. Some models require the reset to occur directly on the brush.
Can I clean the suction valve on my Dyson Animal?
Yes. Remove the secondary filter on the left side to access the hose and valve. Clear debris manually and reassemble.
What should I do if DIY fixes fail?
Contact Dyson support for guidance or replacement parts. Warranty coverage may apply, especially for newer models.
Conclusion
A Dyson motor not spinning is a fixable issue with the right approach. By systematically addressing blockages, wear, and electrical problems, you can restore your vacuum’s performance and extend its lifespan. Regular maintenance minimizes future risks, while troubleshooting steps empower you to handle common faults. If challenges persist, Dyson’s customer support offers expert assistance. Armed with this guide, you’re ready to tackle the problem head-on—saving time, money, and frustration.


