

Many Dyson handheld vacuum users face a frustrating issue: the roller brush refuses to spin. This problem affects models like the V6, DC59, V8, and Cyclone V10, leaving carpets and floors inadequately cleaned. The root causes often include tangled debris, worn belts, or electrical malfunctions. Fortunately, most fixes are manageable with basic tools and know-how. By understanding the common culprits and following targeted troubleshooting steps, you can restore your vacuum’s performance and avoid costly repairs.
Affiliate disclosure: As an Amazon associate, We'll earn a commission for every successful order through our affiliate links in the article. However, you won’t be charged anything for this.
This article breaks down the primary reasons behind a non-spinning roller brush, offers step-by-step solutions for DIY repairs, and shares preventative maintenance tips. Whether you’re dealing with a hair-clogged brush roll or a faulty motor, this guide will help you tackle the problem confidently.
Common Causes of a Non-Spinning Brush Roll
Blockages from Hair and Debris
Hair, threads, and pet fur frequently wrap around the brush roll, restricting its movement. Over time, these tangles harden, creating a stubborn barrier. Models like the V6 and V8 are particularly prone to hidden debris buildup inside the bearing area, which can go unnoticed without thorough inspection.
Worn or Broken Drive Belt
The rubber drive belt connects the motor to the brush roll. If it stretches, frays, or snaps, the motor’s power won’t transfer to the roller. This issue often occurs in older vacuums or those used frequently on high-pile carpets.
Dirty or Corroded Electrical Contacts
Metal contacts on the brush head or canister can accumulate dust or corrode, disrupting the electrical connection. This prevents the brush roll from receiving power, even if the motor and belt are functional.
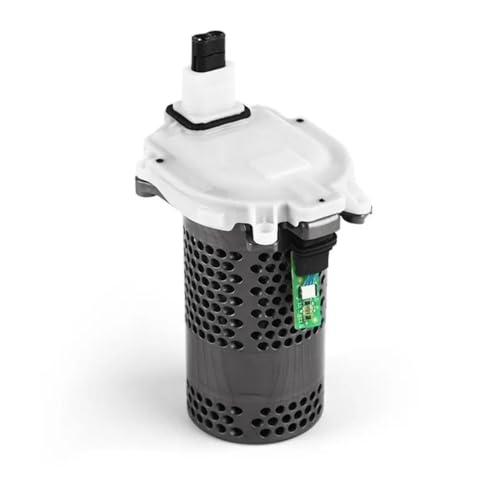
Motor or Bearing Failures
A malfunctioning motor or clogged bearings can halt the brush roll entirely. Unusual noises, like grinding or squealing, often accompany these problems. Bearings may seize due to hair buildup or lack of lubrication, especially in V6 models.
If you’ve determined that the motor is failing, consider replacing it to restore your Dyson’s functionality.

Genuine Dyson V7 motorhead for optimal performance
Genuine motor board for V10 SV12 with durability

Genuine motorized brushroll for DC65-DC66 models
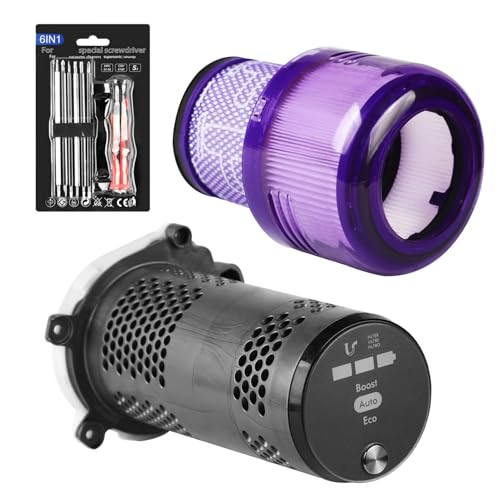
Compatible V11 motor assembly with LED version
Clearing Blockages: A Step-by-Step Guide
- Turn Off and Unplug: Safety first—ensure the vacuum is powered down and disconnected.
- Remove the Brush Roll Cover: Use a coin or screwdriver to twist off the cap or sole plate. For V6 models, rotate the plastic screw a quarter turn counterclockwise.
- Cut and Remove Hair: Use scissors to snip tangled hair between bristles, then pull out debris manually. Pay extra attention to the bearing area.
- Inspect Internals: For V6–V8 models, remove the T8 Torx screw at the brush bar end to access hidden hair balls.
- Reassemble and Test: Secure the cover back in place and power on the vacuum to confirm the brush spins freely.
If you find that the brush roll itself is damaged or worn out after removing the debris, you might need to replace it.

Genuine replacement for Dyson upright vacuums
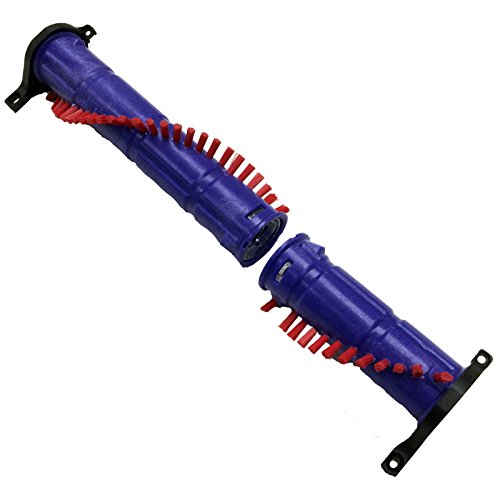
Cost-effective alternative with deep cleaning performance
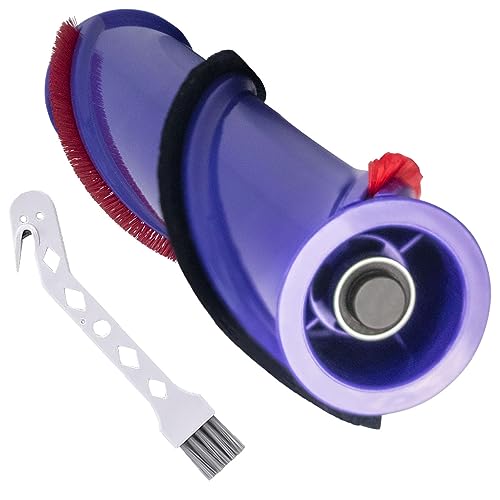
Cordless vacuum upgrade with pet hair removal

V11 series replacement for deep carpet cleaning
Replacing a Worn Drive Belt
- Identify the Belt: Locate the rubber belt connected to the motor pulley and brush roll. Check for cracks or slackness.
- Remove the Brush Roll: Consult your manual or use a Torx screwdriver (T10 for V6) to detach the brush roll.
- Install the New Belt: Loop the replacement belt around the motor pulley and brush roll. Use pliers to tighten it if needed.
- Reattach Components: Slide the brush roll back into place and secure all screws.
- Test Operation: Turn on the vacuum. If the belt slips, recheck alignment and tension.
Cleaning Electrical Contacts for Power Restoratio
- Disassemble Key Sections: Detach the stick from the canister and the brush head from the stick.
- Locate Metal Pins: Identify the electrical contacts—small metal pins on the brush head and canister.
- Blow Out Dust: Use compressed air to clear loose debris from the contact area.
- Apply Cleaner: Dampen a cotton swab with rubbing alcohol or contact cleaner and wipe the pins. Let them dry completely.
- Reassemble and Test: Reconnect all parts and power on the vacuum to verify the brush roll spins.
When to Seek Professional Repair Services
If the brush roll still won’t spin after addressing blockages, belts, and contacts, the issue may require expert attention. Signs of motor failure include:
– Unusual grinding or burning smells.
– The brush roll remains stationary despite a charged battery and functioning suction.
– Visible damage to internal wiring or components.
For these cases, contact Dyson’s customer support or a certified technician. Warranty coverage may apply if your vacuum is under two years old.
Preventative Maintenance for Optimal Performance
Weekly Habits
- Empty the Dust Bin: Keep debris below the max line to maintain suction power.
- Inspect the Brush Roll: Remove hair缠绕 after each use.
- Clean Filters: Wash the filter monthly and let it air dry completely.
Monthly Checks
- Belt Condition: Replace the drive belt every 6–12 months, depending on usage.
- Lubricate Bearings: Apply a drop of silicone-based lubricant to the drive shaft bearings (avoid WD-40 on plastic parts).
Deep Cleaning for V6–V8 Models
- Remove the motor housing with a T10 screwdriver.
- Extract the drive shaft and clear hair buildup around the bearings.
- Reapply lubricant and reassemble carefully, ensuring motor wires are correctly oriented.
Frequently Asked Questions (FAQ)
Why won’t my Dyson roller brush spin on carpets?
Check the pile height setting—adjust it to “low” for carpets. If the issue persists, inspect for blockages or a worn belt.
Can I replace the brush roll myself?
Yes! Most Dyson models allow easy brush roll replacement. Visit Dyson’s website for model-specific instructions.
What tools are needed for repairs?
A Dyson handheld vacuum’s roller brush not spinning is a common but solvable issue. Start with simple fixes like clearing debris or cleaning contacts before progressing to belt replacements. Regular maintenance—such as monthly belt checks and filter cleanings—can prevent future problems. If DIY solutions fail, consult a professional to assess motor or bearing damage. By following these steps, you’ll keep your Dyson performing at its best, ensuring spotless floors and carpets every time.
Basic tools include a Torx screwdriver (T8/T10), scissors, rubbing alcohol, and a cotton swab.
Does Dyson’s warranty cover motor issues?
Yes, Dyson offers a two-year warranty that includes motor defects. Contact support for verification.


