
The Dyson DC59 cordless vacuum is a powerful cleaning tool, but like any battery-operated device, it can experience performance issues over time. Many users report problems with battery life and charging that can significantly impact the vacuum’s functionality. These issues range from reduced runtime and failure to hold a charge to complete power loss and extended charging times.
Affiliate disclosure: As an Amazon associate, We'll earn a commission for every successful order through our affiliate links in the article. However, you won’t be charged anything for this.
When your Dyson DC59 begins showing signs of battery trouble, it’s important to identify the specific problem before attempting repairs. In some cases, simple maintenance or reset procedures can resolve the issue without requiring replacement parts. This article explores the various battery-related problems that affect the DC59 model, provides step-by-step troubleshooting guidance, and offers maintenance tips to extend your vacuum’s lifespan.
Identifying Battery Problems in Your Dyson DC59

Battery Performance Issues
The most common battery issues with the Dyson DC59 include:
- Significantly reduced runtime – The vacuum operates for only seconds or minutes before shutting down
- Failure to maintain charge – Battery drains unusually quickly during operation
- Complete power failure – Vacuum won’t turn on at all despite charging
- Abnormally long charging time – Battery takes much longer than usual to reach full charge
- Rapid battery degradation – Some users report their vacuum only charges for about 10 minutes
Understanding Battery Indicator Lights
Your Dyson’s battery indicator provides valuable diagnostic information:
- Flashing red light (more than 12 times): Indicates a faulty battery that likely needs replacement
- Solid or flashing amber light: Signals extreme temperature affecting the battery
Normal vs. Abnormal Operation
It’s important to note that on Max power mode, the DC59 is designed to run for only about 6 minutes on a full charge. This is normal operation for the high-power setting. However, if you’re experiencing significantly shorter runtime on standard power settings, you likely have a battery issue.
Quick Fixes for Dyson DC59 Battery Problems
Solution 1: Reset Your Vacuum
A simple reset can often resolve minor battery issues:
- Unplug the charger from the wall outlet
- Plug the charger back in
- Attach your Dyson to the charger
- Press and hold the trigger (power button) for approximately 20 seconds
- Release the trigger and allow the vacuum to charge fully
Solution 2: Try a Temporary Recharge
If your vacuum stops working after a few minutes of use:
- Place it back on the charging station for about 30 seconds
- Remove it from the charger
- Resume operation
This quick recharge can sometimes provide enough power to complete your cleaning task.
Solution 3: Clean the Battery Contacts
Dirty contacts can prevent proper charging:
- Ensure the vacuum is unplugged and powered off
- Locate the battery contacts on both the vacuum and the battery pack
- Clean the contacts using a dry cloth or cotton swab
- Reassemble and test the vacuum
Solution 4: Battery Calibration
Recalibrating the battery can help resolve issues with battery sensors:
- Run the vacuum until it completely stops (full discharge)
- Place it on the charger and allow it to charge fully without interruption
- Test the vacuum to see if performance has improved
Why Dyson DC59 Batteries Fail
Age-Related Degradation
The lithium-ion batteries used in the Dyson DC59 typically have a lifespan of 2-3 years with regular use. As the battery ages, its capacity to hold a charge naturally diminishes, resulting in shorter runtimes.
Poor Charging Habits
Several charging practices can accelerate battery deterioration:
- Overcharging: Leaving the vacuum plugged in for extended periods after reaching full charge
- Complete discharge: Frequently running the battery until it’s completely empty
- Inconsistent charging: Repeatedly interrupting the charging cycle
Environmental Factors
Battery performance and longevity are significantly affected by:
- High temperatures: Heat accelerates chemical reactions that degrade battery cells
- Extreme cold: Cold temperatures reduce battery efficiency and can cause temporary performance issues
- Humidity: Excessive moisture can damage internal components
Diagnosing Your Dyson DC59 Battery Problem
Testing Battery Performance
Perform these tests to evaluate your battery’s condition:
- Runtime test: Time how long the vacuum runs on a full charge at normal power
- Power setting test: Check if the vacuum performs well on low power but struggles on high power
- Charging test: Observe if the battery charges properly and maintains the charge
Checking the Charging System
- Inspect the charging port for debris, damage, or loose connections
- Examine the charger for frayed wires or other damage
- Try an alternative charging dock if available to rule out charger issues
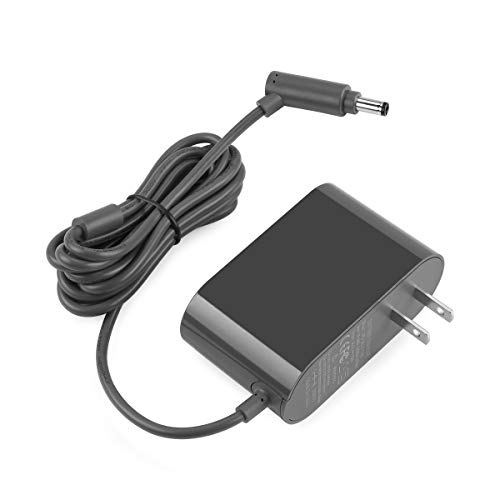
If you suspect the charger itself is faulty, consider testing with a replacement.
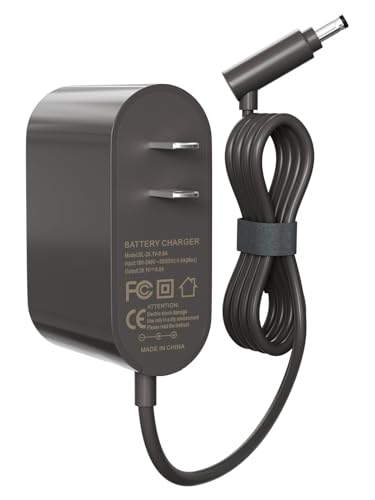
Budget-friendly replacement with global compatibility and 1-year warranty
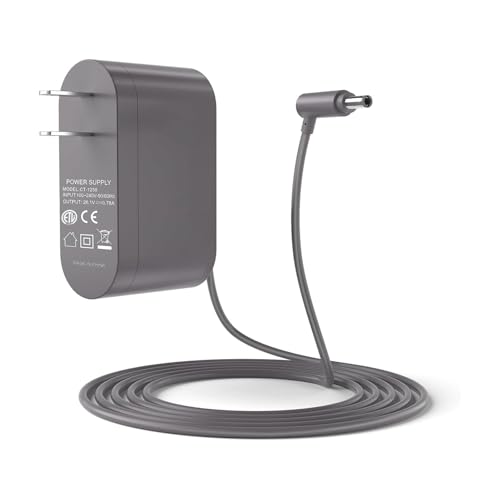
Safety-certified charger with 18-month exchange warranty
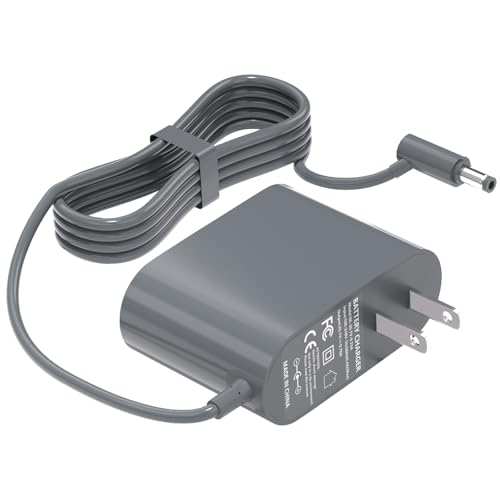
Certified with CE/FCC and 12-month manufacturer warranty
Comprehensive compatibility with 15-month warranty and safety certifications
Evaluating Internal Components
If external checks don’t identify the problem:
- Check for unusual sounds during operation that might indicate internal damage
- Look for overheating during charging or use
- Test the power trigger to ensure it’s functioning properly
Replacing the Dyson DC59 Battery
If the indicator light is flashing red more than 12 times then you likely need to replace your Dyson DC59 battery.

Premium high-capacity replacement with extended runtime and safety features
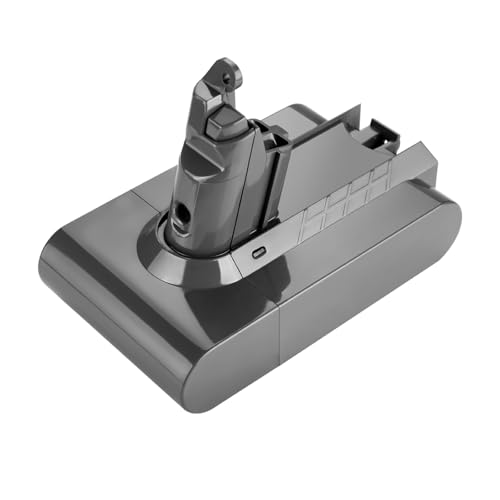
Balanced performance with long cycle life and smart protection
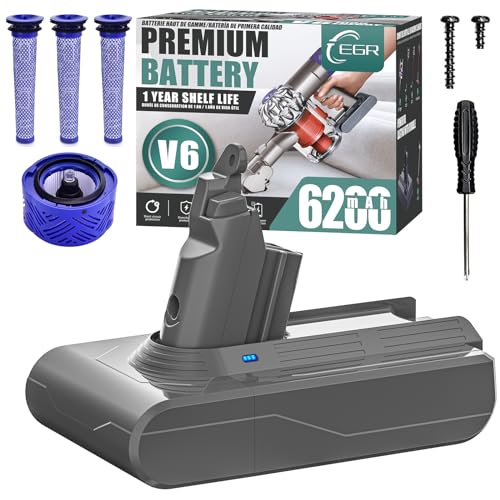
Reliable replacement with physical safety enhancements
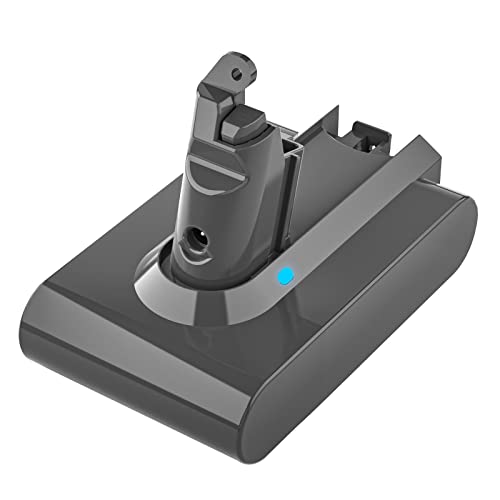
Budget-friendly option with essential safety features
Tools and Materials Needed
Gather these items before beginning:
- Compatible replacement battery for Dyson DC59
- Screwdriver set (Phillips and flathead)
- Safety gloves
- Clean, dry workspace
Safety Precautions
Before starting the replacement process:
- Unplug the vacuum from any power source
- Run the vacuum until it stops to discharge the battery
- Work on a clean, dry surface away from metal objects and water
Step-by-Step Battery Replacement
Accessing the Battery Compartment
- Turn the vacuum upside down for better access
- Locate and remove the screws securing the battery compartment cover
- Carefully pry off the cover using a flathead screwdriver
Removing the Old Battery
- Locate the battery pack inside the compartment
- Disconnect the battery connector from the vacuum’s circuit board
- Gently remove the old battery pack from the housing
Installing the New Battery
- Place the new battery pack into the compartment
- Connect the battery connector to the circuit board, ensuring a secure fit
- Verify the battery is properly seated in the housing
Reassembling the Vacuum
- Replace the battery compartment cover
- Secure the cover with the screws you removed earlier
- Ensure all components are properly aligned and fastened
Testing the New Battery
- Place the vacuum on the charger and allow it to charge fully
- Monitor the charging process to ensure the battery indicator functions properly
- Once charged, test the vacuum’s performance on different power settings
Addressing Airflow Issues That Affect Battery Performance
Filter Maintenance
Clogged filters can cause the motor to work harder, draining the battery faster:
- Remove and clean the filter according to Dyson’s instructions
- Check the filter cage for debris that might be restricting airflow
- Allow all components to dry completely before reassembling
Important Note on Filters
Always use genuine Dyson filters. Generic filters may degrade during cleaning or fail to provide proper airflow, which can lead to motor strain and reduced battery life.
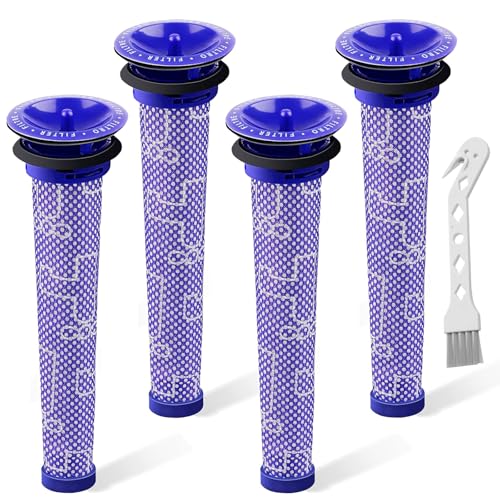
Affordable 4-pack with enhanced suction performance
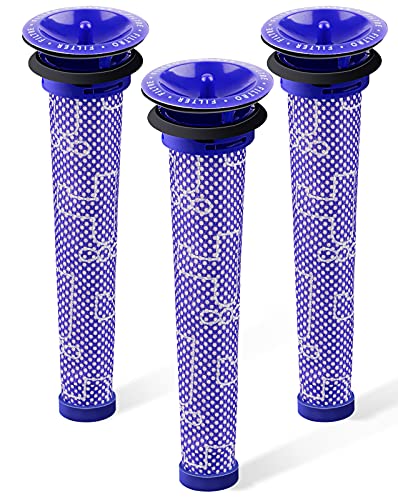
Premium dual-sealed filters for improved suction
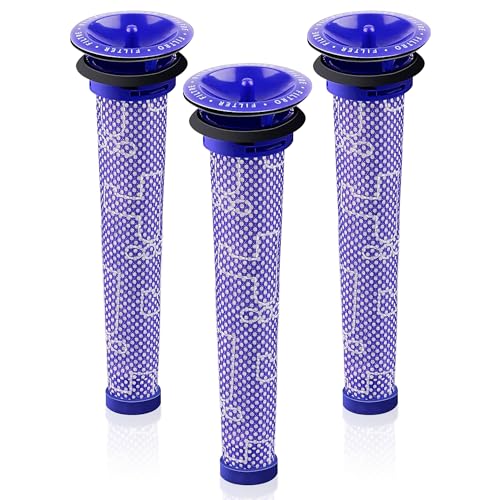
Scientifically tested for 99.97% filtration efficiency
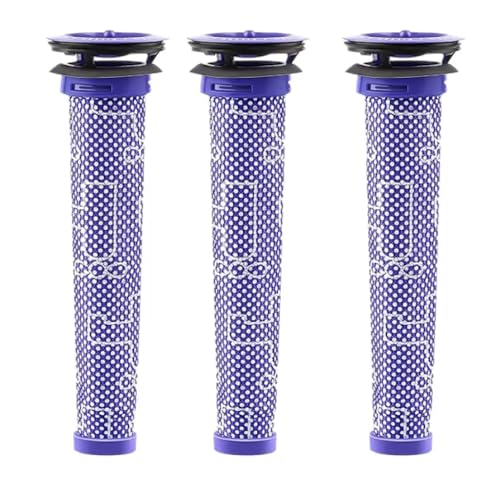
Budget-friendly option with efficient allergen capture
Clearing Internal Blockages
Blockages force the motor to work harder, reducing battery efficiency:
- Empty the dust bin completely
- Use a flashlight to inspect for obstructions in the vacuum’s internal components
- Pay special attention to areas with a black rim and mesh lining where debris commonly lodges
- Use appropriate tools (screwdriver, chopstick) to carefully remove any blockages
Checking the Brush Bar
A tangled brush bar creates additional resistance:
- Remove the brush bar according to the user manual
- Clear any hair, string, or fibers wrapped around it
- Reinstall the brush bar and ensure it rotates freely
If the brush bar is damaged or worn, consider replacing it to maintain optimal cleaning performance and reduce strain on the motor.

Genuine OEM replacement for DC59 Motorhead models

Generic 225mm replacement with OEM compatibility

Includes cleaning tool and two brush rollers

Shorter 185mm option for newer DC59 models
Preventive Maintenance for Longer Battery Life
Optimal Charging Practices
- Allow the battery to fully discharge once a month to maintain calibration
- Unplug the charger once the battery is fully charged
- Store the vacuum with a partial charge if not using for extended periods
Proper Storage Conditions
- Store the vacuum in a cool, dry place away from direct sunlight
- Avoid extreme temperatures that can damage the battery
- If storing long-term, charge the battery to about 50% capacity first
Regular Maintenance Schedule
- Clean filters every month (or more frequently with heavy use)
- Check for blockages after vacuuming unusual debris
- Inspect the brush bar weekly for tangles
- Clean the battery contacts every few months
Frequently Asked Questions (FAQ)
Why does my Dyson DC59 only run for a few seconds?
This is typically caused by a depleted or failing battery. Try performing a reset by unplugging the charger, plugging it back in, attaching the vacuum, and holding the trigger for 20 seconds. If this doesn’t work, the battery likely needs replacement. Another possibility is an airflow blockage forcing the motor to shut down to prevent overheating.
How long should a Dyson DC59 battery last before replacement?
With proper care, the lithium-ion battery in a Dyson DC59 should last approximately 2-3 years before showing significant degradation. Some users report their vacuums functioning effectively for up to 5 years. Factors affecting battery lifespan include frequency of use, charging habits, and environmental conditions.
Why is my Dyson DC59 flashing red lights?
If your Dyson is flashing red more than 12 times, this indicates a faulty battery. Less frequent flashing might indicate a different issue. For persistent red flashing, contact Dyson customer service or consider replacing the battery. Amber lights typically indicate temperature issues—allow the vacuum to cool down or warm up before attempting to use it again.
Can I use my Dyson DC59 while it’s charging?
No, the Dyson DC59 is designed to be used cordlessly and cannot operate while connected to the charger. This design protects the battery and electrical components from damage. Always remove the vacuum from the charging dock before use.
Is it worth replacing the battery in my Dyson DC59?
This depends on the overall condition of your vacuum. If the motor and other components are functioning well, replacing just the battery (which typically costs $30-80) is more economical than purchasing a new vacuum (costing $200+). However, if your vacuum has multiple issues beyond battery problems, it might be more cost-effective to upgrade to a newer model.
Conclusion
Battery issues are among the most common problems affecting the Dyson DC59 cordless vacuum. While these problems can be frustrating, many can be resolved through proper troubleshooting and maintenance. From simple resets and cleaning to complete battery replacement, the solutions outlined in this guide should help restore your vacuum’s performance.
Remember that preventive maintenance is key to extending your Dyson’s lifespan. Regular filter cleaning, proper charging habits, and prompt attention to performance issues can help you avoid more serious problems down the line. With proper care, your Dyson DC59 can provide efficient cleaning for years to come.
If troubleshooting doesn’t resolve your issue, don’t hesitate to contact Dyson customer service with your serial number and a detailed description of the problem. They can provide model-specific guidance and support to get your vacuum back in working order.


