
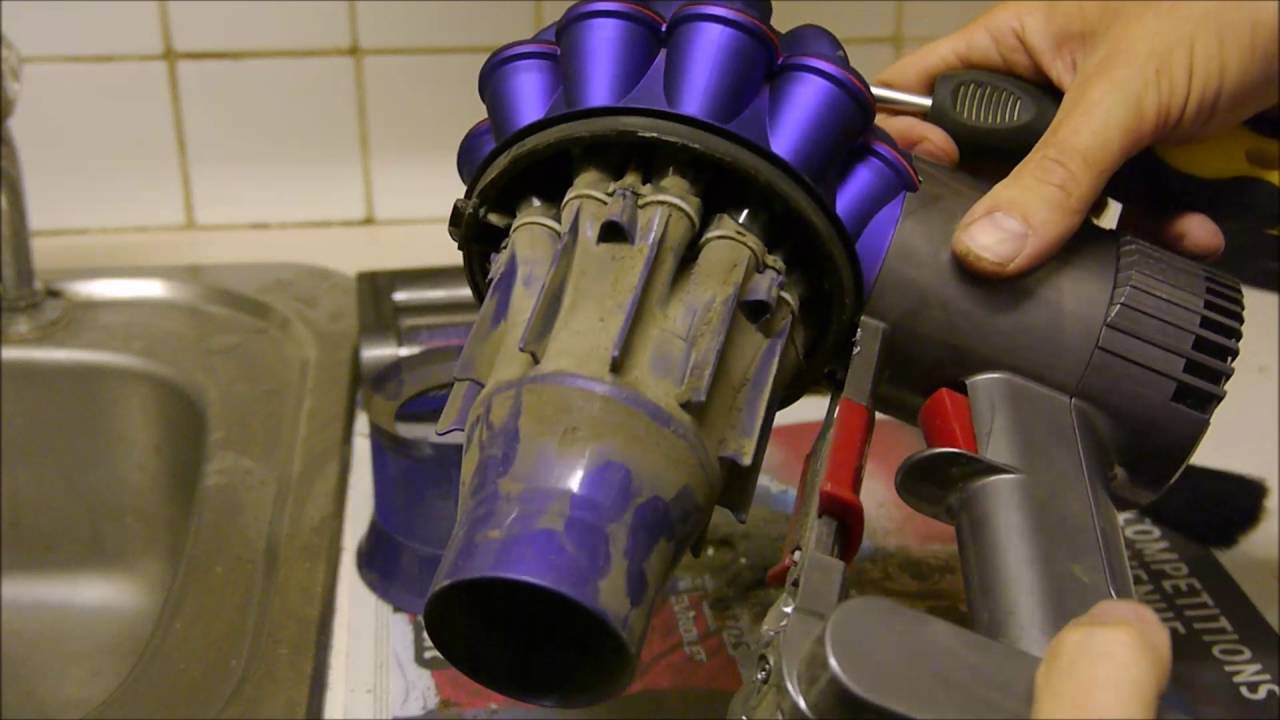
The Dyson DC59 is a powerful cordless vacuum that offers excellent cleaning performance. However, like any battery-powered device, charging issues can occur over time. When your Dyson DC59 stops charging properly, it can be frustrating, but many problems can be resolved without professional help. This comprehensive guide will walk you through diagnosing and solving common charging issues with your Dyson DC59 vacuum.
Affiliate disclosure: As an Amazon associate, We'll earn a commission for every successful order through our affiliate links in the article. However, you won’t be charged anything for this.
Before calling customer service or purchasing a replacement, try these troubleshooting steps to get your vacuum working again. With some basic tools and careful attention, you can often restore your Dyson DC59 to full functionality and extend its useful life.
Common Charging Issues with Dyson DC59
When your Dyson DC59 vacuum fails to charge properly, several symptoms might indicate the problem:
- The vacuum doesn’t hold a charge for the expected duration
- Red light blinking during use or charging
- Vacuum turns off unexpectedly during operation
- Surging noise when plugged in that stops when unplugged
- Drastically reduced battery life (operating for only minutes or seconds)
- Vacuum shuts off within seconds when using high power mode
- Flashing blue light with no operation
These symptoms typically point to issues with the battery, charging cable, contacts, or internal circuitry. By systematically checking each component, you can identify the specific problem affecting your vacuum.
Battery Health Indicators
The Dyson DC59 uses an intelligent indicator system to communicate battery status:
- Solid blue light: Normal charging in progress
- No light (after charging): Fully charged
- Flashing blue light: Low battery that needs charging
- Flashing red light: Battery malfunction or failure
These indicators can help pinpoint whether you’re dealing with a simple low battery or a more serious battery malfunction that requires replacement.
Diagnosing Your Dyson DC59 Charging Problem
Before attempting any repairs, it’s crucial to accurately diagnose the issue. Follow these steps to determine what’s preventing your Dyson DC59 from charging properly.
Inspecting the Charging Cable
The charging cable is often the culprit in charging issues:
- Unplug the charger from the wall outlet for safety
- Examine the entire length of the cable for visible damage, fraying, or kinks
- Check both ends of the cable for bent pins or debris
- Inspect the wall adapter for any signs of damage
- Try plugging the charger into a different outlet to rule out power supply issues
If the cable shows any damage, it should be replaced. Using a damaged cable can be dangerous and may further damage your vacuum.
If you’ve found that the charging cable is damaged, replacing it is essential for safe and effective charging.
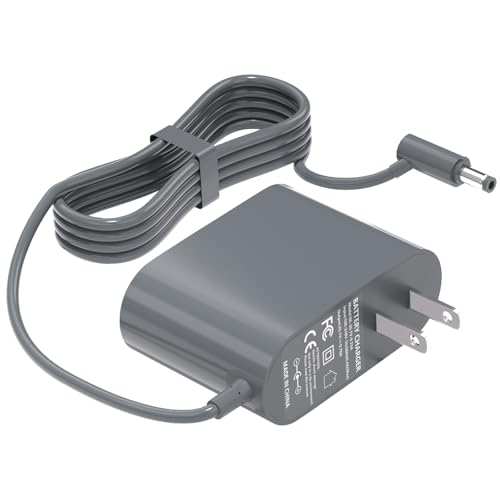
Budget-friendly certified replacement with 12-month warranty
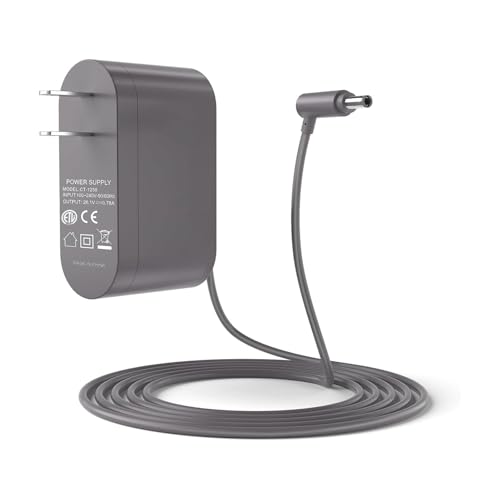
UL-certified with multi-safety protections and 18-month warranty
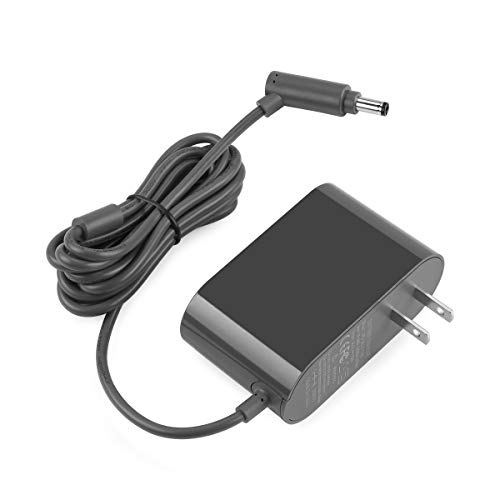
Premium certified adapter with 15-month warranty and safety certifications
Examining Battery Contacts
Poor connections between the battery and vacuum can prevent proper charging:
- Remove the battery from the vacuum
- Inspect the metal contacts on both the battery and vacuum for:
– Dirt or debris buildup
– Corrosion (appears as green or white residue)
– Physical damage to the contacts - Check if the contacts are properly aligned when the battery is inserted
Dirty or corroded contacts can prevent the flow of electricity, making it impossible for your battery to charge even if both the battery and charger are functioning properly.
Testing Battery Voltage
For a more technical diagnosis:
- Remove the battery from the vacuum
- Set a multimeter to measure DC voltage
- Touch the probes to the battery contacts
- A healthy Dyson V6 battery should read approximately 18.5V when fully charged
- Significantly lower readings indicate a failing battery
This test can definitively determine if your battery needs replacement or if the problem lies elsewhere in the vacuum.
Step-by-Step Fixes for Charging Problems
After diagnosing the issue, follow these detailed solutions to get your Dyson DC59 charging properly again.
Cleaning Battery Contacts
Often, simply cleaning the contacts can resolve charging issues:
- Unplug the charger from the wall outlet
- Remove the battery by pressing the release button
- Dip a cotton swab in rubbing alcohol (isopropyl alcohol)
- Gently clean the metal contacts on both the battery and the vacuum
- Allow the alcohol to dry completely (usually takes only a minute)
- Reinsert the battery, ensuring it clicks securely into place
- Plug in the charger and test if charging begins normally
This simple maintenance step should be performed regularly to prevent charging issues from developing.
Performing a Battery Reset
Sometimes the battery management system needs to be reset:
- Power off the vacuum completely
- Remove the battery if possible
- Press and hold the power button for 15-20 seconds to discharge any residual power
- Reinstall the battery
- Connect the charger and allow the battery to charge fully
- Test the vacuum to see if normal operation has been restored
This process can help recalibrate the battery management system and resolve minor electronic glitches that affect charging.
Checking for Trigger Issues
In some cases, the trigger mechanism can affect charging:
- Unplug the vacuum from the wall
- Press and hold the trigger
- While holding the trigger, plug the vacuum back into the charger
- Observe if the charging behavior changes
- Release the trigger and check if normal charging resumes
Though trigger problems are uncommon in the DC59, this test can help identify if the trigger mechanism is interfering with the charging circuit.
Replacing the Dyson DC59 Battery
If diagnostics indicate a battery failure, replacement is the best solution. Here’s how to replace your Dyson DC59 battery safely and effectively.
Choosing the Right Replacement Battery
You have several options when selecting a replacement battery:
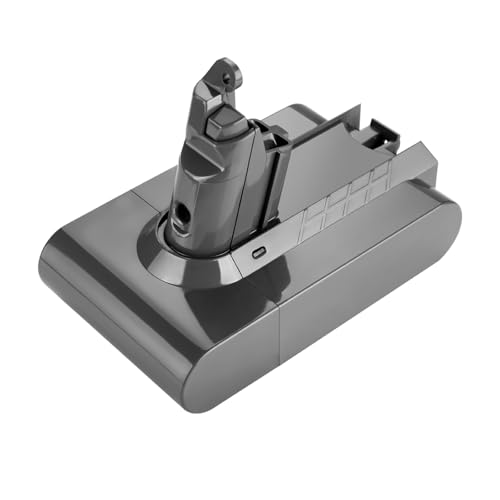
- Original Dyson V6 batteries: Cost approximately $96 plus tax and shipping
- Aftermarket options: Available at about one-third the price of originals
- 2100 mAh models match the original capacity but may fail quickly
- 3000 mAh models offer a good balance of price, runtime, and weight
- 4200 mAh models provide maximum runtime but are heavier
Most aftermarket batteries are compatible with the original charging dock and maintain the same indicator system as original batteries.
Battery Replacement Procedure
Tools Needed:
- New Dyson V6 compatible battery
- Small screwdriver (if necessary)
- Cotton swabs and rubbing alcohol for cleaning contacts
Steps:
- Unplug the vacuum from the power source
- Locate the battery release button (typically on the handle)
- Press the release button and carefully remove the old battery
- Clean the battery compartment contacts with alcohol and cotton swabs
- Align the new battery with the vacuum body
- Slide the battery into position until it clicks securely
- Connect the vacuum to the charger
- Allow the new battery to charge fully before first use
Testing After Replacement:
- After a full charge, disconnect from the charger
- Test the vacuum on both low and high power settings
- Monitor runtime to confirm improved performance
- Check that the battery indicator lights function correctly
A properly installed replacement battery should restore your vacuum to its original runtime and performance.
If the battery is completely dead or not holding charge, it needs to be replaced.

Highest capacity with LED monitoring and extended warranty
Longest cycle life with premium cell technology
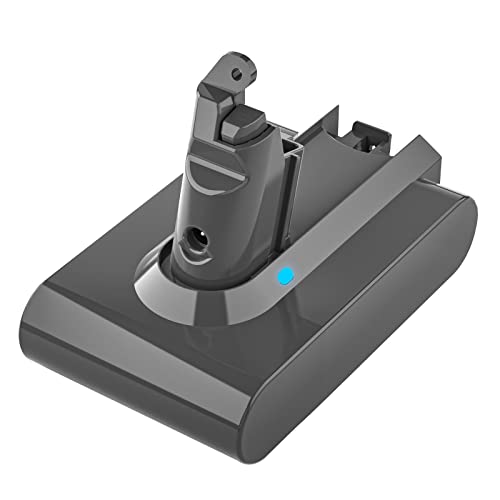
Budget-friendly option with standard LED monitoring
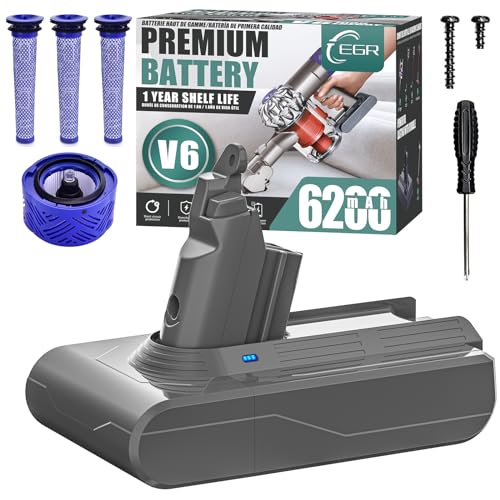
Includes safety non-slip design for wall storage
Advanced Troubleshooting for Persistent Issues

If basic solutions don’t resolve the charging problem, consider these advanced troubleshooting steps.
Testing the Charging Circuit
To determine if the problem is with the charging circuit rather than the battery:
- If possible, test your charger with another compatible Dyson device
- Alternatively, test your battery in another compatible Dyson vacuum
- Use a voltage tester to check if the charger is outputting the correct voltage
- Inspect the charging port on the vacuum for damage or debris
A faulty charging circuit often requires professional repair or replacement of the vacuum.
Addressing Battery Degradation
Understanding why batteries fail can help prevent future issues:
- The Dyson V6 uses six 18650 lithium-ion cells
- These cells naturally degrade over time, increasing internal resistance
- Extended periods without use can drop the battery below minimum voltage thresholds
- Extreme temperatures can accelerate battery degradation
- Frequent complete discharges shorten battery lifespan
To maximize battery life, store your vacuum in a cool, dry place and maintain a partial charge when not in use for extended periods.
Circuit Board Considerations
In rare cases, the main circuit board may be the culprit:
- Circuit board repairs are complex and often expensive
- Replacement boards can cost nearly as much as a new vacuum
- Professional diagnosis is recommended before attempting circuit board replacement
- Consider the age and overall condition of your vacuum when deciding whether repair is worthwhile
Frequently Asked Questions (FAQ)
How long should my Dyson DC59 battery last before needing replacement?
With normal use, a Dyson DC59 battery typically lasts 2-3 years before showing significant capacity reduction. However, this varies based on usage patterns, charging habits, and storage conditions. If your vacuum runs for less than half its original runtime, it’s likely time for a battery replacement.
Can I use my Dyson DC59 while it’s charging?
No, the Dyson DC59 is designed to be used cordlessly and cannot operate while connected to the charger. This design prevents damage to the charging system and ensures safety during operation. Always disconnect your vacuum from the charger before use.
Why does my Dyson DC59 run for only a few seconds before shutting off?
This typically indicates a severely degraded battery that can no longer hold sufficient charge. The battery management system shuts down the vacuum to prevent damage when voltage drops too low. In most cases, battery replacement is the only effective solution for this problem.
Are aftermarket batteries safe to use in my Dyson DC59?
Quality aftermarket batteries from reputable manufacturers are generally safe to use. Look for batteries with positive reviews, overcharge protection, and proper certification. While they may not last quite as long as original Dyson batteries, good aftermarket options provide excellent value and performance at a lower price point.
How can I properly dispose of my old Dyson battery?
Lithium-ion batteries contain hazardous materials and should never be discarded with regular household waste. Many electronics retailers, home improvement stores, and recycling centers accept lithium-ion batteries for proper disposal. Some communities also hold hazardous waste collection events where you can safely dispose of old batteries.
Conclusion
Charging issues with your Dyson DC59 vacuum can often be resolved through systematic troubleshooting and maintenance. By cleaning contacts, checking connections, and testing components, you can identify the source of the problem and apply the appropriate solution. In many cases, a simple cleaning or reset procedure will restore functionality without requiring replacement parts.
If your diagnosis indicates a failed battery, replacement is straightforward and cost-effective compared to purchasing a new vacuum. Whether you choose an original Dyson battery or a quality aftermarket alternative, proper installation and maintenance will help ensure years of reliable performance from your vacuum.
Remember that regular maintenance, including cleaning contacts and proper storage, can prevent many charging issues before they develop. With proper care, your Dyson DC59 can continue providing powerful, convenient cleaning for years to come.


