
Common Causes When Your Dyson DC50 Fails to Power Up
The Dyson DC50 is a powerful and compact upright vacuum cleaner that many homeowners rely on for efficient cleaning. However, like any electronic device, it can sometimes encounter issues that prevent it from turning on. This can be frustrating, especially when you’re in the middle of your cleaning routine.
Affiliate disclosure: As an Amazon associate, We'll earn a commission for every successful order through our affiliate links in the article. However, you won’t be charged anything for this.
When your Dyson DC50 refuses to power up, the problem could stem from various sources ranging from simple power supply issues to more complex internal electrical failures. Understanding these potential causes is the first step toward getting your vacuum back in working condition. In this comprehensive guide, we’ll walk through the diagnostic process, troubleshooting steps, and solutions to help you revive your Dyson DC50.
Power Supply Issues: The First Place to Check
Examining the Power Connection
The most common reason a Dyson DC50 won’t turn on is related to its power supply. Before diving into more complex troubleshooting, always check these basic power-related elements:
-
Outlet Testing: Plug another device into the same electrical outlet to confirm it’s functioning properly. If the test device doesn’t work either, you may have a tripped circuit breaker or a faulty outlet.
-
Power Cord Inspection: Carefully examine the entire length of the power cord for any visible damage such as cuts, frays, or kinks. Even minor damage to the cord’s insulation can prevent electricity from reaching your vacuum.
If you’ve found the power cord is damaged, it’s important to replace it for safety and functionality.
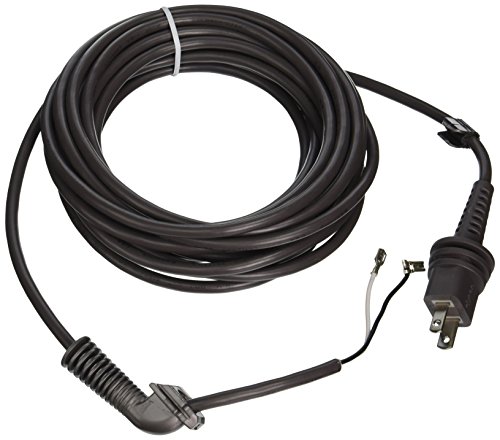
Official Dyson OEM replacement power cord
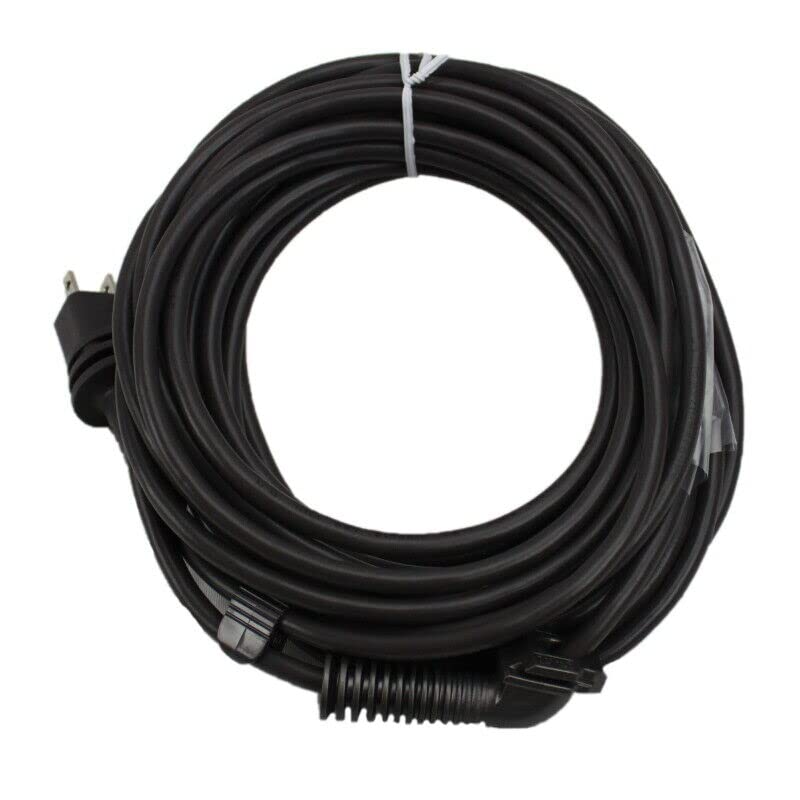
Original Dyson DC50 power cord replacement
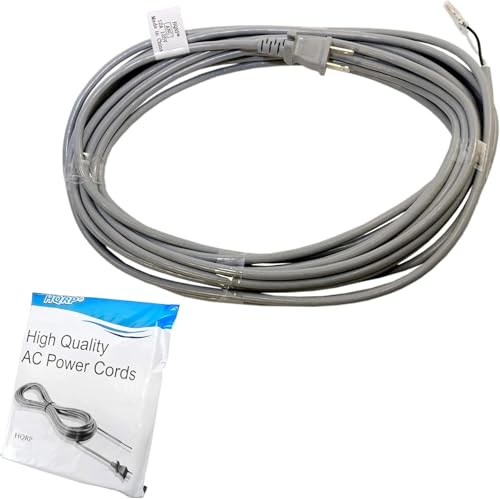
Affordable 36ft replacement power cord
-
Secure Connections: Ensure the power cord is fully inserted into both the vacuum and the wall outlet. Sometimes, a partially connected plug can cause power delivery problems.
-
Circuit Breaker Check: If the outlet isn’t working, locate your home’s circuit breaker panel and check if the relevant breaker has tripped. Reset it if necessary and try your vacuum again.
Internal Component Troubleshooting
Motor and Thermal Cut-Out Issues
The Dyson DC50’s motor is designed with safety features that can sometimes interrupt normal operation:
-
Thermal Cut-Out Reset: If your vacuum has been running for an extended period, its motor might have overheated, triggering the thermal cut-out switch. Unplug the vacuum and allow it to cool down for approximately 30-40 minutes before attempting to restart it.
-
Motor Sound Assessment: When attempting to turn on the vacuum, listen carefully. If you hear a humming sound but the vacuum doesn’t start, this could indicate a motor that’s trying to run but is obstructed. No sound at all might suggest a more serious electrical issue.
-
Fan Assembly Inspection: A damaged or obstructed fan blade can prevent the motor from spinning freely. This typically requires disassembly to inspect and clear.
Brush Bar and Blockage Problems
The brush bar system can affect the vacuum’s ability to start:
-
Brush Bar Jam Check: Turn the vacuum upside down and manually rotate the brush bar. If it doesn’t move freely, look for hair, string, or debris that might be tangled around it. Remove any obstructions you find.
-
Brush Bar Reset: Some models have a brush bar reset button that needs to be pressed if the brush bar has overheated or jammed.
Thorough Cleaning and Maintenance Procedures
Filter Inspection and Cleaning
Clogged filters can cause your Dyson DC50 to shut down as a protective measure:
-
Pre-Motor Filter: Remove the clear bin and locate the pre-motor filter. This filter should be washed monthly with cold water (no detergents) and allowed to dry completely for at least 24 hours before reinstalling.
-
Post-Motor Filter: Located at the ball assembly, this filter should also be washed monthly and dried thoroughly before reinstallation.
-
Filter Replacement: If your filters appear damaged or don’t improve performance after cleaning, they may need replacement. Only use genuine Dyson replacement filters for optimal performance.
If your Dyson DC50 filters are damaged or worn, replacing them can restore your vacuum’s performance.

Complete filter replacement set for DC50 models with cleaning instructions
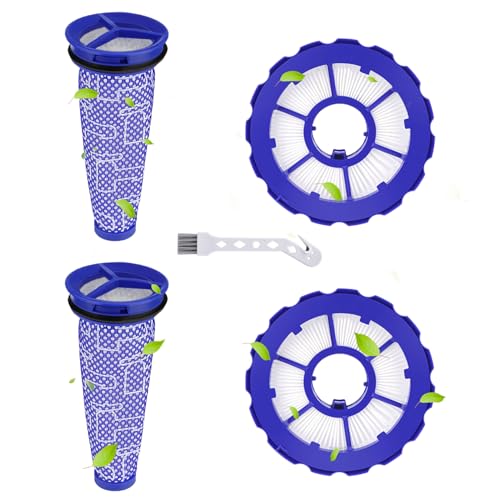
Extended filter set for DC50 Animal and Multi Floor variants
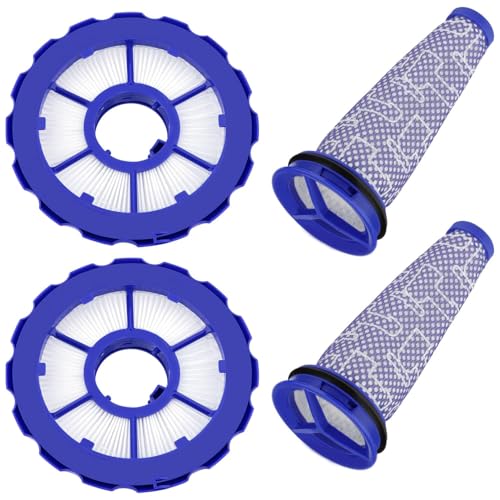
Pet dander filtration with included maintenance tools
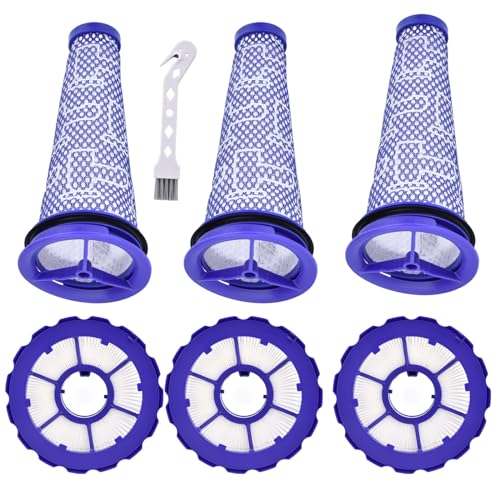
Value pack with extended filter lifespan planning
Airway Inspection
Blockages in the vacuum’s airways can trigger safety shutoffs:
Bin Emptying: Ensure the clear bin is emptied and free from debris that might be blocking airflow.
Hose Check: Detach the hose and check for blockages by passing a broom handle or similar long object through it.
Wand Inspection: Remove the wand and look through it to ensure there are no obstructions.
Inlet Inspection: Check the suction inlet at the base of the vacuum for any large debris that might be causing a blockage.
Electrical Component Diagnostics
Switch and Circuit Board Issues
The electrical control systems in your Dyson DC50 are sophisticated but can develop problems:
On/Off Switch Testing: The power switch might be stuck or faulty. Try toggling it several times to see if it engages properly.
PCB Examination: The Printed Circuit Board controls the vacuum’s electrical functions. While not easily accessible for home repair, signs of a faulty PCB include:
- Vacuum turning on and off intermittently
- Unusual electrical odors
Visible damage or corrosion on the board (if you can access it)
Internal Wiring Check: If you’re comfortable with basic electronics, inspect for any disconnected or damaged wires inside the vacuum. This requires careful disassembly and should only be attempted if you have appropriate skills.
Specific DC50 Modular Design Repairs
Addressing Suction Problems
While not directly related to power issues, suction problems can sometimes be mistaken for the vacuum not working properly:
Modular Disassembly:
- The DC50’s design allows for easy access to internal components:
- Remove the dust catcher
- Detach the rear hose and check for blockages
- Remove the rollerball component
Inspect all internal tubing for obstructions
Seal Inspection: Pay special attention to the seal between the main suction pipe and rear tubing. A compromised seal can significantly reduce suction power. If the seal is loose, it may need to be reattached using an appropriate adhesive like superglue.
Reassembly Process: After clearing any blockages and ensuring all seals are intact, carefully reassemble the components in reverse order.
Professional Repair Options
When to Seek Expert Help
Some issues require professional attention:
Authorized Service Centers: Dyson has authorized service centers with technicians specifically trained to work on your model. These centers have access to genuine parts and specialized tools.
Warranty Considerations: If your Dyson DC50 is still under warranty, contact Dyson customer support before attempting any repairs that might void your coverage.
Cost-Benefit Analysis: Before investing in professional repairs, consider the age of your vacuum and the cost of repair versus replacement. Dyson vacuums are durable, but at some point, replacement becomes more economical than repair.
Preventive Maintenance Tips
Extending Your Dyson DC50’s Lifespan
Regular maintenance can prevent many issues that cause power failures:
Regular Filter Cleaning: Mark your calendar to clean both filters monthly, especially if you have pets or live in a dusty environment.
Bin Emptying Routine: Empty the dust bin after each use or when it reaches the MAX line to prevent strain on the motor.
Brush Bar Maintenance: Regularly check and clean the brush bar to remove hair and string that can cause jams and motor strain.
Storage Considerations: Store your vacuum in a cool, dry place to prevent moisture damage to electrical components.
Cord Care: When storing your vacuum, loosely wrap the cord to prevent stress and damage to the internal wires.
Frequently Asked Questions (FAQ)
Why does my Dyson DC50 turn on and then immediately shut off?
This is typically caused by the thermal cut-out system activating due to overheating. Allow the vacuum to cool for at least 30 minutes, check for and clear any blockages in the airways, and ensure all filters are clean before attempting to restart it.
How often should I replace the filters in my Dyson DC50?
Dyson recommends washing the filters monthly and replacing them every 6-12 months depending on usage. Heavy use, pets, or dusty environments may require more frequent replacement.
Can a damaged power cord be repaired rather than replaced?
Minor damage to the outer insulation can sometimes be repaired with electrical tape as a temporary measure, but for safety reasons, a damaged power cord should be professionally replaced rather than repaired at home.
Why is my Dyson DC50 making a strange noise but not turning on?
This often indicates that the motor is receiving some power but is unable to operate properly. Common causes include a jammed brush bar, blocked airways, or a failing motor that needs professional attention.
How can I tell if my Dyson DC50’s battery needs replacement?
The Dyson DC50 is a corded vacuum and doesn’t rely on batteries for operation. If it’s not turning on, the issue lies elsewhere in the power supply or internal components.
Conclusion
When your Dyson DC50 refuses to turn on, a systematic approach to troubleshooting can often identify and resolve the issue. Start with the simplest possibilities like power supply problems before moving on to more complex internal components. Regular maintenance, particularly filter cleaning and airway inspection, can prevent many common issues that cause your vacuum to fail.
For persistent problems, don’t hesitate to contact Dyson customer support or visit an authorized service center. Their expertise with the specific design and components of the DC50 can save you time and potentially extend the life of your vacuum. Remember that proper care and maintenance are your best defense against future power issues, ensuring your Dyson DC50 remains a reliable cleaning companion for years to come.


