
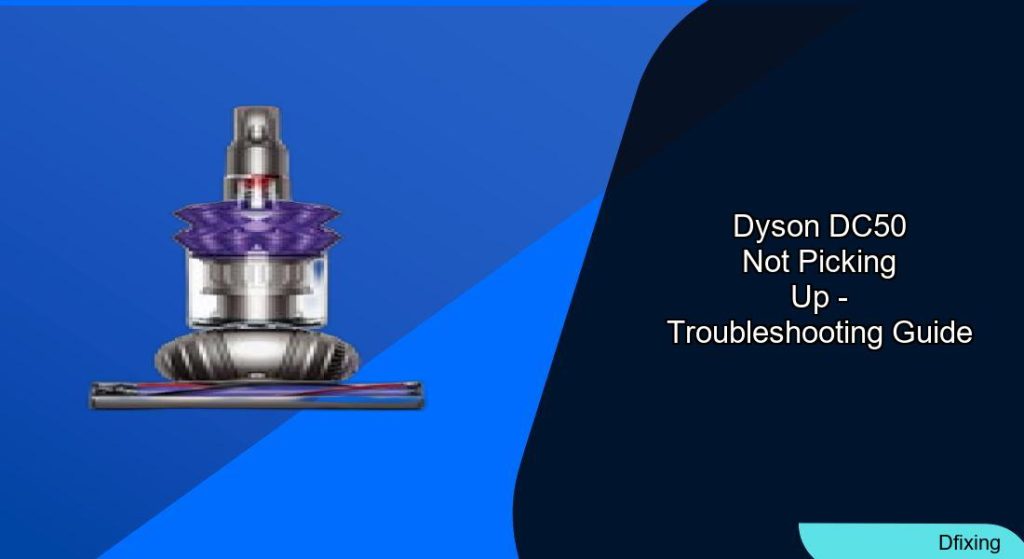
The Dyson DC50 is a powerful vacuum cleaner known for its strong suction capabilities, but like any appliance, it can encounter performance issues over time. When your Dyson DC50 stops picking up debris effectively, it can be frustrating, especially considering its premium price point. However, before rushing to replace your vacuum or scheduling a costly repair service, there are several troubleshooting steps you can take to restore its functionality.
Affiliate disclosure: As an Amazon associate, We'll earn a commission for every successful order through our affiliate links in the article. However, you won’t be charged anything for this.
Most suction problems with the Dyson DC50 can be traced back to a few common culprits: clogged filters, blocked hoses, brush roll issues, or problems with the motor or valve systems. The good news is that many of these issues can be resolved through simple maintenance procedures that don’t require specialized tools or technical expertise. This comprehensive guide will walk you through the diagnosis and resolution of suction problems with your Dyson DC50, helping you restore your vacuum to its optimal performance.
Common Causes of Suction Loss in Dyson DC50
When your Dyson DC50 vacuum cleaner isn’t picking up debris effectively, several components might be responsible. The most frequent causes include clogged filters, which restrict airflow; blocked hoses that prevent debris from reaching the dust bin; tangled or worn-out brush rolls that fail to agitate carpets properly; and issues with the motor or fan assembly that generate the suction power. Additionally, problems with the suction relief valve or the changeover valve can significantly impact performance.
Before diving into complex repairs, it’s best to start with the simplest and most common causes. In many cases, restoring your vacuum’s suction power is as straightforward as performing basic maintenance tasks that should be part of your regular cleaning routine. Let’s explore each potential issue and its solution in detail.
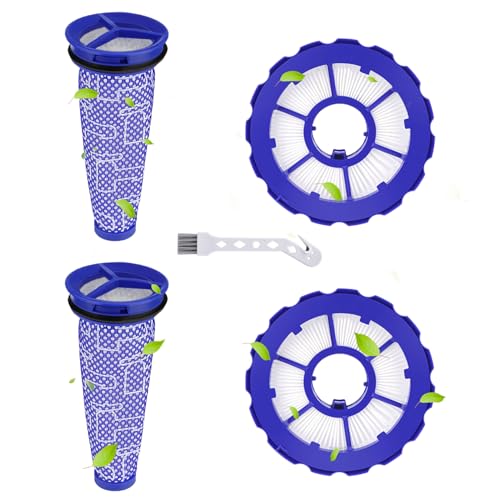
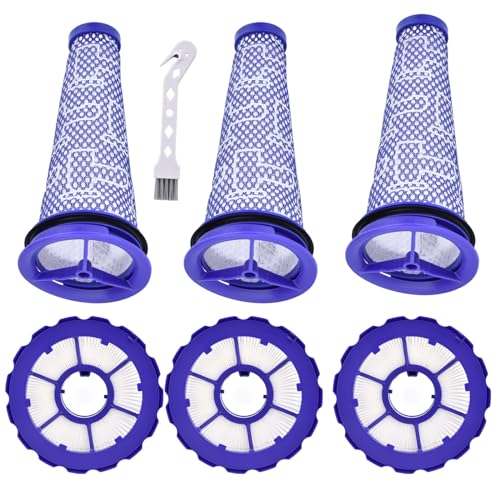
Filter Maintenance: Restoring Airflow
Dirty filters are the primary culprits behind suction loss in Dyson vacuums. The DC50 features two main filters that require regular cleaning to maintain optimal performance.
Pre-Motor Filter Cleaning
The pre-motor filter protects the motor from dust and debris and is located at the top of the dust bin. Here’s how to clean it properly:
- Ensure your vacuum is turned off and unplugged
- Locate the filter at the top of the dust bin
- Remove the filter by carefully lifting it out
- Tap it gently against a trash can to remove loose debris
- Rinse thoroughly under cold water, avoiding soap or detergents
- Continue rinsing until the water runs clear
- Allow the filter to dry completely for at least 24 hours
- Reinsert the dry filter back into its housing
Post-Motor Filter Maintenance
The post-motor filter (also called the HEPA filter) traps fine particles and allergens. To clean this filter:
- Locate the filter behind the motor assembly
- Remove it by unscrewing the retaining ring
- Gently tap to remove loose debris
- Wash with warm water and mild detergent if necessary
- Rinse thoroughly until water runs clear
- Allow to dry completely for 24-48 hours
- Reinstall the filter securely
For optimal performance, clean both filters at least once a month. If you notice the filters are damaged or excessively worn, replacement is necessary rather than cleaning.
If your filters are damaged or worn, replacing them can significantly improve your vacuum’s performance.

Budget-friendly filter set with washable pre-filters
Mid-range set with balanced filter quantities
Premium bulk option with extended filter lifespan
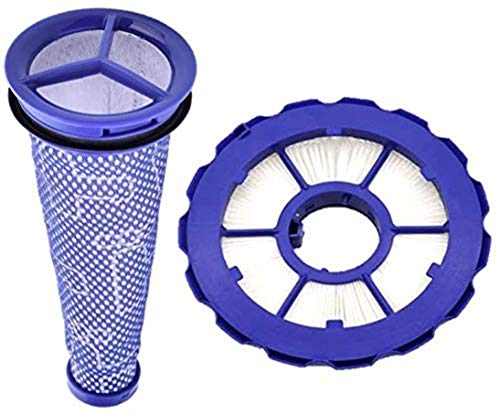
Single-set option for minimal filter needs
Clearing Blockages in the Hose System
A blocked hose can severely restrict airflow, resulting in poor suction. Follow these steps to inspect and clear your Dyson DC50’s hose:
- Disconnect the hose from both the vacuum body and the wand
- Hold the hose up to a light source to check for visible blockages
- Use a long, flexible tool like a straightened coat hanger to gently dislodge any stuck debris
- Run water through the hose to flush out remaining particles
- Allow the hose to dry completely before reattaching
- Reassemble and test the vacuum’s suction
To prevent future blockages, avoid vacuuming large debris that could get stuck in the hose. After each use, tap the hose against a hard surface to dislodge any loose particles and store it without sharp bends or kinks.
If you find that your hose is cracked, torn, or otherwise damaged, it’s best to replace it to restore proper suction.

Genuine Dyson internal hose for DC50

Direct-fit DC50 hose at budget price

Premium quality stretch hose replacement

Affordable valve hose with easy install
Brush Roll Troubleshooting and Maintenance
The brush roll (also called the roller brush) is crucial for effective carpet cleaning. When it becomes tangled or worn out, your vacuum’s ability to pick up debris is significantly compromised.
Removing Tangles and Obstructions
Hair, string, and fibers frequently wrap around the brush roll, preventing it from rotating properly. Here’s how to address this issue:
- Turn off and unplug your vacuum
- Flip the vacuum over to access the brush roll
- Locate the brush roll access panel on the bottom of the vacuum head
- Unscrew or unclip the panel (depending on your model)
- Remove the brush roll from its housing
- Use scissors to carefully cut away any tangled hair or fibers
- Clean the brush roll housing of any debris
- Reinstall the brush roll, ensuring it rotates freely
- Secure the access panel and test the vacuum
Replacing a Worn Brush Roll
If your brush roll shows signs of excessive wear, such as flattened bristles or damage, replacement is necessary:
Regular inspection of the brush roll (at least monthly) will help prevent suction issues. Trim away hair and fibers before they create major tangles, and avoid vacuuming large objects that could damage the brush roll mechanism.
Addressing Motor and Fan Assembly Issues

If cleaning filters and clearing blockages doesn’t restore suction, the motor or fan assembly might be the problem. These components are more complex to troubleshoot but still manageable for many DIY enthusiasts.
Motor Inspection
- Ensure the vacuum is unplugged
- Access the motor by removing the appropriate panels (consult your user manual)
- Look for any visible damage, burnt wires, or unusual odors
- If you have a multimeter, test for continuity to verify the motor is functioning
- Listen for unusual noises when the vacuum is running, which could indicate motor problems
Fan Assembly Examination
- Access the fan assembly by removing the motor cover
- Check for debris lodged in the fan blades
- Gently clean the fan blades with a soft brush
- Ensure the fan spins freely without resistance
- Look for cracks or damage to the fan blades
If the motor or fan assembly shows significant damage, professional repair or replacement might be necessary. However, simply cleaning these components often resolves minor issues.
Suction Relief Valve Problems and Solutions
The suction relief valve regulates pressure within the vacuum. When it malfunctions, you might hear a whooshing noise accompanied by reduced suction.
Diagnosing and Fixing Valve Issues
- Locate the suction relief valve (typically in the vacuum head or along the tube)
- Carefully disassemble the vacuum head to access the valve
- Inspect for dirt, debris, or signs of wear
- Clean the valve thoroughly with a soft cloth or brush
- Check for proper movement and function
- Reassemble the vacuum head, ensuring all components are secure
- Test the vacuum to see if suction has improved
Changeover Valve Troubleshooting
The changeover valve directs suction between the hose and the vacuum head. If you have strong suction at the hose but poor pickup from the floor head, this valve may be the culprit.
Fixing a Stuck Changeover Valve
- Remove the ball cover and filter to access the changeover valve
- Locate the valve (resembles a large plastic golf tee on a spring)
- Use needle-nose pliers to manually flip the valve
- Check for debris or small pieces of tubing that might be causing it to stick
- Remove any obstructions carefully
- Verify that the small suction hose isn’t cracked
- Ensure the tube with the red cap at the back of the machine is properly attached
- Test the vacuum after reassembly
Changeover Hose Replacement
If the changeover hose is damaged, replacement is necessary:
Replacing the changeover hose ensures proper suction transfer to the floor head.

Color-coded replacement for Dyson DC50 changeover valve hose
Premium quality multi-model compatible replacement hose
Preventative Maintenance Tips
To keep your Dyson DC50 performing optimally, incorporate these maintenance practices into your routine:
- Empty the dust bin after each use to maintain proper airflow
- Clean both filters monthly (more frequently for heavy use)
- Inspect the brush roll weekly for tangles or damage
- Check hoses for blockages regularly
- Use appropriate attachments for different surfaces to reduce wear
- Store the vacuum properly with the hose unkinked
- Avoid vacuuming large objects that could cause blockages
- Disinfect internal components occasionally with isopropyl alcohol
- Replace worn parts promptly with manufacturer-recommended components
Frequently Asked Questions (FAQ)
Why does my Dyson DC50 have strong suction at the hose but not at the floor head?
This typically indicates a problem with the changeover valve or hose. The valve might be stuck in the wrong position, or the changeover hose could be damaged. Check the valve for debris and ensure it moves freely between positions. Inspect the small suction hose for cracks or disconnections that might be causing suction loss to the floor head.
How often should I clean the filters on my Dyson DC50?
For optimal performance, clean both the pre-motor and post-motor filters at least once a month. If you use your vacuum frequently or have pets, consider cleaning the filters every 2-3 weeks. Always ensure filters are completely dry (24-48 hours) before reinstalling them to prevent motor damage and mold growth.
What should I do if my Dyson DC50 makes unusual noises when operating?
Unusual noises often indicate a blockage or mechanical issue. First, check for blockages in the hose, wand, and brush roll. If no blockages are found, inspect the brush roll for tangles or damage. A high-pitched whining might indicate motor problems, while rattling sounds could suggest loose components. If noise persists after troubleshooting, professional service may be required.
Can I wash the Dyson DC50 HEPA filter with soap?
While mild detergent can be used on the post-motor (HEPA) filter if it’s extremely dirty, it’s generally best to wash it with water only. For the pre-motor filter, use only cold water without any cleaning agents. Soap residue can clog the filter material and reduce efficiency. Always rinse thoroughly until water runs clear and allow complete drying before reinstalling.
Is it worth repairing my Dyson DC50 or should I replace it?
This depends on the specific issue and the age of your vacuum. Most maintenance tasks like filter cleaning, blockage removal, and brush roll replacement are cost-effective DIY repairs that extend your vacuum’s life. For motor or electronic issues, compare repair costs (typically $100-200) against the price of a new unit. If your DC50 is over 5 years old and requires significant repairs, replacement might be more economical in the long run.
Conclusion
The Dyson DC50 is a durable and powerful vacuum cleaner that can provide years of reliable service with proper maintenance. Most suction issues can be resolved through simple troubleshooting steps like cleaning filters, clearing blockages, and maintaining the brush roll. By following the comprehensive guide outlined above, you can diagnose and fix many common problems without professional assistance.
Regular maintenance is key to preventing suction loss in the first place. Establish a routine of emptying the dust bin after each use, cleaning filters monthly, and inspecting the brush roll and hoses regularly for signs of wear or blockages. These preventative measures will help ensure your Dyson DC50 continues to deliver the powerful suction performance it was designed for.
If you’ve attempted all the troubleshooting steps and your vacuum still isn’t performing properly, contacting Dyson customer support or a certified repair technician may be necessary. However, for most users, the DIY solutions provided in this guide will successfully restore their vacuum’s suction power and extend its useful life.


