
The Dyson DC50 Multi Floor is a powerful compact vacuum known for its strong suction capabilities. However, like any vacuum cleaner, it can experience suction loss over time. When your Dyson DC50 starts underperforming, there’s usually a fixable cause behind it rather than a need for complete replacement.
Affiliate disclosure: As an Amazon associate, We'll earn a commission for every successful order through our affiliate links in the article. However, you won’t be charged anything for this.
In this comprehensive guide, we’ll explore the common causes of suction loss in the Dyson DC50 Multi Floor vacuum and provide detailed troubleshooting steps to restore your machine to peak performance. Whether you’re dealing with clogged filters, worn-out brush rolls, or more complex issues like changeover valve problems, this article will walk you through the diagnostic process and solutions to get your vacuum working efficiently again.
Primary Causes of Suction Loss in Dyson DC50
When your Dyson DC50 Multi Floor vacuum cleaner loses suction power, several common culprits might be responsible. Identifying the specific cause is the first step toward an effective solution.
Clogged Filters and Hoses
One of the most frequent causes of suction loss is debris accumulation in filters or hoses. When these components become clogged, airflow is significantly restricted, resulting in poor performance. Signs of this issue include:
- Noticeably reduced suction power
- Visible blockages in the hose
- The vacuum not picking up debris effectively
Worn-Out Brush Roll
The brush roll is crucial for picking up dirt from carpets and hard floors. Over time, this component can wear out, leading to decreased cleaning performance. Look for these symptoms:
- Brush roll not spinning properly
- Visible damage or excessive wear on the bristles
- Poor dirt pickup, especially on carpets
- Unusual sounds when the brush is engaged
Blockages in Internal Pathways
Even if the main hose appears clear, debris can accumulate in the vacuum’s internal pathways, disrupting airflow. This problem often manifests as:
- Inconsistent suction
- Visible blockages when inspecting internal components
- The vacuum working in some positions but not others
Faulty Motor Issues
While less common than blockages, motor problems can cause significant suction loss. Watch for:
- Unusual noises during operation
- Intermittent suction problems
- Warning indicator lights
- The vacuum shutting off unexpectedly
Changeover Valve Complications
The changeover valve switches between floor cleaning and wand use modes. When it malfunctions, you might experience:
- No suction from the wand despite strong suction from the hose
- Inconsistent performance when switching between modes
- Clicking or sticking when changing positions
Step-by-Step Diagnostic Process
Before diving into complex repairs, follow this systematic approach to diagnose your Dyson DC50’s suction problems.
Initial Assessment
- Empty the dust container completely, even if it doesn’t appear full
- Remove and inspect the filters (both pre-motor and post-motor)
- Check the hose for visible blockages or kinks
- Examine the cleaner head for debris wrapped around the brush roll
- Test suction at different points (directly from the bin inlet, from the hose, and at the cleaner head)
Advanced Diagnostic Steps
If basic checks don’t resolve the issue, proceed with these more detailed examinations:
Test suction from the base:
- Remove the cleaner head
- Place your hand over the opening at the base
Feel for strong suction; weak suction indicates an internal blockage
Inspect the changeover valve:
- Remove the ball cover to access internal components
- Locate the large plastic piece resembling a golf tee
- Check for blockages or improper positioning
Examine the small suction hose:
- Locate the hose connecting to the bottom of the machine
- Check for cracks or tears
- Ensure proper connection at both ends
Motor function test:
- Listen for unusual sounds during operation
- Check if the motor runs consistently
- Look for any error lights or indicators
Detailed Troubleshooting Solutions
Once you’ve identified the likely cause of your suction problems, follow these detailed solutions to restore your Dyson DC50’s performance.
Cleaning Clogged Filters
Dirty filters are often the primary culprit behind suction loss. Here’s how to properly clean them:
Locate and remove both filters:
- The pre-motor filter is typically located at the top of the cyclone assembly
The post-motor filter is usually found on the ball or base unit
Clean the filters thoroughly:
- Rinse under cold water until the water runs clear
- For stubborn dirt, create a solution of baking soda and vinegar
- Gently wash the filters in this solution
- Rinse thoroughly with clean water
Dry completely before reinstalling:
- Allow at least 24 hours for air drying
Never reinstall damp filters as this can damage the motor and promote mold growth
Reinstall properly:
- Ensure filters are seated correctly
- Secure any locking mechanisms
If your filters are damaged or excessively worn, replacement is essential to maintain optimal suction.

Budget-friendly filter set with washable components for Dyson DC50 models
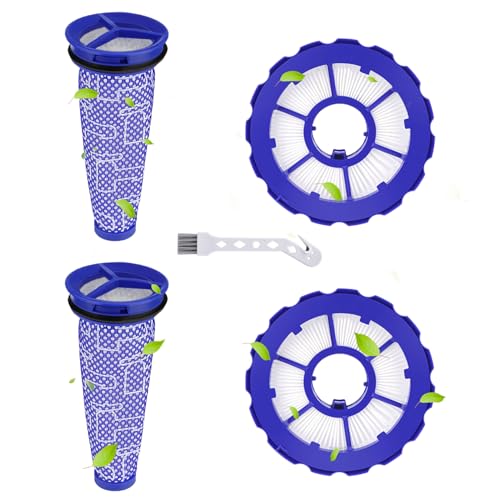
Premium filter kit with enhanced durability for extended use
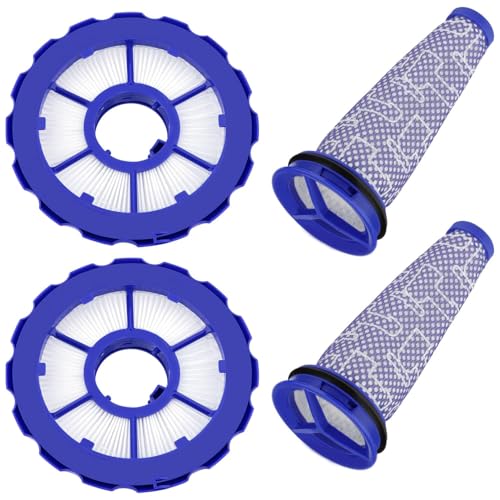
Advanced filtration system with allergen-blocking capabilities
Value pack with extended filter lifespan for frequent users
Resolving Brush Roll Issues
A malfunctioning brush roll can significantly impact cleaning performance, especially on carpets:
Access the brush roll compartment:
- Turn the vacuum upside down
- Locate the brush bar access plate
- Use a coin or flat screwdriver to release the locking tabs
Clear obstructions:
- Remove any tangled hair, string, or fibers
- Use scissors to cut through wrapped materials
- Pull debris free without damaging the bristles
Inspect for damage:
- Check for worn bristles
- Look for cracks in the brush roll
- Ensure the end caps are intact
Replace if necessary:
- If the brush roll shows significant wear, replace it with a genuine Dyson part
- Follow the manufacturer’s instructions for installation
Clearing Internal Blockages
Internal blockages require more detailed disassembly:
Prepare for disassembly:
- Unplug the vacuum
- Empty the dust container
- Work on a clean, flat surface with good lighting
Access internal pathways:
- Remove screws holding the vacuum body together using appropriate screwdrivers
- Carefully detach the top cover
- Take photos as you go to help with reassembly
Inspect and clear pathways:
- Check all internal tubes and channels from the brush roll to the dust container
- Use a long, flexible cleaning tool to remove obstructions
- Pay special attention to tight bends and transitions where debris often accumulates
Reassemble carefully:
- Ensure all components align properly
- Secure all screws without overtightening
- Verify all clips and tabs engage correctly
Addressing Changeover Valve Problems
The changeover valve is a common trouble spot in Dyson DC50 vacuums:
Access the valve:
- Remove the ball cover
Locate the large plastic piece resembling a golf tee
Clear obstructions:
- Use needle-nose pliers to remove any debris
Check for small objects like plastic pieces, hair, or leaves
Test valve movement:
- Ensure the valve moves freely
Verify it’s not caught on small pieces of tubing or debris
Replace if damaged:
- If the valve is cracked or broken, replace it with a genuine part
- Follow manufacturer guidelines for installation
If the changeover valve is damaged, replacing it will ensure proper switching between floor and wand modes.

Premium compatible valve hose for Dyson DC50 with original part numbers
Replacing the Changeover Hose
If you’ve confirmed the changeover hose is the issue, follow these detailed steps for replacement:
Gather necessary tools:
- Torx screwdrivers (T-15 and T-8 sizes)
Optional: magnetized bit for easier screw handling
Disassembly process:
- Remove the filter cover
- Detach the cyclone assembly and nozzle using the red latch
- Remove the four screws securing the filter cover
- Remove two T-8 screws in the upright position
- Push the spring inward to disengage it from the hook
- Remove the third T-8 screw
- Extract the hose, noting its orientation (short end at top, longer end at bottom)
Install the new hose:
- Align the hose’s lip with the housing notch
- Slide it into place carefully
- Ensure the gasket seats properly without bending
- Slide the short end over the swing assembly frame
Reassembly steps:
- Reinsert the T-8 screw
- Replace the spring
- Secure the upright-side screws
- Reattach all components in reverse order of disassembly
Test functionality:
- Press the hose to confirm it moves freely
- Verify it creates a proper seal in both floor and upright positions
A cracked or damaged changeover hose will leak air, significantly reducing suction power. Replacing it is essential to restore optimal performance.

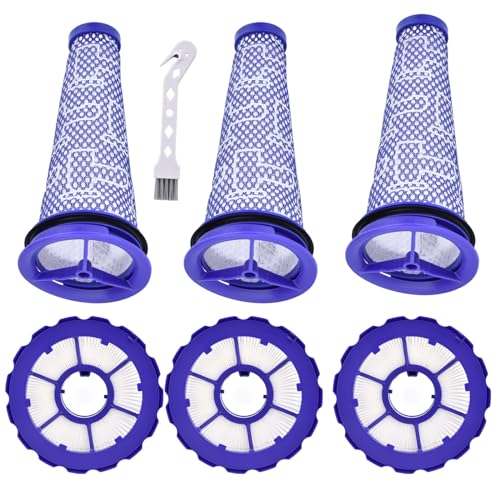
Official genuine Dyson replacement for DC40 series
High-quality third-party replacement for Dyson DC50

Universal replacement for Dyson DC50 series
Maintaining Your Dyson DC50 for Optimal Performance
Regular maintenance prevents suction problems and extends the life of your vacuum.
Essential Maintenance Schedule
Implement this maintenance routine to keep your Dyson DC50 working efficiently:
After each use:
- Empty the dust container
- Check for visible blockages
- Remove any wrapped hair or string from the brush roll
Monthly:
- Inspect hoses for kinks or damage
- Check all seals for proper fit
Clean the brush roll thoroughly
Every 2-3 months:
- Wash both filters thoroughly
- Inspect internal pathways for buildup
- Check the changeover valve for proper operation
Proper Cleaning Techniques
Follow these best practices when cleaning your Dyson DC50:
Dust container cleaning:
- Empty when debris reaches the MAX line
- Wipe the inside with a dry cloth
- Check the cyclone unit for buildup and clean if necessary
Filter maintenance:
- Wash with cold water only, never hot
- Don’t use detergents or soaps
- Allow to dry completely (24+ hours) before reinstalling
Brush roll care:
- Cut away tangled hair with scissors
- Wipe with a damp cloth to remove embedded dirt
- Check end caps for smooth rotation
Housing and exterior:
- Wipe with a slightly damp cloth
- Avoid harsh chemicals that might damage plastic components
- Pay attention to air vents and keep them clear of dust
Frequently Asked Questions (FAQ)
Why does my Dyson DC50 keep losing suction even after cleaning the filters?
If your vacuum continues to lose suction after filter cleaning, check for blockages in the internal pathways or issues with the changeover valve. The small suction hose that connects to the bottom of the machine may also have cracks causing air leaks. Additionally, examine the rubber seal between the rear tubing and main body, as degradation here can compromise suction efficiency.
How often should I replace the filters on my Dyson DC50?
With proper maintenance, Dyson DC50 filters can last the lifetime of the machine. However, if you notice the filters remain discolored after thorough washing or they begin to tear or degrade, replacement is necessary. Households with pets or high dust levels may need to replace filters more frequently. As a general guideline, inspect filters every 3-6 months for signs of wear.
Why does my Dyson DC50 brush roll stop spinning shortly after starting?
This typically indicates the brush motor is overheating due to a lack of airflow or something caught in the belt path. First, check if the red reset button has popped out and press it back in. Then, open the cleaner head and thoroughly clean the belt path and all internal components. Remove any hair or string wrapped around the brush roll and bearings. If the problem persists, the brush motor may need replacement.
What’s the difference between cleaning the pre-motor and post-motor filters?
The pre-motor filter protects the motor from dust and debris, while the post-motor filter captures fine particles before air exits the vacuum. Both require regular cleaning, but the pre-motor filter typically collects more debris and may need more frequent attention. When cleaning, the pre-motor filter often requires more thorough rinsing until water runs clear, while the post-motor filter generally requires gentler handling due to its finer filtration material.
Can I use my Dyson DC50 without filters while they’re drying?
No, never operate your Dyson DC50 without properly installed, completely dry filters. Running the vacuum without filters can allow dust and debris to enter the motor, causing permanent damage. Additionally, the vacuum’s filtration system is designed to work as a complete unit, and missing components will compromise performance and potentially void your warranty. Always have a spare set of filters if you need to use your vacuum while the primary set is drying.
Conclusion
The Dyson DC50 Multi Floor is a powerful and reliable vacuum cleaner that can provide years of excellent service with proper maintenance and care. When suction issues arise, they can almost always be resolved through systematic troubleshooting and appropriate maintenance procedures.
By following the comprehensive diagnostic steps and solutions outlined in this guide, you can identify and address the specific causes of suction loss in your Dyson DC50. Remember that regular maintenance—including emptying the dust container, cleaning filters, and checking for blockages—is the best way to prevent suction problems from developing in the first place.
With the right approach to troubleshooting and maintenance, you can restore your Dyson DC50’s powerful suction and extend the life of your vacuum cleaner, ensuring efficient cleaning performance for years to come.


