
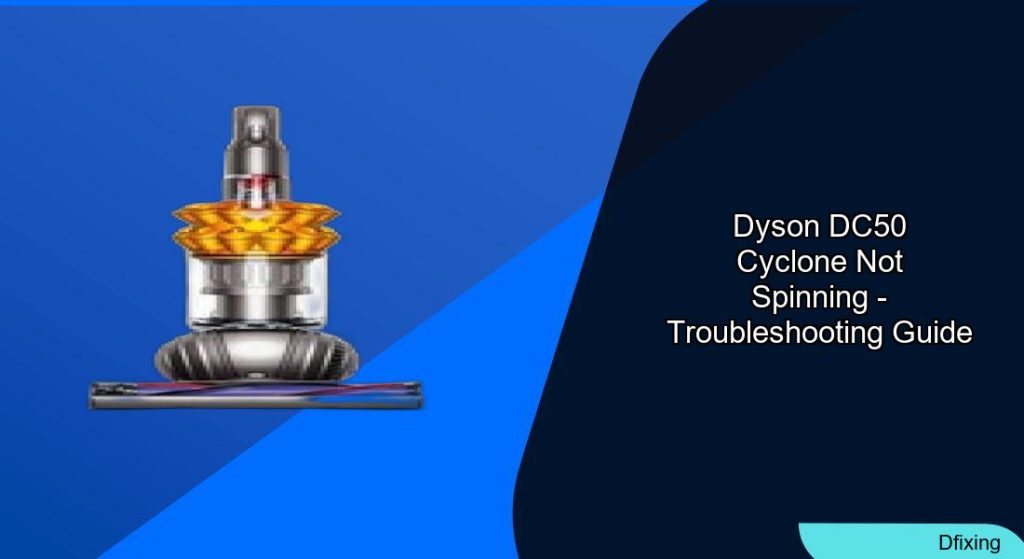
A malfunctioning Dyson DC50 cyclone can disrupt cleaning routines and reduce suction efficiency. When the cyclone fails to spin, it often points to issues like debris buildup, worn components, or electrical faults. This guide explores common causes, step-by-step fixes, and advanced repairs to help restore your vacuum’s performance. Whether you’re dealing with a tangled roller brush or a faulty motor, this article provides actionable solutions to get your Dyson DC50 back in working order.
Affiliate disclosure: As an Amazon associate, We'll earn a commission for every successful order through our affiliate links in the article. However, you won’t be charged anything for this.
The Dyson DC50’s cyclone system relies on seamless coordination between mechanical and electrical components. Hair, dust, or damaged parts can disrupt its operation, leading to reduced suction or complete failure. By systematically addressing potential problems—from simple blockages to complex PCB repairs—users can troubleshoot and resolve issues without professional assistance. This article breaks down the process into clear sections, ensuring even novice users can tackle repairs confidently.
Common Causes Behind a Non-Spinning Cyclone
Several factors can prevent the Dyson DC50 cyclone from spinning:
– Blocked Roller Brush: Hair, string, or debris the brush, restricting movement.
– Worn or Broken Belt: A frayed belt fails to transfer power from the motor to the cyclone.
– Motor Malfunctions: Electrical failures or overheating can halt motor operation.
– Loose Wiring: Disconnected or damaged wires disrupt power delivery.
– Overheating: Prolonged use or airflow blockages trigger safety mechanisms, stopping the motor.
Addressing these issues promptly can prevent further damage and extend the vacuum’s lifespan.
Step-by-Step Troubleshooting Guide
Step 1: Unplug and Access the Cyclone
Always disconnect the vacuum before repairs. Flip the unit over, locate the cyclone compartment, and remove the access door by pressing the tabs.
Step 2: Clear Debris and Hair Buildup
Inspect the cyclone and surrounding areas for blockages. Use scissors or a blade to remove hair, string, or debris. Check the black spiral connector inside—spin it manually to ensure it moves freely. Clean behind it if necessary.
Step 3: Inspect and Replace the Belt
A damaged belt is a common culprit. Slide the old belt off the motor shaft and cyclone. Install a new belt, ensuring it’s taut and properly aligned. Test by spinning the cyclone manually.
Step 4: Test the Motor and Wiring
Turn the vacuum upside down to observe the cyclone. If it spins in this position but not upright, the motor or pulley may be faulty. Inspect wiring for loose connections or damage. Secure or replace as needed.
Step 5: Check for Overheating
The red reset button pops out when the motor overheats. Ensure it’s pressed down and verify airflow isn’t obstructed. Allow the vacuum to cool before testing again.
Step 6: Reassemble and Test
Reattach the cyclone cover and screws. Plug in the vacuum and test the cyclone’s rotation. If unresolved, proceed to advanced diagnostics.
Advanced Repairs: Addressing PCB and Motor Problems
Diagnosing the Printed Circuit Board (PCB)
- Disassemble the Vacuum: Remove screws and cables to access the PCB.
- Visual Inspection: Look for burnt components or broken traces.
- Check Continuity: Use a multimeter to identify open or short circuits.
- Test Voltage: Confirm readings match expected values.
Motor and Power Delivery Issues
A non-spinning cyclone might stem from battery failure or insufficient power delivery. Ensure the vacuum is fully charged. If the motor remains silent, the battery or motor assembly may require replacement.
Suction-Related Complications and Fixes
Weak suction often coexists with cyclone issues. Common causes include:
– Clogged Filters: Clean or replace the filter cartridge, especially in pet households.
– Damaged Seals: Reattach loose seals between the suction pipe and nozzle using superglue.
– Changeover Hose Misalignment: Replace the hose if suction falters in specific modes. Align the short and long ends correctly during installation.
If the filter is clogged or damaged, replacing it can significantly improve suction.

Basic filter set with washable pre-filters and HEPA post-filter
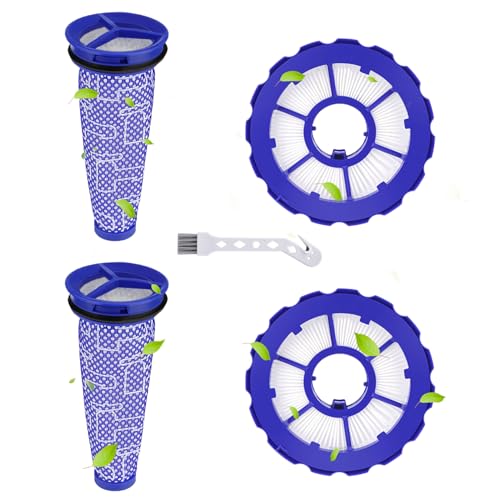
Double filter set with premium microfiber HEPA filters
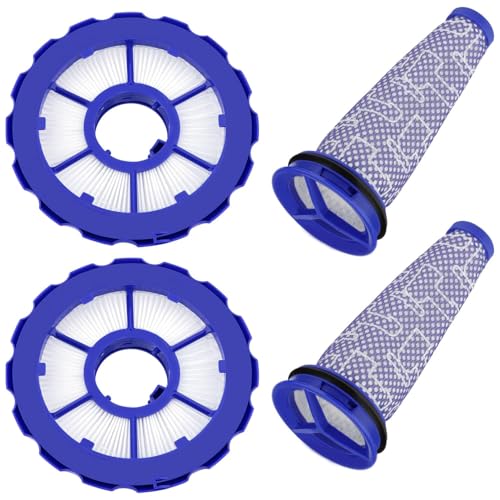
High-efficiency filter set with pet dander blocking
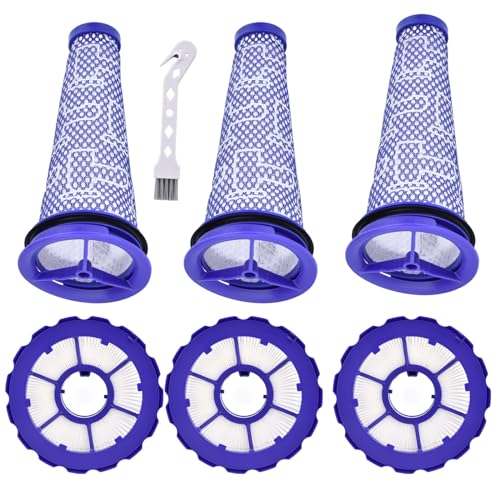
Economy bulk set for extended filter life
Regular maintenance—such as monthly filter inspections and seal checks—prevents recurring problems.
Frequently Asked Questions (FAQ)
How do I know if the belt is the issue?
A worn belt often appears frayed or loose. If the cyclone spins freely when manually turned but doesn’t engage during operation, the belt likely needs replacement.
Can overheating cause the cyclone to stop spinning?
Yes. Overheating triggers the red reset button, cutting motor power. Allow the vacuum to cool and clear airflow obstructions to resolve this.
Why is my cyclone still not spinning after cleaning?
Persistent issues may stem from a faulty motor, damaged PCB, or broken internal components. Use a multimeter to test the motor and consult a professional if repairs fail.
Conclusion
A non-spinning Dyson DC50 cyclone often stems from simple blockages or worn parts, but complex electrical issues can also arise. By following this guide, users can address common problems like hair buildup, belt replacement, and motor testing. For advanced repairs, such as PCB fixes, proceed cautiously or seek professional help. Regular maintenance of filters, seals, and wiring ensures long-term performance. With these steps, restoring your vacuum’s suction power becomes a manageable task.
Suggested Part Replacement: Replace the belt (if worn), damaged filters, or faulty PCB components to resolve persistent issues.


