
The Dyson DC44 is a powerful cordless vacuum, but like all battery-powered devices, it can experience charging issues over time. If your Dyson DC44 isn’t holding a charge, you’re likely dealing with one of several common problems that can be diagnosed and often fixed at home. This comprehensive guide will walk you through identifying the issue and implementing effective solutions to get your vacuum running again.
Affiliate disclosure: As an Amazon associate, We'll earn a commission for every successful order through our affiliate links in the article. However, you won’t be charged anything for this.
Before spending money on a replacement, it’s worth exploring the possible causes and fixes. Many charging problems can be resolved with simple troubleshooting steps, potentially saving you the cost of a new vacuum or expensive repairs.
Common Causes of Charging Problems in Dyson DC44
When your Dyson DC44 fails to hold a charge, the issue typically stems from one of three main areas: the battery itself, the charging dock, or the power supply. Understanding these potential problem sources is the first step toward an effective solution.
Battery Issues
The most common reason for charging problems is battery degradation. Lithium-ion batteries naturally lose capacity over time, and after a few years of regular use, your Dyson’s battery may no longer hold sufficient charge. Signs of battery failure include:
- Significantly reduced runtime (30 seconds to 1 minute of operation)
- Random shutdowns during use
- Pulsating power while vacuuming
- Physical damage like swelling or corrosion
- Battery voltage reading below 16.8V when fully charged
Charging Dock Problems
The charging dock serves as the connection point between your power supply and the vacuum. Issues here can prevent proper charging:
- Dirty or corroded contacts blocking electrical connection
- Physical damage to the dock
- Faulty internal wiring
- No charging light when plugged in
- Incorrect voltage output at charging contacts
Power Supply Failures
Sometimes the issue isn’t with the vacuum at all, but with how power reaches it:
- Non-functional wall outlet
- Damaged power cord
- Loose connections
- Tripped circuit breaker
- Incompatible replacement charger
Diagnosing Your Dyson DC44 Charging Issue
Before attempting repairs, it’s important to properly diagnose the specific problem affecting your vacuum. These diagnostic steps will help pinpoint the issue.
Testing the Battery
-
Visual inspection: Remove the battery and check for obvious signs of damage such as swelling, leaking, or corrosion.
-
Voltage measurement: If you have a multimeter, measure the battery voltage. A fully charged Dyson DC44 battery should read approximately 16.8V. Significantly lower readings indicate a depleted or failing battery.
-
Runtime test: Fully charge the vacuum (or attempt to), then time how long it runs. A healthy DC44 should operate for 15-20 minutes on standard power. If it runs for only seconds or a minute, the battery is likely failing.
Examining the Charging Dock
-
Visual inspection: Check for dirt, debris, or damage on the charging contacts.
-
Charging indicator: When connected to power and the vacuum, the charging light should illuminate. No light suggests a dock or power supply issue.
-
Voltage test: Using a multimeter, check if the charging dock outputs the correct voltage at its contacts.
Checking the Power Supply
-
Outlet test: Plug another device into the same outlet to verify it works.
-
Cord inspection: Examine the power cord for cuts, frays, or other damage.
-
Connection check: Ensure all connections are secure from the wall to the charging dock.
Comprehensive Solutions for DC44 Charging Problems
Once you’ve identified the likely cause of your charging issues, you can proceed with the appropriate solution. Here are detailed approaches for each potential problem.
Battery Replacement Process
If your diagnosis points to a failing battery, replacement is often the most straightforward solution:
Selecting the Right Battery
-
Battery type identification: Dyson DC44 models manufactured before 2013 typically use Type A batteries (shorter arm with screw at the base), while post-2013 models use Type B batteries (longer arm with screw at the top).
-
Purchase options: You can buy genuine Dyson batteries (approximately $129) or third-party alternatives (around $30). While third-party options are more affordable, they may offer reduced lifespan or potentially damage your device.
Installation Steps
-
Remove the old battery from the vacuum by pressing the release button or removing the securing screw (depending on your model).
-
Align the new battery with the compartment, ensuring proper orientation.
-
Push the battery firmly into place until it clicks or secure it with the screw.
-
Place the vacuum on the charging dock and allow it to charge fully before testing.
If your Dyson DC44 battery is showing signs of degradation, such as significantly reduced runtime or failure to hold a charge, it’s time to consider a replacement.
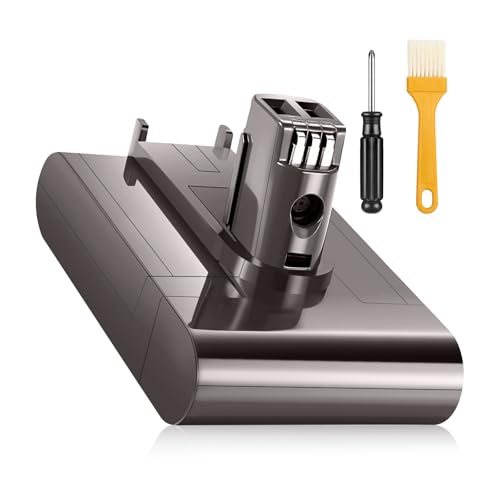
Highest capacity DC44 battery with extended runtime and enhanced safety features

Premium Type B replacement with smart protection and 6.5Ah capacity

Balanced performance with robust safety features and extended runtime
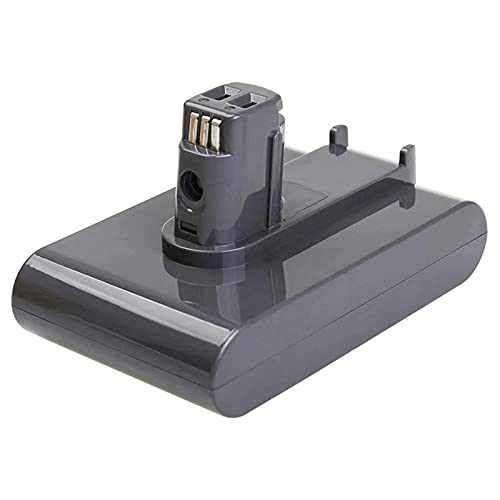
Cost-effective replacement with comprehensive safety certifications
Charging Dock Repair or Replacement
If the charging dock appears to be the culprit, try these solutions:
Cleaning the Charging Contacts
-
Unplug the charging dock from the power source for safety.
-
Use a soft cloth or brush to remove dirt or debris from the contacts.
-
For stubborn residue, lightly dampen a cloth with isopropyl alcohol and gently clean the contacts.
-
Allow the contacts to dry completely before reconnecting to power.
Fixing Loose Connections
-
If you’re comfortable with basic electronics repair, check for loose wiring in the charging port.
-
Pay special attention to the red power-delivery wire, which commonly comes loose.
-
Reshape any bent copper prongs in the charging connector to ensure stable connectivity.
-
Reconnect or solder any severed wires, insulating repairs with electrical tape.
Replacing the Dock
If repairs aren’t possible:
-
Purchase a new charging dock from Dyson or an authorized retailer.
-
Follow the manufacturer’s instructions for installation.
-
Test the vacuum to ensure it charges properly with the new dock.
If cleaning and minor repairs don’t resolve the charging issues, the charging dock itself might be faulty and require replacement.

Wall-mounted charging station for Dyson DC44 with secure attachment storage
Power Supply Solutions
When power supply issues are suspected:
-
Try a different wall outlet to rule out outlet problems.
-
Verify you’re using the correct Dyson charger with proper voltage and amperage ratings.
-
Avoid using extension cords or power strips, which can cause voltage fluctuations.
-
If needed, have an electrician inspect problematic outlets.
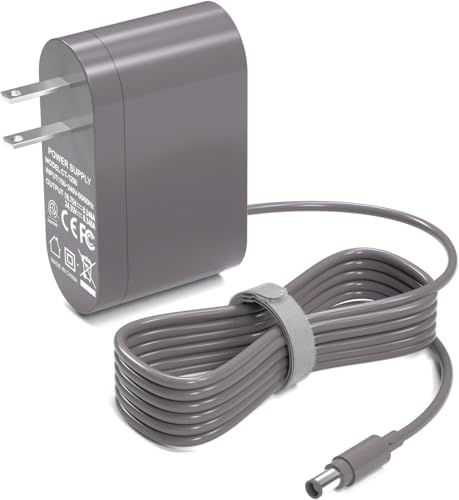
If you’ve ruled out other issues and suspect the power adapter is failing, replacing it with a compatible charger is the next step.

High-quality third-party charger with global voltage compatibility
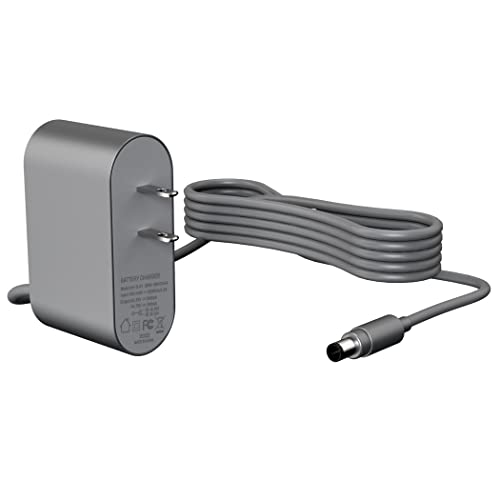
Budget-friendly replacement with safety protection features
Longer cable option with international safety certifications
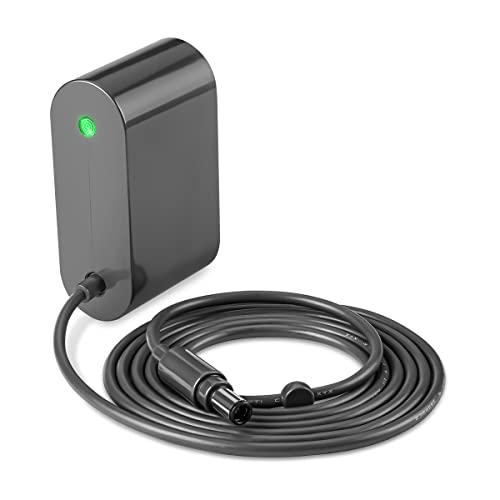
Safety-focused design with extended technical support
Quick Fixes Worth Trying First
Before undertaking more complex repairs, try these simple solutions that have worked for many Dyson owners:
Reset Procedure
-
Power off the vacuum and disconnect from all power sources.
-
Remove the battery (if possible on your model).
-
Discharge any residual power by holding the power button for 10-20 seconds.
-
Reinstall the battery, connect to the charger, and allow it to charge fully.
Unplug and Replug Method
-
Unplug the charger from the wall outlet.
-
Plug it back in.
-
Attach the Dyson to the charger and press the trigger for about 20 seconds.
-
Allow the vacuum to charge normally.
Short Charging Cycles
Some users report success with this unusual but simple approach:
-
Place the vacuum on the charging station for about 30 seconds.
-
Remove it briefly.
-
Replace it on the charger and allow it to charge fully.
Maintaining Your Dyson DC44 for Optimal Battery Life
Proper maintenance can prevent future charging issues and extend your vacuum’s lifespan:
Battery Care Best Practices
-
Avoid overcharging – don’t leave the vacuum on the charger for days after it’s fully charged.
-
Store in a cool, dry place – extreme temperatures can damage battery cells.
-
Use regularly – even if you don’t need to vacuum, run the device occasionally to keep the battery active.
-
Avoid complete discharge – try not to run the battery completely empty before recharging.
Filter and Canister Maintenance
Clogged filters and obstructed canisters can cause the motor to work harder, draining the battery faster:
-
Filter cleaning: Locate the filter (accessible via the purple button on the DC44), clean it using an air compressor or gentle washing, and allow it to dry completely before reinstallation.
-
Canister maintenance: Empty the canister regularly, remove it using the red tab, and clear any debris from the base holes and barrel to maintain proper airflow.
Power Usage Optimization
Using the vacuum on maximum power significantly reduces battery runtime. Reserve the max power setting for stubborn dirt and use standard power for routine cleaning to extend battery life between charges.
Frequently Asked Questions (FAQ)
How long should a Dyson DC44 battery last before replacement?
With proper care, a Dyson DC44 battery typically lasts 2-3 years before showing significant capacity reduction. However, this varies based on usage patterns, charging habits, and environmental factors.
Can I use third-party batteries in my Dyson DC44?
Yes, third-party batteries are available at lower prices (around $30 compared to $129 for genuine Dyson batteries). However, they may offer reduced performance or lifespan and could potentially damage your device. If choosing this route, select batteries from reputable manufacturers with positive reviews.
Why does my Dyson DC44 run for only a few seconds after charging?
This is a classic sign of battery failure. When lithium-ion batteries degrade, they may show a full charge but quickly deplete under load. Battery replacement is typically the solution for this issue.
How can I tell if my charging dock is working properly?
A functioning charging dock should show a charging indicator light when connected to power and the vacuum. You can also measure the output voltage at the charging contacts using a multimeter – it should match the specifications in your user manual (typically around 22V).
Is it worth repairing a Dyson DC44 or should I replace it?
If your DC44 is less than 5 years old and in otherwise good condition, repairing it (especially with a battery replacement) is usually more economical than purchasing a new vacuum. However, if multiple components have failed or the motor shows signs of wear, replacement might be more cost-effective.
Conclusion
The Dyson DC44 is a well-designed vacuum that can provide years of service with proper maintenance and occasional repairs. When charging issues arise, they typically stem from battery degradation, charging dock problems, or power supply issues – all of which can often be addressed without professional help.
By following the diagnostic steps and solutions outlined in this guide, you can potentially restore your vacuum to full functionality without the expense of professional repairs or replacement. Remember that preventive maintenance, including proper battery care and regular cleaning of filters and canisters, is the best way to avoid future charging problems and extend the life of your Dyson DC44.
If DIY solutions don’t resolve your charging issues, Dyson’s customer support (8002440214 or support.sa@dyson.com) can provide additional assistance. When contacting support, have your serial number ready and be prepared to describe any troubleshooting steps you’ve already attempted.


