
The Dyson DC35 is a powerful cordless vacuum cleaner that many homeowners rely on for quick cleanups. However, like any appliance, it can develop issues over time that affect its performance. If your Dyson DC35 has stopped picking up debris effectively, don’t rush to replace it just yet. Many common suction problems can be resolved with proper troubleshooting and maintenance.
Affiliate disclosure: As an Amazon associate, We'll earn a commission for every successful order through our affiliate links in the article. However, you won’t be charged anything for this.
This comprehensive guide will walk you through the most common reasons why your Dyson DC35 might not be picking up properly and provide step-by-step solutions to restore its suction power. From simple maintenance tasks to more advanced repairs, we’ll cover everything you need to know to get your vacuum working like new again.
Common Causes of Poor Suction in Dyson DC35
When your Dyson DC35 isn’t picking up debris effectively, several factors could be responsible. Identifying the root cause is the first step toward resolving the issue. Here are the most common culprits behind suction problems:
Clogged Filters
The filter system is crucial for maintaining proper airflow in your Dyson DC35. When filters become clogged with dust and debris, they restrict airflow, resulting in reduced suction power. Even filters that appear clean on the surface may have internal blockages affecting performance.
Blockages in Suction Pathway
Debris can accumulate in various parts of the vacuum’s suction pathway, including the hose, main tube, and brush head. These blockages prevent proper airflow and reduce the vacuum’s ability to pick up dirt effectively.
Brush Roll Issues
A tangled or malfunctioning brush roll can significantly impact your vacuum’s performance, especially on carpets. Hair, strings, and fibers can wrap around the brush roll, preventing it from rotating properly.
Battery Problems
Since the DC35 is a cordless model, battery issues can affect overall performance. A weakened battery may not provide sufficient power to maintain optimal suction, particularly when using the MAX setting.
Motor Malfunctions
The motor is the heart of your vacuum. Problems with the motor can lead to reduced suction power or complete failure of the vacuum to operate.
Essential Maintenance for Optimal Performance
Regular maintenance is key to preventing suction problems with your Dyson DC35. Implementing these practices can help maintain optimal performance and extend the life of your vacuum.
Filter Maintenance Protocol
Regular Cleaning Schedule:
1. Wash the filter every three months under cold running water
2. Gently squeeze and rotate to ensure water flows through all areas
3. Shake off excess water and allow to dry completely for 24-48 hours
4. Monthly cleaning is recommended for heavy use
Important: Never reassemble your vacuum with a damp filter as this can damage the motor and reduce suction power.
Brush Roll and Tube Maintenance
Regular Inspection:
1. Turn off and unplug the vacuum before inspection
2. Remove the brush roll and check for tangled hair, strings, or fibers
3. Use scissors to carefully cut away entanglements
4. Wipe the brush roll clean with a dry cloth
5. Check tubes for blockages using a flashlight
Dust Bin Emptying Techniques
Proper Emptying Method:
1. Empty the bin when debris reaches the MAX line
2. Hold the vacuum over a trash can
3. Press the release button to open the bin completely
4. Tap gently to dislodge stubborn debris
5. Clean the cyclone unit if visible dust accumulation is present
Troubleshooting Suction Problems: Step-by-Step Guide
When your Dyson DC35 isn’t picking up properly, follow this systematic approach to identify and resolve the issue.
Checking for Blockages
Main Tube and Hose Inspection:
1. Disconnect the wand and attachments from the main body
2. Look through each section using a flashlight
3. Use a long, flexible tool (like a straightened wire hanger) to push out any blockages
4. Check the entry point to the dust bin for obstructions
Hidden Blockage Areas:
1. Inspect mesh filters in the cyclone unit
2. Check the circular housing where the bin connects to the main unit
3. Examine the connection points between attachments
Clearing Internal Blockages:
1. Use non-damaging tools like a screwdriver with a rounded end or a chopstick
2. Gently probe to dislodge stuck debris
3. Ensure all components are properly reassembled after clearing
Resolving Brush Roll Issues
For a Tangled Brush Roll:
1. Turn off and unplug the vacuum
2. Remove the brush roll according to the user manual instructions
3. Use scissors to carefully cut away hair, string, or fibers
4. Clean the brush housing of any remaining debris
5. Reinstall the brush roll, ensuring it clicks into place
If Brush Roll Isn’t Spinning:
1. Check for blockages in the brush housing
2. Inspect the belt for damage or looseness
3. Replace the belt if it appears stretched or broken
4. If problems persist, the motor that drives the brush may need replacement
Addressing Battery and Charging Issues
Battery Troubleshooting:
1. Ensure the battery is properly connected
2. Clean the battery contacts with a soft cloth and rubbing alcohol
3. For removable batteries, try resetting the battery:
4. Disconnect the battery
5. Press and hold the power button for 10-20 seconds
6. Reconnect the battery and charge fully
Battery Replacement Indicators:
1. Significantly reduced runtime
2. Vacuum stops working shortly after starting
3. Battery fails to hold a charge
4. Vacuum only works when plugged in
Charging Station Maintenance:
1. Clean charging contacts regularly with a pencil eraser
2. Ensure the charging station is plugged into a working outlet
3. Check for loose connections at the wall plug and vacuum connection points
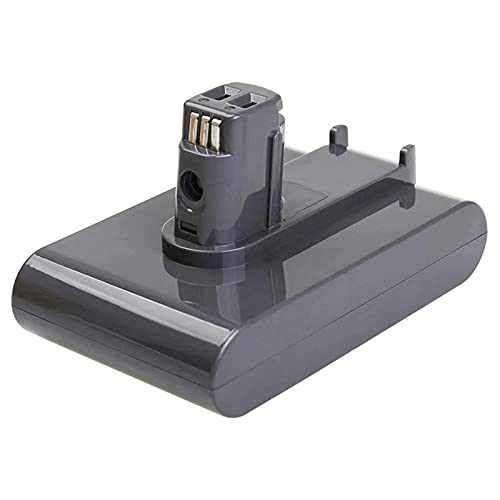
If your battery is failing to hold a charge or provides very little runtime, it’s time to replace it.
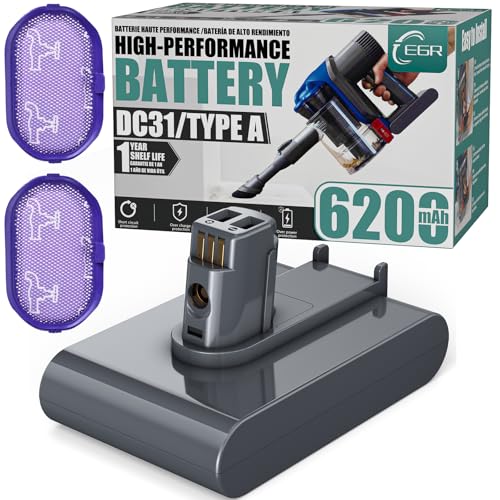
High-capacity replacement with safety certifications and 28-minute runtime

Affordable option with upgraded capacity and safety features
Balanced choice with CE/FCC certification and easy installation

Type B-specific replacement for screw-secured models
Motor Problem Diagnosis
Signs of Motor Issues:
1. Unusual noises (grinding, whining, or rattling)
2. Vacuum turns on but produces little to no suction
3. Motor runs intermittently or stalls during use
4. Burning smell during operation
Basic Motor Troubleshooting:
1. Check for blockages that might be straining the motor
2. Ensure all filters are clean and properly installed
3. Let the vacuum cool down if it has overheated
4. Reset the vacuum by disconnecting from power for several minutes
When to Seek Professional Repair:
1. If unusual noises persist after clearing blockages
2. If the motor fails to run despite a charged battery
3. If there’s a burning smell or visible damage
Advanced Repair Solutions for Persistent Issues

When basic troubleshooting doesn’t resolve the problem, these more advanced solutions might be necessary.
DC35 Disassembly and Gear Cleaning
Tools Required:
1. Phillips screwdriver
2. T10 and T8 Torx screwdrivers
3. Needle-nose pliers
4. Cleaning agent (isopropyl alcohol recommended)
Step-by-Step Process:
1. Brush Cap Removal:
2. Slide off the brush cap to access the brush assembly
3. Remove any visible debris
Front Assembly Disassembly:
- Use a Phillips screwdriver to remove screws securing the front plastic piece
- Use a T10 screwdriver for additional components
Carefully extract the gearbox and motor assembly
Gear and Motor Cleaning:
- Clean debris behind the gear using needle-nose pliers
- Apply cleaning agent to remove built-up grime
- Lubricate stiff bearing areas if necessary
- Test the motor by reconnecting to power source
Reassembly:
- Align the motor and gearbox correctly (black side facing back, white side facing front)
- Secure all screws in proper locations
- Reattach the brush, ensuring notches align with the gear drive
Trigger Malfunction Repair
If your DC35 won’t turn on due to trigger issues, the problem may be a worn-out rubber contact component:
Repair Procedure:
1. Disassemble the handheld unit to access the trigger mechanism
2. Identify the rubber contact piece that may be worn out
3. For a permanent fix, solder the three internal points:
4. Two contact points
5. One grounding point
6. Reassemble and test the trigger functionality
Note: This repair bypasses Dyson’s safety switch design but doesn’t compromise functionality.
Soldering Repairs for Internal Contacts
Poor electrical connections can cause intermittent operation:
- Disassemble the casing to access internal contacts
- Identify poorly soldered connections
- Resolder affected components to restore electrical continuity
- Test thoroughly before complete reassembly
Frequently Asked Questions (FAQ)
Why does my Dyson DC35 keep stalling during use?
Stalling is often related to overheating or battery issues. Try turning off the MAX button, which consumes more power. If stalling persists, your battery may need replacement, especially if the vacuum is several years old. As a temporary fix, some users report success by cupping the output vents to redirect cooler air to the temperature sensor.
How often should I clean the filter on my Dyson DC35?
For optimal performance, clean your filter at least once every three months. However, if you use your vacuum frequently or in dusty environments, monthly cleaning is recommended. Always ensure the filter is completely dry (24-48 hours) before reinstalling it in the vacuum.
Why is my Dyson DC35 making unusual noises?
Unusual noises typically indicate a mechanical issue. Check for blockages in the brush roll and suction pathway. Grinding noises may point to debris in the motor or gear system, while high-pitched whining could indicate a failing motor. If cleaning doesn’t resolve the issue, disassembly and inspection of the gear system may be necessary.
How long should the battery last on my Dyson DC35?
A fully charged DC35 battery typically provides about 15-20 minutes of runtime on standard mode and 6-8 minutes on MAX power. If your runtime is significantly less, your battery may be degrading. Dyson batteries typically last 3-5 years before needing replacement.
Can I replace parts myself or should I contact Dyson service?
Many maintenance tasks and simple repairs can be performed at home with basic tools. Filter cleaning, clearing blockages, and brush roll maintenance are all suitable for DIY. However, for motor issues, electrical problems, or if you’re uncomfortable disassembling the vacuum, contacting Dyson service is recommended.
Conclusion
The Dyson DC35 is a reliable vacuum that can provide years of service with proper maintenance and care. Most suction problems can be resolved through regular cleaning of filters, clearing blockages, and maintaining the brush roll. For more persistent issues, battery replacement or motor repair may be necessary.
By following the troubleshooting steps outlined in this guide, you can diagnose and fix most problems with your Dyson DC35. Remember that preventative maintenance is the key to avoiding suction issues in the first place. Regular cleaning of filters, emptying the dust bin before it reaches capacity, and checking for blockages will help keep your vacuum running at peak performance.
If you’ve tried all the suggested solutions and your Dyson DC35 still isn’t picking up properly, it may be time to contact Dyson customer support or a professional repair service for additional assistance.


