
When your Dyson DC34 handheld vacuum cleaner stops holding a charge, it can be frustrating. This powerful little device is designed to provide convenient cordless cleaning, but battery issues can render it practically useless. Several factors could be preventing your vacuum from maintaining its charge, from simple connection problems to more complex internal issues.
Affiliate disclosure: As an Amazon associate, We'll earn a commission for every successful order through our affiliate links in the article. However, you won’t be charged anything for this.
Most charging problems with the Dyson DC34 stem from either battery degradation, connection issues, or problems with the charging components themselves. The good news is that many of these issues can be resolved without professional help. This guide will walk you through a comprehensive troubleshooting process to identify exactly what’s causing your DC34’s charging problems and provide clear solutions to get your vacuum working again.
Common Causes of Charging Problems
Battery Issues
The most obvious culprit when your DC34 won’t hold a charge is the battery itself. Dyson uses lithium-ion batteries which, while powerful, have a finite lifespan. Typically, these batteries last between 2-3 years with regular use before their capacity begins to noticeably decrease.
Signs of a failing battery include:
– Significantly reduced runtime compared to when the vacuum was new
– The vacuum shutting off unexpectedly during use
– The battery feeling unusually hot during charging
– The vacuum working only when plugged into the charger
If your DC34 is several years old, battery degradation is likely the primary issue. Even with proper care, rechargeable batteries eventually wear out and need replacement.
Charging Connection Problems
Sometimes the issue isn’t with the battery itself but with how it connects to the charging system. Poor connections can prevent proper charging, even when the battery is in good condition.
Common connection issues include:
– Dirt or debris on the charging contacts
– Loose battery installation
– Damaged charging contacts
– Loose internal wiring
These connection problems can often be resolved with simple cleaning and maintenance procedures.
Charger and Power Supply Problems
If the battery and connections are fine, the problem might lie with the charging equipment:
– Damaged power cord
– Faulty charging station
– Issues with the electrical outlet
– Internal charging circuit malfunction
Testing different components of the charging system can help isolate these issues.
Step-by-Step Troubleshooting Guide
Preliminary Checks
Check the Power Source
- Ensure the charging station is properly plugged into a working outlet
- Try a different outlet to rule out electrical supply issues
- Verify that any power strips or surge protectors are functioning correctly
Inspect the Charging Equipment
- Examine the power cord for visible damage like fraying, cuts, or kinks
- Check that the charging station’s indicator lights work properly
- Ensure the charging contacts on both the station and vacuum are clean and free of debris
Verify Battery Installation
- Remove and reinsert the battery to ensure it’s properly seated
- Check for any visible damage to the battery or its housing
- Make sure the battery contacts are clean and free of corrosion
Basic Fixes for DC34 Charging Issues
Clean the Charging Contacts
- Unplug the charging station from the wall outlet
- Use a dry, lint-free cloth to gently wipe the metal contacts on both the charger and the vacuum
- For stubborn dirt or oxidation, lightly dampen the cloth with isopropyl alcohol
- Allow contacts to dry completely before attempting to charge
Perform a Battery Reset
- Remove the vacuum from the charging station
- Press and hold the power trigger for 10-20 seconds to discharge any residual power
- Place the vacuum back on the charger
- Let it charge undisturbed for at least 3.5 hours (a full charge cycle)
Try the Trigger Reset Method
- Unplug the charger from the wall outlet
- Plug it back in
- Connect your DC34 to the charger
- Press and hold the trigger (power button) for approximately 20 seconds
- Release the trigger and allow the vacuum to charge normally
This method sometimes helps reset the battery’s charging circuit and can resolve charging issues.
Advanced Troubleshooting and Repairs
Testing the Battery
Visual Inspection
- Remove the battery from the vacuum (if possible on your model)
- Check for any bulging, leaking, or unusual discoloration
- Examine the terminals for corrosion or damage
Performance Testing
- Fully charge the vacuum (or until the charging indicator shows it’s complete)
- Run the vacuum until it stops working
- Time how long it operates – if significantly less than the expected 15 minutes on standard mode, the battery is likely degraded
If the battery is degraded based on the above steps, replacing it is the best course of action.
Extended runtime with high-capacity lithium-ion battery for DC34 Type A
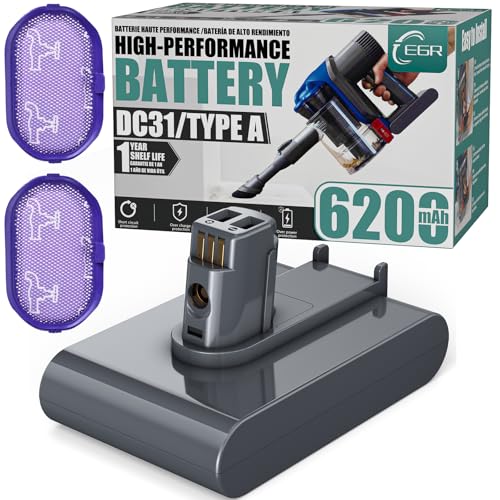
Balanced performance with 6200mAh capacity and non-slip anti-fall feature

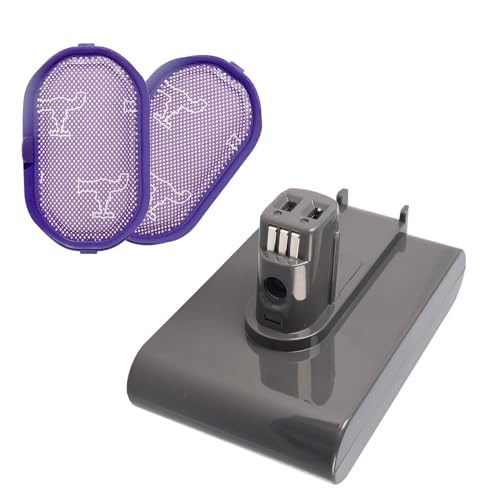
Stable 4000mAh battery with screw-fixed installation for DC34 Type B

Budget-friendly 6000mAh option with CE/FCC/ROHS safety certifications
Testing the Charger
Using a Multimeter
- Set a digital multimeter to measure DC voltage
- With the charger plugged in, carefully touch the probes to the charging contacts
- The reading should match the output voltage listed on the charger (typically 22.2V for the DC34)
- A significantly lower reading or no reading indicates a faulty charger
Alternative Testing Method
If you don’t have a multimeter:
1. If possible, borrow a working Dyson charger compatible with your model
2. Try charging your vacuum with the borrowed charger
3. If the vacuum charges properly, your original charger is the problem
If the charger is faulty based on the above steps, replacing it is the best course of action.
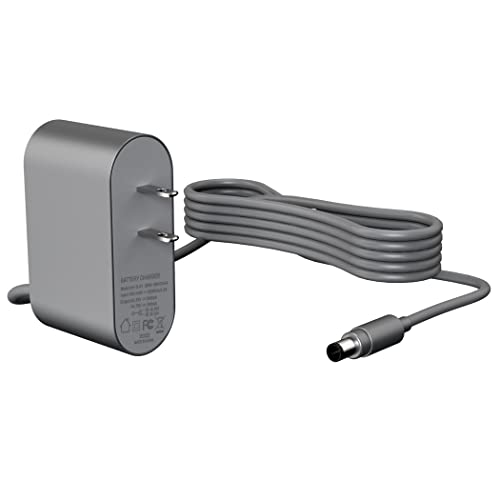
Budget-friendly replacement with essential safety features
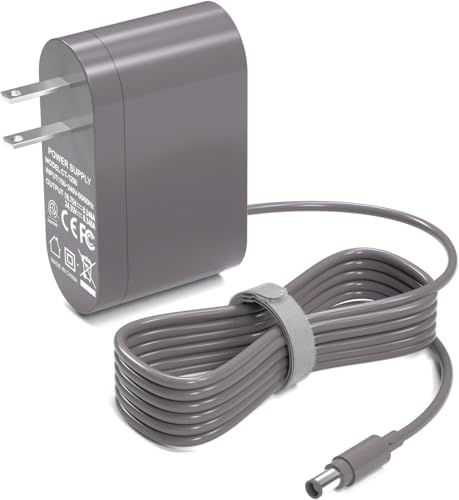
Extended cable length with comprehensive safety certifications

Global voltage compatibility with premium warranty
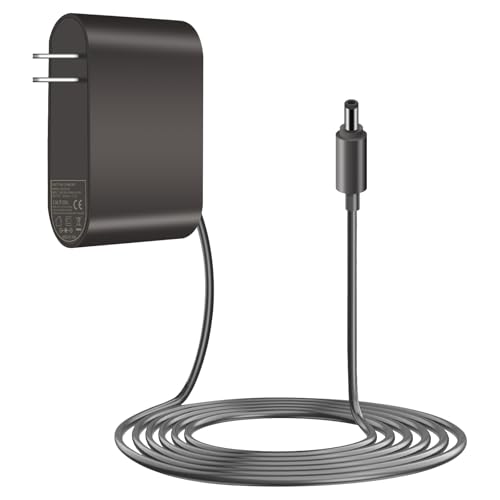
Rapid charging with enhanced safety features
Addressing Internal Connection Issues
For users comfortable with basic repairs:
- Ensure the vacuum is completely unplugged and powered off
- Remove any accessible screws securing the housing (typically requires a Torx screwdriver)
- Carefully separate the housing sections
- Inspect internal wiring connections, particularly those leading to the battery and charging port
- Look for loose, disconnected, or damaged wires
- Gently reconnect any loose connections
- Reassemble the vacuum and test
Replacing the DC34 Battery
If troubleshooting confirms a battery issue, replacement is straightforward:
Battery Removal Process
- Ensure the vacuum is turned off and disconnected from power
- Locate the battery release button (typically on the handle)
- Press the release button while pulling the battery away from the vacuum body
- If your model requires it, you may need to remove screws securing the battery compartment
Installing a New Battery
- Purchase a genuine Dyson replacement battery or a high-quality compatible model
- Align the new battery with its slot in the vacuum
- Slide the battery into position until it clicks securely
- Charge the new battery fully before first use (approximately 3.5 hours)
Battery Selection Tips
- Original Dyson batteries typically provide the most reliable performance
- If choosing third-party options, look for batteries with positive reviews and warranty coverage
- Verify the battery is specifically compatible with the DC34 model
- Expect to pay $30-70 for a quality replacement battery
Maintaining Your DC34’s Charging System
Preventive Maintenance
Regular Cleaning
- Clean the charging contacts monthly with a dry cloth
- Remove dust and debris from the vacuum’s air intakes and filter
- Empty the dust bin after each use to prevent strain on the motor
Proper Charging Habits
- Allow the battery to discharge completely before recharging occasionally (once a month)
- Avoid leaving the vacuum on the charger for extended periods after full charge
- Store the vacuum in a cool, dry place away from direct sunlight and extreme temperatures
Filter Maintenance
- Wash the filter under cold water monthly
- Allow it to dry completely (at least 24 hours) before reinstalling
- Never operate the vacuum without the filter installed
When to Seek Professional Help
Despite your best troubleshooting efforts, some issues require professional attention:
Contact Dyson Support When:
- The vacuum shows no signs of life even after battery replacement
- There’s unusual noise, smoke, or burning smell during charging
- The vacuum becomes extremely hot during charging
- You’ve tried all troubleshooting steps without success
Dyson Support Contact Information:
- United States: 866-693-9766
- United Kingdom: 0800-298-0298
- Canada: 1-877-397-6622
- Australia: 1800 239 766
- New Zealand: 0800 397 667
When contacting support, have your vacuum’s serial number ready (located on the main body or rating plate) and be prepared to describe all troubleshooting steps you’ve already attempted.
Frequently Asked Questions (FAQ)
How long should a Dyson DC34 battery last before replacement?
With regular use, the Dyson DC34 battery typically lasts 2-3 years before capacity noticeably decreases. However, this can vary based on usage patterns, charging habits, and environmental conditions.
Why does my Dyson DC34 run for only a few minutes after charging?
Short runtime after charging usually indicates battery degradation. After several hundred charging cycles, lithium-ion batteries naturally lose capacity. If your vacuum used to run for 15 minutes but now only runs for a few minutes, it’s likely time for a battery replacement.
Can I leave my Dyson DC34 on the charger all the time?
While modern lithium-ion batteries have overcharge protection, constantly leaving your DC34 on the charger can still contribute to faster battery degradation over time. It’s best to remove the vacuum from the charger once fully charged and only recharge when the battery is low.
Is it normal for the Dyson DC34 to get warm during charging?
Some warmth during charging is normal, but the vacuum should never become hot to the touch. If your DC34 becomes unusually hot during charging, disconnect it immediately and contact Dyson support, as this could indicate a serious battery or charging system issue.
Can I use a non-Dyson charger with my DC34?
Using non-Dyson chargers is not recommended unless they’re specifically designed for your model. Incompatible chargers may have incorrect voltage outputs that could damage your vacuum or create safety hazards. Always use the original Dyson charger or authorized replacements.
Conclusion
Charging issues with your Dyson DC34 can often be resolved through methodical troubleshooting and basic maintenance. By following the steps outlined in this guide, you can identify whether the problem lies with the battery, charging system, or connections, and take appropriate action to fix it.
For many users, a simple battery reset or contact cleaning will resolve charging problems. If these steps don’t work, battery replacement is a cost-effective solution that can extend your vacuum’s life by several years. Remember that proper maintenance—including regular cleaning, appropriate charging habits, and filter care—can help prevent future charging issues and maximize your DC34’s lifespan.
If all else fails, Dyson’s customer support team is available to help with more complex problems. With the right approach, your Dyson DC34 can return to providing the powerful, convenient cleaning experience it was designed for.


