
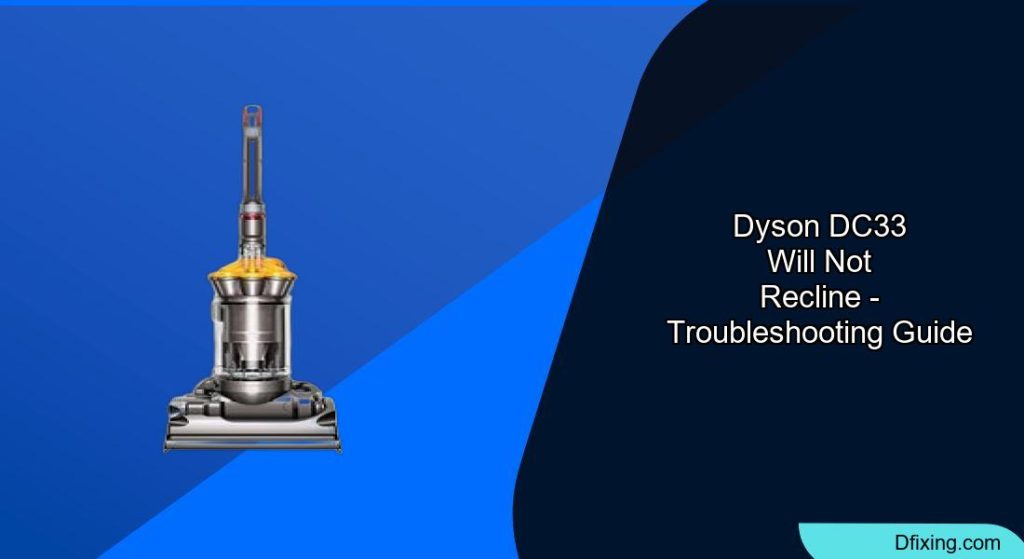
When your Dyson DC33 vacuum cleaner gets stuck in the upright position, it can transform a simple cleaning task into a frustrating experience. This powerful cleaning machine should pivot smoothly between positions, allowing you to navigate around furniture and reach under tables with ease. When this mechanism fails, the entire functionality of your vacuum is compromised.
Affiliate disclosure: As an Amazon associate, We'll earn a commission for every successful order through our affiliate links in the article. However, you won’t be charged anything for this.
The reclining mechanism on the Dyson DC33 is designed with precision engineering, but like any mechanical system, it can develop problems over time. The most common culprits include accumulated dirt in the hinge mechanism, blockages in the hose creating pressure on internal components, and wear and tear on the lock spring housing. Identifying which of these issues is affecting your vacuum is the first step toward resolving the problem and restoring your cleaning routine to normal.
Common Causes of Dyson DC33 Reclining Failures
The Dyson DC33’s reclining mechanism can fail for several reasons, with each requiring a specific approach to fix. Understanding these common causes can help you diagnose your vacuum’s issue more effectively:
Jammed Hinge Mechanism
The hinge at the base of your Dyson DC33 is designed to allow smooth pivoting motion. However, this area is particularly vulnerable to:
- Dirt and dust accumulation between moving parts
- Hair and fibers wrapping around pivot points
- Dried debris creating friction in the mechanism
- Natural wear on plastic components creating rough surfaces
The accumulation of these materials creates resistance in what should be a smooth-moving joint, eventually leading to complete immobility if left unaddressed.
Hose Blockages Creating Pressure
Your vacuum’s internal systems are interconnected, meaning a problem in one area can manifest as symptoms in another:
- Large debris stuck in the hose can create tension on the entire system
- Partial blockages may allow some functionality while still affecting the reclining mechanism
- The vacuum’s internal pressure systems may be compromised by blockages
- Hose misalignment after cleaning can affect proper operation
Lock Spring Housing Issues
The lock spring housing is a critical component that controls the vacuum’s ability to recline:
- The spring can become dislodged from its proper position
- The housing itself may develop cracks or damage
- Debris can interfere with the spring’s normal operation
- Normal wear can reduce the spring’s tension over time
DIY Troubleshooting Guide for Dyson DC33 Reclining Problems
Before attempting any repairs on your Dyson DC33, gather these essential tools:
- A small flat-head screwdriver
- A soft cloth or brush for cleaning
- Tweezers for removing debris
- A Torx T10 screwdriver for advanced maintenance
- Silicone-based lubricant (optional)
Basic Inspection and Cleaning
Examining the Hinge Mechanism
- Unplug your vacuum for safety
- Place the vacuum on its side for better access to the base
- Closely inspect the hinge area where the vacuum pivots
- Look for visible dirt, hair, or debris caught in the mechanism
- Check for any obvious damage to plastic components
Cleaning the Pivot Points
- Use your small flat-head screwdriver to gently pry out any visible debris
- Wipe away dust and dirt with a soft cloth
- For stubborn debris, use tweezers to carefully extract it
- Move the mechanism back and forth (if possible) to identify sticking points
- Apply a small amount of silicone lubricant if the mechanism feels dry or rough
Addressing Hose Blockages
Inspecting the Hose System
- Disconnect the hose from both connection points
- Hold the hose up to a light source to identify any obvious blockages
- Gently flex the hose to feel for any rigid areas that might indicate trapped debris
- Check both ends of the hose for accumulated hair or fibers
Clearing Obstructions
- For visible blockages, use your screwdriver or tweezers to carefully extract the debris
- For stubborn blockages, gently tap the hose against a hard surface
- Run water through the hose if necessary to flush out debris (ensure it’s completely dry before reinstalling)
- Inspect the connection points for proper alignment before reattaching
Testing After Basic Maintenance
After completing these initial steps:
- Reassemble any disconnected parts
- Plug in your vacuum
- Attempt to recline the vacuum as you normally would
- Listen for any unusual sounds that might indicate remaining issues
- Check if the vacuum moves smoothly through its full range of motion
Advanced Solutions for Persistent Reclining Issues
If the basic troubleshooting steps don’t resolve your Dyson DC33’s reclining problems, these more advanced solutions may be necessary.
Manual Force Technique
Some users have successfully resolved reclining issues by applying controlled force:
- Position the vacuum in its upright, locked position
- Place one foot firmly on the base to stabilize it
- Grip the handle securely with both hands
- Apply significant downward force to the handle
- Continue applying pressure until you feel or hear the mechanism release
- Test the reclining function several times to ensure it’s now working properly
This approach should be used with caution, as excessive force could potentially damage components. However, many users report that this method effectively “breaks loose” a stuck mechanism without causing harm to the vacuum.
Lock Spring Housing Repair
For persistent issues, addressing the lock spring housing directly may be necessary:
- Locate the lock spring housing near the base of the vacuum
- Use a large flathead screwdriver to carefully access the spring
- Gently manipulate the spring to free it from any stuck position
- If the spring appears damaged, it may need replacement
- Test the vacuum’s reclining function after adjusting the spring
If the lock spring is damaged or worn, it’s important to replace it to restore the reclining function.
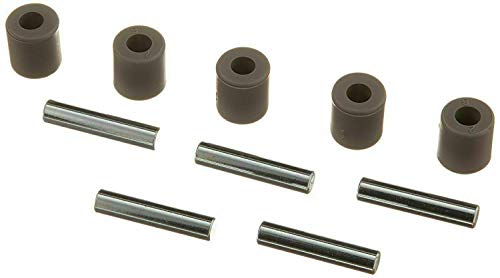
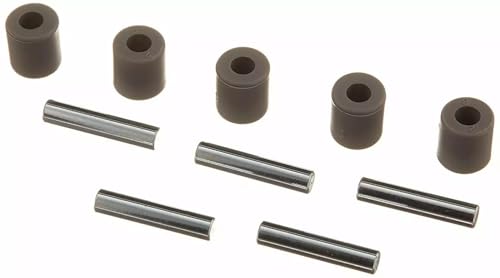
Dyson Dc33 Lock Spring
Masterpart DC33 Tool Catch & Spring
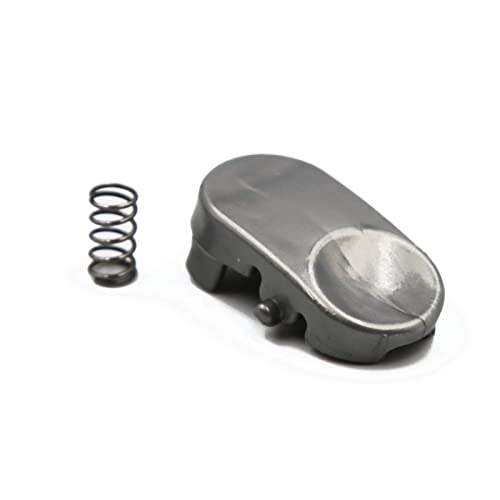
Official compatible catch and spring for Dyson DC33
LEYURISE DC33 Spring Kit
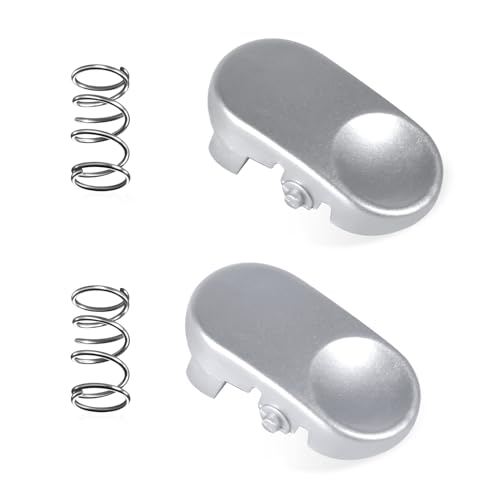
Durable spring and button kit for DC33 tool latch
ElectricWise DC33 Latch Spring

Precise engineered replacement for DC33 tool catch
Eopzol DC33 Replacement Spring
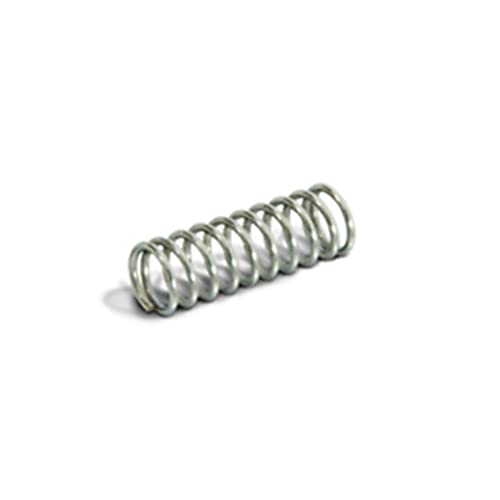
Alternative spring for broader Dyson model range
Mechanical Component Replacement
In some cases, worn or damaged parts may need replacement:
- Identify the specific component causing the issue
- Check if replacement parts are available from Dyson or third-party suppliers
- Follow the manufacturer’s instructions for component replacement
- Test the vacuum thoroughly after replacing parts
If you’ve determined that the Brush Roll Motor is defective, replacing it is essential for restoring the vacuum’s cleaning power.
Dyson Dc33 Brush Roll Motor
Dyson 918954-03 Motor
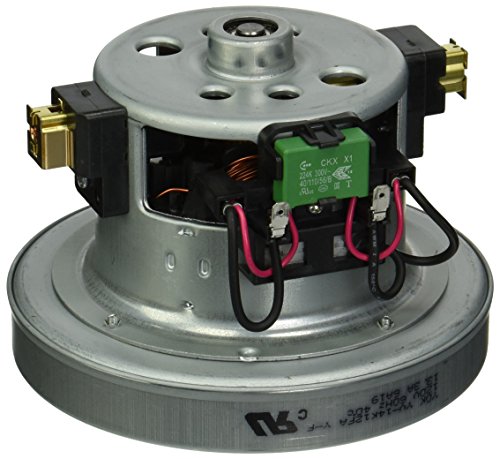
Genuine Dyson motor for DC33 vacuum repair
Brush Bar Roll DC33 Clutch
Complete brush bar assembly with clutch system
4YourHome DC33 Brush Roll
Affordable replacement for worn-out brush rolls
FULIMENTE DC33 Brush Bar
Premium quality brush bar with extended warranty
Preventive Maintenance to Avoid Future Reclining Problems
Preventing reclining issues is easier than fixing them. Implement these maintenance practices to keep your Dyson DC33 functioning smoothly.
Regular Cleaning Schedule
Develop a routine maintenance schedule:
- Weekly: Empty the dust container and check for visible debris around the base
- Monthly: Clean the filters according to manufacturer instructions
- Quarterly: Perform a detailed inspection of the hinge mechanism and clear any accumulated debris
- Annually: Conduct a comprehensive cleaning of all components, including the hose system
Proper Hinge Maintenance
Keep the hinge mechanism in optimal condition:
- Clean the hinge area regularly with a soft brush
- Remove hair and fibers that tend to wrap around moving parts
- Apply a small amount of silicone-based lubricant to moving components if they begin to feel stiff
- Avoid using petroleum-based lubricants that can attract more dirt
Correct Storage Practices
How you store your vacuum affects its longevity:
- Store the vacuum in a clean, dry area
- Keep it in a position that doesn’t put pressure on the hinge mechanism
- Hang the vacuum when possible to prevent dust accumulation at the base
- Ensure the hose is properly positioned and not creating tension on the system
Maintaining Other Critical Components
While addressing reclining issues, take the opportunity to maintain other important parts of your Dyson DC33.
Filter Maintenance
Proper filter care ensures optimal performance:
- Remove the pre-motor and post-motor filters
- Wash them under cold water until the water runs clear
- Allow filters to dry completely for at least 24 hours
- Reinstall only when completely dry
- Replace filters according to manufacturer recommendations (typically every 6-12 months)
If your Dyson DC33 filters are damaged or old, consider replacing them to maintain optimal suction and air filtration.
Dyson Dc33 Filter Replacement
Anicell 2-Pack DC33 Filters
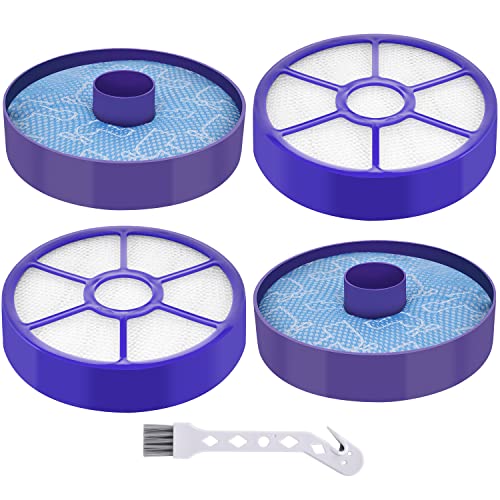
Comprehensive set with dual filters and cleaning tool for extended vacuum life.
HASMX DC33 Filter Set
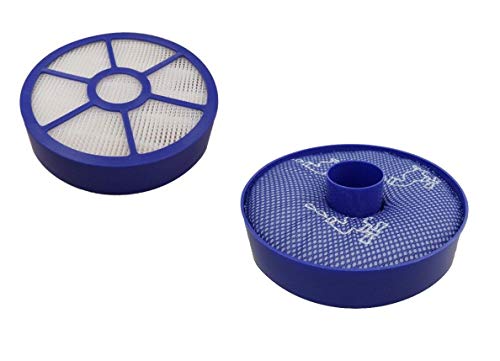
Affordable dual-filter replacement with extended warranty coverage.
Fette Filter DC33 Set

Premium filtration system for improved indoor air quality and suction power.
HyacGoaw DC33 Filter Set
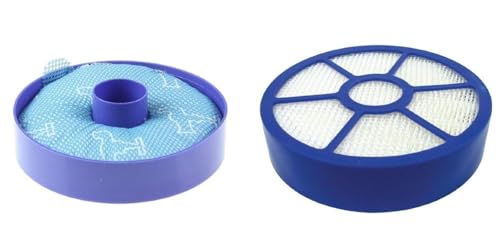
Budget-friendly set with efficient dust and odor capture capabilities.
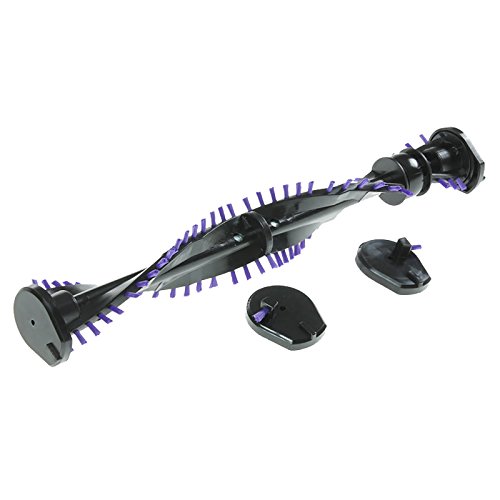
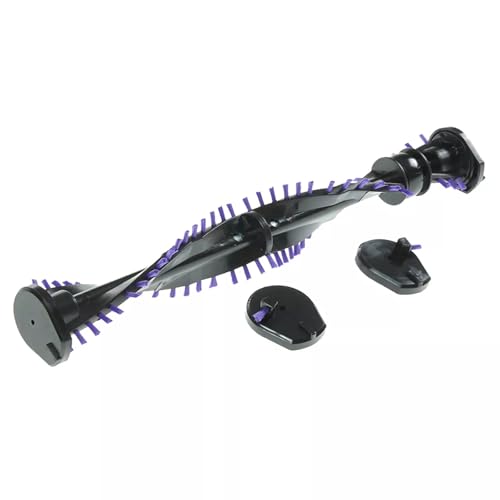
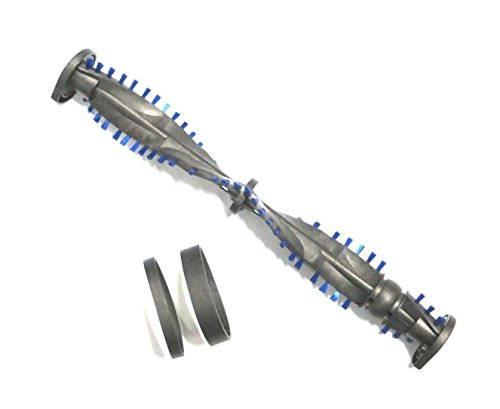
Brush Bar Care
The brush bar is essential for effective cleaning:
- Regularly remove the brush bar according to the user manual
- Cut away tangled hair and fibers using scissors
- Wipe the brush bar clean with a damp cloth
- Check for signs of wear on the bristles
- Replace the brush bar if bristles are significantly worn
If the brush bar is worn or damaged, replacing it will help maintain effective cleaning performance.
Dyson Dc33 Brush Bar Replacement
Genuine Dyson DC33 Brushbar

Official replacement with guaranteed quality and compatibility
Replacement Brush Bar with End Caps
Budget-friendly option with included accessories
EAGLEGGO 904174-01 Brush Bar

Durable design for clutch system models
EZ SPARES Compatible Brushroll

High-quality alternative with precise fit
Wheel Maintenance
Smooth-rolling wheels contribute to easy maneuverability:
- Remove debris wrapped around wheel axles
- Clean the wheels with a damp cloth
- Apply a small amount of lubricant to wheel bearings if they squeak
- Check for damage and replace wheels if necessary
If the wheels are damaged or worn, replacing them ensures smooth maneuverability of your vacuum.
Dyson Dc33 Wheel Replacement
Dyson DC33 Soleplate Wheel Kit

Official Dyson replacement for precise fit and durability
MaxLLTo DC33 Wheel Kit

Affordable third-party with 18-month warranty
HASMX DC33 Wheel Kit
Durable third-party option with included warranty
Replacement DC33 Wheel Kit
Premium third-party with extended warranty
Frequently Asked Questions (FAQ)
Why does my Dyson DC33 get stuck in the upright position?
The most common reasons include debris accumulation in the hinge mechanism, blockages in the hose creating pressure on internal components, or issues with the lock spring housing. Regular cleaning of these areas can prevent most reclining problems from developing.
Is it safe to apply force when my vacuum won’t recline?
While applying moderate force can sometimes free a stuck mechanism, excessive force should be avoided. Try the basic cleaning steps first. If you do need to apply force, do so gradually and stop if you feel excessive resistance or hear unusual sounds.
How often should I clean the hinge mechanism on my Dyson DC33?
For optimal performance, inspect and clean the hinge mechanism quarterly or more frequently if you notice the vacuum becoming difficult to recline. Homes with pets or high dust levels may require more frequent maintenance.
Can I use WD-40 to lubricate the reclining mechanism?
While WD-40 can help remove debris, it’s not ideal as a long-term lubricant for vacuum components. A silicone-based lubricant is preferable as it won’t attract as much dust and is compatible with plastic components. Avoid petroleum-based products like Vaseline, which can cause residue buildup.
When should I consider replacing parts rather than cleaning them?
If you’ve thoroughly cleaned the components and the vacuum still won’t recline properly, or if you notice visible damage to any parts, replacement may be necessary. Signs that parts need replacement include cracks in plastic components, severely worn surfaces, or deformed springs.
Conclusion
Dyson DC33 reclining issues, while frustrating, are often resolvable with proper troubleshooting and maintenance. By understanding the common causes and implementing both immediate fixes and preventive measures, you can extend the life of your vacuum and maintain its optimal functionality. Regular maintenance not only addresses reclining problems but also contributes to the overall performance and longevity of your Dyson DC33.
Remember that persistent issues may require professional servicing, especially if they involve internal components or electrical systems. When in doubt, consult with an authorized Dyson service provider to ensure your vacuum receives appropriate care without risking further damage.


