
The Dyson DC30 is a compact and powerful handheld vacuum, but like any battery-powered device, it can develop charging issues over time. When your DC30 stops charging properly, it can be frustrating, especially when you need it for a quick cleanup. This article explores the common causes of charging problems, provides detailed troubleshooting steps, and offers maintenance advice to keep your vacuum running smoothly.
Affiliate disclosure: As an Amazon associate, We'll earn a commission for every successful order through our affiliate links in the article. However, you won’t be charged anything for this.
If your Dyson DC30 isn’t charging, you’re not alone. This is one of the most common issues with this model, often resulting from battery degradation, connection problems, or power supply issues. The good news is that many of these problems can be resolved without professional help. With some basic troubleshooting and maintenance, you can often get your vacuum back to full functionality without the expense of replacement or professional repair.
Common Signs of Dyson DC30 Charging Problems
When your Dyson DC30 experiences charging issues, it typically manifests in several recognizable ways. Identifying these symptoms is the first step toward finding an effective solution.
Visible Indicator Light Issues
- No light appears when connected to the charger
- Flashing blue light that never becomes solid
- Light turns on briefly but then shuts off
Performance Problems
- Vacuum runs for only a few minutes before dying
- Battery doesn’t hold enough charge for “max” mode
- Device powers on but immediately shuts down
- Works briefly on normal mode but fails quickly on max power
Physical Connection Issues
- Charger feels loose when plugged into the vacuum
- Connections appear dirty or corroded
- Charging dock wobbles or doesn’t sit firmly
Primary Causes of Charging Failures
Battery Degradation
The most common cause of charging problems is battery degradation. The Dyson DC30 uses lithium-ion batteries that naturally degrade over time. After approximately 500-700 charging cycles, these batteries begin to lose their capacity, resulting in shorter run times and eventually charging failures.
Cell imbalance is a specific type of battery failure where one cell depletes faster than others, causing the entire battery to shut down prematurely. This often manifests as the vacuum working briefly on normal mode but failing quickly when switched to max power.
Connection Issues
Poor electrical connections can prevent proper charging. This may be due to:
– Dirt or debris on the metal contacts
– Damaged charging port
– Loose connections inside the charging dock
– Bent or misaligned connectors
Power Supply Problems
The charging system itself might be faulty:
– Damaged power cord with internal breaks
– Failed components in the charging dock
– Wall outlet not providing sufficient power
– Internal circuitry problems in the power supply unit
Step-by-Step Troubleshooting Guide
Initial Quick Checks
Verify Power Source
- Ensure the outlet is working by testing it with another device
- Check that the power cord is fully plugged into both the wall and charging dock
- Inspect the entire length of the power cord for visible damage
If the power cord is visibly damaged or suspected to be faulty, replacing it is a good first step.
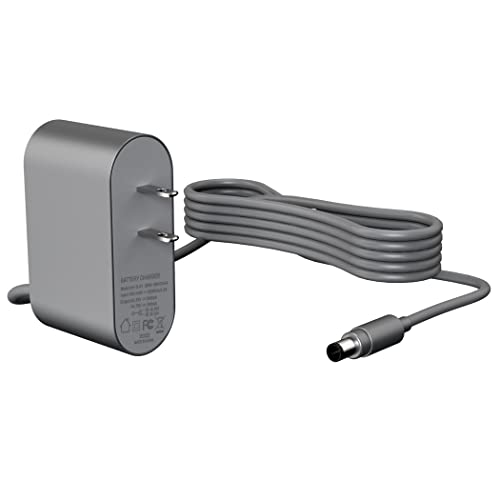
Affordable replacement for DC30/31/34/35 models with power outage protection
Safety-certified with extended cable and comprehensive protection features

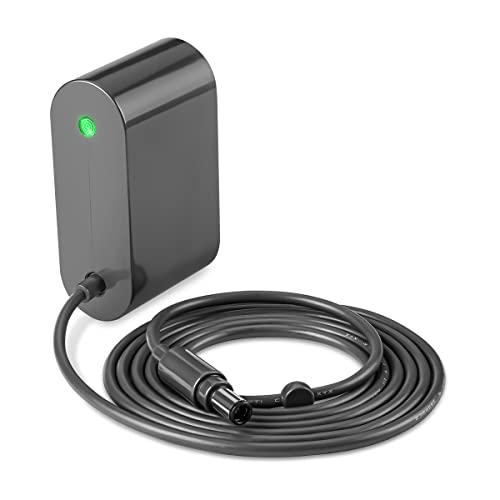
International voltage compatibility with robust safety certifications
High-safety option with comprehensive protection and extended cable
Examine Connections
- Clean the metal contacts on both the vacuum and charger using a dry cloth
- Remove any visible debris from the charging port
- Check for proper alignment when connecting the vacuum to the charger
Test Basic Functionality
- Try charging the vacuum for at least 3-4 hours, even if no light appears
- Attempt to power on the vacuum after charging
- Listen for any unusual sounds when attempting to charge or power on
Advanced Diagnostic Procedures
Battery Reset Procedure
- Disconnect the vacuum from the charger
- Hold the power button down for 30 seconds to discharge residual power
- Leave the vacuum unplugged for 1-2 hours
- Reconnect to the charger and allow it to charge for a full cycle (16-18 hours for first charge after reset)
Charging Dock Inspection
- Examine the charging dock for physical damage
- Ensure the dock sits flat on a surface without wobbling
- Check that all connections are tight and secure
- Test the dock with a multimeter if available to verify proper voltage output
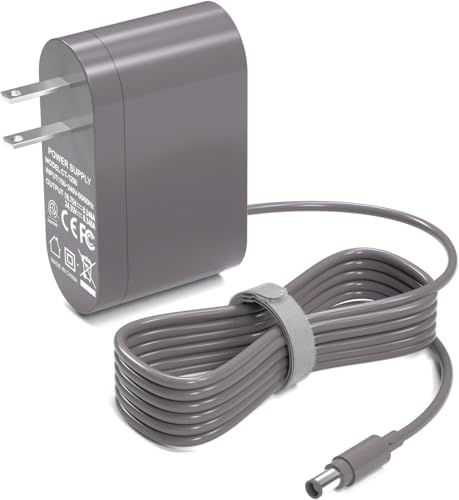
If the charging dock is damaged or not providing the correct voltage, it will need to be replaced.

Official replacement for Dyson DC30/31/34/35 with durable design
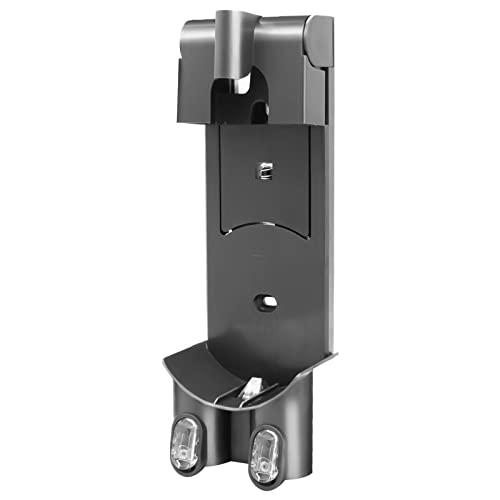
Premium third-party wall mount for DC30 with organized storage

Stable freestanding solution with multiple accessory hooks

Direct replacement charging dock for original Dyson models
Internal Connection Check
If you’re comfortable with basic disassembly:
1. Remove the battery compartment cover (usually secured with Phillips screws)
2. Check for loose connections between the battery and internal wiring
3. Look for any signs of corrosion or damage
4. Ensure all internal components are properly seated
Replacing the Dyson DC30 Battery
When troubleshooting confirms a battery failure, replacement is often the most effective solution.
Selecting the Right Replacement Battery
- Look for a battery specifically compatible with the Dyson DC30 model
- Consider both OEM (Original Equipment Manufacturer) and high-quality third-party options
- Verify voltage and capacity specifications match the original (typically 22.2V)
- Check reviews for reliability and actual runtime performance
Battery Replacement Procedure
- Power off and unplug the vacuum completely
- Locate the battery compartment (typically at the handle base)
- Remove the securing screws with a Phillips screwdriver
– One screw is typically located on the handle
– Another screw is usually found on the back of the unit - Carefully slide out the old battery
- Disconnect any connectors attaching the battery to the vacuum
- Connect the new battery using the same connectors
- Slide the new battery into position
- Replace and tighten all screws
- Charge the new battery fully before first use (approximately 3.5 hours)
If the battery is no longer holding a charge or the vacuum is not running as long as it used to, replacing the battery is a common solution.
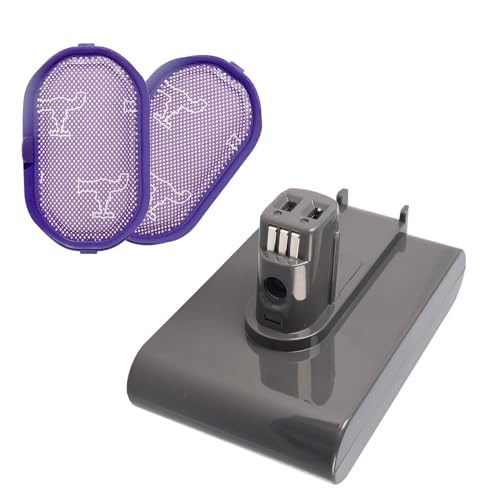
Upgraded battery with 7.0Ah capacity for extended runtime.
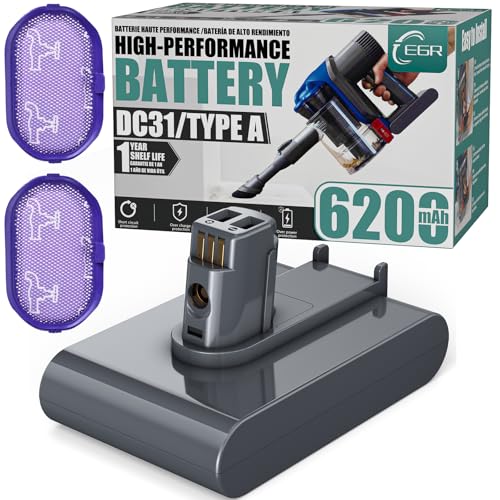
High-capacity battery with 6200mAh and safety certifications.

Budget-friendly 6000mAh battery with multi-protection system.
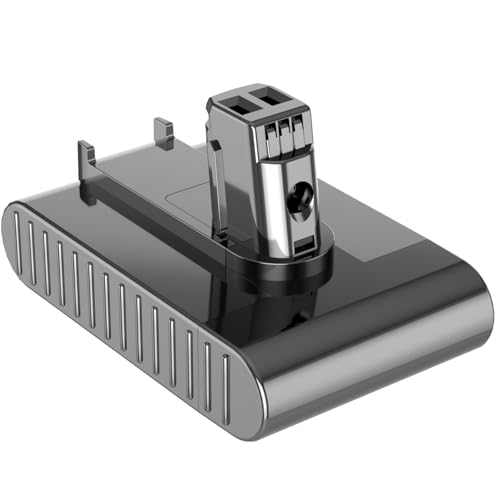
Affordable 6000mAh battery with comprehensive safety features.
Post-Replacement Testing
- Allow the new battery to charge completely until the indicator light shows full charge
- Test the vacuum on both normal and max power settings
- Time the runtime to ensure it meets expectations (typically 6-8 minutes on normal mode)
- Return to the charger and verify it begins charging properly
Repairing the Charging System
If the battery isn’t the issue, the charging system itself may need repair.
Charging Dock Repairs
External Inspection and Fixes
- Check for loose connections where the power cord enters the dock
- Examine the dock’s charging pins for alignment and cleanliness
- Test the dock with a multimeter to verify proper voltage output
– Primary output should be approximately 24.35V DC
– Secondary (center pin) should be around 16.75V DC
Internal Dock Repair (Advanced)
- Disconnect the dock from power completely
- Carefully disassemble the charging dock using appropriate tools
- Look for blown capacitors (bulging tops) or burnt components
- Check for loose solder joints on the circuit board
- Test the rectifier diodes for proper function
- Replace any damaged components with exact specifications
- Reassemble carefully, ensuring all connections are secure
Power Cord Repairs
Testing the Power Cord
- Inspect the entire length for visible damage
- Flex the cord while the dock is plugged in to check for intermittent connections
- Use a multimeter to test continuity throughout the cord
Replacing the Power Cord
If damaged:
1. Purchase a compatible replacement cord with the correct connector
2. Disconnect the old cord from both the wall and charging dock
3. Connect the new cord to the charging dock
4. Test the connection before regular use
Preventing Future Charging Issues
Proper Charging Practices
- Allow the battery to discharge completely before recharging
- Charge the vacuum until the indicator shows full charge
- Avoid leaving the vacuum on the charger continuously when not in use
- Store at room temperature, avoiding extreme heat or cold
Regular Maintenance
- Clean the charging contacts monthly with a dry cloth
- Remove and clean the filter regularly to prevent motor strain
- Check the charging dock and cord for damage quarterly
- Keep the vacuum’s air pathways clear of debris
Extending Battery Life
- Store the vacuum with a partial charge (about 40-60%) if not using for extended periods
- Avoid exposing the vacuum to temperatures above 95°F (35°C)
- Use the “normal” power setting when possible to reduce battery strain
- Allow the vacuum to cool down between uses, especially after “max” mode operation
Frequently Asked Questions (FAQ)
Why does my Dyson DC30 only work for a few minutes?
Short runtime is typically caused by battery degradation. Lithium-ion batteries naturally lose capacity over time and after many charging cycles. If your vacuum is several years old, the battery cells have likely degraded and need replacement. Cell imbalance is another common issue where one cell depletes faster than others, causing premature shutdown.
Can I replace the battery myself or do I need professional service?
You can replace the battery yourself with basic tools (primarily a Phillips screwdriver). The process involves removing a few screws, disconnecting the old battery, and connecting the new one. No specialized technical knowledge is required, making it a straightforward DIY repair that can save significant service costs.
Why doesn’t the charging light come on when I plug in my DC30?
A non-illuminating charging light could indicate several issues: a faulty power outlet, damaged charging cord, failed charging dock, dirty connection points, or a completely dead battery. Start troubleshooting by checking the power source and cleaning the connection points. If these steps don’t resolve the issue, the charging dock or battery may need replacement.
How long should a fully charged Dyson DC30 battery last?
A new or properly functioning Dyson DC30 battery should provide approximately 6-8 minutes of continuous operation on normal power mode and about 3-4 minutes on max power. If your runtime is significantly less, this indicates battery degradation. Note that these times are for continuous operation; intermittent use will extend the practical usage time.
Is it worth fixing my DC30 or should I buy a new vacuum?
Consider the age of your DC30 and the cost of repairs. If only the battery needs replacement (typically $30-60), repair is usually cost-effective. However, if multiple components need repair or if your model is very old, newer Dyson models offer improved battery technology, longer runtimes, and additional features that might justify an upgrade. Compare the total repair cost against approximately 50% of a new vacuum’s price as a decision threshold.
Conclusion
Charging issues with the Dyson DC30 are common but often fixable with the right approach. Most problems stem from battery degradation, connection issues, or power supply failures that can be addressed through systematic troubleshooting and targeted repairs.
For many users, a simple battery replacement will resolve charging problems and extend the life of their vacuum for years. The replacement process is straightforward enough for most people to handle without professional assistance, making it a cost-effective solution.
Remember that proper maintenance plays a crucial role in preventing future charging issues. Regular cleaning of connections, appropriate charging practices, and careful handling of the vacuum and its charging components will help ensure reliable performance. By following the comprehensive troubleshooting and maintenance guidelines in this article, you can keep your Dyson DC30 running efficiently and avoid premature replacement costs.


