
When your Dyson DC14 vacuum cleaner refuses to power up, it can disrupt your cleaning routine and leave you frustrated. This comprehensive guide walks you through the most common reasons why your DC14 might not be turning on and provides practical solutions to get your vacuum working again.
Affiliate disclosure: As an Amazon associate, We'll earn a commission for every successful order through our affiliate links in the article. However, you won’t be charged anything for this.
Before calling for professional help or considering a replacement, try these troubleshooting steps. Many Dyson DC14 power issues can be resolved with simple fixes that you can perform yourself, potentially saving time and money on repairs.
Power Source Troubleshooting
The first step in diagnosing why your Dyson DC14 won’t turn on is to check the power source. These simple checks can often resolve the issue immediately:
Check Your Connections
Start by ensuring the power cord is fully inserted into both the wall outlet and the vacuum. A loose connection is frequently the culprit when a vacuum won’t power on. Wiggle the plug gently to make sure it’s making proper contact.
Test Your Wall Outlet
Sometimes the problem isn’t with the vacuum at all. Plug another device into the same outlet to verify it’s working properly. If the test device also fails to power on, you may have: – A tripped circuit breaker – A blown fuse – A faulty wall outlet
Try resetting the circuit breaker or using a different outlet to determine if this resolves the issue.
Inspect the Power Cord
Examine the entire length of the power cord for: – Visible cuts or fraying – Crimps or pinches – Damage near the plug ends
Any damage to the power cord can prevent electricity from reaching the motor. If you find damage, the cord will need replacement. For safety reasons, never use a vacuum with a damaged power cord.
If the power cord is damaged, it’s crucial to replace it to ensure safe and reliable operation of your Dyson DC14.
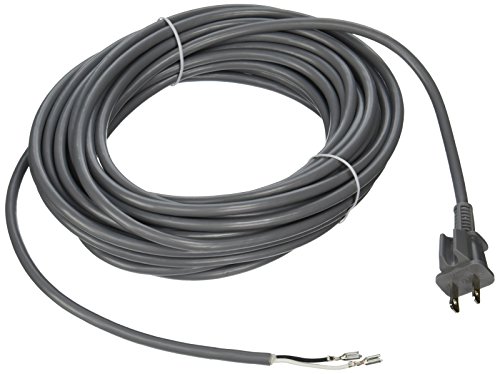
Official Dyson part for DC14 vacuum power cord replacement
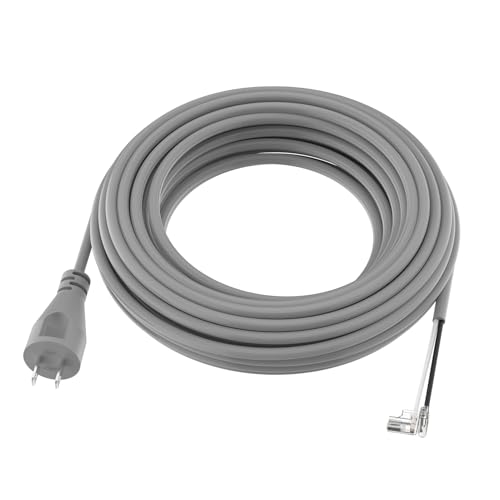
Budget-friendly 36ft cord with 1-year warranty
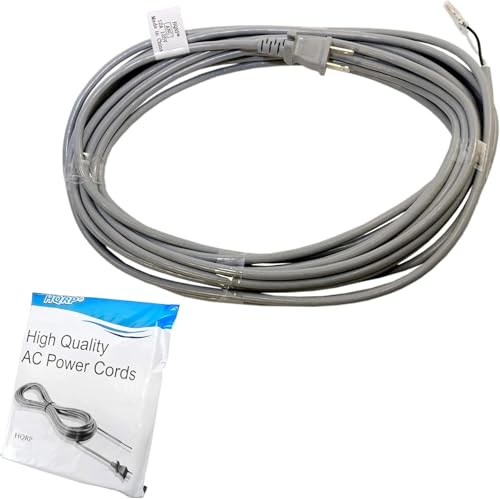
UL-certified replacement with extended reach

Durable rubber cord for DC14 and DC15 models
Motor and Circuitry Issues
If power source checks don’t resolve the problem, the issue may lie with the motor or internal circuitry of your Dyson DC14.
Reset the Motor
The DC14 motor may have a thermal cut-out mechanism that activates when the vacuum overheats. To reset: 1. Unplug the vacuum completely 2. Allow it to cool for at least 30-60 minutes 3. Check for and clear any blockages (which may have caused the overheating) 4. Plug the vacuum back in and attempt to restart
Address Internal Short Circuits
Over time, dust and debris can accumulate inside your vacuum, potentially causing short circuits. To check for this: 1. Disconnect the vacuum from power 2. Disassemble the main housing according to the user manual 3. Clean dust from internal components, particularly around the motor and circuit board 4. Use compressed air to blow out hard-to-reach areas
Always ensure the vacuum is completely dry before reassembling and testing.
Filter and Airflow Problems
Restricted airflow is a common reason why a Dyson DC14 might shut down or fail to start. The vacuum’s protective systems prevent operation when airflow is severely compromised.
Clean or Replace Filters
The DC14 has multiple filters that require regular maintenance: 1. The primary washable filter should be cleaned monthly 2. The exhaust filter (non-washable) needs periodic replacement 3. The HEPA filter should be cleaned with compressed air and replaced according to the manufacturer’s schedule
Clogged filters restrict airflow, causing the motor to work harder and potentially overheat. This can trigger safety mechanisms that prevent the vacuum from turning on.
If your filters are damaged or excessively dirty, replacing them can significantly improve your vacuum’s performance and prevent overheating.
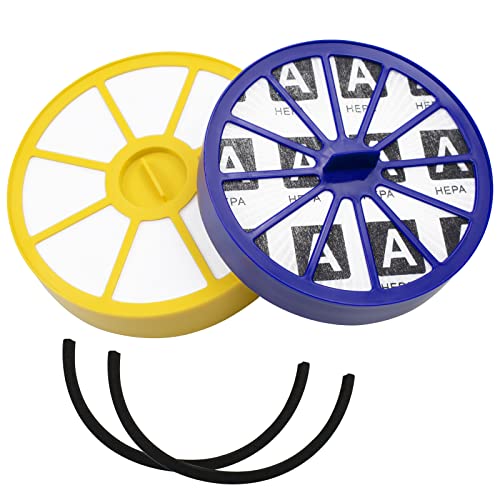
Complete filter kit with HEPA for DC14 models
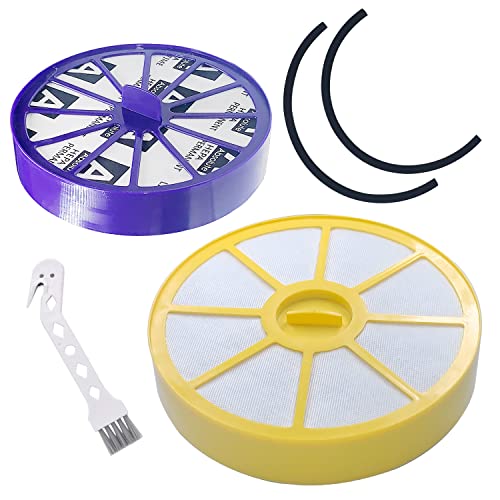
Includes cleaning brush for filter maintenance

Enhanced filtration with color-coded filters
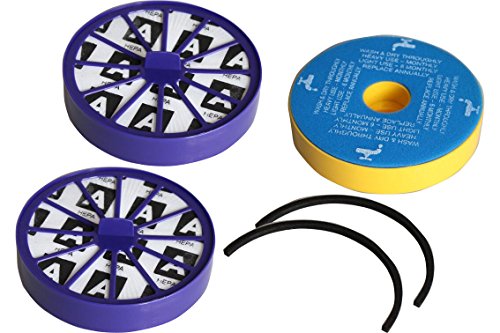
Extended set with extra filters and seals
Clear the Suction Pathway
Check for blockages throughout the entire suction pathway: 1. Remove the dust bin and empty it completely 2. Detach the hose and check for obstructions 3. Inspect the wand and attachments for clogs 4. Look for foreign objects in the cyclone system
For stubborn blockages in the cyclone system, you may need to use a flexible tool like an irrigation pipe to carefully dislodge the obstruction.
Troubleshooting the Brush Roll System
A malfunctioning brush roll system can affect the overall operation of your Dyson DC14, including whether it powers on.
Clean the Brush Roll
Hair, string, and debris can wrap around the brush roll, creating resistance that strains the motor: 1. Turn the vacuum upside down 2. Remove the soleplate (usually secured with screws) 3. Cut away tangled hair and fibers using scissors or a razor blade 4. Clean the brush wall to prevent bearing buildup 5. Ensure the brush can rotate freely before reassembling
Check the Clutch Mechanism
The DC14’s brush roll performance often suffers from a worn clutch, which may fail to engage properly: 1. Test by turning on the vacuum and attempting to stop the brush roll manually 2. If it stops too easily, the clutch may be worn 3. For replacement, remove the clutch housing (secured by T15 screws) 4. Extract the old clutch and install a rebuilt or third-party alternative (original Dyson clutches are discontinued)
A failing clutch can cause the motor to work improperly, potentially affecting power-up.
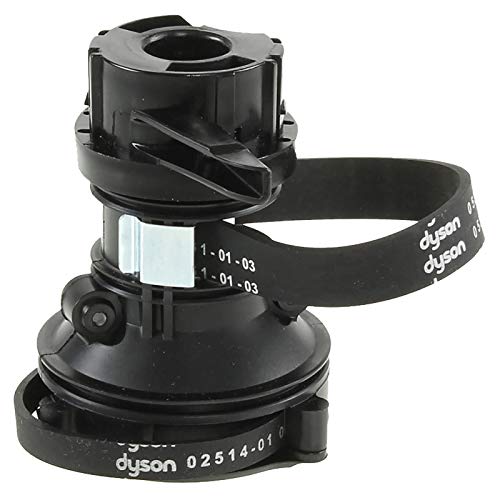
Official replacement clutch for DC14 with full assembly

Authorized OEM clutch unit for DC14 models
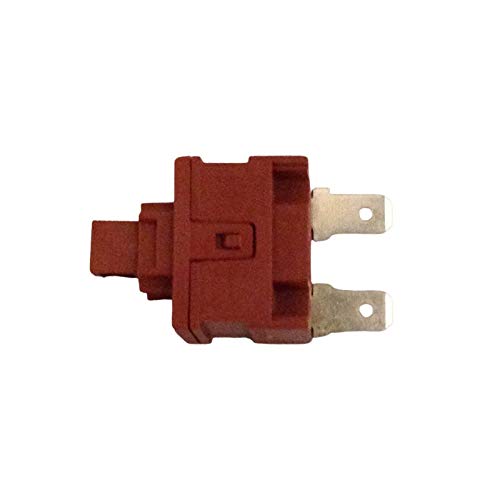
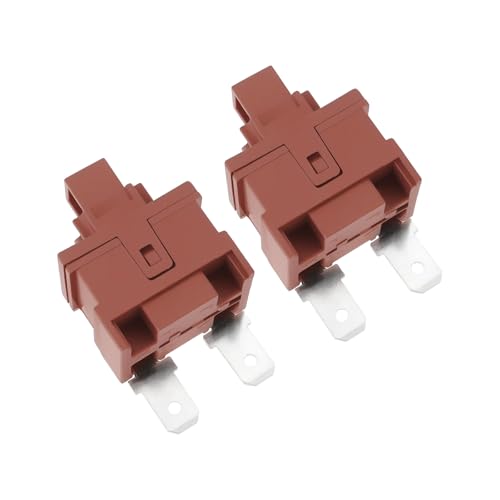
Addressing Switch and Control Panel Problems
If your DC14 won’t turn on, the power switch itself might be the culprit.
Inspect the Power Switch
The on/off switch can wear out over time: 1. Check for physical damage to the switch 2. Look for stuck or jammed buttons 3. Listen for a clicking sound when operating the switch (indicates the switch is at least mechanically functional)
For a more thorough check, you’ll need to access the switch mechanism: 1. Disconnect the vacuum from power 2. Remove the housing covering the switch 3. Look for loose connections or burned components 4. Test the switch with a multimeter if available
Replacing a faulty power switch typically requires basic soldering skills or professional assistance.
If the power switch is faulty, replacing it can restore power to your Dyson DC14.
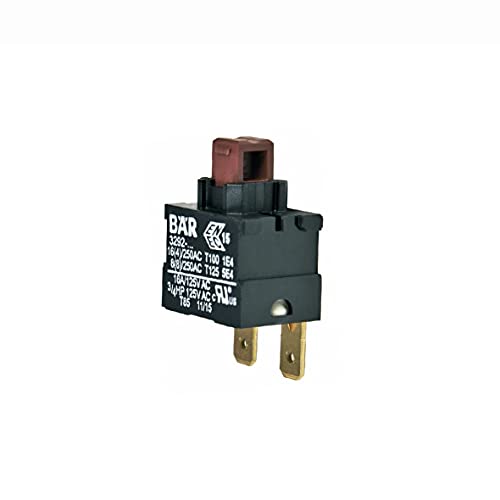
Genuine Dyson replacement for DC14/DC07

Affordable generic switch for DC14/DC07
Durable quality material for DC14/DC07
2-pack with 10N force for DC14/DC07
Advanced Diagnostic Techniques
When basic troubleshooting doesn’t resolve the issue, more advanced diagnostic methods may be necessary.
Multimeter Testing
Using a multimeter can help identify electrical issues: 1. Test the power cord for continuity 2. Check the motor windings for proper resistance 3. Verify switch functionality by testing for continuity in both positions
Visual Inspection of Internal Components
A thorough visual inspection can reveal less obvious problems: 1. Look for burned or discolored components on the circuit board 2. Check for corrosion on electrical connections 3. Inspect motor brushes for excessive wear 4. Examine capacitors for bulging or leaking (signs of failure)
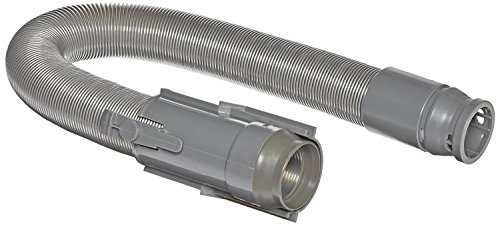
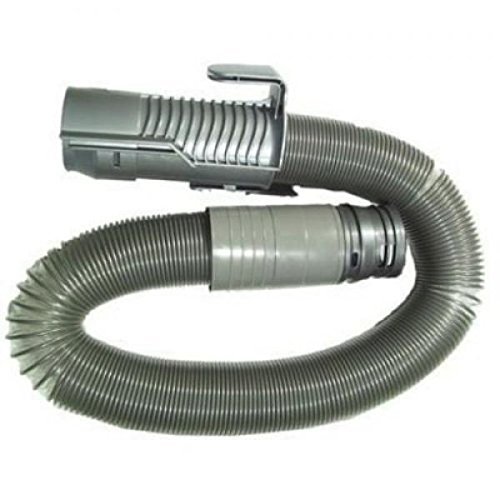
Hose and Spring Maintenance
The DC14’s unique design includes components that require special attention.
Addressing Hose Issues
Clogs in the hose can prevent proper operation: 1. Detach the hose from both ends 2. Use a screwdriver handle or similar object to carefully push through blockages 3. Flush with water if necessary and allow to dry completely before reinstalling
Replacing the Hose Spring
The DC14’s hose spring degrades over time, affecting floor contact and overall performance: 1. Carefully remove brittle springs 2. Apply gentle heat to make the hose more pliable 3. Reattach with new springs or reinforcement
If the hose spring is damaged or worn, replacing it can improve your vacuum’s suction and cleaning ability.

Official replacement for Dyson DC14 hose assembly.
Cost-effective alternative to genuine Dyson DC14 hose.
Alternative to OEM hose with broad compatibility.
Frequently Asked Questions (FAQ)
Why does my Dyson DC14 turn on briefly then shut off?
This typically indicates an overheating issue or a blockage. Check all filters and clear any obstructions in the airflow pathway. Allow the vacuum to cool completely before attempting to restart. If the problem persists, the thermal fuse may need replacement.
How often should I replace the filters in my Dyson DC14?
The primary filter should be washed monthly and replaced annually. The HEPA filter should be replaced every 6-12 months depending on usage. Regular filter maintenance is crucial for preventing motor strain and overheating issues.
Can I repair the clutch mechanism myself?
Yes, with basic mechanical skills. The process involves removing the clutch housing (secured by T15 screws), extracting the old clutch, and installing a replacement. Since original Dyson clutches are discontinued, rebuilt or third-party alternatives are recommended.
What’s the difference between motor overheating and electrical failure?
Overheating typically allows the vacuum to work initially before shutting down and will often resolve after cooling. Electrical failure usually prevents the vacuum from turning on at all and requires component replacement. A burning smell often indicates an electrical issue rather than simple overheating.
How can I tell if my DC14 motor needs replacement?
Signs of motor failure include unusual noises (grinding or high-pitched whining), burning smells, visible damage to motor components, or complete failure to turn on after addressing all other potential issues. Motor replacement is typically best handled by professionals.
Conclusion
The Dyson DC14 is a durable and powerful vacuum cleaner, but like any appliance, it can experience issues that prevent it from turning on. By systematically working through these troubleshooting steps, you can identify and resolve many common problems without professional help.
Remember to always disconnect the vacuum from power before performing any internal inspections or repairs. If these solutions don’t resolve your issue, contacting Dyson customer support or visiting an authorized repair center may be your best option. With proper maintenance and timely repairs, your DC14 can provide many more years of reliable service.


