
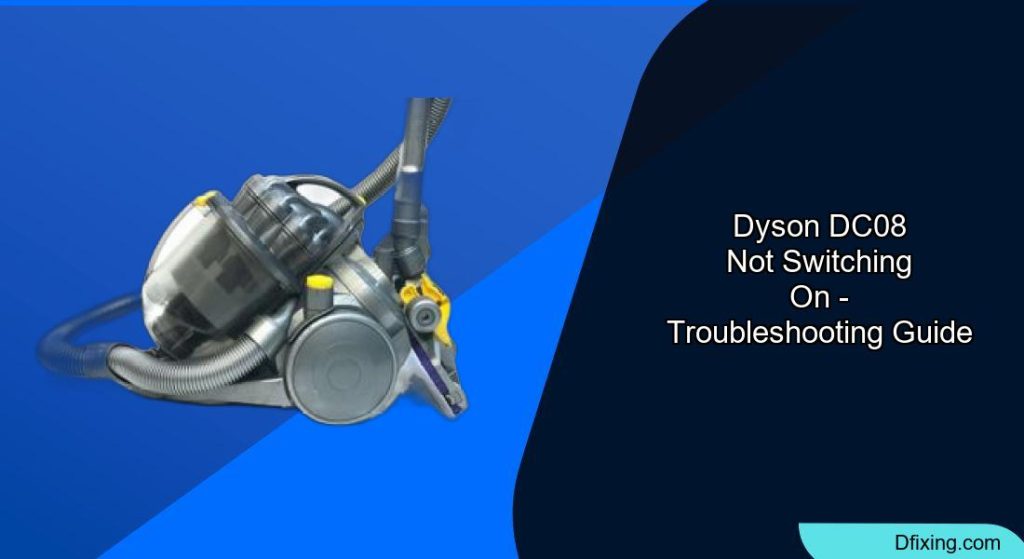
The Dyson DC08 is a popular vacuum cleaner known for its powerful suction and reliability. However, like any electronic device, it can encounter issues over time. One of the most frustrating problems is when your Dyson DC08 simply refuses to switch on. Before rushing to replace your vacuum or calling in professional help, there are several troubleshooting steps you can take to identify and fix the problem yourself.
Affiliate disclosure: As an Amazon associate, We'll earn a commission for every successful order through our affiliate links in the article. However, you won’t be charged anything for this.
In this comprehensive guide, we’ll walk through the most common reasons why your Dyson DC08 might not be turning on and provide detailed, step-by-step instructions to diagnose and repair the issue. From simple maintenance tasks to more complex repairs, we’ve got you covered with practical solutions that can save you time and money.
Common Causes of Power Issues in Dyson DC08
When your Dyson DC08 vacuum cleaner fails to power on, several components could be at fault. The most frequent culprits include clogged filters, worn-out brush rolls, faulty power switches, and problems with the power cord or internal wiring. Before diving into complex repairs, it’s best to start with the simplest potential causes.
Clogged Filters
Dyson vacuums are designed with a filtration system that traps dust and debris. Over time, these filters can become clogged, which not only reduces suction but can prevent the vacuum from turning on altogether as the motor struggles against the restriction.
To check and clean your filters:
- Locate the filter – typically found in the dirt bin or near the motor
- Remove it carefully, noting how it’s positioned
- Rinse thoroughly with cold water (no detergents)
- Allow to dry completely for at least 24 hours
- Reinstall the filter in its original position
Remember that a wet filter can damage your vacuum’s motor, so patience during the drying process is crucial.
Worn-Out Brush Roll
The brush roll (or beater bar) is essential for effective carpet cleaning. When it becomes worn or tangled with hair and debris, it can create resistance that affects the vacuum’s performance or prevents it from starting.
To inspect and replace the brush roll:
- Turn the vacuum upside down and locate the brush roll
- Check for visible damage, excessive wear, or tangling
- If replacement is needed, purchase a compatible brush roll for your DC08 model
- Remove the old brush roll by releasing any securing clips or screws
- Install the new brush roll, ensuring it fits securely and rotates freely
- Reassemble any removed components
A properly functioning brush roll should spin freely when the vacuum is in operation.
If your brush roll is damaged or worn, replacing it can restore your vacuum’s cleaning performance.
Diagnosing and Fixing Power Switch Problems
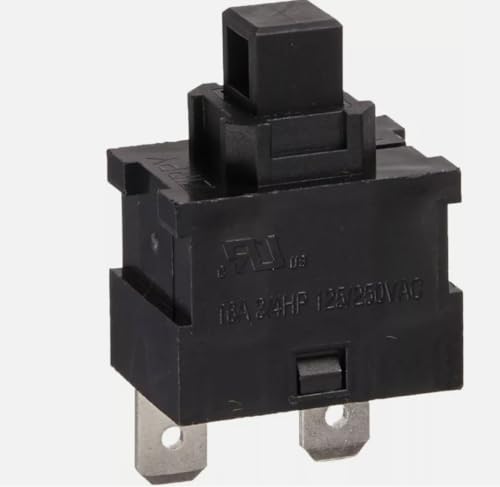
A malfunctioning power switch is one of the most common reasons why a Dyson DC08 won’t turn on. The switch can wear out over time, leading to inconsistent operation or complete failure.
Testing the Power Switch
Before replacing the switch, perform these diagnostic steps:
- Ensure the vacuum is unplugged for safety
- Press the power switch multiple times, feeling for consistent resistance and release
- Listen for any clicking sounds that indicate the switch is engaging
- If the switch feels sticky, unresponsive, or inconsistent, it likely needs replacement
A functional switch should have zero resistance when depressed and make a clear clicking sound when engaged.
Replacing the Power Switch
If you’ve determined the switch needs replacement, follow these detailed steps:
Prepare for disassembly:
- Unplug the vacuum completely
- Gather necessary tools: screwdrivers, plastic pry tool
-
Purchase a replacement switch compatible with the DC08 model
Access the switch:
- Remove the handle assembly from the vacuum cleaner
-
Locate the switch near the motor housing
Remove the old switch:
- Carefully disconnect the wires from the old switch
- Take note of which wire connects to which terminal (a photo can help)
-
Remove any screws securing the switch to the housing
Install the new switch:
- Connect the wires to the new switch in the same configuration
- Ensure all connections are secure and properly aligned
-
Secure the switch with screws if applicable
Reassemble the handle:
- Align the handle components carefully
- Use a plastic pry tool to gently snap the handle together
-
Ensure any rubber feet or locators fit into their designated slots
Test the vacuum:
- Plug in the vacuum and test the switch
- Verify that the vacuum turns on and off consistently
Avoid temporary fixes like taping the switch down, as these can be unreliable and potentially dangerous.
If the power switch is faulty, replacing it with a new one can solve the problem of your Dyson not turning on.
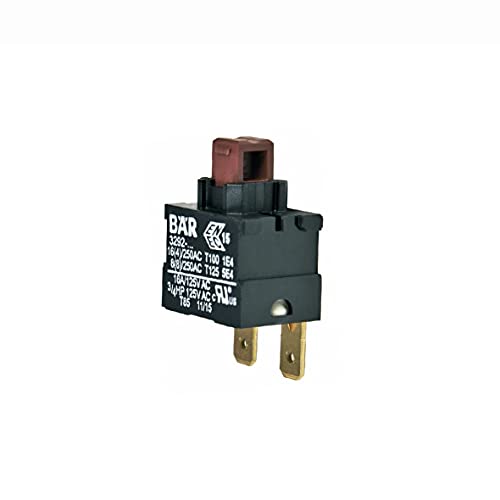
Official replacement switch for Dyson DC08 models
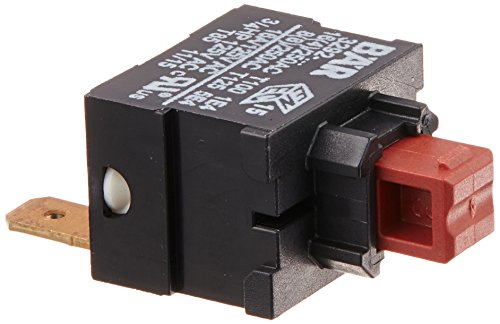
OEM replacement for DC08 with multi-model compatibility
Original equipment replacement for DC08 models
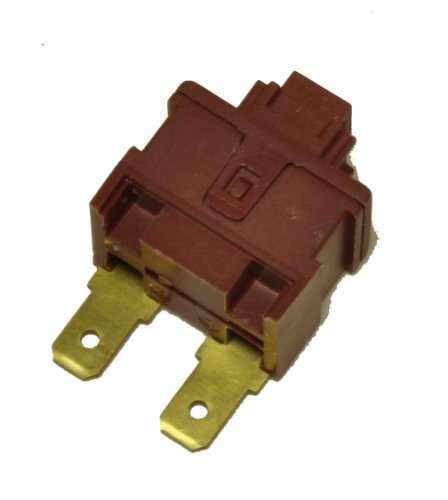
Budget-friendly replacement for DC08 models
Troubleshooting Power Cord and Wiring Issues
Power cord problems are another common reason why a Dyson DC08 might not turn on. Issues can range from visible damage to internal breaks in the wiring.
Inspecting the Power Cord
Start with a visual inspection:
- Check the entire length of the cord for cuts, fraying, or other visible damage
- Examine the plug for bent prongs or signs of overheating
- Flex the cord gently along its length to check for internal breaks
- Pay special attention to areas near the plug and where the cord enters the vacuum
Testing Cord Continuity
For a more thorough check, use a multimeter to test continuity:
- Set your multimeter to the continuity or resistance setting
- Disconnect the vacuum from power
- Test each conductor in the cord from end to end
- Pay particular attention to the neutral wire, as it’s commonly the source of issues
- A reading of infinity or very high resistance indicates a break in the wire
Fixing Common Cord Issues
Based on your findings, you can address specific problems:
Loose live wire in plug:
- Open the plug carefully
- Resecure the loose wire to its terminal
- Ensure all connections are tight
-
Reassemble the plug
Break in neutral wire:
- Locate the break by feeling along the cord
- Cut the cord at the break point
- Strip back a few centimeters of insulation
- Reconnect the plug to the new section of cable
-
Use heat shrink tubing for added protection
Stuck retractable cord:
- Unplug the vacuum for safety
- Gently tug and release the cord while pressing the rewind button
- If needed, use a thin, flat tool to assist in releasing the cord
- For persistent issues, open the vacuum to inspect the rewind mechanism
If the power cord is damaged or broken, it will need to be replaced to restore power to your Dyson.
Addressing Motor and Electrical Component Issues
If simpler solutions haven’t resolved the problem, the issue might lie with the motor or other electrical components.
Inspecting Motor Brushes
The carbon brushes in the motor can wear down over time:
- Access the motor (this may require significant disassembly)
- Locate the carbon brushes on either side of the motor
- Check for excessive wear or burn marks
- Measure the length of the brushes – if significantly shorter than new ones, they need replacement
- Replace both brushes simultaneously for balanced performance
Replacing worn brushes is much more cost-effective than replacing the entire motor.
Worn motor brushes can prevent the motor from running. Replacing them can restore the motor’s functionality.
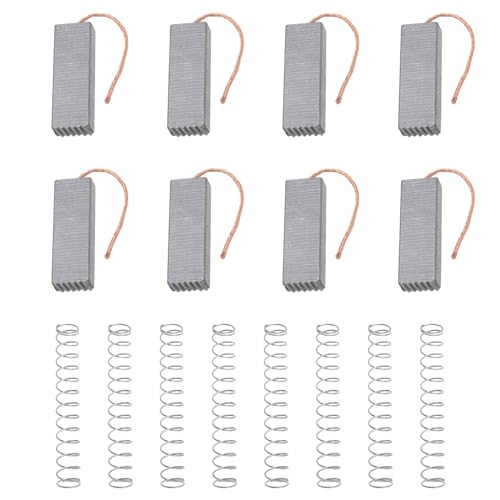
Bulk pack for long-term motor maintenance
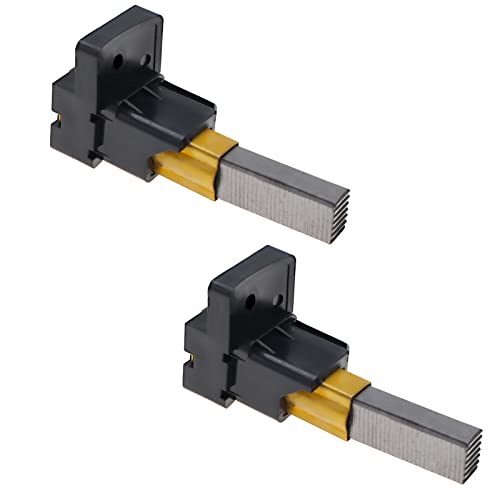
Standard replacement for motor brushes

Durable replacement with good conductivity
Cleaning the Commutator
The commutator can accumulate carbon deposits that affect performance:
- Access the motor commutator (the copper segments visible on the armature)
- Use 240-grit emery tape to gently clean the surface
- Ensure the surface is smooth with no grooves or pitting
- Remove any carbon dust with compressed air
Testing Motor Operation
To verify if the motor is functioning:
- Disconnect the motor from the vacuum’s circuitry
- Use a 12-volt battery to test basic operation
- Connect the battery to the motor terminals
- If the motor spins, the basic windings are functional
- If no movement occurs, the motor may need replacement
Complete Disassembly and Cleaning Guide
Sometimes a thorough cleaning of all components is necessary to restore functionality.
Disassembling the Dyson DC08
Remove the wheels:
- Locate and remove two screws per wheel
-
Set wheels aside carefully
Access internal components:
- Dismantle the cord assembly
- Remove the pollen filter (often heavily clogged)
- Access the radial assembly and bin
- Remove the cyclone unit by extracting three Torx screws at the top
Deep Cleaning Components
Different components require specific cleaning approaches:
Filters:
- Soak pollen and exhaust filters in cold water
- For stubborn dirt, a gentle cycle in a washing machine with cold water works well
-
Allow to dry completely (24+ hours)
Cyclone unit:
- Use a jet wash for stubborn dirt in inner chambers
- Scrub with a brush to remove built-up debris
-
Rinse thoroughly and dry completely
Radial assembly:
- For severe buildup, soak in a bleach solution for 24 hours
- Scrub thoroughly to remove all debris
- Rinse completely and dry before reassembly
Reassembly Process
- Ensure all components are completely dry
- Reattach the radial assembly and cyclone unit
- Reinstall clean filters
- Reconnect the cord mechanism
- Secure the back cover with its four screws
- Reinstall wheels
Frequently Asked Questions (FAQ)
Why does my Dyson DC08 start and then stop immediately?
This is often caused by overheating protection being triggered. Check for blockages in the filters, hose, or brush roll. Clean all filters thoroughly and ensure they’re completely dry before reinstalling. Also, verify that the brush roll spins freely and isn’t tangled with hair or debris.
Can I repair the retractable cord mechanism myself?
While it’s possible to repair the retractable cord mechanism yourself, it requires significant disassembly of the vacuum. The most common issue is a stuck cord, which can often be resolved by gently tugging and releasing the cord while pressing the rewind button. For more serious issues, professional repair may be more cost-effective.
How often should I replace the filters on my Dyson DC08?
Dyson recommends washing the filters every three months under normal household use. However, with proper care and regular cleaning, the filters can last the lifetime of the vacuum. Only replace them if they show signs of damage or if thorough cleaning no longer improves suction.
If your filters are damaged or worn, replacing them can improve suction and prevent overheating.

Official Dyson replacement filter for DC08, durable and compatible with all telescope wrap variants.
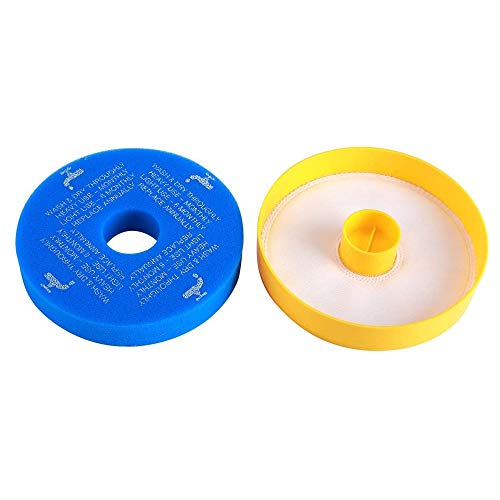
Budget-friendly washable filter for DC08, compatible with multiple Dyson models.
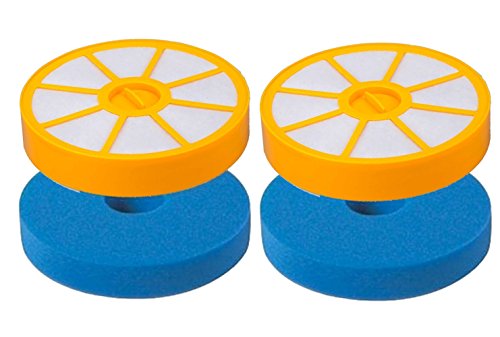
Complete filter kit for DC08 with both foam and casing filters, long-lasting performance.
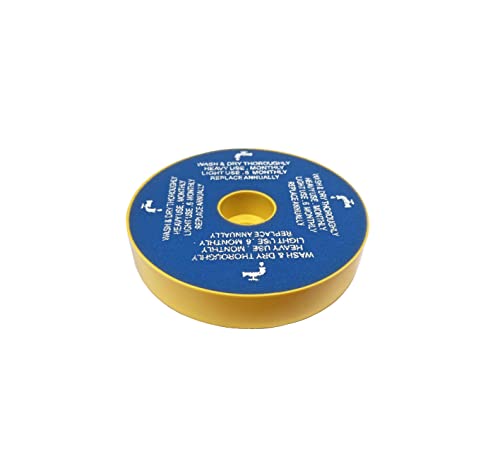
High-quality third-party replacement filter for DC08, easy installation and cleaning.
Is it worth repairing a Dyson DC08 that won’t turn on?
In most cases, yes. The Dyson DC08 is a durable vacuum with readily available replacement parts. Most power issues can be resolved with simple repairs that cost significantly less than a new vacuum. However, if the motor needs replacement and your vacuum is very old, it might be more economical to upgrade to a newer model.
How can I test if my Dyson motor has failed without disassembling it?
You can perform a capacitor test:
1. Plug and unplug the vacuum several times to charge the internal capacitor
2. Use a screwdriver with an insulated handle to short the contacts at the plug’s terminal
3. If you see a spark, this indicates a failed motor with an open circuit in the armature
This test should be performed with caution as it involves electrical components.
Conclusion
A Dyson DC08 that won’t turn on doesn’t necessarily mean the end of your vacuum’s life. By following the troubleshooting steps outlined in this guide, you can identify and fix most power issues yourself. From simple maintenance tasks like cleaning filters to more complex repairs like replacing the power switch or addressing cord issues, these DIY solutions can save you money and extend the life of your vacuum.
Remember to always prioritize safety by unplugging your vacuum before attempting any repairs. Take your time with disassembly, keeping track of screws and noting how components fit together. With patience and attention to detail, you can restore your Dyson DC08 to working condition and enjoy many more years of powerful cleaning performance.


