
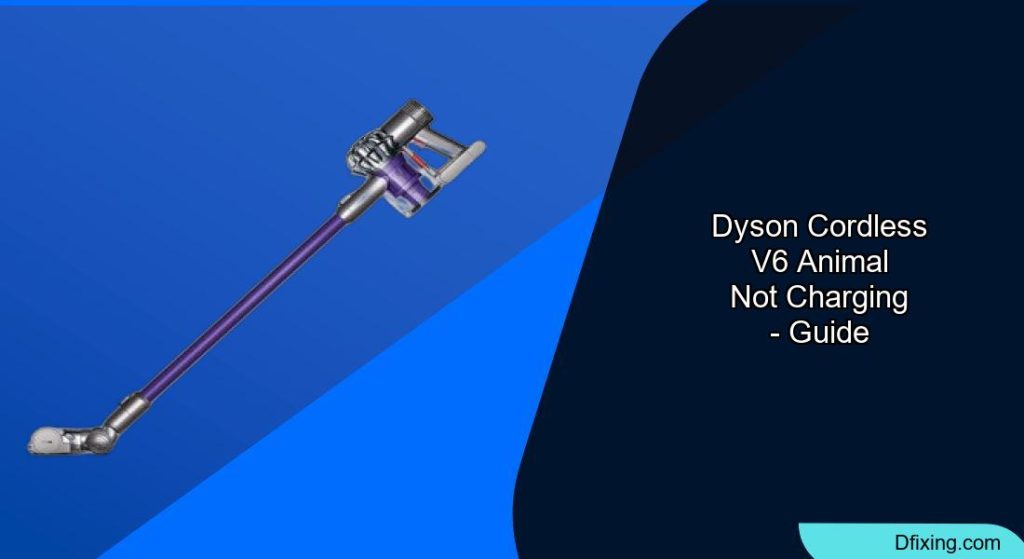
When your Dyson V6 Animal stops charging, it can be frustrating to lose the convenience of your cordless vacuum. This common issue affects many Dyson owners but can often be resolved with the right approach. The good news is that many charging problems have straightforward solutions that don’t require professional help.
Affiliate disclosure: As an Amazon associate, We'll earn a commission for every successful order through our affiliate links in the article. However, you won’t be charged anything for this.
In this comprehensive guide, we’ll walk through the common reasons why your Dyson V6 Animal might not be charging and provide detailed troubleshooting steps to get it working again. From simple fixes like cleaning contacts to more advanced solutions like battery replacement, you’ll learn everything you need to know to diagnose and resolve charging issues. Whether you’re dealing with blinking lights, a vacuum that won’t turn on, or a battery that doesn’t hold a charge, we’ve got you covered.
Common Symptoms of Charging Problems

When your Dyson V6 Animal isn’t charging properly, you’ll likely notice one or more of these telltale signs:
- The vacuum won’t power on at all
- Red light on the vacuum blinks or stays off when plugged in
- Battery drains unusually quickly during operation
- Flashing blue light when attempting to use the device
- The vacuum works briefly in standard mode but fails quickly in max mode
- Temporary functionality after charging that quickly fades
- Six to eight flashes when pulling the trigger (specific to V6 Trigger models)
These symptoms typically point to issues with either the battery itself, the charging system, or the connections between components. Identifying which symptoms you’re experiencing can help narrow down the potential causes.
What Causes Dyson V6 Charging Issues
Several factors can contribute to charging problems in your Dyson V6 Animal:
Battery Degradation
Lithium-ion batteries naturally degrade over time and with use. After approximately 2-3 years of regular use, you may notice:
- Significantly reduced runtime
- Inability to hold a charge
- Complete failure to charge
Internal Battery Management System
The V6 contains a sophisticated battery management board that monitors the health of individual cells within the battery pack. When it detects:
- Imbalanced performance between cells
- One or more cells degrading faster than others
- Potential safety issues
The system may cut power to protect the device, resulting in charging failures.
Physical Connection Problems
Often overlooked but easily fixed issues include:
- Dirty or corroded contacts on the battery or charging dock
- Loose connections between components
- Debris blocking proper contact between charging surfaces
External Factors
Environmental and usage factors that can affect charging include:
- Exposure to extreme temperatures (hot or cold)
- Physical damage to the battery or charging components
- Power source issues like faulty outlets or tripped breakers
Basic Troubleshooting Steps
Before attempting more complex repairs, try these simple troubleshooting steps that often resolve charging issues:
Reset the Vacuum
A simple reset can clear temporary electronic glitches:
- Unplug the charging dock from the power outlet
- If possible, remove the battery from your V6 Animal
- Wait for 2-3 minutes to allow the system to fully discharge
- Reinsert the battery and reconnect the charger
- Check if the charging indicator begins working properly
Clean the Charging Contacts
Dirty contacts are a common culprit for charging failures:
- Locate the metal contacts on both the battery and charging dock
- Dip a cotton swab in isopropyl alcohol (rubbing alcohol)
- Gently clean all metal contacts, removing any visible dirt or oxidation
- Allow the contacts to dry completely (about 5 minutes)
- Reconnect and test the charging function
Check Power Source Reliability
Eliminate power supply issues:
- Try plugging the charging dock into a different wall outlet
- Ensure the outlet is functioning by testing it with another device
- Check your home’s circuit breaker to confirm it hasn’t tripped
- If using a power strip or extension cord, try connecting directly to a wall outlet
Inspect for Physical Damage
Look for visible signs of damage:
- Examine the power cord for cuts, frays, or kinks
- Check the charging dock for cracks or loose components
- Inspect the battery for swelling, discoloration, or leakage
- Verify that the vacuum’s charging port is clean and undamaged
If you notice any damage to the charging adapter, it’s crucial to replace it to ensure safe and efficient charging.
Best overall value with 1-year warranty and worldwide compatibility
Budget-friendly option with global input voltage support

Premium option with safety protections and 5.9FT cable
UL-certified charger with multi-safety protections
Advanced Troubleshooting Techniques
If basic troubleshooting doesn’t resolve the issue, try these more advanced diagnostic steps:
Battery Voltage Testing
Using a multimeter can help determine if your battery is functioning properly:
- Set your multimeter to measure DC voltage
- Carefully touch the probes to the battery terminals
- A healthy Dyson V6 battery should read between 18.5 and 20 volts
- Readings significantly below this range indicate a failing battery
Perform a Complete System Reset
This deeper reset can resolve more persistent electronic issues:
- Power off the vacuum completely
- Unplug from any power source
- Press and hold the power button for 15-20 seconds to discharge any residual power
- Wait 30 minutes with the system completely disconnected
- Reconnect the battery and charging dock
- Allow the battery to charge for at least 3-4 hours, even if indicators suggest it’s charged sooner
Test Battery Performance Under Load
This helps identify batteries that appear to charge but fail during operation:
- Fully charge the vacuum according to indicators
- Run the vacuum in standard mode and time how long it operates
- Allow the vacuum to cool, then recharge fully
- Run the vacuum in max power mode and time operation
- Compare these times to the expected runtime (about 20 minutes in standard mode, 6 minutes in max mode)
- Significantly shorter times indicate battery degradation
Replacing the Dyson V6 Battery
If troubleshooting confirms a battery issue, replacement is often the most effective solution:
Choosing a Replacement Battery
When selecting a new battery:
- Official Dyson batteries offer reliability but cost more (typically $65-90)
- Third-party options from reputable manufacturers can provide good value (typically $30-60)
- Avoid the cheapest batteries as they often fail prematurely
- Look for batteries with similar specifications to the original (21.6V, 2000-2200mAh)
- Check customer reviews for longevity reports
Battery Replacement Procedure
Tools Needed:
- Small Phillips screwdriver
- Flat-head screwdriver (for prying if necessary)
- Clean workspace
- Optional: rubber gloves
Step-by-Step Replacement:
-
Prepare the vacuum:
– Ensure the vacuum is completely powered off
– Disconnect from any power source
– Place on a clean, flat work surface -
Access the battery compartment:
– Locate the screws securing the handle to the vacuum body
– Remove these screws using your Phillips screwdriver
– Gently separate the handle from the main body
– Turn the vacuum upside down to access the bottom panel
– Remove any screws securing the bottom panel
– Carefully pry open the panel to expose the battery compartment -
Remove the old battery:
– Identify any retaining clips or screws securing the battery
– Remove these fasteners and set aside
– Carefully disconnect the battery connector cable
– Gently lift out the old battery, noting its orientation -
Install the new battery:
– Place the new battery in the same orientation as the old one
– Connect the battery cable to the appropriate connector
– Ensure the connection is secure and properly seated
– Replace any retaining clips or screws to secure the battery -
Reassemble the vacuum:
– Reattach the bottom panel
– Secure with the appropriate screws
– Reconnect the handle to the main body
– Replace and tighten all handle screws -
Test and charge:
– Connect the vacuum to its charging dock
– Allow it to charge fully (typically 3.5-4 hours)
– Test operation in both standard and max power modes
Replacing the battery is a common solution for charging issues.
Search term for Amazon: Dyson V6 Battery Replacement
Special Instructions for V6 Trigger Models
The V6 Trigger requires a slightly different approach:
-
Disassemble the device:
– Locate and press the designated area on the casing
– Lift off the outer shell
– Remove the small Phillips screw near the casing and another at the base -
Reset the battery connection:
– Carefully open the casing to access internal components
– Locate the battery connector (outlet socket)
– Disconnect and then reconnect this component
– While holding the top button, reconnect the battery
– The device should begin charging properly
Maintaining Your Dyson V6 for Optimal Charging
Prevent future charging issues with these maintenance practices:
Regular Cleaning Routine
Implement a monthly maintenance schedule:
-
Clean filters thoroughly:
– Remove the pre-filter and post-filter
– Wash with cold water only (no detergents)
– Allow to dry completely for 24 hours before reinstalling
– Replace filters annually for optimal performance -
Clear the brush bar:
– Remove the cleaning head
– Cut away any wrapped hair or fibers
– Wipe clean with a damp cloth -
Empty and clean the dust bin:
– Empty after each use
– Periodically wash with cold water
– Ensure it’s completely dry before reattaching -
Inspect for blockages:
– Check the wand, hose, and cleaning head
– Remove any debris that could restrict airflow
Over time, filters can become clogged and reduce suction power, impacting overall performance.
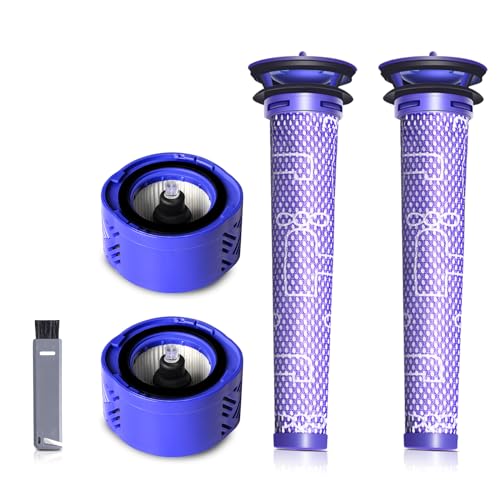
Comprehensive filter set for improved suction and air quality

Cost-effective bulk option with extended filtration life
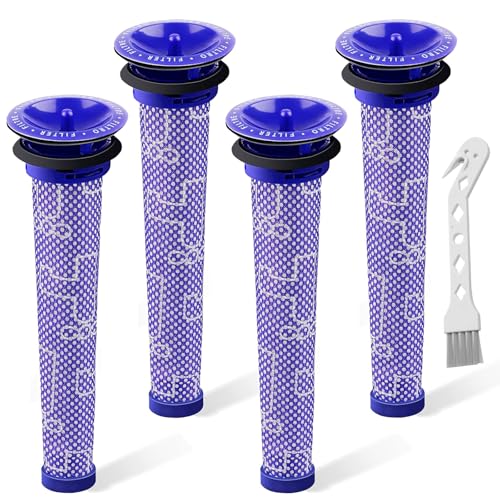
Budget-friendly solution for standard V6 models

Affordable option for frequent replacements
Proper Charging Practices
Extend battery life with these habits:
-
Avoid extreme temperatures:
– Don’t charge or store in direct sunlight
– Keep away from freezing temperatures
– Ideal charging temperature is 65-75°F (18-24°C) -
Optimize charging cycles:
– Allow the battery to run down to about 20% before recharging
– Don’t leave continuously on the charger when fully charged
– If storing long-term, maintain a 50-60% charge level -
Use the vacuum regularly:
– Lithium-ion batteries benefit from regular use
– If storing for extended periods, use and recharge every 3 months -
Keep charging contacts clean:
– Wipe contacts with a dry cloth monthly
– Clean with alcohol wipes quarterly
Frequently Asked Questions (FAQ)
Why does my Dyson V6 flash red when charging?
A flashing red light typically indicates that the battery isn’t charging properly. This could be due to:
– Poor connection between the battery and charging contacts
– Battery temperature outside optimal range (too hot or cold)
– Battery management system detecting an internal cell imbalance
– Battery reaching the end of its useful life
Try cleaning the contacts and ensuring the vacuum is at room temperature before charging. If the issue persists, the battery likely needs replacement.
How long should a Dyson V6 Animal battery last?
With proper care, a Dyson V6 battery typically lasts 2-3 years before noticeable performance degradation. Runtime expectations:
– New battery: 20 minutes in standard mode, 6 minutes in max mode
– After 1 year: 15-18 minutes standard, 5 minutes max
– After 2 years: 10-15 minutes standard, 3-4 minutes max
When runtime drops below 50% of original specifications, replacement is usually warranted.
Can I use my Dyson V6 while it’s charging?
No, the Dyson V6 Animal is designed to be used cordlessly only. Unlike some newer vacuum models, the V6 cannot operate while connected to the charging dock. This is a design limitation of the product rather than a fault.
Is it worth replacing the battery or should I buy a new vacuum?
Consider these factors when deciding:
– A new battery costs $30-90 depending on brand
– A new Dyson cordless vacuum costs $300-700
– If your V6 is less than 5 years old and otherwise functioning well, battery replacement is usually more economical
– If you’re experiencing multiple issues beyond charging, or want newer features, upgrading might be preferable
Most users find that a battery replacement extends the useful life of their V6 by another 2-3 years, making it a cost-effective choice.
Why does my Dyson V6 only work for a few seconds after charging?
This specific behavior—working briefly then shutting down—typically indicates:
– One or more battery cells have failed internally
– The battery management system is detecting an unsafe condition and shutting down
– The battery has deteriorated to the point where it cannot sustain the power demands
This almost always requires battery replacement to resolve.
Conclusion
Charging issues with the Dyson V6 Animal are common but typically resolvable with the right approach. In most cases, the problem stems from either connection issues that can be fixed with cleaning and proper maintenance, or battery degradation that requires replacement.
By following the troubleshooting steps outlined in this guide, you can diagnose the specific cause of your charging problems and implement the appropriate solution. Regular maintenance will help prevent future issues and extend the life of your vacuum.
Remember that while DIY repairs can save money, they should only be attempted if you’re comfortable working with electronic devices. When in doubt, Dyson’s customer service can provide guidance specific to your situation, though battery replacement is often more cost-effective than professional repair services for out-of-warranty vacuums.
With proper care and occasional maintenance, your Dyson V6 Animal can provide many years of reliable service, making the effort to resolve charging issues well worth the investment.


