
When your Dyson cordless vacuum refuses to power up, it can disrupt your cleaning routine and leave you frustrated. This comprehensive guide walks you through the most common reasons your Dyson vacuum won’t turn on and provides practical solutions to get your cleaning companion back in action quickly. From battery issues to internal components, we’ll cover everything you need to diagnose and fix the problem.
Affiliate disclosure: As an Amazon associate, We'll earn a commission for every successful order through our affiliate links in the article. However, you won’t be charged anything for this.
Before calling customer service or considering a replacement, follow these troubleshooting steps to potentially save time and money. Many Dyson vacuum issues can be resolved with simple maintenance or minor repairs that you can perform yourself.
Common Battery Issues Preventing Power
Battery problems are the most frequent culprits when a Dyson cordless vacuum won’t turn on. Since these vacuums rely entirely on battery power, any battery malfunction directly affects the vacuum’s ability to operate.
Depleted Battery Charge
If your vacuum won’t power on, the battery may simply be completely discharged. Connect your vacuum to the charging dock and allow it to charge for at least 4.5 hours for a full charge. During charging, you should see:
- A flashing blue light indicating the vacuum is charging
- A solid blue light when fully charged
If you don’t see any lights after connecting to power, this suggests a deeper issue with either the battery or charging system.
Battery Temperature Issues
Dyson batteries are designed to operate within specific temperature ranges for safety and performance:
- Too Cold: If your vacuum has been stored in temperatures below 3°C (37°F), the battery may not function. Look for 7 amber flashes, indicating the battery is too cold.
- Too Hot: Continuous use or storage in hot environments can cause overheating. An 8-flash amber light sequence indicates the battery is too hot.
Solution: Move your vacuum to a room-temperature environment (between 3°C and 40°C) and allow it to acclimate before attempting to power it on or charge it.
Faulty Battery Identification
A failing battery typically shows these signs: – Red warning light flashing 12+ times – 12+ amber/orange flashes after a full charge – Significantly reduced runtime – Failure to hold a charge
To test your battery: 1. If you have a multimeter, check the voltage (should be approximately 25.2V) 2. If the reading is significantly lower, your battery likely needs replacement
If your battery is showing signs of failure or not holding a charge, it’s likely time to replace it.

Official Dyson replacement with extended runtime and cord-free convenience

High-capacity third-party battery with non-slip design and safety protections

Premium upgrade with extended runtime and enhanced filtration system

Budget-friendly option with reliable performance and filters
Charging System Troubleshooting
When your Dyson won’t turn on, the charging system could be at fault rather than the battery itself.
Verifying Charger Functionality
- Inspect the charging dock and adapter for visible damage
- Check for loose connections between the adapter and wall outlet
- Test the wall outlet with another device to confirm it’s providing power
- Look for bent or damaged pins in the charging connections
If you find that your charging adapter is damaged or not providing power, you’ll need to replace it to properly charge your Dyson.
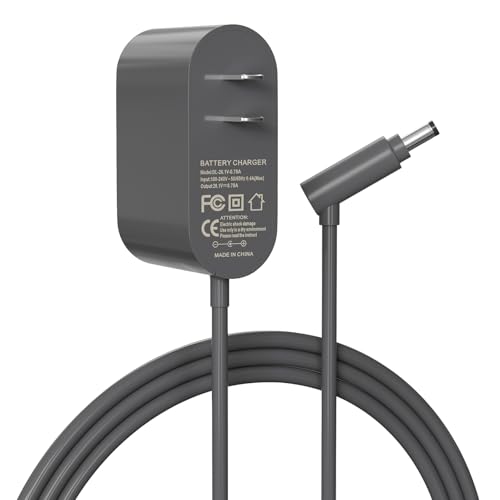
Budget-friendly replacement for V6/V7/V8 models with worldwide compatibility

Premium safety-certified charger for V10/V11/V12 series with 6ft cable

Mid-range option with extended warranty for V12/V15/SV22 models
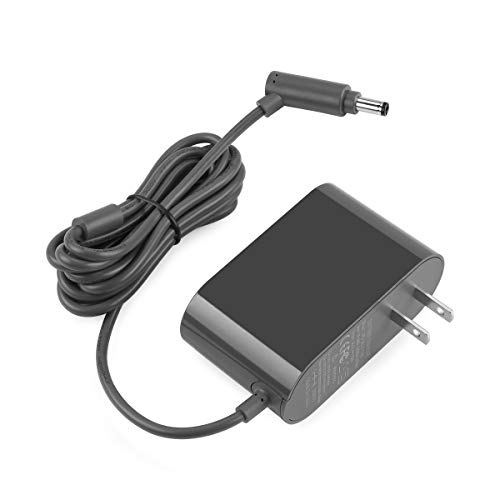
Dual-certified replacement for V6/V7 models with 15-month warranty
Interpreting Charging Indicators
Dyson vacuums communicate charging status through light patterns: – Flashing blue light: Charging in progress – Solid blue light: Fully charged – Flashing red light: Charging fault – No light: No power reaching the vacuum or complete charger failure
If your vacuum shows no charging indicators when connected to power: 1. Unplug the charging dock 2. Wait 30 seconds 3. Plug it back in to reset the charging system 4. Reconnect your vacuum
Charging Time Assessment
Normal charging behavior follows these timeframes: – Full charge: Approximately 3.5 hours – Quick charge: 30-40 minutes for partial power
If your vacuum hasn’t shown charging progress within 1 hour, suspect a fault with either: – The battery itself – The charging block – The internal charging circuits
Step-by-Step Battery Replacement Guide
If you’ve determined your battery needs replacement, follow these steps:
- Remove the bin by pressing the red catch twice
- Locate and remove the two screws (one under the bin, one in the handle)
- Carefully lift out the old battery
- Install the new Dyson battery
- Replace the screws securely
- Reattach the bin, ensuring the tab aligns properly with the bin’s front rim
For optimal performance, only use genuine Dyson replacement batteries that match your specific model.
Battery Reset Procedure
Sometimes, a simple battery reset can resolve power issues:
- Turn off and unplug the vacuum
- If your model has a removable battery, remove it
- Press and hold the power button for 10-20 seconds (this discharges residual power)
- Reinstall the battery
- Charge fully before testing
Note: This procedure only applies to models with removable batteries. Always consult your specific model’s user manual for guidance.
Button and Switch Malfunctions
The power button and associated switches can sometimes prevent your Dyson from turning on, even when the battery is charged.
Power Button Issues
- Inspect the power button for visible damage or debris
- Clean around the button with a soft cloth to remove dirt buildup
- Press the button to check if it properly depresses and springs back
- Listen for any clicking sound that indicates the button is engaging
If the button feels stuck or doesn’t click, it may need repair or replacement.
Safety Switch Examination
Some Dyson models incorporate safety switches that must be properly engaged:
- Check that any safety switches are in the correct position
- Ensure nothing is blocking or interfering with switch movement
- Clean around switch mechanisms to remove potential obstructions
Clearing Blockages That Cause Shutdown
Blockages can trigger automatic shutdown features designed to protect the motor from damage.
Comprehensive Blockage Check
- Bin Overflow: Empty the bin if it exceeds the maximum level indicator
- Motor Head: Disconnect the motor head and clear debris from the neck
- Wand or Bin Inlet: Disconnect components and inspect for obstructions
- Brush Bar: Remove the motor head, use a flat tool to pop off the cap, clear debris, and reassemble
- Airflow Pathway: Use a flashlight to inspect hard-to-reach areas
- Filter Housing: Check for debris around the black rim of the mesh filter housing
Tools for Blockage Removal
- Screwdriver: For dislodging stubborn debris
- Chopstick: For reaching into narrow passages
- Flashlight: For illuminating dark interior sections
- Scissors: For cutting away wrapped hair or fibers
Filter Maintenance for Proper Airflow
Clogged filters restrict airflow, which can trigger protective shutdowns or prevent startup.
Filter Cleaning Procedure
- Locate and remove the filter(s) according to your model’s design
- For standard filters: Rinse under cold water for 2-3 minutes
- For two-part filter systems:
- Press the three securing tabs to separate the parts
- Rinse the inner sock under warm water for 2-3 minutes
- Allow filters to air-dry completely for 24 hours
- Never use heat sources like ovens or microwaves to speed drying
- Reinsert only when completely dry
Filter Maintenance Schedule
- Standard cleaning: Monthly
- Heavy use (pets, fine dust): Every 2-3 weeks
- Complete replacement: Every 6-12 months depending on usage
To maintain optimal performance and prevent shutdowns due to airflow restriction, replace your Dyson vacuum filter regularly.

Authentic Dyson replacement filter for V11/V15 vacuums

Premium replacement filters with enhanced particle filtration
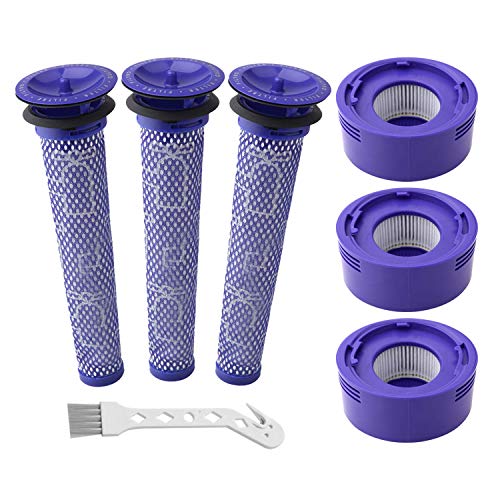
Comprehensive filter replacement for V7/V8 cordless vacuums
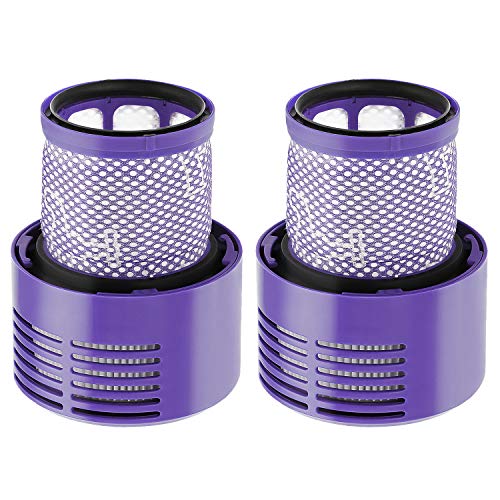
Cost-effective filter replacement for Dyson V10 series
Internal Component Diagnosis
If external troubleshooting doesn’t resolve the issue, internal components may be at fault.
Motor Problems
Signs of motor issues include: – Unusual noises before failure – Burning smell during operation – Intermittent operation before complete failure
Unfortunately, motor repairs typically require professional servicing as they involve complex internal components.
Wiring Inspection
If you’re comfortable with basic repairs: 1. Disconnect the vacuum from power 2. Remove access panels according to your model’s design 3. Visually inspect for disconnected, frayed, or burned wires 4. Secure any loose connections (if qualified to do so) 5. Look for signs of water damage or corrosion
Frequently Asked Questions (FAQ)
Why does my Dyson vacuum shut off after a few seconds?
This typically indicates a blockage, overheating, or filter issue. First, check for blockages in the brush head, wand, and bin inlet. Next, ensure filters are clean and properly installed. If the vacuum feels hot, allow it to cool for at least 30 minutes before attempting to use it again.
How long should a Dyson cordless vacuum battery last?
A typical Dyson battery should last 2-3 years with regular use. You can expect 20-60 minutes of runtime per charge depending on your model and power setting. If your runtime has significantly decreased, it’s likely time for a battery replacement.
Can I replace the battery myself or do I need professional service?
Most Dyson cordless vacuum batteries can be replaced by owners with basic DIY skills. The process typically involves removing a few screws to access the battery compartment. Genuine Dyson replacement batteries cost between $50-$150 depending on your model.
Why won’t my Dyson hold a charge anymore?
If your Dyson won’t hold a charge, the battery cells have likely degraded. This happens naturally over time but can be accelerated by: – Frequent use on maximum power settings – Storing the vacuum in very hot or cold environments – Leaving the battery completely discharged for extended periods – Using non-Dyson chargers or batteries
What’s the difference between flashing red and flashing blue lights?
Flashing blue typically indicates normal charging, while flashing red indicates a fault condition. The number of red flashes can help diagnose the specific problem: – 2-6 flashes: Various motor or electronic faults – 7 flashes: Battery too cold – 8 flashes: Battery too hot – 12+ flashes: Battery failure
Conclusion
When your Dyson cordless vacuum won’t turn on, start with the simplest explanations—a depleted battery or charging issue—before moving to more complex troubleshooting. Regular maintenance, including filter cleaning and blockage checks, can prevent many power problems before they occur.
For persistent issues, don’t hesitate to contact Dyson customer support, as some models have specific troubleshooting requirements. With proper care and occasional parts replacement, your Dyson cordless vacuum should provide many years of reliable service.
Remember that preventative maintenance is always easier than repairs. Empty the bin after each use, clean filters monthly, and check for blockages regularly to keep your Dyson performing at its best.


