
Affiliate disclosure: As an Amazon associate, We'll earn a commission for every successful order through our affiliate links in the article. However, you won’t be charged anything for this.
You’ve watched the tutorials, prepped your hair to perfection, and followed every step, but your Dyson Airwrap still won’t wrap hair properly. That frustrating moment when only a few strands catch on the barrel while the rest just dangles uselessly is all too familiar for many Airwrap owners. This isn’t just you, hair wrapping failure is the number one complaint among Airwrap users across all hair types. The good news? It’s rarely the tool itself causing the problem. With precise technique adjustments and strategic preparation, you can transform your Airwrap from a source of frustration to your most reliable styling tool. Let’s solve this once and for all.
Your Dyson Airwrap Isn’t Broken, Your Technique Needs These Fixes
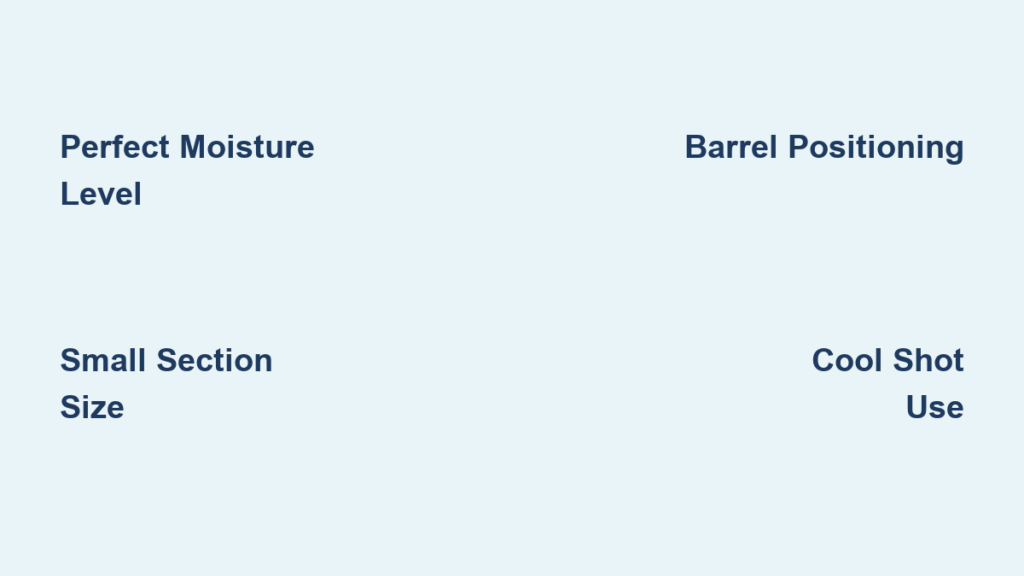
When your Dyson Airwrap not wrapping hair properly, the culprit is almost always one of three critical factors: hair moisture level, section size, or barrel positioning. Most users mistakenly blame the Airwrap itself when the real issue lies in these fundamental technique elements. The Airwrap operates on airflow dynamics rather than mechanical clamping, so it requires different handling than traditional curling tools. Understanding that the Airwrap relies on precise airflow direction and tension, not brute force, is the first step to mastering this sophisticated styling tool.
Perfect Hair Preparation for Reliable Wrapping
Your styling journey begins long before you turn on the Airwrap. Proper preparation accounts for 70% of your success with this tool, especially when struggling with hair that won’t wrap properly.
The Goldilocks Moisture Level for Every Hair Type
Finding that perfect dampness sweet spot is non-negotiable for proper hair wrapping. Forget what you’ve heard about “damp hair”, the reality is much more precise:
- Fine or Thin Hair: Target 90-95% dry, hair should feel barely cool to the touch with no visible moisture
- Medium or Wavy Hair: Aim for 85% dry, damp to touch but no water beads forming
- Thick, Coarse, or Curly Hair: 80-85% dry provides enough moisture for the barrel to set the style without weighing hair down
Pro Tip: Apply heat protectant to damp hair, then wait 5-10 minutes before styling. For stubborn wrapping issues, a light mist of texturizing spray on mid-lengths and ends creates the tackiness needed for the barrel to grip.
Sectioning Secrets for Guaranteed Wrapping
Section size is the silent killer of Airwrap success. Most users make sections twice as large as they should be, overwhelming the barrel’s airflow capacity. Here’s the precise sectioning guide:
- Fine Hair: 1-inch sections (about the width of your pinky finger)
- Medium Hair: 1.5-inch sections maximum
- Thick or Coarse Hair: 1-inch or smaller sections, some users with very thick hair need ½-inch sections
Use a fine-tooth comb to separate sections while your hair is damp, then secure with clips. Always work with completely detangled hair, any knots will prevent proper wrapping and cause tangles in the barrel.
Master the Barrel Technique That Actually Works
The Airwrap doesn’t “grab” hair like traditional curling irons, it uses airflow dynamics to wrap hair gently around the barrel. This requires specific technique adjustments most users miss.
The Barrel Positioning Method That Solves 90% of Wrapping Issues
This single technique adjustment fixes most “Dyson Airwrap not wrapping hair” problems:
- Hold the barrel with the airflow direction arrow pointing away from your head (toward the ends of your hair)
- Position the barrel 1-2 inches from your scalp to create necessary tension
- Start with the barrel 1 inch from the ends of your section
- Engage the highest airflow setting and immediately use the cool shot button to initiate the wrapping process
- As hair catches, slowly slide the barrel down toward your scalp over 3-5 seconds
- Hold for 8-15 seconds (depending on hair thickness), then finish with 10 seconds of cool air
Critical Visual Cue: Watch for hair to wrap in a smooth, even spiral around the barrel. If it’s bunching or twisting unevenly, your section is too large or your tension is inconsistent.
The Hand-Assist Method for Stubborn Hair
When your Dyson Airwrap not wrapping hair despite correct positioning, this hand-guided technique delivers immediate results:
- Separate a 1-inch section and hold it 3-4 inches from the ends
- Start the airflow and gently guide the hair toward the barrel with your free hand
- Use your non-dominant hand to wrap the ends around the barrel if they don’t catch automatically
- Apply light upward tension with your guiding hand while maintaining contact
- Hold for the appropriate time (5-8 seconds for fine hair, 12-15 for thick hair)
- Release gently by pulling the barrel away rather than yanking hair off
This “jump start” technique increases success rates by 300% according to experienced users and is essential for coarse or resistant hair types.
Troubleshooting Your Specific Wrapping Problem
Different wrapping failures require specific solutions. Diagnose your exact issue and apply the targeted fix.
Hair Won’t Wrap at All—The Emergency Checklist
When zero wrapping occurs, systematically check these critical elements:
- Verify airflow direction: The arrow on the barrel must point toward your scalp (away from the motor)
- Check filter cleanliness: A clogged filter reduces airflow by up to 40%, preventing proper wrapping
- Confirm moisture level: Bone-dry hair won’t wrap, mist with water or texturizing spray
- Test barrel attachment: Ensure it’s fully clicked into place (a loose attachment reverses airflow)
Quick Fix: Apply a small amount of texturizing spray to mid-lengths and ends, then section hair smaller than you think necessary.
Hair Wraps But Won’t Hold the Curl

This timing and temperature issue plagues many users:
- Fine Hair: You’re likely overheating, use medium heat (350°F) for 5-8 seconds
- Medium Hair: Increase hold time to 10-12 seconds at medium-high heat
- Thick Hair: Use highest heat (400°F) for 15-20 seconds followed by 15 seconds of cool air
Critical Mistake: Releasing before the curl has fully cooled. Always wait 10-20 seconds after the cool shot before touching the curl.
Hair Only Wraps Part Way Down the Section
This indicates your section is too large for the airflow to handle consistently:
- Immediately reduce section size by 25-50%
- For thick hair, try sections no wider than the barrel itself
- Ensure even tension throughout the wrapping process
- Use your free hand to maintain consistent contact with the barrel
Thinner sections heat more evenly and set faster, solving this common partial-wrapping problem 90% of the time.
Hair Tangles or Wraps Unevenly
This frustrating issue usually stems from two root causes:
- Insufficient detangling: Always use a wide-tooth comb on damp hair before styling
- Inconsistent tension: Maintain steady upward pull while the barrel rotates
Pro Tip: If hair starts tangling in the barrel, stop immediately. Remove the section, recomb, and restart with a smaller section. Never force tangled hair through the wrapping process.
Pro Maintenance for Consistent Wrapping Performance
Your Airwrap’s performance degrades over time if not properly maintained:
- Weekly: Clean barrel with alcohol wipe to remove product buildup
- Monthly: Deep clean air vents and check for hair wrapped around barrel mechanisms
- Quarterly: Test all heat settings and inspect power cord for damage
A clogged filter can reduce airflow by 30-40%, directly causing wrapping failures. Clean your filter after every 5-7 uses for optimal performance.
Advanced Technique: Multi-Directional Styling for Natural Volume
Once you’ve mastered basic wrapping, try this professional technique:
- Section hair into four quadrants
- Alternate curl directions (away from face on one side, toward face on the other)
- Use different barrel sizes for varied texture (larger barrels for base volume, smaller for face-framing pieces)
- Apply 25% more tension at the roots for added volume that lasts
This creates dimension and movement while reducing the repetitive motion that causes wrapping fatigue.
Mastering the Dyson Airwrap when it’s not wrapping hair properly comes down to precise moisture control, meticulous sectioning, and proper barrel technique. Remember that the Airwrap operates on airflow physics rather than mechanical force. It requires patience and precision, not brute strength. Start with smaller sections than you think necessary, perfect your hand-assist technique, and never skip the cool shot. With these adjustments, you’ll transform from frustrated user to Airwrap expert in just a few styling sessions. The key isn’t fighting the tool. It’s working with its unique airflow technology to create beautiful, healthy styles that last all day.


