
When your trusty Dyson V6 Absolute stops charging, it can disrupt your cleaning routine and cause frustration. This powerful cordless vacuum is known for its exceptional suction and versatility, but like any battery-powered device, charging issues can arise over time. Many users report their V6 suddenly refusing to charge, especially after periods of disuse or as the battery ages.
Affiliate disclosure: As an Amazon associate, We'll earn a commission for every successful order through our affiliate links in the article. However, you won’t be charged anything for this.
In this comprehensive guide, we’ll explore the common reasons why your Dyson V6 Absolute might not be charging and provide detailed, step-by-step solutions to get your vacuum back up and running. From simple troubleshooting to more advanced fixes, we’ll cover everything you need to know about diagnosing and resolving charging problems with your Dyson V6 Absolute. Whether you’re dealing with a completely dead vacuum or one that’s showing charging indicator problems, this article will help you identify the cause and implement the most effective solution.
Common Causes of Charging Failures in Dyson V6 Absolute
When your Dyson V6 Absolute refuses to charge, several factors could be at play. Understanding these potential causes is the first step toward finding an effective solution:
Battery Degradation Issues
The Dyson V6 Absolute uses six 18650 lithium-ion cells that naturally degrade over time. As these cells age, they develop increased internal resistance, which reduces their capacity and accelerates self-drain. After approximately 2-3 years of regular use, you might notice:
- Significantly shorter run times
- Difficulty holding a charge
- Complete failure to accept a charge
When left unused for extended periods (even just two weeks), these batteries can drain below their critical voltage threshold of approximately 2.5 volts. At this point, the vacuum’s charging circuit may recognize the battery as “dead” and refuse to initiate the charging process.
Charging Circuit Complications
The charging system in your Dyson V6 is sophisticated but susceptible to failure over time. Problems can include:
- Worn-out connections between components
- Electrical shorts within the circuit
- Failed circuit board components
- Corrosion on contact points
These issues often develop gradually, with the vacuum becoming increasingly difficult to charge before it stops charging altogether.
External Charging Problems
Sometimes the issue isn’t with the vacuum itself but with external factors:
- Loose connections between the charger and wall outlet
- Faulty power outlets providing inconsistent voltage
- Damaged charging cables with internal breaks
- Dust or debris buildup in the charging port
- Physical damage to the charging adapter
If you suspect the charging adapter is the problem, replacing it with a new one is the easiest way to rule it out.
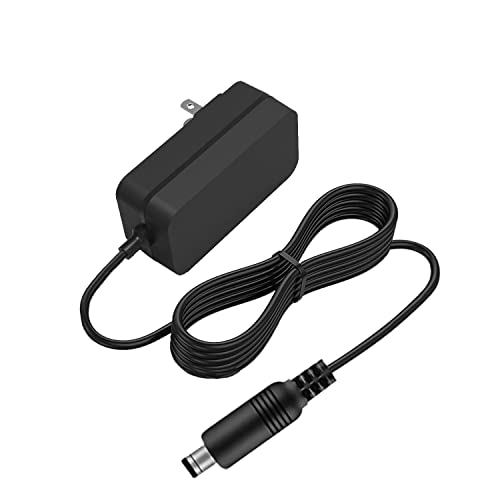
Budget-friendly replacement with 5FT cable and safety features.
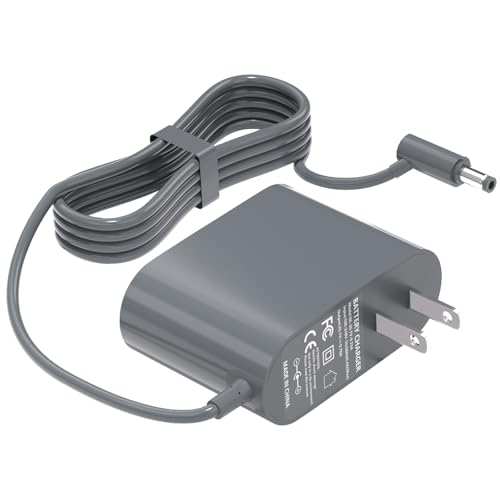
Eaneey’s 6FT cable with CE/FCC/UL certifications.
KWRNVO’s 5.9FT cable and 18-month exchange.

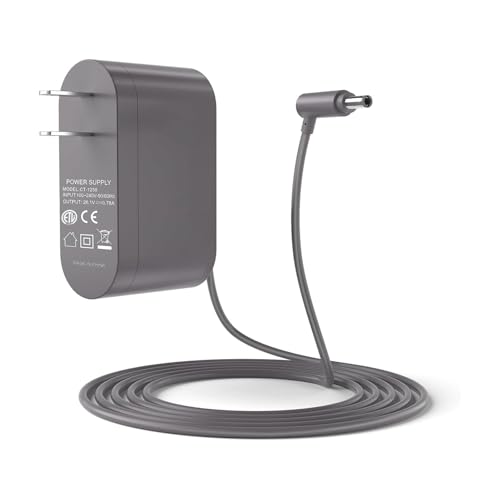
Premium 1-year warranty and 5.9FT cable.
Software and Control System Glitches
Modern vacuums like the Dyson V6 Absolute contain control systems that can occasionally experience glitches:
- Internal software issues preventing proper charge recognition
- Battery management system errors
- Sensor malfunctions misreading battery status
Troubleshooting Dyson V6 Absolute Charging Issues: Step-by-Step Guide
Initial Diagnostic Steps
Before attempting more complex solutions, start with these basic checks:
- Verify Power Source
– Plug another device into the same outlet to ensure it’s working
– Try charging the vacuum from a different outlet
– Check that the outlet isn’t controlled by a wall switch that’s turned off -
Inspect Charging Adapter
– Look for visible damage to the adapter or cord
– Check for bent pins or debris in the connector
– Ensure the adapter is properly seated in both the wall outlet and vacuum -
Examine Battery Contacts
– Remove the battery if possible (some models allow this)
– Look for corrosion, dirt, or debris on the battery contacts
– Check for any physical damage to the battery housing -
Check Indicator Lights
– Note any blinking patterns or color changes on the charging indicator
– Refer to the light codes section below to interpret what they mean
Battery Reset Procedure
One of the most effective solutions for charging issues is resetting the battery system:
-
Complete Discharge
– If your vacuum still has some charge, run it until it completely stops
– Press and hold the power button for 10-20 seconds to discharge any residual power -
Disconnect Everything
– Remove the vacuum from the charging dock
– Unplug the charging dock from the wall outlet
– If possible, remove the battery from the vacuum -
Wait Period
– Leave everything disconnected for at least 5 minutes
– This allows the internal circuits to fully reset -
Reconnection Sequence
– Reconnect the battery if it was removed
– Plug the charging dock into a working outlet
– Place the vacuum on the charging dock -
Extended Charging
– Allow the vacuum to charge for a full 24 hours
– This extended charging period can sometimes revive batteries that appear dead
Cleaning Battery Contacts
Dirty or corroded contacts can prevent proper charging:
-
Power Off and Disconnect
– Ensure the vacuum is completely powered off
– Remove it from any power source -
Access the Contacts
– Locate the metal contacts on both the vacuum and the battery
– These are typically visible where the battery connects to the main unit -
Clean with Appropriate Materials
– For dust and light dirt: Use a soft, dry cloth or soft-bristled toothbrush
– For corrosion: Dip a cotton swab in rubbing alcohol and gently clean the contacts
– Never use water or harsh chemicals that could cause damage -
Dry Thoroughly
– Allow all components to dry completely before reassembly
– Accelerate drying with compressed air if available -
Reassemble and Test
– Reconnect all components
– Place on charger and check if charging begins
Addressing Extreme Temperature Issues
Temperature problems can trigger protective mechanisms that prevent charging:
-
Identify Temperature Indicators
– Solid or flashing amber light often indicates temperature issues
– The vacuum may feel unusually hot or cold to the touch -
Move to Appropriate Environment
– Dyson recommends storage between 64°F (18°C) and 82°F (28°C)
– For charging, maintain an ambient temperature between 50°F (10°C) and 86°F (30°C) -
Allow Temperature Stabilization
– If the vacuum was in a cold garage or hot car, allow 1-2 hours for it to reach room temperature
– Do not attempt to accelerate this process with external heat sources -
Test Charging
– Once at appropriate temperature, attempt charging again
– The amber light should change to a blue charging indicator
Advanced Solutions for Persistent Charging Problems
Battery Replacement Procedure
When other solutions fail, replacing the battery is often necessary:
- Purchase Appropriate Replacement
– Official Dyson batteries ensure compatibility but are more expensive
– Quality third-party batteries can be a cost-effective alternative
– Ensure the battery is specifically designed for the Dyson V6 Absolute model
Replacing the battery can solve many charging issues, especially if the original battery is old or damaged.
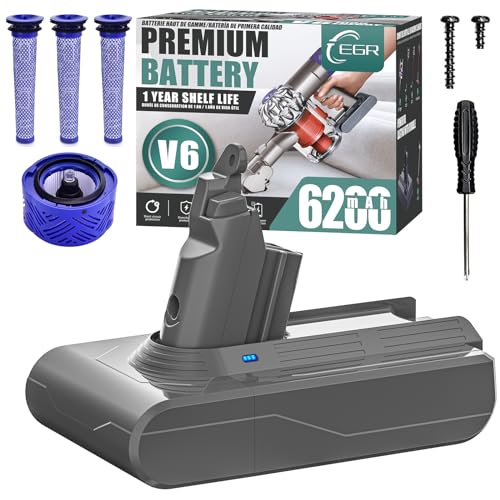
High-capacity replacement with extended runtime and non-slip design
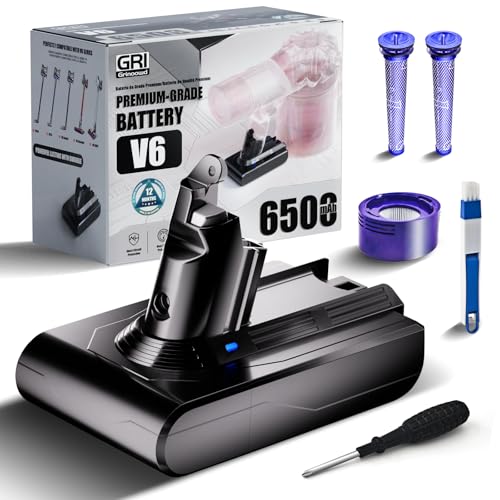
Ultra-capacity battery with dual HEPA filters and 2-year warranty
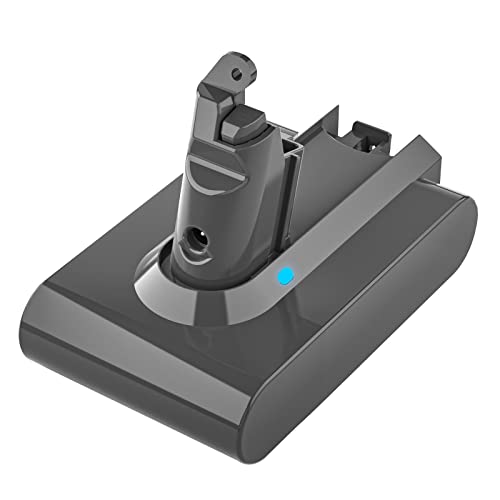
Budget-friendly replacement with smart charging protection
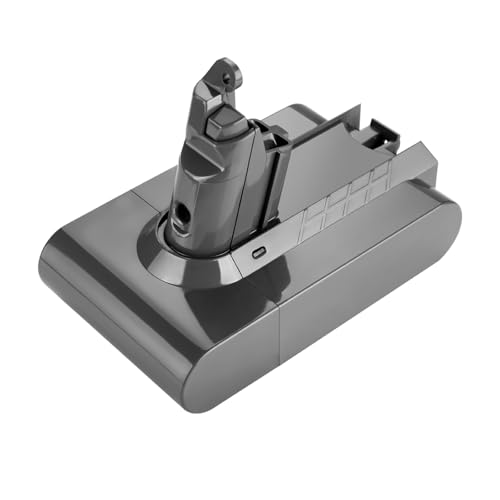
Longest-lasting battery with BMS chip safety system
-
Battery Removal Steps
– Locate the internal screw securing the battery tray
– Using a screwdriver with the correct bit size, remove this screw
– Find the second screw on the handle and remove it
– Carefully extract the old battery, noting its orientation -
Installation Process
– Insert the new battery in the same orientation as the old one
– Secure with the screws you removed earlier
– Ensure all connections are firm and properly seated -
Initial Charging
– Place the vacuum on the charger
– Allow a full 24-hour initial charge to properly condition the new battery
– After this initial charge, normal charging times will apply
Reconditioning a Partially Responsive Battery
Sometimes a battery that appears dead can be reconditioned:
-
Cycle Charging Method
– Attempt to charge the vacuum for 15 minutes
– Remove from charger for 5 minutes
– Repeat this cycle 3-4 times
– This can sometimes “wake up” a battery that’s in deep discharge -
Temperature Manipulation
– If the battery is cold, warming it slightly (to room temperature only) may help
– Never use extreme heat as this can damage the battery or create safety hazards -
Extended Charging Period
– Some users report success with very long charging periods (36-48 hours)
– This approach sometimes works with batteries that are deeply discharged
Addressing Charging Circuit Problems
If the battery tests good but charging still fails:
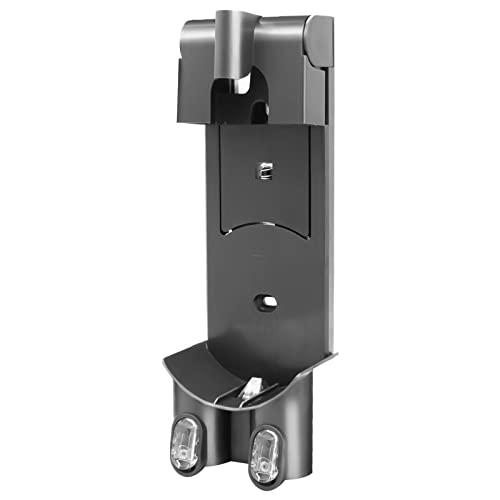
- Check Charging Dock
– Inspect for bent pins or damaged components
– Test the voltage output using a multimeter if you have one
– Replace the charging dock if necessary
If the charging dock is damaged or faulty, replacing it will ensure proper charging.
Affordable replacement with easy installation and durable materials

Wall-mounted bracket with 30-day guarantee and compatible with V6

Wall mount with charging and space-saving design
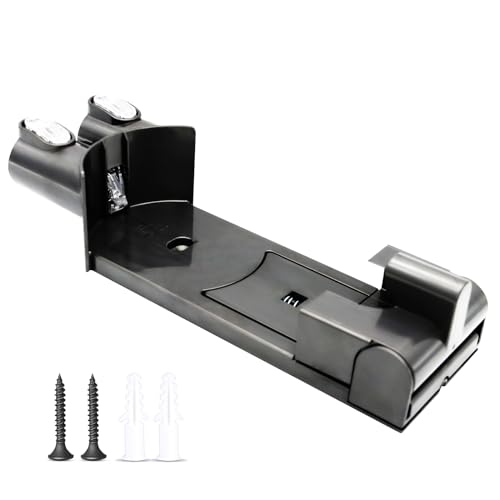
Durable wall mount offering space-saving and compatibility
- Internal Connection Inspection
– If you’re comfortable with disassembly, check internal wiring connections
– Look for loose wires or damaged connectors
– Reseat any disconnected components
Interpreting Battery Indicator Lights
Understanding what the lights on your Dyson V6 Absolute are telling you can help diagnose charging problems:
Blue Light Indicators
- Solid Blue: Normal charging in progress
- Flashing Blue: Battery is deteriorating, often accompanied by reduced runtime
- Rapidly Flashing Blue: Battery approaching end of life, replacement recommended
Amber Light Indicators
- Solid Amber: Temperature issue – vacuum is too hot or too cold
- Flashing Amber: Charging fault detected in the battery or charging system
Red Light Indicators
- Red Light Flashing More Than 12 Times: Indicates a faulty battery that likely needs replacement
- Solid Red: Critical battery or system fault
Preventive Maintenance to Avoid Future Charging Issues
Regular Cleaning Routine
Implementing a regular cleaning schedule prevents many common issues:
-
After Each Use
– Empty the dust canister to prevent strain on the motor
– Wipe down exterior surfaces with a damp cloth -
Weekly Maintenance
– Clean the filter in warm, soapy water
– Rinse thoroughly and allow to dry completely (at least 24 hours)
– Never reinstall a damp filter as this can damage the motor -
Monthly Battery Care
– Clean battery contacts with a dry cloth or alcohol wipe
– Inspect charging connections for dirt or debris
– Check for any signs of wear on the charging cable
Optimal Storage Practices
Proper storage significantly extends battery life:
-
Temperature Considerations
– Store in a cool, dry place away from direct sunlight
– Avoid storage in uninsulated garages or attics with temperature extremes -
Charge Level for Storage
– For short-term storage (1-2 weeks), a full charge is acceptable
– For long-term storage (1+ months), store with approximately 50% charge
– Never store with a completely depleted battery -
Periodic Maintenance During Storage
– For vacuums stored long-term, recharge every 3 months
– Run the vacuum briefly to keep internal components lubricated
Battery-Saving Usage Habits
How you use your vacuum affects battery longevity:
-
Power Mode Selection
– Use Eco mode for routine cleaning to maximize battery life
– Reserve Max power mode for stubborn dirt or deep cleaning
– Using Max mode continuously significantly reduces battery lifespan -
Cooling Periods
– Allow the vacuum to cool between extended cleaning sessions
– Avoid running until complete battery depletion regularly
Frequently Asked Questions (FAQ)
Why does my Dyson V6 only run for a few seconds on max power?
When your Dyson V6 Absolute runs for only 5-6 seconds on max power but operates longer on standard mode, this typically indicates battery deterioration. The high-power demand of max mode exposes the battery’s reduced capacity more dramatically than standard mode. This is often accompanied by a flashing blue light and is a clear sign that battery replacement should be considered.
Can I replace the Dyson V6 battery myself or do I need professional service?
You can absolutely replace the Dyson V6 battery yourself with basic tools. The process involves removing two screws – one securing the battery tray and another on the handle. After removing these screws, you can extract the old battery and install a new one. Quality replacement batteries are available from both Dyson and third-party manufacturers. The entire procedure typically takes less than 15 minutes and requires only a screwdriver.
How long should a Dyson V6 Absolute battery last before needing replacement?
Under normal usage conditions, a Dyson V6 Absolute battery typically lasts 2-3 years before showing significant capacity reduction. Factors that can shorten this lifespan include frequent use of max power mode, exposure to temperature extremes, and improper storage. With optimal care and usage habits, some users report batteries lasting up to 4 years before requiring replacement.
Why does my Dyson V6 show a solid amber light when charging?
A solid amber light during charging indicates that the battery temperature is outside the optimal range (either too hot or too cold). Dyson recommends charging at ambient temperatures between 50°F (10°C) and 86°F (30°C). Move your vacuum to a location with an appropriate temperature and allow it to acclimate for 1-2 hours before attempting to charge again. Once the temperature normalizes, the light should change to blue to indicate normal charging.
Is it normal for a Dyson V6 to get warm while charging?
Some warmth during charging is normal for the Dyson V6 Absolute. The battery and charging circuitry naturally generate heat during the charging process. However, if the vacuum becomes hot to the touch or emits unusual odors while charging, disconnect it immediately. Excessive heat could indicate a problem with the battery or charging system that requires attention to prevent potential safety hazards.
Conclusion
Charging issues with the Dyson V6 Absolute can be frustrating but are often resolvable with the right approach. By understanding the common causes and following the troubleshooting steps outlined in this guide, you can often restore your vacuum to proper working condition without professional assistance. For many users, a simple reset procedure or battery replacement solves the problem, while others may need to address issues with charging connections or environmental factors.
Regular maintenance plays a crucial role in preventing future charging problems. By implementing proper cleaning routines, storage practices, and usage habits, you can significantly extend the life of your Dyson V6 Absolute and its battery. Remember that lithium-ion batteries naturally degrade over time, so even with perfect care, eventual replacement is normal after several years of use.
With the right knowledge and care, your Dyson V6 Absolute can continue to provide powerful, cordless cleaning performance for years to come.


