
When your powerful Dyson V10 Absolute refuses to charge, it can quickly turn from a cleaning powerhouse to a frustrating paperweight. This comprehensive guide walks you through the most common causes of charging issues and provides step-by-step solutions to get your vacuum back up and running.
Affiliate disclosure: As an Amazon associate, We'll earn a commission for every successful order through our affiliate links in the article. However, you won’t be charged anything for this.
Many Dyson V10 owners report a specific pattern of failure: the vacuum shows pulsing blue lights when placed on the charger until all three lights illuminate, but then goes completely dark and won’t turn on. This frustrating situation typically points to several possible culprits, including trigger assembly problems, battery issues, or connection failures. The good news is that many of these problems can be diagnosed and fixed without professional help.
Common Dyson V10 Charging Problems
The Dyson V10 Absolute is an engineering marvel, but like any complex device, it can develop issues over time. The most frequent charging problems stem from a few key components:
Trigger Assembly Failures
A loose or damaged trigger assembly is a surprisingly common cause of charging problems. The small lug that secures the trigger assembly can fail over time, causing the battery to shift slightly out of position. This creates an inconsistent connection that prevents proper charging.
You can quickly test if this is your issue by: 1. Placing your vacuum on a flat surface 2. Pushing upward on the base of the battery while simultaneously pulling the trigger 3. If the vacuum suddenly springs to life, you’ve confirmed a trigger assembly problem
This issue typically requires replacing the motor housing, as the trigger mechanism is integrated into this component.
Battery Connection Issues
Even when your battery appears to be charging (indicated by pulsing blue lights), a poor connection can prevent the battery from either charging fully or delivering power to the motor. When all three blue lights become solid, your Dyson is indicating a full charge. If the vacuum still won’t operate after this point, the problem likely involves the battery connection or the battery itself.
Trigger Mechanism Wear
The V10’s trigger mechanism can wear out prematurely, especially if you frequently use the vacuum in boost mode. Remember that the trigger should require only gentle pressure to activate – squeezing harder doesn’t increase suction and can actually damage the mechanism over time.
Step-by-Step Troubleshooting Guide
Before replacing any parts, work through these troubleshooting steps to identify and potentially resolve your charging issue:
Check Power Settings and Connections
- Verify the power outlet is working by plugging in another device
- Inspect the charging dock for damage or debris
- Ensure the vacuum is properly seated on the charging dock
- Look for any visible damage to the power adapter or cord
If you notice the power adapter or cord is damaged, it is best to replace it.
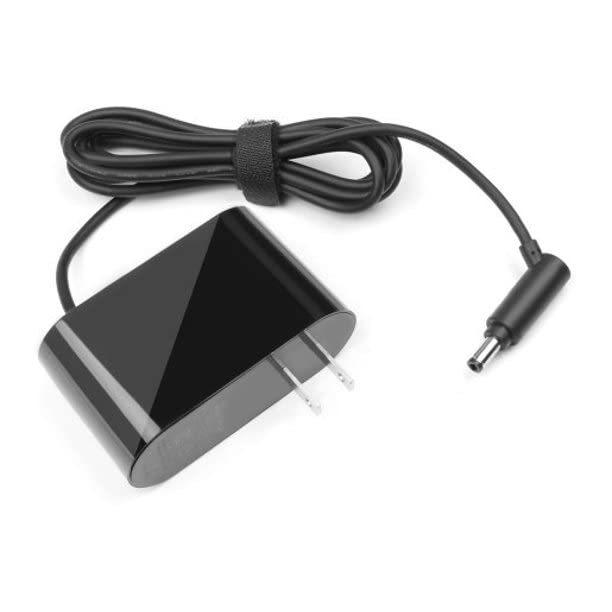
Official Dyson charger with OEM part number and safety certifications

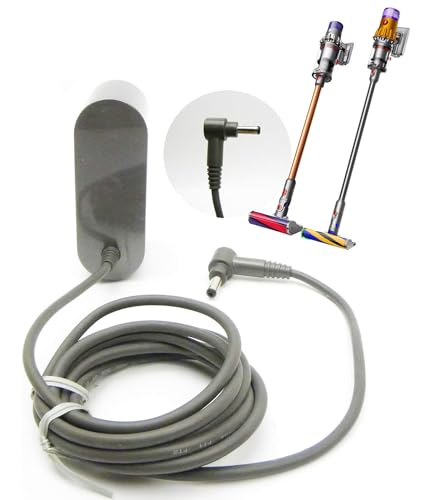
Budget-friendly replacement with universal compatibility for Dyson models

Longer cable option with ETL safety certification for Dyson systems
High-efficiency charger with global voltage support and docking compatibility
Examine the Battery Seating
- Remove the vacuum from the charging dock
- Check if the battery is properly seated in its compartment
- Look for any debris or damage around the battery contacts
- Gently push upward on the battery while pulling the trigger to test for trigger assembly issues
Reset the Battery
A simple battery reset can often resolve charging problems:
- Remove the vacuum from the charging dock
- Press and hold the power button for 10-20 seconds to discharge any residual power
- Return the vacuum to the charging dock
- Allow it to charge fully (all three blue lights solid)
- Test if the vacuum turns on properly
Replacing the Dyson V10 Battery
If troubleshooting doesn’t resolve your charging issue, you may need to replace the battery. Here’s a comprehensive guide to safely replacing your Dyson V10 battery:
Tools and Materials Needed
- Small flathead screwdriver
- Torx T8 screwdriver
- Compatible replacement battery for Dyson V10
- Clean, well-lit workspace
- Protective gloves (optional)
Safety Precautions
- Ensure the vacuum is completely powered off and disconnected from the charging dock
- Work in a dry environment to avoid electrical hazards
- Handle the battery carefully to avoid damage to cells
Removing the Old Battery
- Place the vacuum on a clean, flat surface
- Locate the battery cover at the bottom of the handle
- Use the flathead screwdriver to carefully pry open the battery cover
- Identify the battery pack within the handle
- Use the Torx T8 screwdriver to remove any screws securing the battery
- Note the orientation and connection points of the battery
- Carefully disconnect the battery from the main circuit board
- Gently extract the battery from its compartment
Installing the New Battery
- Inspect the new battery for any visible damage
- Insert the new battery into the compartment, maintaining the same orientation as the old one
- Reconnect the battery to the main circuit board, ensuring connections are secure
- Replace any screws that secured the original battery
- Verify there are no loose wires or connections
- Align and snap the battery cover back into place
Testing After Replacement
- Place the vacuum on the charging dock
- Allow it to charge fully (all three blue lights solid)
- Remove from the dock and test if the vacuum powers on
- Run the vacuum for several minutes to ensure the battery holds charge
- Check all functions, including standard and boost modes
Fixing Trigger Assembly Problems
If your testing revealed a trigger assembly issue (the vacuum works when pushing up on the battery), you’ll need to address this problem:
Motor Housing Replacement
The most comprehensive solution is replacing the motor housing, which includes the trigger assembly. This is a more complex repair that may require:
- Disassembling the vacuum head
- Removing the cyclone assembly
- Accessing and replacing the motor housing
- Reassembling all components
For most users, this level of repair might be best left to professionals or authorized Dyson service centers.
If you are comfortable with the repair, a replacement motor housing will solve the trigger assembly issue.

Genuine Dyson replacement for V10 with direct drive technology

Anti-tangle design with flexible rotation for V10 compatibility
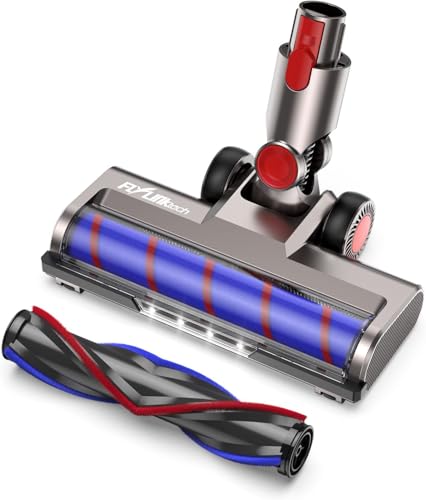
LED headlights for enhanced visibility on hard floors

50W motor for powerful suction on carpets and hard floors
Temporary Fixes
Some users have reported success with temporary fixes:
- Using small shims to improve the connection between the battery and contacts
- Carefully adjusting the trigger mechanism to improve responsiveness
- Cleaning all connection points with electronic contact cleaner
These approaches may provide short-term relief but typically don’t resolve the underlying issue permanently.
Maintaining Your Dyson V10 to Prevent Charging Issues
Proper maintenance can prevent many charging problems before they start:
Regular Cleaning Routine
- Empty the dust bin after each use
- Wash the filter monthly according to Dyson’s instructions
- Check and clean the brush roll to remove hair and debris
- Wipe down the exterior and charging contacts with a slightly damp cloth
Battery Care Best Practices
- Avoid completely draining the battery before recharging
- Don’t leave the vacuum continuously on the charger after it’s fully charged
- Store in a cool, dry place away from direct sunlight
- Perform a complete discharge and recharge cycle once every 3-4 months
Proper Usage Habits
- Use boost mode sparingly to reduce strain on the battery and trigger
- Apply gentle pressure to the trigger rather than squeezing forcefully
- Allow the vacuum to cool down after extended use before charging
Frequently Asked Questions (FAQ)
Why does my Dyson V10 show charging lights but won’t turn on?
This typically indicates either a battery connection issue or a faulty trigger assembly. Try pushing up on the battery while pulling the trigger to test if the trigger assembly is the culprit. If the vacuum starts, the motor housing likely needs replacement. If not, the battery or its connections may be faulty.
How long should a Dyson V10 battery last before replacement?
With proper care, a Dyson V10 battery should last 2-3 years before showing significant capacity reduction. Heavy use, frequent boost mode operation, and improper charging habits can shorten this lifespan considerably.
Can I replace the trigger mechanism without replacing the entire motor housing?
While technically possible, replacing just the trigger mechanism is challenging without specialized tools and expertise. Most users find replacing the entire motor housing more practical, though more expensive.
Will using non-Dyson replacement batteries void my warranty?
Yes, using third-party batteries will typically void any remaining warranty. If your Dyson is still under warranty, contact Dyson support before attempting any repairs or replacements.
How can I tell if my charging dock is faulty?
Test the charging dock by: 1. Checking if the power indicator lights up when plugged in 2. Trying a different power outlet 3. Inspecting the contacts for damage or corrosion 4. Testing with a different Dyson battery if available
Conclusion
Charging issues with your Dyson V10 Absolute can be frustrating, but many problems can be resolved through proper troubleshooting and maintenance. Start with the simplest solutions like checking connections and performing a battery reset before moving to more complex repairs like battery replacement or motor housing replacement.
If DIY solutions don’t resolve your issue, contacting Dyson support is recommended, especially if your vacuum is still under warranty. With proper care and timely intervention, your Dyson V10 can continue providing powerful cleaning performance for years to come.


