
When your Dyson V7 Absolute refuses to charge, it can be frustrating and disrupt your cleaning routine. This powerful cordless vacuum relies on a consistent power supply to maintain its performance. Several factors can prevent proper charging, from simple connection issues to more complex battery failures.
Affiliate disclosure: As an Amazon associate, We'll earn a commission for every successful order through our affiliate links in the article. However, you won’t be charged anything for this.
Most Dyson V7 charging problems fall into three main categories: battery issues, charging dock malfunctions, or power supply problems. The good news is that many of these issues can be resolved without professional help. This guide will walk you through comprehensive troubleshooting steps, from basic checks to more advanced solutions, helping you get your vacuum back up and running efficiently.
Initial Troubleshooting Steps
Quick Fixes to Try First
Before diving into more complex solutions, start with these simple troubleshooting steps that often resolve charging issues:
- Check the power outlet: Ensure your outlet works by testing it with another device
- Inspect the charging dock: Look for visible damage or debris on the charging contacts
- Examine the power cord: Check for fraying, cuts, or other damage
- Try a different outlet: Electrical issues with the original outlet might be preventing charging
- Restart the vacuum: Turn it off completely, wait 30 seconds, then turn it back on
Checking the Charging Connection
Poor connections between your vacuum and charging dock often cause charging failures:
- Clean the contacts: Wipe both the vacuum and dock contacts with a dry cloth to remove dust or residue
- Ensure proper alignment: Make sure the vacuum sits correctly on the charging dock
- Check for obstructions: Remove any debris that might prevent a solid connection
- Inspect for damage: Look for bent or damaged contacts that might need repair
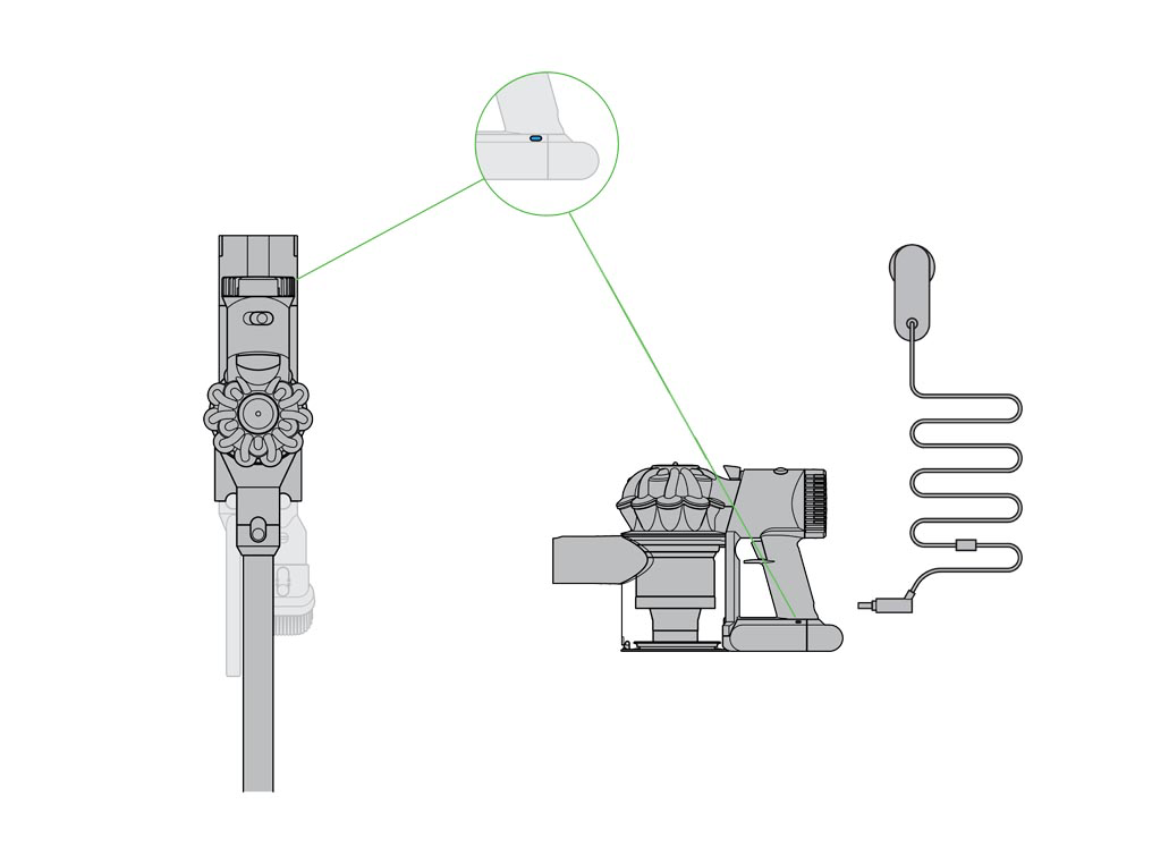
Understanding LED Indicators
Your Dyson V7’s lights communicate important information about its charging status:
- Solid blue light: Battery is charging normally
- No light: Either fully charged or not receiving power
- Flashing blue light: Potential battery failure or charging issue
- Solid red light: Fully charged (on some models)
- Flashing red light: Error condition requiring attention
Battery-Related Problems

Identifying Battery Failure Signs
Several symptoms indicate your Dyson V7’s battery might be failing:
- Flashing blue light during power-up (primary indicator of battery failure)
- Drastically reduced runtime in normal operation mode
- Sudden shutdown within 5-6 seconds when using max power
- Consistent failure to charge despite proper connection
- Immediate power-off after attempting to start
- Swollen or hot battery indicating physical damage
Testing Battery Health
To determine if your battery needs replacement:
- Visual inspection: Look for bulging, leakage, or discoloration
- Performance test: Time how long the vacuum runs on a full charge
- Voltage measurement: If you have a multimeter, a healthy fully-charged battery should read approximately 16.8V
- Temperature check: The battery shouldn’t become excessively hot during charging
Battery Replacement Process
If you’ve confirmed your battery needs replacement:
- Purchase a compatible battery: Buy from Dyson directly or a reputable third-party supplier
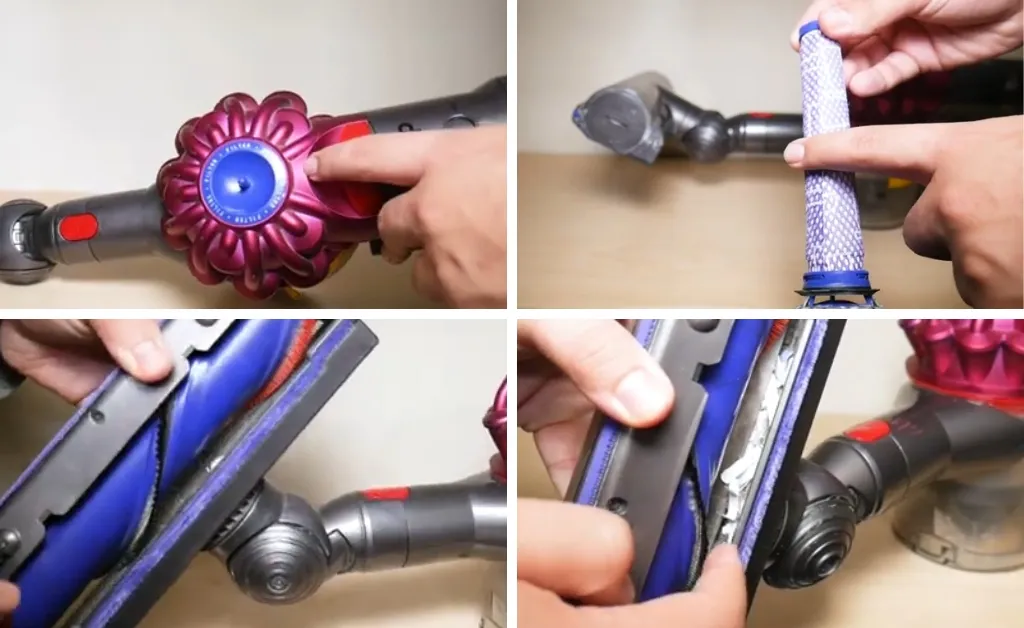
- Remove the battery tray: Locate and release the battery compartment
- Unscrew the battery compartment: Use a small Phillips screwdriver to remove one screw on the side and one on the handle
- Install the new battery: Carefully insert the replacement following the correct orientation
- Reassemble: Reattach screws and reinsert the battery tray
- Initial charge: Charge fully before first use (typically 3.5-4 hours)
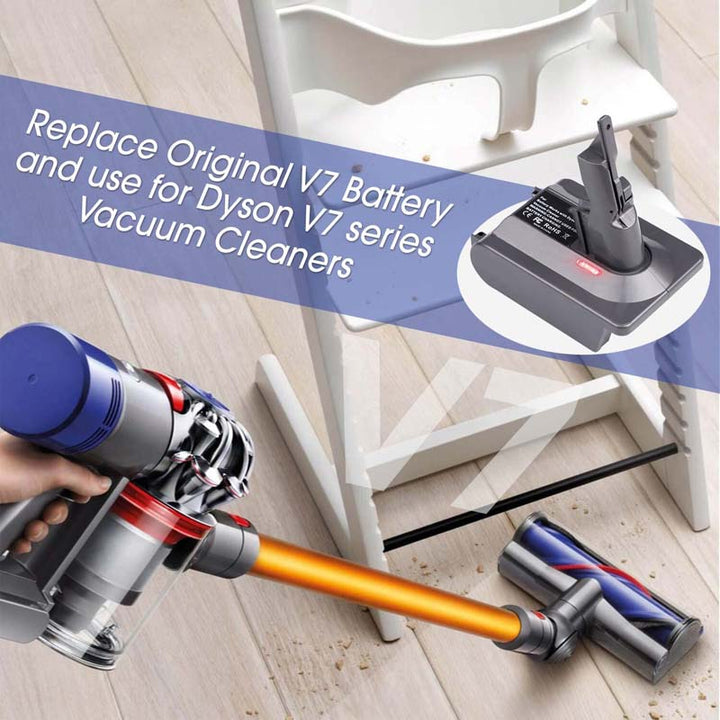
If the battery is failing, you will need a replacement.

Official genuine battery for V7 with 2100mAh capacity.
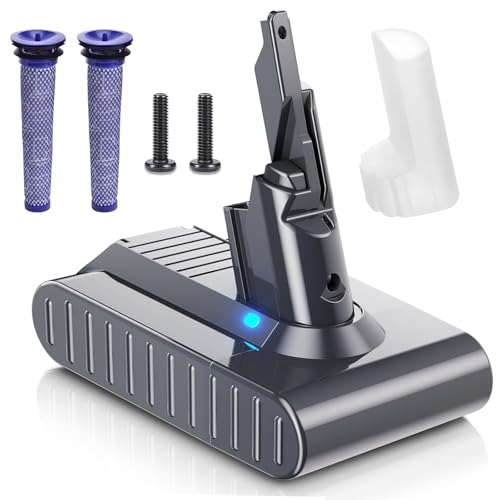
Upgraded 7000mAh with longer runtime and 6-cell design.
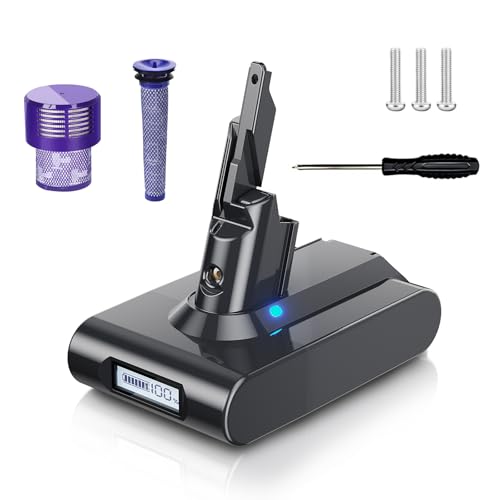
7000mAh with LED charge indicator and safety protections.
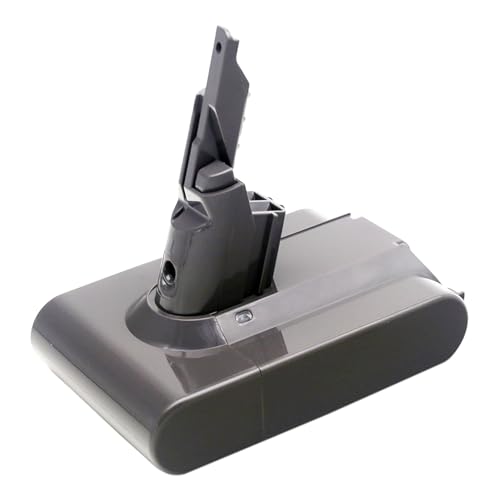
Budget-friendly 6500mAh option with multiple protections.
Charging Dock Troubleshooting
Inspecting for Physical Damage
A damaged charging dock can prevent proper charging:
- Check for cracks or breaks: Examine the entire dock for structural damage
- Inspect the charging pins: Look for bent, pushed in, or corroded pins
- Examine the mounting: Ensure the dock is securely attached to the wall (if wall-mounted)
- Check the cable connection: Make sure the power cable is firmly connected to the dock
Testing the Dock’s Functionality
Determine if your charging dock is working properly:
- Try a different vacuum: If available, test if another compatible Dyson charges on this dock
- Measure output voltage: Using a multimeter, check if the dock outputs the correct voltage
- Listen for indicators: Some docks make a subtle sound when receiving power
- Check for warmth: A functioning dock will feel slightly warm when plugged in
Cleaning Charging Contacts
Dirty contacts often prevent proper charging:
- Power off completely: Unplug the dock and ensure the vacuum is turned off
- Use isopropyl alcohol: Apply to a clean cloth (not directly to contacts)
- Gently clean contacts: Wipe both the vacuum and dock contacts
- Allow to dry completely: Wait 5-10 minutes before reconnecting
- Reconnect and test: Place the vacuum on the dock to see if charging begins
Power Supply Issues
Checking Wall Outlets
Electrical problems can prevent your Dyson from charging:
- Test with another device: Plug a lamp or phone charger into the same outlet
- Check for tripped breakers: Inspect your electrical panel for tripped circuits
- Try multiple outlets: Test several outlets in different rooms
- Consider voltage issues: Power fluctuations can affect charging
Inspecting the Power Cord
A damaged power cord can interrupt charging:
- Check for visible damage: Look for cuts, frays, or kinks in the cable
- Examine the plug: Ensure prongs are straight and free of corrosion
- Test cable flexibility: The cable should bend easily without stiffness
- Check connections: Ensure the cable is firmly seated in both the dock and wall outlet
Addressing Power Adapter Problems
If the power adapter is damaged then it will need to be replaced.
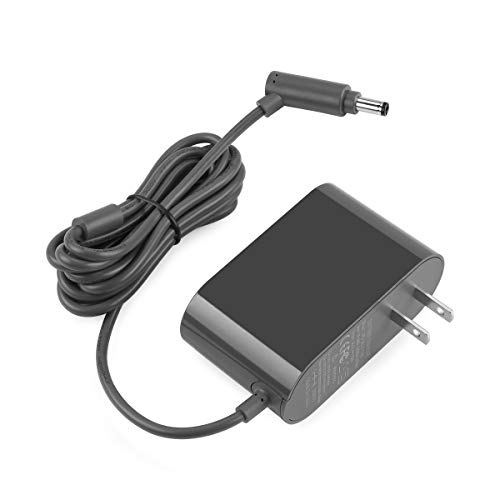
Official replacement with 15-month warranty
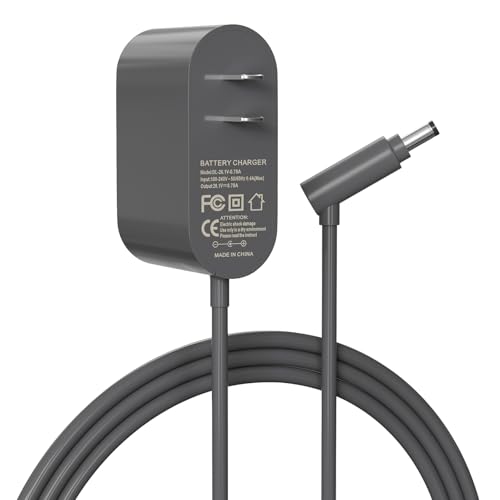
Budget-friendly with worldwide compatibility
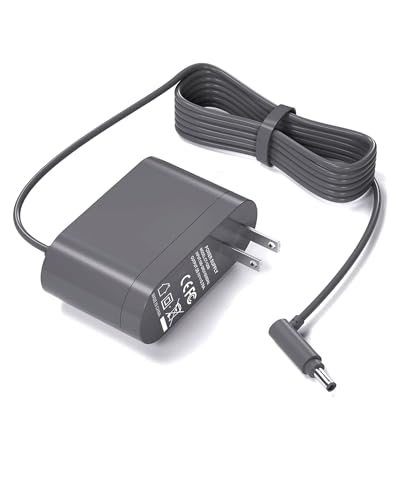
Premium with safety features
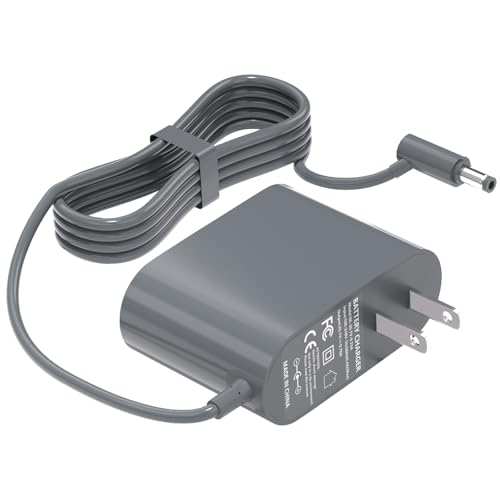
Certified with 30-day return
Advanced Troubleshooting Methods
Resetting the Charging System
A complete reset often resolves persistent charging issues:
- Unplug the charging dock from the wall outlet
- Remove the battery (if possible on your model)
- Press and hold the power button for 20 seconds to discharge residual power
- Reconnect everything and attempt to charge again
- Try Bexy’s method: While connected to the charger, press and hold the trigger for about 20 seconds
Inspecting Internal Wiring
For those comfortable with DIY repairs:
- Ensure the vacuum is unplugged and battery removed if possible
- Open the vacuum housing using appropriate screwdrivers (typically Torx T8 or T10)
- Check for loose connections: Look for disconnected or poorly seated wires
- Inspect for corrosion: Green or white buildup indicates corrosion issues
- Look for burnt components: Discoloration suggests electrical damage
Filter Maintenance Impact on Charging
Clogged filters can indirectly affect charging:
- Remove and inspect filters: Check for excessive dirt buildup
- Clean according to instructions: Usually by rinsing with cold water
- Allow to dry completely: Typically 24 hours of air drying
- Reinstall properly: Ensure filters are correctly seated
- Test charging: Clean filters reduce strain on the motor system
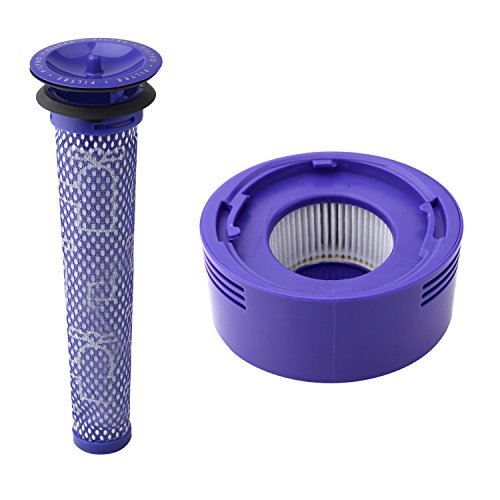
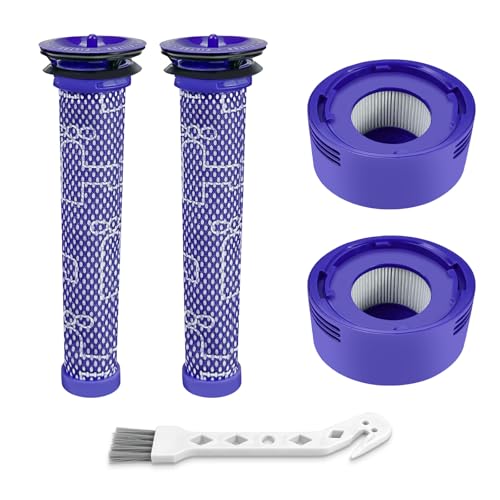
If the filters are damaged or excessively clogged, it may be time to replace them.
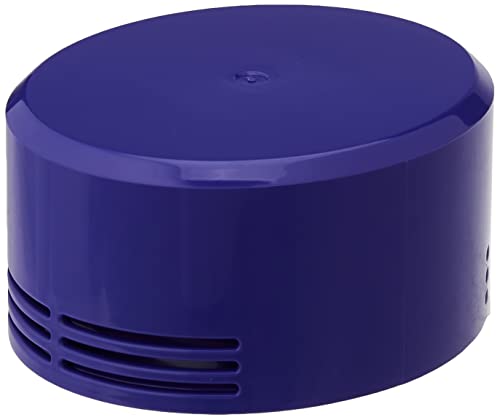
Official Dyson replacement filter for V7/V8 series with premium quality assurance
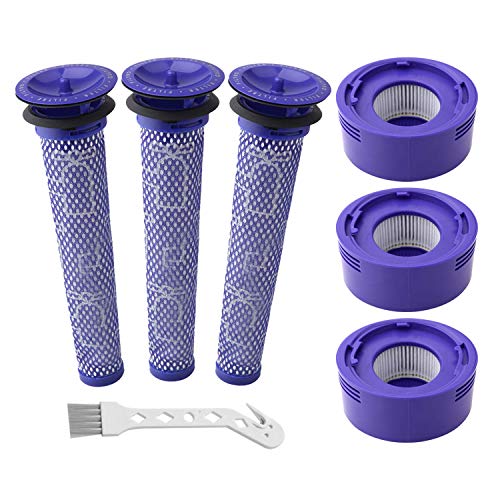
Cost-effective bulk replacement for V7/V8 filters with included cleaning brush
Budget-friendly replacement set with high-efficiency filtration for V7 models
Compact replacement kit with advanced filtration technology for V7/V8 models
User-Reported Solutions
Success Stories from Dyson Owners
Many users have resolved charging issues with these approaches:
- Bexy’s trigger method: While connected to the charger, press and hold the trigger for about 20 seconds
- Karen’s contact cleaning: Thoroughly cleaning the battery contacts resolved persistent charging problems
- Chaddy’s dock reset: Placing the vacuum on the charging station for 30 seconds, removing it, then replacing it restored charging
- SFKitKat’s comprehensive approach: Combining thorough cleaning with the trigger method fixed long-standing issues
- Daisy’s filter maintenance: Simply cleaning clogged filters restored proper charging functionality
Alternative Charging Methods
When conventional charging fails:
- Direct battery charging: Some replacement batteries can be charged outside the vacuum
- Universal chargers: Specialized chargers compatible with Dyson batteries
- Battery conditioning: Professional services that can restore some battery function
- Charging port adapters: Connect to the vacuum’s charging port directly
Preventive Maintenance
Optimal Charging Practices
Extend battery life with these charging habits:
- Avoid complete discharge: Try not to let the battery drain completely
- Don’t overcharge: Remove from charger once fully charged if not using for extended periods
- Maintain partial charge for storage: Aim for 40-60% charge when storing long-term
- Use original charging equipment: Third-party chargers may damage the battery
- Charge at room temperature: Extreme temperatures reduce battery lifespan
Regular Cleaning and Maintenance
Prevent charging issues with routine care:
- Clean charging contacts monthly: Wipe with a dry cloth or alcohol wipe
- Inspect for debris: Remove hair and fibers from brush heads and intakes
- Maintain filters: Clean or replace according to manufacturer guidelines
- Check for blockages: Clear any obstructions in the suction pathway
- Store properly: Keep in a cool, dry place away from direct sunlight
When to Seek Professional Help
Know when DIY isn’t enough:
- Persistent issues despite troubleshooting: Some problems require technical expertise
- Under warranty coverage: Unauthorized repairs may void your warranty
- Electrical burning smells: This indicates potentially dangerous problems
- Battery swelling or leaking: These conditions pose safety risks
- Physical damage to internal components: Complex repairs need professional attention
Frequently Asked Questions (FAQ)
How long should a Dyson V7 battery last?
A Dyson V7 battery typically lasts 2-3 years with regular use before showing significant capacity reduction. With proper care, some users report 4+ years of acceptable performance. The battery is designed to provide approximately 30 minutes of runtime in standard mode when new, decreasing gradually over its lifespan. If your vacuum runs for less than 10 minutes on a full charge, it’s likely time for a replacement battery.
Can I replace the Dyson V7 battery myself?
Yes, you can replace the Dyson V7 battery yourself with basic DIY skills. The process involves removing the battery tray, unscrewing the compartment (one screw on the side and one on the handle), extracting the old battery, and installing the new one. Purchase a genuine Dyson replacement or high-quality third-party option for best results. The procedure takes approximately 10-15 minutes and requires only a Phillips screwdriver. This DIY approach can save significant money compared to professional service.
Why does my Dyson V7 turn off after a few seconds?
Your Dyson V7 may turn off after a few seconds due to several possible issues. The most common cause is a failing battery that can no longer maintain sufficient voltage under load. Other possibilities include overheating from blocked filters, motor problems, or a faulty trigger mechanism. If this occurs primarily in max power mode but works longer in standard mode, it’s almost certainly a battery issue. Try cleaning all filters, ensuring proper airflow, and checking for blockages before considering battery replacement.
How can I tell if my Dyson charger is working?
To determine if your Dyson charger is working, check for these indicators: 1) The charging dock should feel slightly warm when plugged in, 2) The vacuum’s LED light should illuminate when properly connected (typically blue while charging), 3) Using a multimeter, you can measure the output voltage at the charging contacts (should be approximately 16.8V for most models). Additionally, try charging for at least 30 minutes, then test if the vacuum runs longer than before. If another compatible Dyson is available, see if it charges with your dock.
Is it worth repairing a Dyson V7 or should I replace it?
Whether to repair or replace your Dyson V7 depends on several factors. If the issue is simply a battery replacement (typically $50-100), repairs are worthwhile as a new V7 costs $300+. For models less than 3-4 years old with only minor issues, repair is generally cost-effective. However, if your vacuum has multiple problems (motor, electronics, and battery) or is over 5 years old, replacement might be more economical. Consider that newer models offer improved features and efficiency. Dyson vacuums are designed to last 7-10 years with proper maintenance, so mid-life repairs often make financial sense.
Conclusion
Charging issues with your Dyson V7 Absolute can be frustrating but are often fixable with the right approach. Most problems stem from battery degradation, connection issues, or power supply problems that can be addressed through methodical troubleshooting. The solutions range from simple fixes like cleaning contacts and resetting the system to more involved repairs like battery replacement.
Remember that preventive maintenance plays a crucial role in avoiding future charging problems. Regular cleaning of contacts, proper storage, and optimal charging practices will extend your vacuum’s lifespan and maintain its performance. If your troubleshooting efforts don’t resolve the issue, don’t hesitate to contact Dyson’s customer support or consider professional repair services, especially if your device is still under warranty.
By following the comprehensive steps outlined in this guide, you’ll be well-equipped to diagnose and resolve most charging issues with your Dyson V7 Absolute, ensuring it continues to provide the powerful, cord-free cleaning experience you expect.


