

The Dyson V7 Animal is a powerful cordless vacuum, but like any battery-powered device, it can develop charging issues over time. If your Dyson V7 Animal isn’t holding a charge properly, you’re not alone. Many users experience their vacuum working for only a few seconds before dying or notice significantly reduced runtime compared to when it was new. This comprehensive guide will walk you through the causes and solutions to restore your vacuum’s battery performance.
Affiliate disclosure: As an Amazon associate, We'll earn a commission for every successful order through our affiliate links in the article. However, you won’t be charged anything for this.
Battery problems can be frustrating, especially when you’re in the middle of cleaning. The good news is that many charging issues can be resolved without professional help. From simple battery resets to replacement options, we’ll cover everything you need to know to get your Dyson V7 Animal back to full power.
Common Dyson V7 Animal Battery Issues
When your Dyson V7 Animal fails to hold a charge, several factors could be at play. The most common symptoms include the vacuum running for only 2-10 seconds before shutting off, requiring frequent recharging, or providing noticeably shorter runtime than when it was new.
These issues typically stem from three main sources:
-
Battery Degradation: Like all lithium-ion batteries, the Dyson V7’s battery naturally loses capacity over time and after numerous charge cycles.
-
Charging System Problems: Issues with the charger itself, the charging dock, or the electrical connections can prevent proper charging.
-
Component Failures: Internal malfunctions in the motor, circuit board, or battery management system can affect battery performance.
You might notice your vacuum’s battery deteriorating if it requires charging more frequently than before, dies quickly after showing a full charge, or provides consistently reduced runtime during operation.
Several factors contribute to battery degradation:
– Age of the battery
– Number of charging cycles completed
– Exposure to extreme temperatures
– Leaving the vacuum plugged in continuously for long periods
Effective Troubleshooting for Battery Issues
Battery Reset Procedure
One of the simplest yet most effective solutions is performing a battery reset:
- Unplug the charger from the wall outlet
- Plug it back in
- Connect your Dyson V7 Animal to the charger
- Press and hold the trigger (power button) for approximately 20 seconds
- Release the trigger
- Allow the vacuum to charge fully
Many users report this simple procedure completely resolves their charging issues, essentially “rebooting” the battery management system.
Cleaning Battery Contacts
Poor electrical connections can prevent proper charging:
- Remove the battery from the vacuum (if possible on your model)
- Inspect the contacts on both the battery and the charging station
- Using a cotton swab lightly dampened with isopropyl alcohol, gently clean all contact points
- Ensure contacts are completely dry before reattaching
- Reconnect the battery and test the vacuum
Quick Recharge Method
If your vacuum works briefly before dying, try this quick fix:
- Use the vacuum until it stops working
- Place it on the charging station for approximately 30 seconds
- Remove it and test if it functions normally
- Repeat if necessary
Thorough Cleaning and Maintenance
A dirty vacuum can strain the battery and reduce performance:
- Disassemble the vacuum according to the user manual
- Clean all components thoroughly, especially the filter
- Check for any blockages in the suction pathway
- Ensure moving parts operate freely
- Reassemble carefully
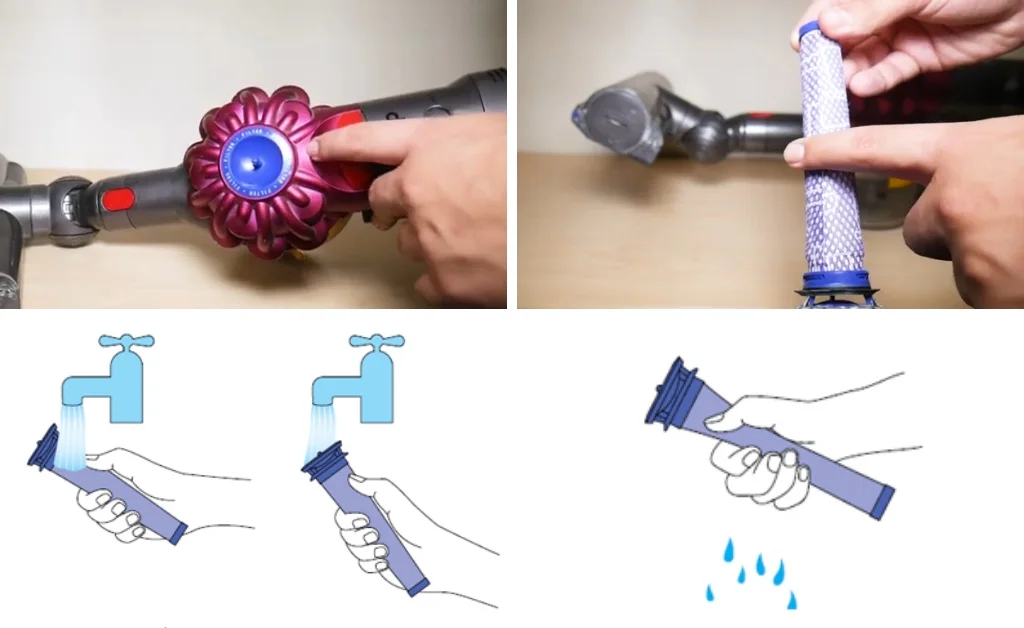
Deep Filter Cleaning
A clogged filter forces the motor to work harder, draining battery life faster:
- Remove the filter from your Dyson V7 Animal
- Tap it gently to remove loose debris
- Rinse the filter under cold water until the water runs clear
- For cone-shaped filters, ensure you clean both the exterior and interior surfaces
- Allow the filter to dry completely for at least 24 hours before reinstalling
- Never reinstall a damp filter as this can damage your vacuum
If your Dyson V7 Animal filter is damaged, extremely dirty, or you’ve had it for a while, it might be time to replace it to maintain optimal performance.
Official Dyson replacement filter for V7 series with premium quality

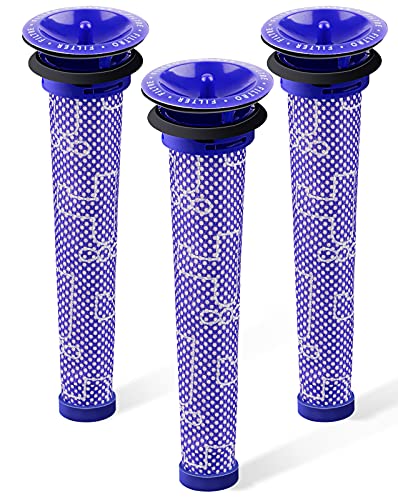
Cost-effective replacement set with cleaning tools included
Enhanced sealing design for improved suction performance
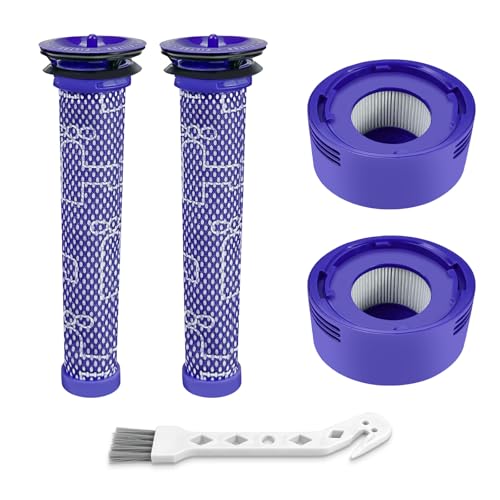
High-efficiency filtration with convenient maintenance
Power Setting Check
The power setting significantly impacts battery life:
- Locate the maximum power button (often called the “mad button”)
- Ensure it is not engaged (it should not be illuminated blue)
- Using the standard power setting rather than maximum power can extend runtime from seconds to several minutes
Replacing Your Dyson V7 Animal Battery
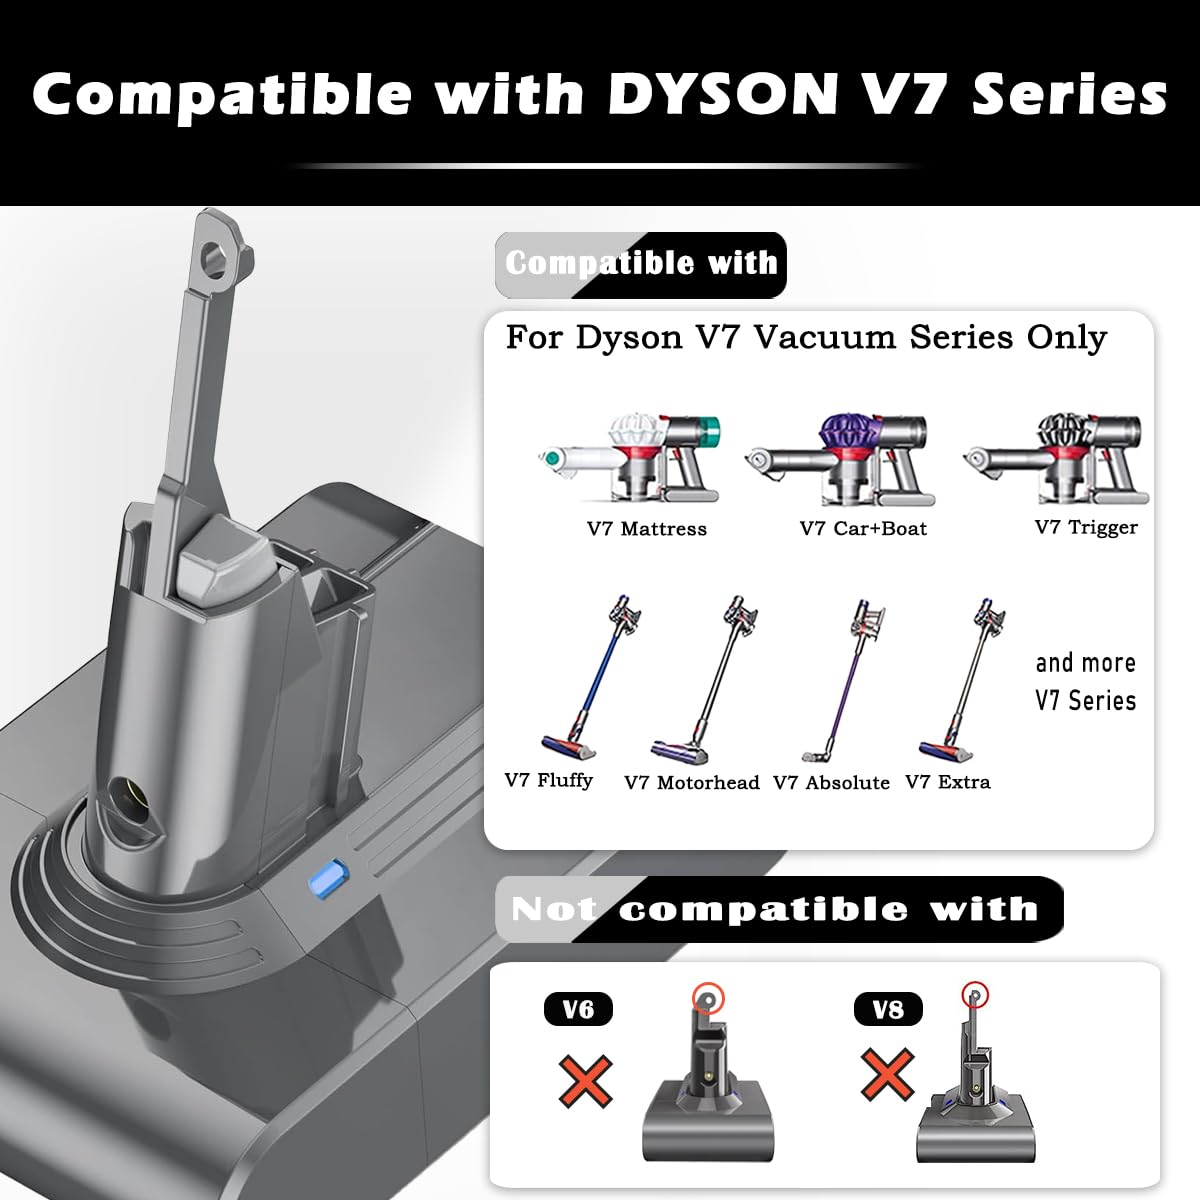
If troubleshooting doesn’t resolve the issue, battery replacement may be necessary:
When to Replace the Battery
- Your vacuum is more than 3-4 years old
- The battery no longer holds a charge despite all troubleshooting attempts
- Runtime has decreased significantly even after proper maintenance
If the battery is old or not holding charge then consider replacing it with new one.

Official Dyson replacement with guaranteed compatibility
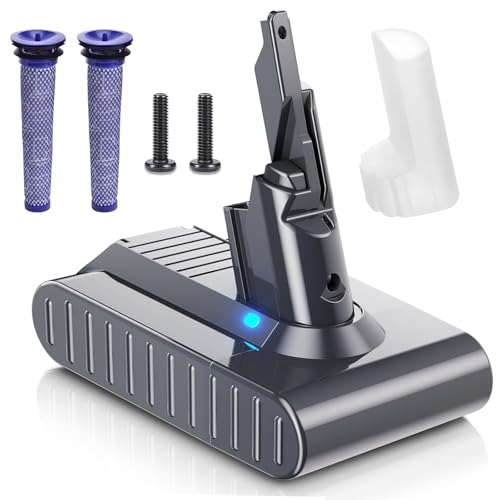
Enhanced capacity with real-time power monitoring

Balanced performance with included cleaning filters
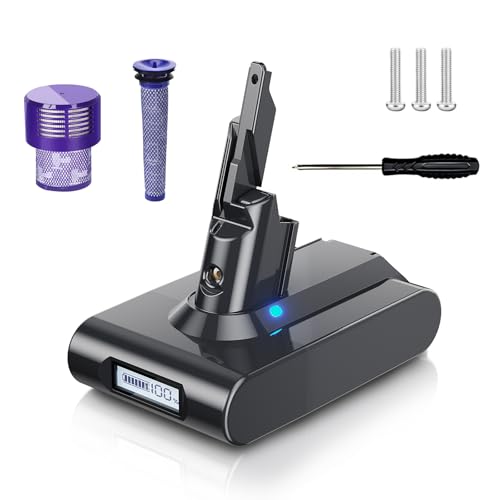
High-capacity with comprehensive safety features
Battery Replacement Options
-
Genuine Dyson Battery (approximately $129)
– Provides reliable performance
– Guaranteed compatibility
– Typically lasts 3-4 years
– Available directly from Dyson -
Third-Party Batteries (approximately $35-95)
– Lower cost alternative
– Quality varies significantly
– May void warranty
– Potential risk of premature failure or damage to the vacuum
Battery Replacement Process
- Power off and unplug your vacuum
- Locate the battery release button (usually near the handle)
- Press the release button and slide the battery out
- Insert the new battery until it clicks into place
- Charge fully before first use
If the charging adapter is damaged or not working, replacing it with a new one is essential for charging your Dyson V7 Animal vacuum.
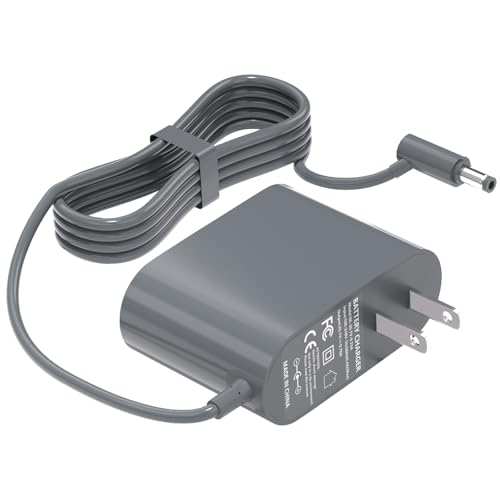
Affordable replacement with global compatibility and safety certifications
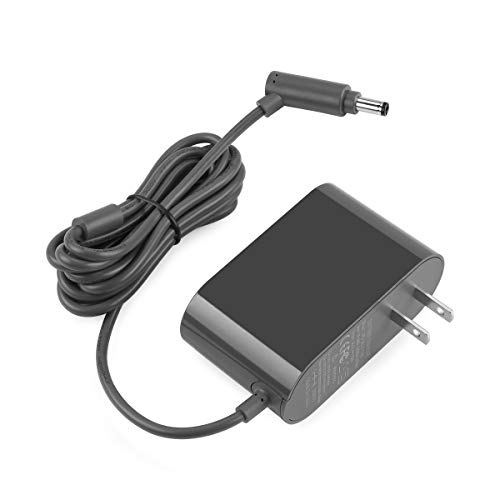
Premium certified charger with extended warranty and safety protections
High-quality replacement with multi-safety protections and 18mo support

Mid-range option with docking station compatibility and 30-day returns
Professional Support Options
If you’ve tried all the above solutions without success, it’s time to seek professional help:
Contacting Dyson Support
Have the following information ready when contacting Dyson:
– Your vacuum’s serial number
– Detailed description of the issue
– Purchase date and warranty status
– Your contact information
Dyson Support Contact Information
- US: 866-693-9766
- UK: 0800-298-0298
- CA: 1-877-397-6622
- AU: 1800 397 666
- NZ: 0800 397 667
Maintaining Your Dyson V7 Animal Battery
Prevent future charging issues with these maintenance tips:
Optimal Storage Practices
- Store your vacuum in a cool, dry place
- Avoid extreme temperatures (hot garages or cold basements)
- For long-term storage, maintain the battery at about 50% charge
- Don’t leave the vacuum continuously plugged in when fully charged
Regular Maintenance Routine
- Clean filters every month
- Inspect and clean charging contacts regularly
- Remove debris from brush rolls and suction pathways
- Empty the dust bin after each use
- Check for blockages if suction decreases
Battery-Saving Usage Tips
- Use standard power mode for routine cleaning
- Reserve maximum power for tough spots only
- Allow the battery to cool after use before charging
- Complete cleaning tasks in one session rather than multiple short bursts
- Avoid running the battery completely empty before recharging
Frequently Asked Questions (FAQ)
How long should a Dyson V7 Animal battery last?
With proper care, the Dyson V7 Animal battery typically lasts 3-4 years before significant capacity loss occurs. During this time, you should expect approximately 20-30 minutes of runtime on standard power settings when fully charged, or about 6 minutes on maximum power.
Why does my Dyson V7 only run for a few seconds?
If your Dyson V7 runs for only a few seconds, the most likely causes are a depleted battery, the vacuum being stuck in maximum power mode, a clogged filter restricting airflow, or a failing battery that needs replacement. Try performing a battery reset and thoroughly cleaning the filter before considering battery replacement.
Can I leave my Dyson V7 on the charger all the time?
While modern lithium-ion batteries have overcharge protection, continuously leaving your Dyson V7 plugged in can still contribute to faster battery degradation over time. It’s best to unplug the vacuum once it’s fully charged unless you’re actively using it soon.
Is it worth replacing the battery in a Dyson V7?
Replacing the battery in a Dyson V7 is typically worth it if the vacuum is otherwise functioning well. A new battery costs significantly less than a new vacuum, and with a fresh battery, your Dyson can provide several more years of reliable service. However, if your vacuum has multiple issues beyond battery life, replacement might be more economical.
Conclusion
Battery issues with your Dyson V7 Animal can be frustrating, but many problems can be resolved through proper troubleshooting and maintenance. Start with simple solutions like battery resets and thorough cleaning before moving on to more involved fixes like battery replacement.
Regular maintenance is key to prolonging battery life and ensuring optimal performance from your Dyson V7 Animal. By following the guidelines in this article, you can extend the lifespan of your vacuum and avoid premature battery failure.
If all else fails, don’t hesitate to contact Dyson support for professional assistance. With proper care and timely intervention, your Dyson V7 Animal can continue to provide powerful, cord-free cleaning for years to come.


