
The Dyson SV05 cordless vacuum is a powerful cleaning tool, but like many battery-operated devices, it can develop charging issues over time. If your Dyson SV05 isn’t holding a charge properly, you’re not alone. This comprehensive guide explores the causes of this common problem and provides practical solutions to get your vacuum working efficiently again.
Affiliate disclosure: As an Amazon associate, We'll earn a commission for every successful order through our affiliate links in the article. However, you won’t be charged anything for this.
When functioning correctly, your Dyson should provide consistent cleaning power throughout its battery cycle. However, many users report their vacuums working for only a few minutes—or even seconds—before losing power, despite showing a full charge. This frustrating issue can significantly impact your cleaning routine and the overall value of your investment.
Common Causes of Charging Problems in Dyson SV05
The Dyson SV05’s charging issues typically stem from several key areas. Identifying the specific cause is crucial for implementing the right solution. Here are the most frequent culprits:
Battery Degradation
Over time, lithium-ion batteries naturally degrade, reducing their capacity to hold a charge. This is especially common in older Dyson models that have undergone hundreds of charging cycles. Signs of battery degradation include:
- Significantly shorter runtime than when new
- Vacuum losing power suddenly rather than gradually
- Battery indicator showing full charge but quickly depleting
Charging Connection Issues
Poor connections between the vacuum and charger can prevent proper charging:
- Dirt or debris on battery contacts
- Loose connection at the charging port
- Damaged charging dock
- Faulty wall outlet
System Overload
Your Dyson’s performance can be affected by factors that strain the battery:
- Clogged filters forcing the motor to work harder
- Continuous use of maximum power setting
- Blockages in the suction pathway
- Overheated components
Quick Fixes to Try First
Before diving into more complex solutions, try these simple troubleshooting steps that have resolved charging issues for many Dyson owners:
The 20-Second Button Press Hack
This surprisingly effective technique has helped numerous users restore proper charging function:
- Unplug the charger from the wall outlet
- Insert the charger into the vacuum
- Plug the charger back into the wall
- Press and hold the power button for exactly 20 seconds
- Release the button and check if the charge indicator lights show improvement
Alternative Charging Methods
Sometimes the problem lies with the charging setup rather than the vacuum itself:
- Try charging directly from the wall outlet instead of using the docking station
- Use a different wall outlet to rule out electrical issues
- Ensure the charger is securely connected at both ends
If the Dyson SV05 isn’t charging through the docking station or wall outlet, the charging adapter might be faulty.
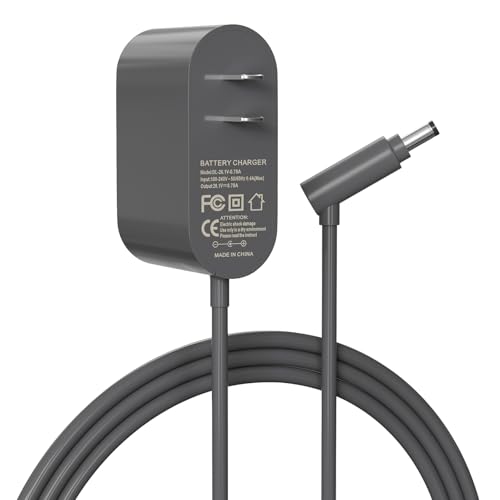
Budget-friendly replacement with 1-year warranty
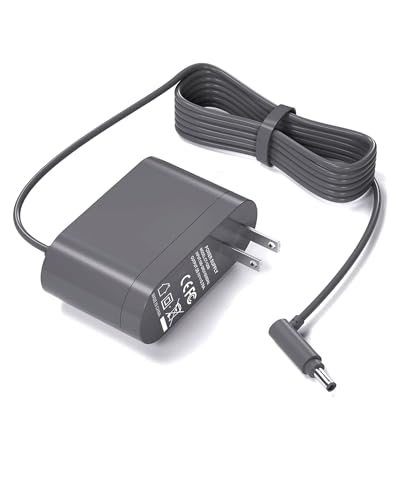
Premium option with 15-month warranty
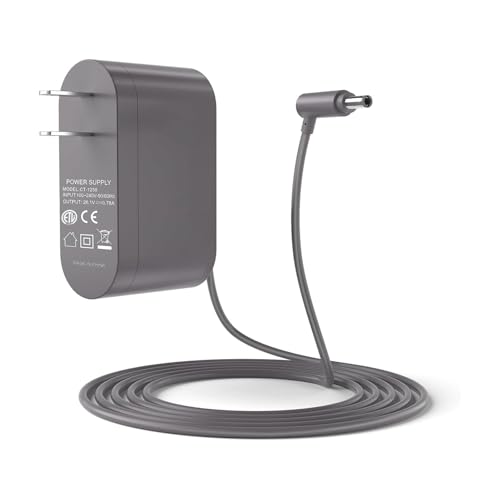
UL-certified with 18-month warranty
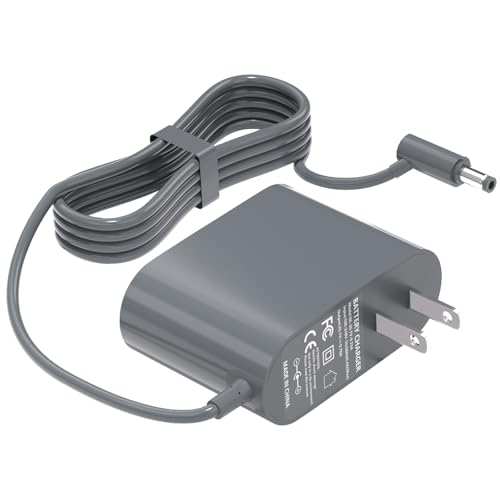
Certified safety with 30-day returns
Check the Max Power Button
The “Max” power setting (indicated by a blue light) significantly drains battery life:
- Make sure the Max button isn’t stuck or accidentally engaged
- If using Max mode frequently, try standard power for routine cleaning
- Reserve Max power for particularly challenging messes
Deep Cleaning Battery Contacts
Dirty battery contacts are a surprisingly common cause of charging problems. Here’s how to properly clean them:
Cleaning Procedure
- Unplug the vacuum and ensure it’s completely powered off
- Remove the battery by unscrewing the securing screws (typically requires a Phillips head screwdriver)
- Locate the metal contacts on both the battery and inside the vacuum
- Gently wipe the contacts with a clean, dry cloth
- For stubborn grime, lightly dampen the cloth with isopropyl alcohol
- Allow contacts to dry completely before reassembly
- Reinsert the battery and secure with screws
Many users, including one named Karen in our research, found that simply cleaning the battery contacts completely resolved their charging issues without needing any replacement parts.
Filter Maintenance for Optimal Performance
A clogged filter forces your Dyson to work harder, draining the battery faster and potentially causing charging issues. Proper filter maintenance includes:
Filter Cleaning Steps
- Remove the filter by twisting it counterclockwise
- Tap the filter gently to remove loose dust and debris
- Rinse the filter under cold water until the water runs clear
- Do not use detergents or soap
- Allow the filter to dry completely for at least 24 hours
- Reinstall the dry filter by twisting it clockwise until secure
Internal Filter Cage Maintenance
- Disassemble the filter housing
- Remove and clean the internal filter cage
- Eliminate all dust buildup from surrounding areas
- Reassemble carefully, ensuring all components fit properly
Several users reported that thorough filter cleaning resolved not only charging issues but also pulsing problems that were affecting performance.
Battery Replacement: Step-by-Step Guide
If troubleshooting steps haven’t resolved the issue, battery replacement may be necessary. Here’s a comprehensive guide:
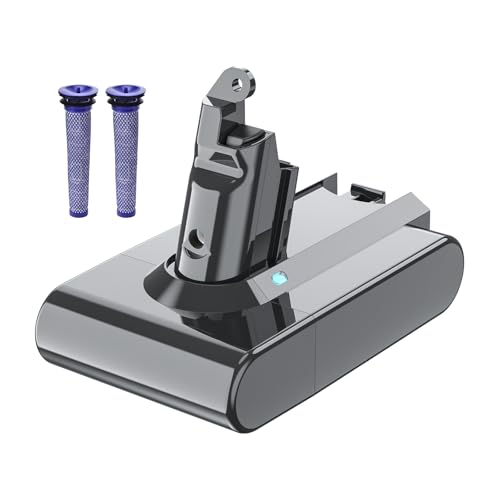
Selecting a Replacement Battery
- OEM Dyson batteries cost approximately $95 USD
- Third-party alternatives are available for around $35
- Genuine Dyson batteries are recommended for reliability and compatibility
- Using non-genuine batteries may void warranty and potentially damage your vacuum
To ensure optimal performance and longevity, replacing the degraded battery with a new one is essential.
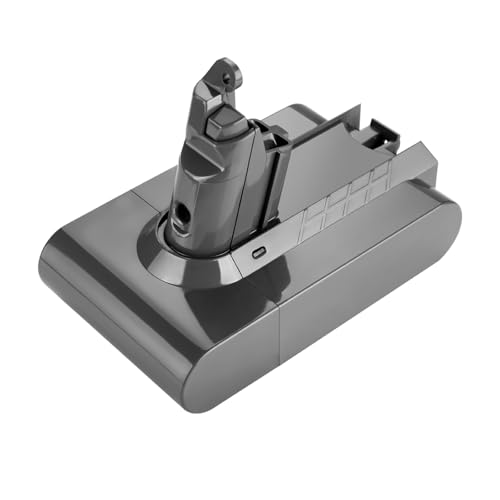
High-capacity replacement with extended runtime and 1000+ cycles.
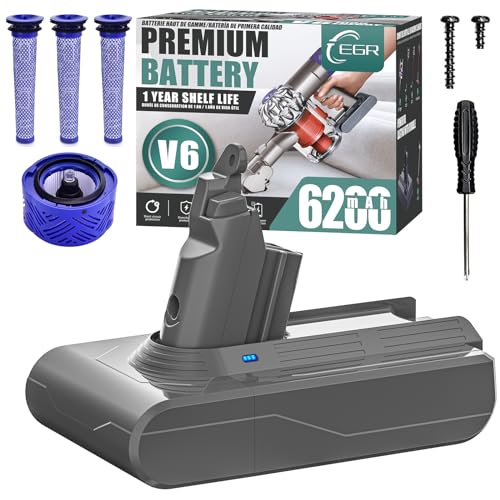
Premium battery with LED indicator and non-slip design.
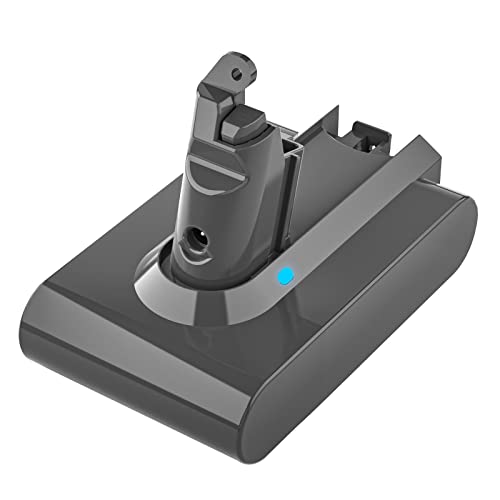
Budget-friendly option with LED and safety certifications.
Enhanced safety features and includes filters.
Replacement Procedure
-
Prepare for disassembly:
– Remove the dust bin by pressing the release button
– Detach the handle and wand from the main unit
– Gather necessary tools (typically a Phillips screwdriver) -
Access the battery compartment:
– Locate and remove screws on the bottom plate
– Carefully open the battery housing
– Take note of how components are arranged for reassembly -
Remove the old battery:
– Use a small flathead screwdriver to release clips or latches
– Gently disconnect the battery connector from the circuit board
– Remove the old battery completely -
Install the new battery:
– Align the new battery in the compartment
– Connect the battery to the circuit board securely
– Ensure all connections are tight and properly seated -
Reassemble the vacuum:
– Replace the bottom plate and secure with screws
– Reattach the handle and wand
– Insert the dust bin and lock it in place -
Test the new battery:
– Charge fully before first use
– Run the vacuum for a few minutes to verify proper function
– Check battery level indicators for accurate readings
Frequently Asked Questions (FAQ)
How long should a Dyson SV05 battery last before replacement?
With proper care, a Dyson SV05 battery typically lasts 2-3 years before significant capacity loss occurs. However, this varies based on usage patterns, charging habits, and environmental conditions. Heavy users who vacuum daily may need replacement sooner than occasional users.
Can I use my Dyson while it’s charging?
No, Dyson cordless vacuums are designed to be used only when disconnected from the charger. The vacuum will not operate while plugged in, as this is a safety feature built into the design. Always remove from the charging dock before attempting to use it.
Why does my Dyson SV05 work fine for a few minutes then suddenly stop?
This symptom typically indicates a battery that can hold only a partial charge. The battery may initially provide normal power but quickly depletes its usable capacity. This is common in older batteries that have degraded over time. Try the 20-second button press hack or consider battery replacement if the problem persists.
Is it worth replacing the battery or should I buy a new vacuum?
A battery replacement typically costs $35-95, while a new Dyson vacuum costs $300-700. If your vacuum is otherwise functioning well, battery replacement is much more economical. However, if your model is very old or has multiple issues, upgrading to a newer model with improved features and battery technology might be worth considering.
How can I maximize my Dyson’s battery life between charges?
To optimize runtime: clean filters regularly, avoid using Max power mode unnecessarily, empty the dust bin after each use, check for and clear blockages promptly, and store the vacuum at room temperature. These practices reduce strain on the battery and motor, extending runtime between charges.
Conclusion
The Dyson SV05’s charging issues, while frustrating, are often resolvable with proper troubleshooting and maintenance. From simple fixes like the 20-second button press hack to more involved solutions like battery replacement, this guide provides multiple approaches to restore your vacuum’s functionality.
Regular maintenance—particularly keeping battery contacts clean and filters clear—plays a crucial role in preventing charging problems before they start. By implementing these preventative measures and knowing how to address issues when they arise, you can significantly extend the life of your Dyson vacuum.
Remember that battery degradation is a natural process for all cordless devices. When basic troubleshooting fails to resolve persistent charging issues, battery replacement offers a cost-effective alternative to purchasing an entirely new vacuum. With proper care and timely intervention, your Dyson SV05 can continue to provide powerful cleaning performance for years to come.


