
The Dyson V6 cordless vacuum is a powerful cleaning tool, but like any battery-powered device, it can develop charging issues over time. If your Dyson V6 isn’t holding a charge, works for only a few minutes, or doesn’t respond when plugged in, you’re not alone. This comprehensive guide will walk you through the common causes and effective solutions to get your vacuum working properly again.
Affiliate disclosure: As an Amazon associate, We'll earn a commission for every successful order through our affiliate links in the article. However, you won’t be charged anything for this.
Many Dyson V6 owners face battery problems after several years of use or following extended periods without charging. The good news is that most charging issues can be resolved without replacing the entire unit. From simple resets to battery replacements, we’ll cover all the troubleshooting steps you need to bring your vacuum back to life.
Common Reasons Your Dyson V6 Won’t Hold a Charge

The Dyson V6 uses a battery system that can develop various issues over time. Before attempting any repairs, it’s important to identify the specific problem affecting your device. Here are the most frequent causes of charging problems:
Battery Degradation
The Dyson V6 contains six 18650 lithium-ion cells that naturally degrade after repeated charging cycles. This degradation increases internal resistance and reduces overall capacity, directly affecting runtime.
Key signs of battery degradation include:
- Vacuum runs for only 2-20 minutes on a full charge
- Battery drains unusually quickly
- No charging indicator lights when plugged in
- Flashing blue light or blinking red indicator
- Works briefly in normal mode but fails in “max” mode
- Functions for only seconds after being unplugged from charger
When a Dyson V6 battery ages, individual cells often drain at different rates. The battery management system detects this imbalance and restricts power output to prevent damage, causing premature shutdowns. Temporarily recharging may allow normal mode operation by replenishing the depleted cell, but the underlying issue remains.
Charger Malfunction
While less common than battery issues, a faulty charger can prevent proper charging even if the battery is in good condition.
Symptoms of charger problems:
– No charging indicators (lights or vibrations)
– Vacuum fails to charge across multiple power outlets
– Inconsistent charging behavior
Clogged Filters and Components
Restricted airflow from clogged filters and components forces the motor to work harder, draining the battery faster and potentially triggering safety shutdowns.
Signs of clogging include:
– Pulsating or intermittent operation
– Overheating
– Reduced suction power
– Unusual noises during operation
Step-by-Step Battery Reset Procedure
Before investing in replacement parts, try resetting the battery system. This simple procedure has resolved charging issues for many Dyson V6 owners:
- Unplug the charger from the wall outlet
- Plug the charger back into the wall
- Connect your Dyson V6 to the charger
- Press and hold the trigger (power button) for approximately 20 seconds
- Release the trigger and attempt to use the vacuum
For models with removable batteries, follow these steps:
1. Power off and unplug the vacuum
2. Remove the battery
3. Press the power button for 10-20 seconds to discharge residual power
4. Reinstall the battery
5. Charge fully before testing
This reset process can recalibrate the battery management system and restore normal operation, particularly if the vacuum has been unused for an extended period.
Thorough Cleaning for Better Performance
Accumulated debris and dust can significantly impact your Dyson V6’s charging and performance. Follow these detailed cleaning steps:
Cleaning the Filter System
- Remove the filter assembly by pressing the release button
- For cone-shaped filters:
– Disassemble by lifting the perimeter catches
– Remove the inner cage or “skeleton”
– Clear trapped dust from both components
– Ensure no wet debris remains that could harden and block airflow - For mesh filters:
– Inspect the housing carefully
– Remove any residual debris
– A properly cleaned filter should allow visible light to pass through unobstructed
If your Dyson V6 filter is damaged or excessively worn, replacing it can improve airflow and performance.
Search term for Amazon: Dyson V6 Filter Replacement
Checking for Blockages
Dust bin and cyclone assembly:
– Empty completely
– Check for debris caught in the cyclone openings
– Verify the bin release mechanism operates smoothlyAttachments and hose:
– Disconnect all attachments
– Look through each piece using a flashlight
– Use a long, thin tool (like a chopstick) to gently push out stubborn blockagesMain vacuum body:
– Inspect intake ports
– Check the connection points between components
– Look for hair wrapped around brush rolls
Regular cleaning prevents the motor from overworking and extends battery life. Many apparent battery issues are actually caused by restricted airflow from clogged components.
Replacing the Dyson V6 Battery
If reset procedures and cleaning don’t resolve the charging issue, battery replacement is likely necessary, especially for vacuums over three years old.
Battery Replacement Options
Official Dyson replacement battery:
– Guaranteed compatibility
– Typically costs around $96
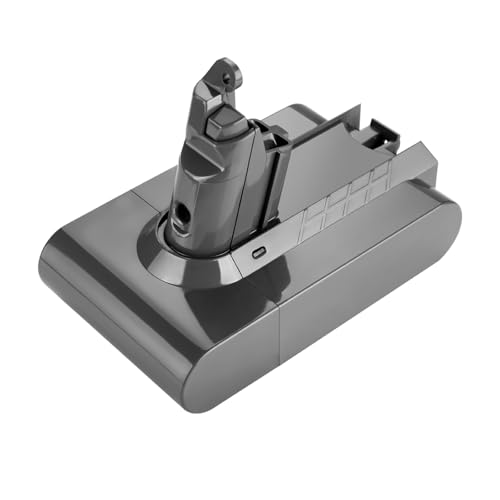
– Original capacity (approximately 2100 mAh)Aftermarket batteries:
– Cost approximately one-third the price of official batteries
– Available in various capacities:- Standard (2100 mAh): Similar to original
- Mid-range (3000 mAh): Good balance of capacity and weight
- High-capacity (4200 mAh): Longer runtime but heavier
It’s time to replace your old battery with a new one to get your Dyson V6 working like new again.
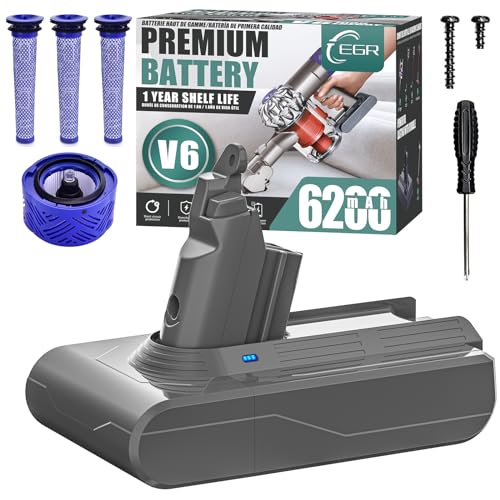
High-capacity replacement with LED indicator and 4-layer protection
Extended runtime with 1000+ cycle lifespan and CE/FCC certification
Includes 2 filters and 2-year warranty with capacity guarantee

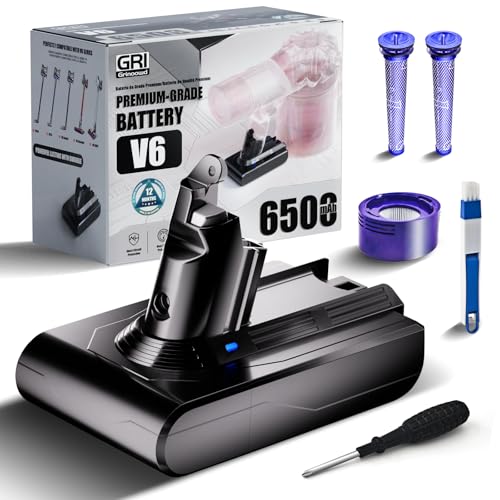
Multiprotection battery with charging indicator and 2 filters
Battery Replacement Procedure
Prepare for replacement:
– Unplug the vacuum
– Remove all attachments
– Place on a clean, flat surfaceRemove the old battery:
– Locate the two screws (one on the handle, one under the battery)
– Unscrew both screws
– Gently slide out the old batteryInstall the new battery:
– Slide the new battery into position
– Ensure it clicks securely into place
– Reattach both screws
– Properly recycle the old battery (contains hazardous materials)Initial charging:
– Charge the new battery fully before first use (approximately 3.5 hours)
– The charging indicator should illuminate during charging
When selecting a replacement battery, consider reputable brands even if they cost slightly more. The cheapest options often degrade within weeks, while quality aftermarket batteries can provide years of reliable service.
Addressing Pulsing and Intermittent Operation
If your Dyson V6 pulses on and off or shuts down intermittently, follow these targeted troubleshooting steps:
- Verify battery charge level and ensure the dust compartment is empty
- Inspect all attachments for hair, small objects, or debris using a flashlight
- Check the filter housing and mesh filter for obstructions that restrict airflow
- Examine the main airflow path through the vacuum for any blockages
- Clean battery contacts with a soft, dry cloth to ensure proper connection
Pulsating operation often mimics battery failure but is frequently caused by the vacuum’s protective systems responding to airflow restrictions or overheating.
Testing and Replacing the Charger
If you suspect a faulty charger, follow these steps to confirm and address the issue:
Testing the Charger
Visual inspection:
– Check for damaged cables or bent pins
– Look for discoloration or melting near connection pointsAlternative testing methods:
– Try the charger with another Dyson V6 if available
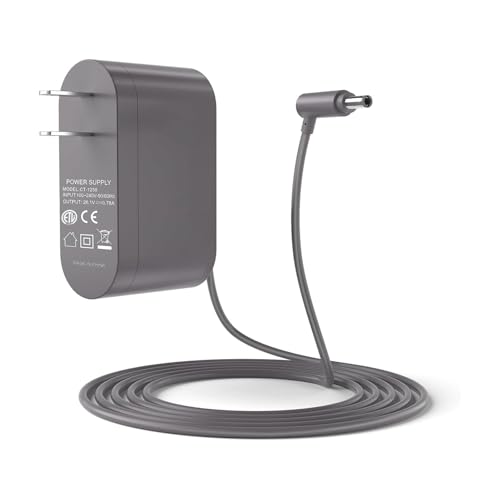
– Use a multimeter to verify proper voltage output
– The charger should output approximately 26.1V DC
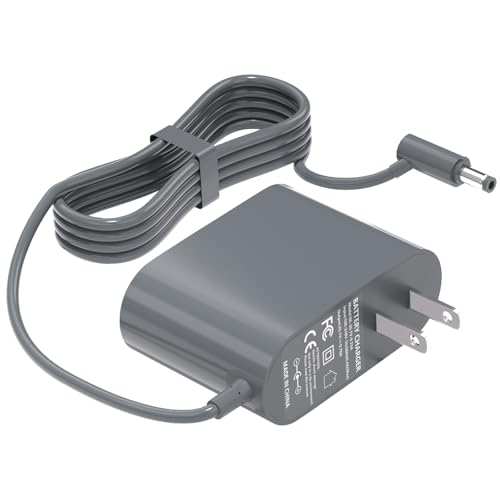
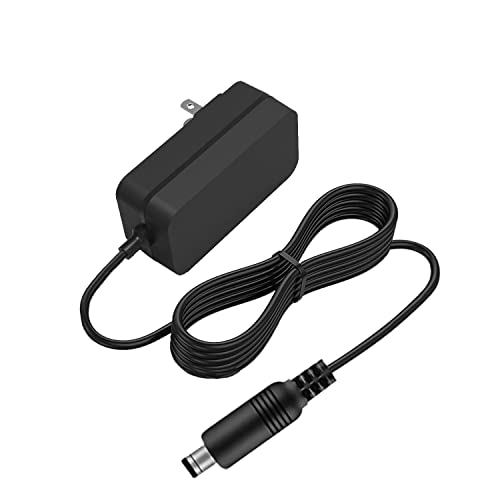
Replacing the Charger
If testing confirms a faulty charger, it’s time to get a replacement.
Purchase a replacement:
– Official Dyson charger (most reliable option)
– Quality third-party charger from a reputable sellerWhen using the new charger:
– Ensure proper connection to both wall outlet and vacuum
– Verify charging indicator lights function correctly
– Allow a full charging cycle before testing runtime
Certified safety with 15-month warranty and 30-day returns
Budget-friendly option with multi-voltage compatibility
18-month customer service with overvoltage protection

Premium option with global voltage compatibility
Using an incompatible or poor-quality charger can damage the battery and potentially create safety hazards. Always select replacement chargers designed specifically for the Dyson V6.
Frequently Asked Questions (FAQ)
How long should a Dyson V6 battery last before replacement?
With regular use, a Dyson V6 battery typically lasts 2-3 years before noticeable capacity degradation occurs. Factors affecting lifespan include charging habits, storage conditions, and usage patterns. Frequent use of “max” power mode accelerates battery wear.
Why does my Dyson V6 only work for a few seconds after charging?
This common issue indicates battery cell imbalance. When one cell drains faster than others, the battery management system restricts power output to prevent damage. Temporary operation after charging occurs because the weak cell briefly holds enough charge to allow function. A battery replacement is usually necessary to resolve this issue permanently.
Can I use my Dyson V6 while it’s charging?
No, the Dyson V6 is designed to be disconnected from the charger during use. Unlike some vacuums, it cannot operate while connected to power. This design allows for a lighter, more maneuverable unit but requires sufficient battery charge for operation.
Is it worth replacing the battery in an older Dyson V6?
Battery replacement is often cost-effective compared to purchasing a new vacuum. A quality replacement battery costs $30-$100 depending on type and capacity, while a new comparable Dyson model starts at $300+. If the motor and other components function properly, battery replacement can extend the vacuum’s useful life by several years.
How can I maximize my Dyson V6 battery life?
To extend battery lifespan:
– Avoid completely draining the battery before recharging
– Store at room temperature when possible
– Clean filters and check for blockages regularly
– Use “max” power mode sparingly
– Keep the vacuum plugged in when not in use to maintain optimal battery condition
Conclusion
Dyson V6 charging problems, while frustrating, can usually be resolved through systematic troubleshooting. Starting with simple solutions like battery resets and thorough cleaning before progressing to component replacement offers the most cost-effective approach.
Battery degradation remains the most common cause of charging issues in the Dyson V6, particularly in units over three years old. Fortunately, the availability of quality aftermarket batteries makes this a manageable repair for most users. Regular maintenance—especially filter cleaning and blockage checks—prevents many charging problems before they develop.
If troubleshooting steps don’t resolve your Dyson V6 charging issues, contact Dyson customer support for additional assistance. Their technical team can provide model-specific guidance and information about warranty coverage if applicable. With proper care and occasional maintenance, your Dyson V6 can provide many years of reliable service.


