

The Dyson DC41 is a powerful vacuum cleaner known for its superior suction and maneuverability. However, one common issue that many owners face is difficulty with the reclining function. When working properly, the vacuum should easily transition from an upright position to a reclined cleaning position with the press of a button. When this mechanism fails, it can make the vacuum nearly impossible to use effectively.
Affiliate disclosure: As an Amazon associate, We'll earn a commission for every successful order through our affiliate links in the article. However, you won’t be charged anything for this.
In this comprehensive guide, we’ll explore the most common causes of reclining issues with the Dyson DC41, provide detailed troubleshooting steps, and offer practical solutions to get your vacuum working smoothly again. Whether you’re dealing with a vacuum that won’t recline at all or one that won’t stay upright, you’ll find actionable advice to address these frustrating problems without necessarily requiring professional repair services.
Common Causes of Dyson DC41 Reclining Issues

The reclining mechanism on the Dyson DC41 is designed to be simple and effective, but several factors can interfere with its proper function. Understanding these root causes is the first step toward an effective solution.
Debris Accumulation in the Locking Mechanism
The most frequent culprit behind reclining problems is the buildup of dirt, dust, and debris in the locking mechanism. This area, located where the handle connects to the main body, can become clogged over time with the very particles your vacuum is designed to collect. When debris infiltrates this area, it can prevent the locking components from engaging or disengaging properly.
Mechanical Wear and Damage
With regular use, the spring that controls the handle’s return to the upright position can become worn, stretched, or damaged. Similarly, the plastic components of the locking mechanism may develop wear patterns that interfere with smooth operation. In some cases, a tooth may skip in the internal gear mechanism, causing misalignment that prevents proper reclining.
Lubrication Issues
Lack of proper lubrication can cause the moving parts of the reclining mechanism to stick or bind. Over time, any factory-applied lubricant can dry out or become contaminated with dust, reducing its effectiveness and causing the mechanism to seize.
Step-by-Step Troubleshooting Guide
Let’s tackle your Dyson DC41 reclining issues with a methodical approach. Following these steps in order will help identify and resolve the problem efficiently.
Safety First: Preparing for Repair
Before attempting any repairs or maintenance:
- Unplug the vacuum completely from the power outlet
- Place the vacuum on a clean, flat surface with good lighting
- Have your tools ready (soft cloth, brush, small flat-head screwdriver, silicone spray)
Examining the Locking Mechanism
Locating the Key Components
- Position the vacuum so you can clearly see the connection between the handle and the main body
- Identify the release button typically located near the handle
- Examine the base area where the handle locks into place when upright
Visual Inspection
- Look closely for any visible dirt, dust, or debris around the locking mechanism
- Check for any obvious damage to plastic components
- Try pressing the release button to see if it moves freely or feels stuck
Cleaning the Mechanism Thoroughly
Surface Cleaning
- Use a soft cloth to wipe away surface dust and debris from the locking mechanism area
- Pay special attention to the crevices where the handle meets the main body
Deep Cleaning
- Use a small brush (an old toothbrush works well) to reach into tight spaces
- For stubborn debris, carefully use a small flat-head screwdriver to gently dislodge particles
- Be extremely gentle to avoid damaging plastic components
Testing After Cleaning
After cleaning, test the reclining function by:
1. Placing the vacuum in the upright position
2. Pressing the release button
3. Attempting to recline the handle
If the vacuum still won’t recline properly, proceed to the next steps.
Advanced Repair Techniques for Persistent Issues
When basic cleaning doesn’t resolve the problem, more involved repairs may be necessary. Here are specialized approaches for specific issues.
Addressing Spring Problems
Spring Realignment
- Locate the spring mechanism (typically near where the handle connects to the body)
- Gently press the spring back into its proper position if it appears misaligned
- Test the reclining function after adjustment
Spring Replacement
If the spring appears damaged or excessively worn:
1. Purchase a replacement spring from Dyson or a compatible third-party part
2. Follow the disassembly steps in the next section to access the spring
3. Remove the old spring and install the new one in the same orientation
If the spring is damaged or worn, replacing it can restore the reclining function.
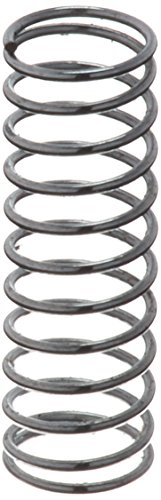
Genuine OEM spring for Dyson DC41 vacuums
Lubricating the Mechanism
Choosing the Right Lubricant
- Use only silicone-based spray lubricant, which is safe for plastic components
- Avoid petroleum-based lubricants like WD-40, which can damage plastic over time
- Never use grease-based products as they attract dirt and cause buildup
Application Technique
- Apply a very small amount of silicone spray to the moving parts of the locking mechanism
- Use the included straw attachment to direct the spray precisely where needed
- Work the mechanism back and forth several times to distribute the lubricant
- Wipe away any excess lubricant to prevent future dirt accumulation
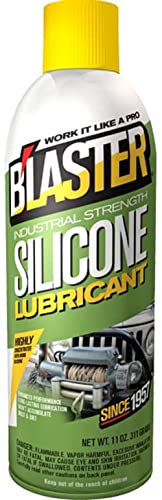
To properly lubricate the mechanism, you’ll need a silicone-based lubricant spray that’s safe for the plastic components.

Professional-grade lubrication for plastic materials with no residue
Long-lasting lubrication for plastic surfaces with enhanced performance

Cost-effective lubrication solution for plastic components
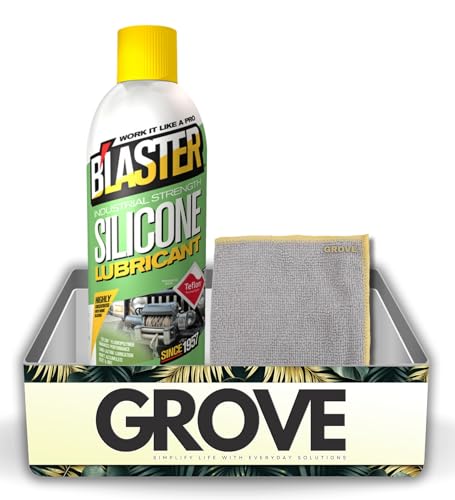
Complete lubrication kit for plastic surfaces with application tools
Fixing Gear Misalignment Issues
Some DC41 models experience reclining problems due to misalignment in the internal gear mechanism. This is a more advanced repair:
- Access the mechanism by removing the wheel cover and locating the securing screw
- Identify the white gear assembly with interlocking teeth
- Check if the gear has skipped a tooth, causing improper alignment
- Carefully realign the gear to ensure proper engagement with the stop mechanism
- Apply a slight jolt to reset the mechanism after adjustment
- Verify alignment by inspecting the gear’s notch relative to the screw shaft
Disassembly Guide for Major Repairs
When simpler fixes don’t work, partial disassembly may be necessary. Follow these steps carefully.
Required Tools
- T8 and T10 Torx screwdrivers
- Small flat-head screwdriver
- Pliers (optional)
- Clean workspace with good lighting
Accessing the Lock Mechanism
- Ensure the vacuum is unplugged and place it on its side
- Locate the side panel near the locking mechanism
- Remove any visible screws securing the panel (typically T10 Torx)
- Carefully pry the panel away from the main body
Inspecting Internal Components
- Once the panel is removed, locate the locking mechanism components
- Check for broken plastic pieces, particularly around the lock piece
- Examine the spring for damage or improper positioning
- Look for any obstructions that might prevent smooth operation
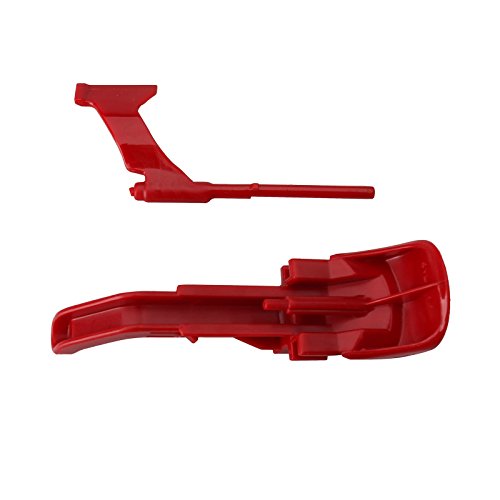
If you find broken plastic components, particularly the lock piece, it will need to be replaced.

Genuine OEM part for DC41 reclining mechanism
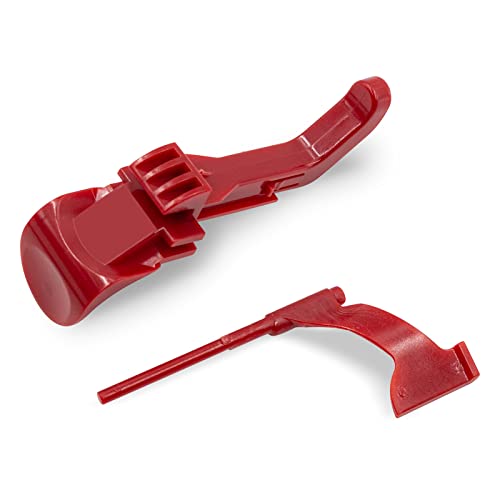
Budget-friendly replacement for worn clips
Direct replacement for reclining lock mechanism
Reassembly Process
- Clean all components thoroughly before reassembly
- Ensure all parts are properly aligned
- Replace any damaged components with new parts
- Secure all screws to their original torque (firm but not overtightened)
- Test the reclining function before fully reassembling the vacuum
Temporary Workarounds
If you’re unable to permanently fix the reclining issue immediately, these temporary solutions might help:
Manual Force Method
Some users have found success by applying firm pressure to force the vacuum to recline. While not ideal for long-term use, this can work in a pinch:
- Place one foot on the base of the vacuum
- Apply downward pressure on the handle while pressing the release button
- Use controlled force to avoid damaging the mechanism
Adjusting Your Cleaning Technique
Until you can properly repair the vacuum:
1. Use attachments and the wand for areas that would normally require reclining
2. Consider using the vacuum in its upright position for open areas
3. Be mindful of strain on your back and adjust your posture accordingly
Maintenance Tips to Prevent Future Issues
Preventive maintenance is key to avoiding recurrence of reclining problems.
Regular Cleaning Schedule
- Clean the exterior of the vacuum, including the locking mechanism area, after every 3-5 uses
- Use compressed air to blow out dust from difficult-to-reach areas monthly
- Perform a deep cleaning of the locking mechanism quarterly
Proper Handling Techniques
- Avoid forcing the vacuum to recline if resistance is felt
- When storing, ensure the vacuum is in the fully upright and locked position
- Don’t use the handle to drag or pull the vacuum across thresholds or obstacles
Lubrication Maintenance
- Apply a small amount of silicone spray to the locking mechanism every 6 months
- Immediately wipe away excess lubricant to prevent dirt accumulation
- Never use petroleum-based or grease-based lubricants
Frequently Asked Questions (FAQ)
Why does my Dyson DC41 suddenly refuse to recline?
The most common cause is debris accumulation in the locking mechanism. Over time, dust and dirt can build up in the hinge or around the release button, preventing proper movement. Regular cleaning of this area can prevent sudden failures. In some cases, a component may have broken or become misaligned during normal use, especially if the vacuum has been in service for several years.
Can I use WD-40 to lubricate the reclining mechanism?
No, standard WD-40 is not recommended for the plastic components in your Dyson vacuum. Instead, use a silicone-based lubricant specifically designed for plastic parts. WD-40 does make a silicone-specific product that would be suitable, but their standard petroleum-based formula can cause plastic to deteriorate over time. Apply any lubricant sparingly, as excess will attract more dirt.
How difficult is it to replace the spring in the locking mechanism?
Replacing the spring requires moderate technical skill. You’ll need to partially disassemble the vacuum using Torx screwdrivers (typically T8 and T10 sizes). The process involves removing access panels, locating the spring housing, carefully extracting the old spring, and installing the new one. The most challenging aspect is often reassembly, ensuring all components align properly. If you’re comfortable with basic tool use and following detailed steps, this is a manageable DIY repair.
What if my vacuum won’t stay in the upright position?
If your Dyson DC41 won’t remain upright, the issue is likely with the locking piece or spring that maintains tension in the upright position. This often indicates a broken component rather than just debris accumulation. Inspect the locking mechanism for broken plastic pieces or a damaged spring. In many cases, the small plastic lock piece needs replacement, which can be ordered from Dyson or third-party suppliers.
Is there a way to test if the reclining mechanism is working properly?
Yes, a simple test is to place the vacuum in the upright position and listen for a distinct “click” as it locks. When you press the release button, you should feel a clear disengagement before the handle can recline. If the action feels mushy, incomplete, or requires excessive force, there’s likely an issue with the mechanism. Also, the vacuum should transition smoothly between positions without sticking or requiring unusual force.
Conclusion
Dyson DC41 reclining issues, while frustrating, are often fixable without professional help. By following the troubleshooting steps outlined in this guide, you can identify and resolve the most common causes of reclining problems. Start with the simplest solutions—cleaning and lubricating the mechanism—before progressing to more complex repairs involving disassembly.
Remember that preventive maintenance is the best strategy for avoiding future issues. Regular cleaning of the locking mechanism and proper handling of your vacuum will extend its life and keep it functioning smoothly. If your attempts at repair are unsuccessful, contacting Dyson customer support is always an option, as they can provide model-specific guidance or replacement parts.
With proper care and occasional maintenance, your Dyson DC41 can continue to provide excellent cleaning performance for years to come, reclining smoothly whenever you need to reach under furniture or tackle difficult cleaning areas.


