
When your Dyson DC14 vacuum cleaner refuses to switch on, it can be frustrating, especially when you’re in the middle of cleaning. The power switch is often the culprit behind this common issue. A faulty switch might manifest in several ways: your vacuum doesn’t respond when you press the power button, it turns on by itself, it only runs for a few seconds before shutting off, or you hear clicking sounds during operation attempts.
Affiliate disclosure: As an Amazon associate, We'll earn a commission for every successful order through our affiliate links in the article. However, you won’t be charged anything for this.
These symptoms typically result from natural wear and tear after years of use. The switch mechanism can become loose, damaged, or stuck due to repeated pressing. In some cases, physical damage to the switch or its connections might be responsible, while in others, internal component failure could be the root cause. The good news is that with the right approach, you can diagnose and fix this issue yourself, saving both time and money on professional repairs.
How to Diagnose a Faulty Power Switch
Before diving into repairs, it’s essential to confirm that the power switch is indeed the problem. Follow these diagnostic steps:
Check the Basics First
- Ensure your vacuum is properly plugged into a working outlet
- Try a different power outlet to rule out electrical supply issues
- Inspect the entire length of the power cord for visible damage, cuts, or fraying
- Examine the plug for bent prongs or other damage
If you find any damage to the power cord or plug, replacement is necessary to ensure safety and proper function.
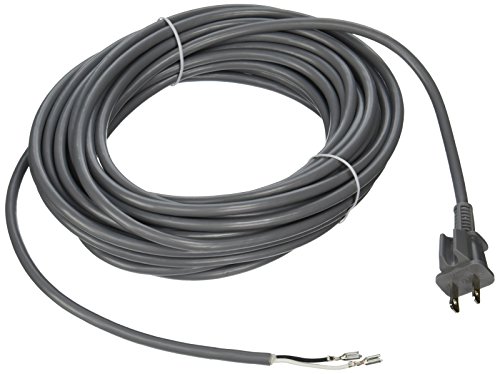
Official replacement with OEM quality and compatibility
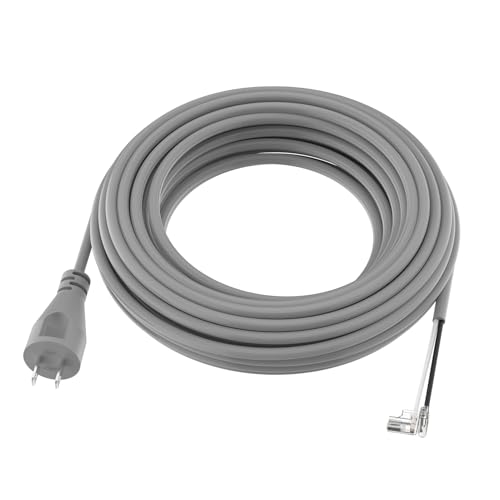
Budget-friendly replacement with extended reach
UL-listed power cord with premium durability

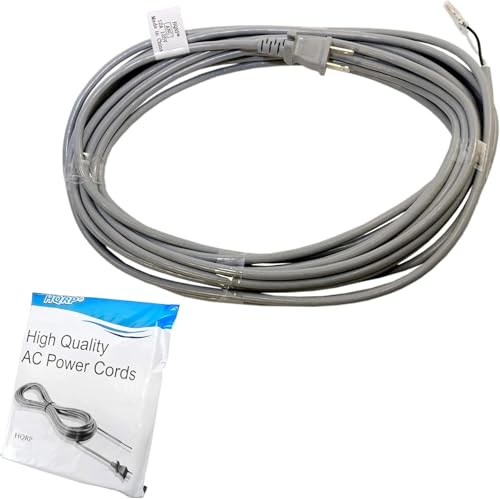
Dual-model compatible with reinforced rubber cable
Inspect the Vacuum Components
- Check if the filters are clogged, as this can prevent proper operation
- Ensure the dust container isn’t overfilled
- Look for blockages in the hose or brush roll
Test the Power Switch
- Visually inspect the switch for obvious physical damage
- Press the switch and listen for unusual clicking sounds
- If you have a multimeter, perform a continuity test on the switch—lack of continuity indicates a faulty switch
- Try operating the switch multiple times to see if it works intermittently
If these tests point to a faulty power switch, you can proceed with confidence to the repair process.
Tools and Preparation for Repair
Before beginning the repair process, gather the necessary tools and prepare your workspace:
Required Tools
- Screwdriver set (including a T15 Torx screwdriver)
- Small pliers
- Multimeter (optional, for testing)
- Cotton swabs and rubbing alcohol (for cleaning contacts)
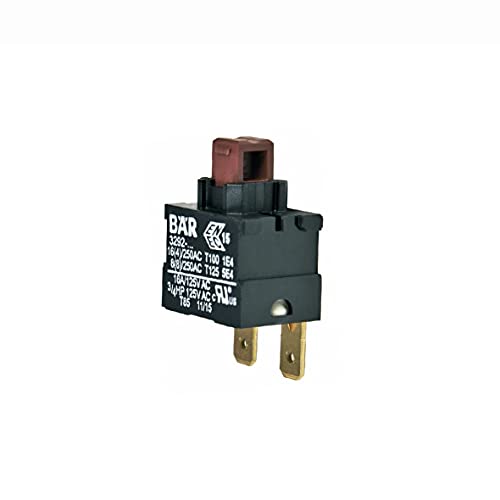
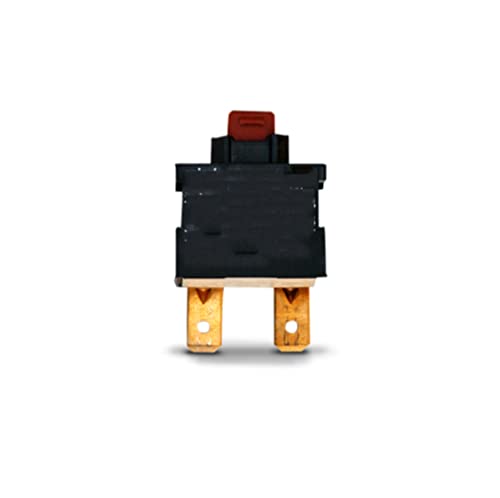
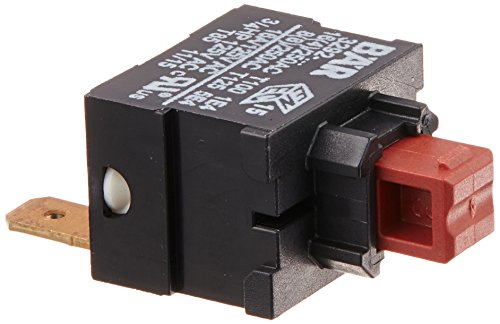
- Replacement power switch (available on Amazon for $5-$6)
Replacing the power switch is a common solution.
Official replacement ensures compatibility and durability

Affordable alternative for DC14 power switch
Versatile solution for multiple Dyson models
Factory-authorized replacement with model compatibility
Safety Preparations
- Unplug the Dyson DC14 from the power source
- Work in a well-lit area with plenty of space
- Have a container ready to store small screws and parts
- Consider taking photos during disassembly to help with reassembly
Accessing the Power Switch
The power switch on the Dyson DC14 is typically located on the handle or base of the vacuum. Here’s how to access it:
- Remove the dust container and filter assembly to improve access
- Locate the housing that contains the power switch
- Use your T15 Torx screwdriver (sometimes mistakenly referred to as T20) to remove the screws holding the housing together
- Carefully separate the housing pieces to expose the internal components
- Identify the power switch—it will be connected to several wires and mounted to the housing
Step-by-Step Power Switch Replacement
Once you’ve accessed the power switch, follow these steps to replace it:
Removing the Old Switch
- Take note of how the wires are connected to the switch (consider taking a photo)
- Carefully disconnect the wires from the faulty switch using small pliers
- Unscrew or unclip the faulty switch from the vacuum’s housing
- Remove the old switch completely
Installing the New Switch
- Verify that your replacement switch is compatible with the Dyson DC14 model
- Position the new switch in the same orientation as the old one
- Secure the switch to the housing using the appropriate screws or clips
- Reconnect the wires to the new switch in exactly the same configuration as they were on the old switch
- Double-check all connections to ensure they’re secure
Reassembling the Vacuum
- Carefully reattach the vacuum’s housing pieces
- Ensure all parts fit together snugly without forcing
- Replace all screws and tighten them appropriately (don’t overtighten)
- Reattach the dust container and filter assembly
- Ensure all components are properly seated
Testing Your Repair
After completing the replacement, it’s crucial to test your work:
- Plug the vacuum back into the power source
- Press the power switch to turn the vacuum on
- Check if it powers up smoothly without unusual noises
- Run the vacuum for several minutes to ensure it operates consistently
- Test the switch multiple times to verify reliable operation
- Listen for any unusual clicks or sounds that could indicate a problem
- Inspect for additional issues such as overheating or unusual vibrations
Troubleshooting Common Repair Issues
If your vacuum still isn’t working properly after replacing the switch, consider these troubleshooting steps:
Switch Still Not Working
- Recheck all wire connections to ensure they’re securely connected to the new switch
- Verify that the switch is properly seated and aligned in its housing
- Inspect for any damaged wiring that might need repair
- Test the new switch with a multimeter to confirm it’s functioning
Intermittent Operation
- Clean the contacts on the switch and wiring with a cotton swab and rubbing alcohol
- Check for loose connections that might be causing intermittent contact
- Ensure that all housing parts are firmly secured
- Look for signs of corrosion on the terminals and clean if necessary
Unusual Noises
- Make sure the switch is properly aligned and not rubbing against other components
- Check that all screws are properly tightened
- Ensure no wires are pinched or under strain
Alternative Repair Method: Switch Bypass
If you’re unable to find a replacement switch or prefer a different approach, you can bypass the faulty switch using a jump wire:
- Access the internal components by removing the two Torx screws
- Identify the wires connected to the faulty switch
- Install a jump wire to connect the appropriate terminals, effectively bypassing the switch
- Insulate the connection properly to prevent shorts
- Reassemble the vacuum
Note: This method will require you to unplug the vacuum when not in use since the bypass eliminates the switch functionality.
Maintaining Your Dyson DC14 for Longevity
To prevent future issues with your Dyson DC14, follow these maintenance tips:
Regular Cleaning Routine
- Clean the filters at least once a month
- Empty the dust container after each use
- Check and clear the brush roll of tangled hair and debris weekly
- Wipe down the exterior with a damp cloth to prevent dust buildup
If your DC14’s brush roll is damaged or worn, replacing it can significantly improve cleaning performance.

Official Dyson OEM brush roll for DC07 and DC14 models
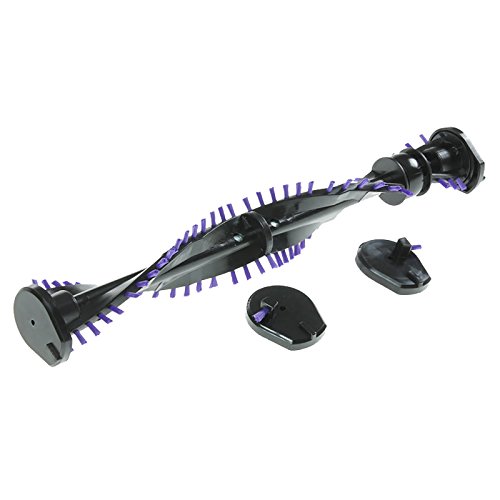
Budget-friendly replacement with 30-day warranty

Durable plastic bristles with reinforced endcaps
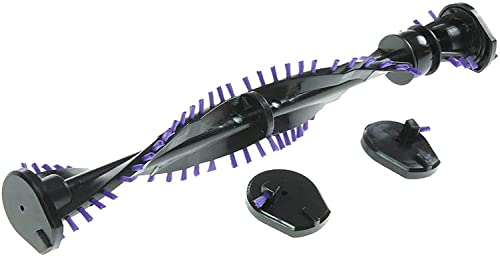
Premium quality with included endcaps for enhanced durability
Proper Storage and Handling
- Store the vacuum in an upright position to reduce strain on components
- Keep it in a dry area to prevent moisture damage
- Avoid yanking or pulling on the power cord
- Use the handle grip when carrying the vacuum
Periodic Inspections
- Check the power cord regularly for signs of wear
- Inspect the hose for cracks or damage
- Listen for unusual sounds during operation
- Monitor suction performance for any decline
If you find cracks or damage to the hose, it’s important to replace it to maintain proper suction.

Official replacement with OEM quality assurance
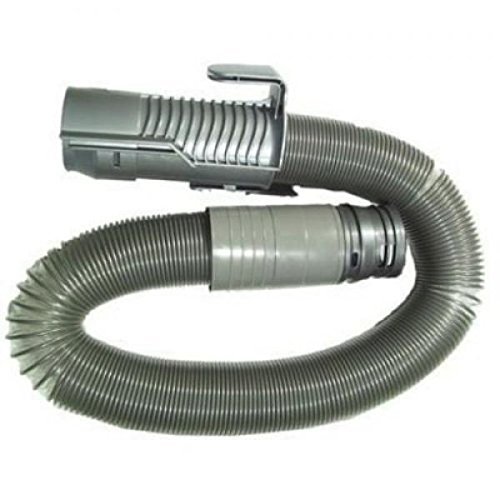
Budget-friendly non-OEM compatible option
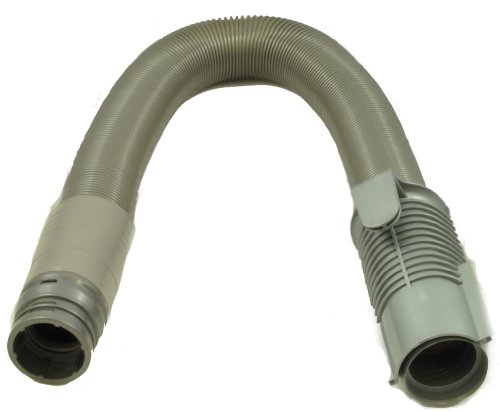
Mid-range generic option with steel construction
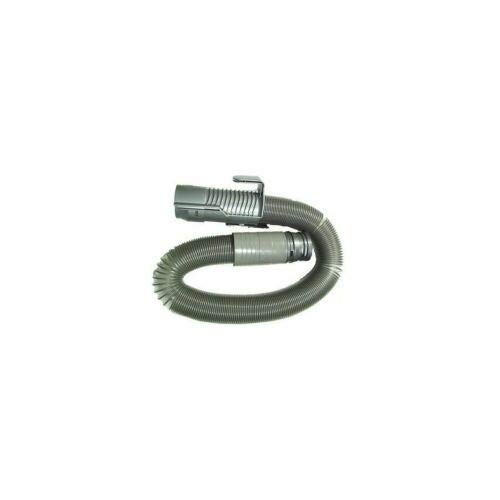
Value-pack with extended reach capability
Frequently Asked Questions (FAQ)
Why does my Dyson DC14 turn on by itself?
A faulty power switch can cause your vacuum to turn on without pressing the button. This happens when the internal contacts of the switch stick together or become damaged, creating an electrical connection without manual activation. Replacing the switch will typically resolve this issue.
Can I repair my Dyson DC14 switch instead of replacing it?
While it’s technically possible to repair the internal mechanism of some switches, replacement is usually more reliable and cost-effective. Switch repair requires precise work with small components and may not provide a lasting solution. For $5-$6, a new switch offers better value and reliability.
What if I can’t find the exact replacement switch for my model?
If you can’t find an exact match, look for a compatible switch with the same voltage and current ratings. Many universal switches work well as replacements. Alternatively, you can salvage a switch from a discarded Dyson of the same or similar model. Online marketplaces and vacuum repair shops are good sources for compatible parts.
How long should a power switch last in a Dyson DC14?
With normal household use, a power switch in a Dyson DC14 typically lasts 5-7 years. However, this can vary based on usage frequency and how forcefully the switch is pressed. Regular gentle use will extend the lifespan of the switch compared to aggressive pressing or very frequent use.
Is it worth repairing an older Dyson DC14 vacuum?
The DC14 is known for its durability and excellent suction power. If the rest of your vacuum is in good condition, replacing the power switch is definitely worthwhile. The repair is relatively simple and inexpensive compared to purchasing a new vacuum of similar quality, which could cost $300-$400.
Conclusion
A non-functioning power switch on your Dyson DC14 vacuum is a common issue that you can fix yourself with basic tools and a replacement part costing only a few dollars. By following the step-by-step guide outlined in this article, you can diagnose the problem, access the switch, replace it correctly, and get your vacuum back to full working order.
The repair process is straightforward but requires careful attention to detail, particularly when reconnecting wires and reassembling the housing. Taking photos during disassembly can be extremely helpful for reference during reassembly.
Remember that proper maintenance of your Dyson DC14 can prevent many issues and extend its lifespan significantly. Regular cleaning of filters, emptying the dust container, and proper storage are simple habits that will keep your vacuum running efficiently for years to come. With proper care and occasional repairs like this one, your Dyson DC14 can continue to provide excellent cleaning performance well beyond its expected service life.


