
The Dyson V11 vacuum cleaner is known for its innovative LCD screen that displays crucial information about cleaning modes, battery life, and maintenance alerts. When this screen fails to turn on, it can significantly impact your ability to use the device effectively. This article provides comprehensive troubleshooting steps and repair options to help resolve screen issues with your Dyson V11.
Affiliate disclosure: As an Amazon associate, We'll earn a commission for every successful order through our affiliate links in the article. However, you won’t be charged anything for this.
If you’re facing a situation where your Dyson V11 screen isn’t turning on, don’t panic. Many screen-related problems can be resolved through simple troubleshooting steps without requiring professional repair. From battery issues to software glitches, we’ll explore the most common causes and their solutions.
Common Causes of Dyson V11 Screen Failure
When your Dyson V11 screen refuses to turn on, several potential culprits might be responsible. Identifying the root cause is essential for implementing the correct fix. Here are the most frequent issues that can affect your vacuum’s display:
Battery-Related Problems
The most common reason for screen failure is battery issues. The Dyson V11’s screen requires sufficient power to operate correctly. If your battery is:
- Completely discharged: The screen won’t have enough power to function. Connect your vacuum to the charger and wait at least 30 minutes before attempting to power it on again.
- Damaged or deteriorated: Over time, batteries lose their capacity to hold a charge. If your V11 battery is old or damaged, it might not provide enough power to the screen even when supposedly “charged.”
- Improperly connected: Sometimes, the battery connection might be loose, preventing proper power transmission to the screen.
If your battery is old or damaged and not providing enough power, you might need to replace it.
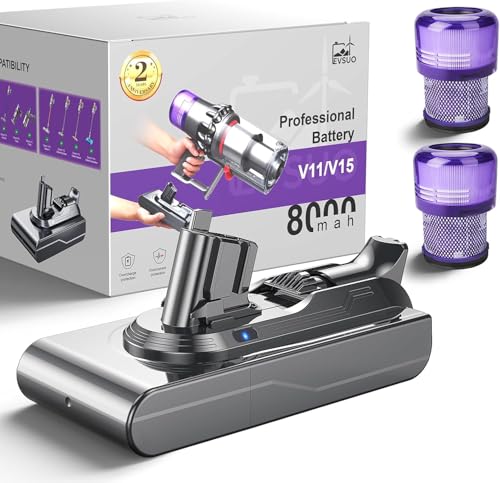
Longest runtime with 80% faster charging

8.0Ah capacity for extended cleaning sessions
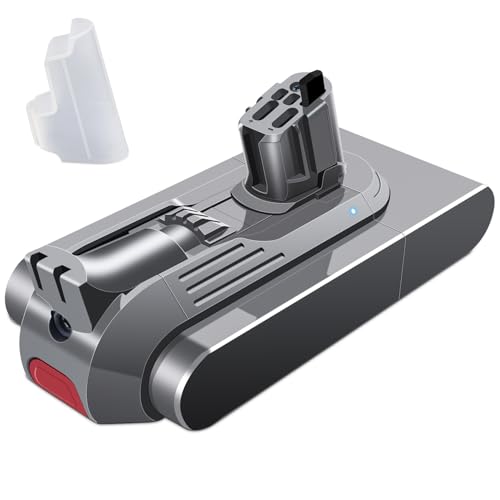
Wide compatibility with advanced safety chip
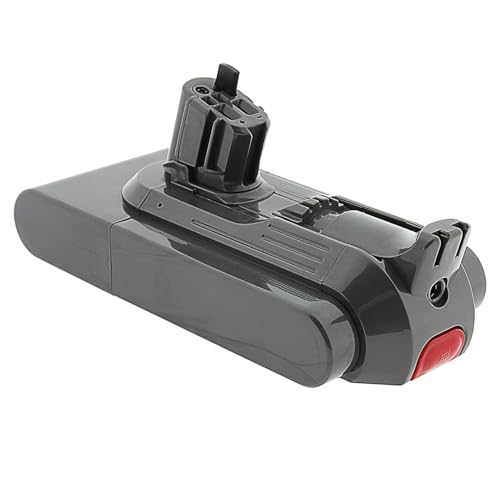
Budget-friendly option with intelligent protection
Power Button Malfunctions
The power button serves as the primary interface between you and your vacuum. Issues with this component can prevent the screen from activating:
- Physical damage: If the power button has been damaged from drops or impacts, it might not properly register presses.
- Debris accumulation: Dirt and dust can get trapped around the button, hindering its movement and functionality.
- Internal connection issues: The connection between the power button and the main circuit board might be compromised.
Display Module Faults
The LCD display itself might be the problem:
- Physical damage: Cracks or impact damage to the screen can render it non-functional.
- Loose connections: The ribbon cable connecting the display to the main board might be loose or damaged.
- Component failure: The display module might have failed due to electronic component issues.
Software and Firmware Issues
Like many modern appliances, the Dyson V11 relies on software to function properly:
- Software glitches: Temporary software bugs can cause the screen to remain blank.
- Outdated firmware: An older firmware version might contain bugs affecting display functionality.
- System crashes: Occasionally, the system might crash, requiring a reset to restore normal function.
Step-by-Step Troubleshooting Guide
Before seeking professional repair, try these troubleshooting steps in sequence to resolve your Dyson V11 screen issues:
1. Check and Charge the Battery
The first step is always to verify the battery status:
- Connect your Dyson V11 to its charger.
- Look for charging indicator lights on the battery itself (not the screen).
- Allow the vacuum to charge for at least 3-4 hours to ensure a full charge.
- If the battery indicator lights don’t illuminate during charging, the battery might be faulty.
- Try removing and reinserting the battery to ensure proper connection.
If the battery indicator lights don’t illuminate, the charging adapter may be faulty.

Official genuine charger with 30.45V output for V11 compatibility
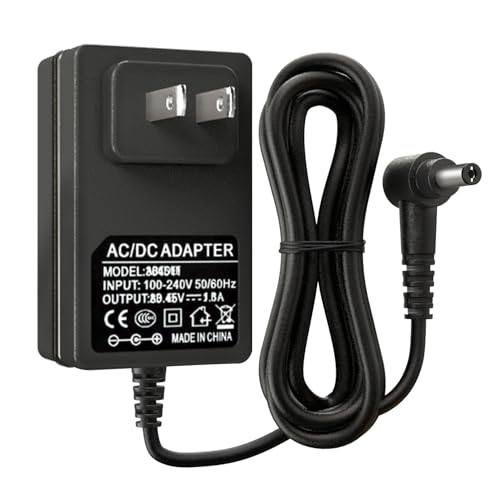
Budget-friendly third-party with 30.45V output and safety protections

Long-cable option with 18-month warranty and safety certifications

Certified replacement with 6FT cable and ETL safety approval
2. Perform a Power Reset
A simple power reset can often resolve temporary glitches:
- Remove the battery from your Dyson V11.
- Press and hold the power button for 15-20 seconds to discharge any residual power.
- Leave the vacuum without the battery for 5 minutes.
- Reinsert the battery and connect to the charger.
- Wait 10 minutes before attempting to power on the vacuum.
3. Clean the Power Button and Surrounding Area
Debris around the power button can affect its functionality:
- Use a soft, dry cloth to clean the power button and surrounding area.
- For stubborn dirt, slightly dampen the cloth with isopropyl alcohol.
- Gently press the power button multiple times to dislodge any trapped debris.
- Ensure the button moves freely and doesn’t feel sticky.
4. Inspect the Charging Port
A damaged or dirty charging port can prevent proper charging:
- Examine the charging port for visible damage or debris.
- Use a cotton swab lightly dampened with isopropyl alcohol to clean the port.
- Allow the port to dry completely before connecting the charger.
- Check for bent pins or other damage that might prevent proper electrical contact.
5. Update Firmware (If Possible)
If your screen works intermittently, try updating the firmware:
- Download the Dyson Link app on your smartphone.
- Connect your Dyson V11 to the app following the instructions.
- Check for available firmware updates and install them if available.
- Follow the app’s prompts to complete the update process.
Advanced Repair: Replacing the LED Panel
If basic troubleshooting doesn’t resolve the issue, you might need to replace the LED panel. This is a more advanced repair that requires careful disassembly:
Tools Required:
- Thin, rigid tool (precision screwdriver or plastic opening tool)
- T9 or TA screwdriver
- Adhesive for reassembly
- Clean, static-free workspace
Replacement Procedure:
Prepare for disassembly:
- Ensure the vacuum is powered off and battery removed
- Work on a clean, well-lit surface
-
Have a container ready for small screws
Access the LCD panel:
- Locate the transparent central section of the front panel
- Use your thin tool to carefully lift the edge of the glued plastic cover
-
Avoid applying pressure to the transparent area, which contains no adhesive
Remove the plastic cover:
- Work your tool around the perimeter to gradually release the adhesive
- Multiple passes may be needed to fully release the cover
-
Set the cover aside in a safe place
Access the LED components:
- Locate and remove the two screws securing the LCD assembly using your T9/TA screwdriver
- Carefully lift the ribbon cable connector (it’s secured by a small latch)
-
Gently remove the damaged panel
Install the new LED panel:
- Align the ribbon cable of the new panel with the connector
- Secure the latch to hold the cable in place
-
Reattach the screws to secure the assembly
Reassemble the device:
- Carefully align the plastic cover with the frame
- Apply adhesive according to the manufacturer’s instructions
- Allow sufficient time for the adhesive to set before using the vacuum
If you need to replace the LED panel, you’ll need a compatible replacement part.
Official Dyson OEM replacement for V11 LCD screen assembly

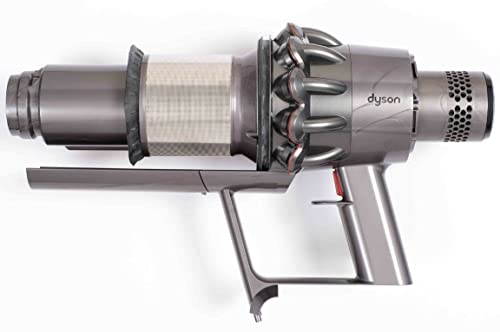
Full main body replacement with integrated LCD display
Third-party LED screen with upgraded motor performance
Important Notes:
- The most common issue is with the ribbon cable, not the LCD panel itself
- Look for a blackened copper mark on the cable, which indicates a blown circuit
- Ensure any replacement parts are compatible with your specific Dyson V11 model
Dealing with Moisture Damage
Moisture is one of the most common causes of electronic failures in Dyson vacuums:
Identifying Moisture Damage:
- 10 flashing LED lights often indicate moisture-related issues
- This frequently occurs after reattaching a damp filter following cleaning
- The vacuum may power on but have limited or no screen functionality
Moisture Damage Repair Steps:
Thorough cleaning:
- Clean the bin completely
- Use a dry paint brush outdoors to remove debris without risking indoor contamination
-
Inspect all components for signs of moisture or corrosion
Filter inspection:
- Check the rear filter for dirt or damage
- Replace if necessary, ensuring any new filter is completely dry before installation
- Never reinstall a damp filter as this can cause electrical damage
If the filter is damaged or excessively dirty, it’s best to replace it.

Official OEM filter for optimal performance

Premium HEPA filtration with durable materials
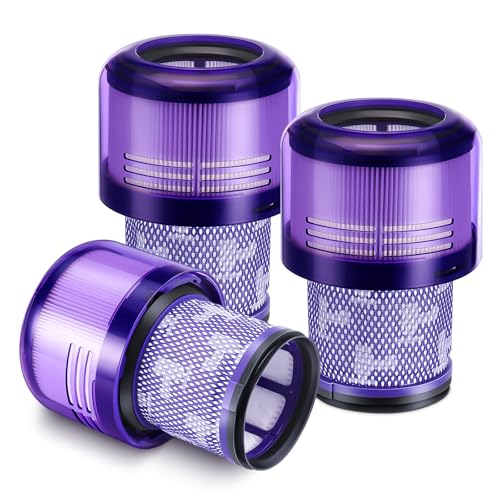
Cost-effective with FSC-certified materials

Washable and reusable for long-term use
Battery testing:
- If possible, test your battery on another compatible Dyson model
-
This can help determine if the battery is the issue or if moisture has affected the main body
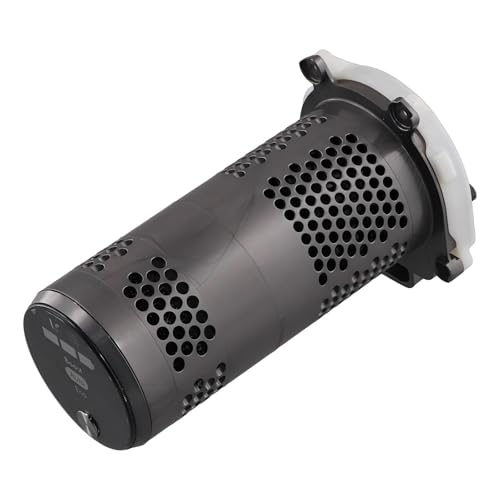
Main body replacement:
- In severe cases, replacing the main body may be necessary
- For earlier V11 models (SV11/SV14), use a body with a clip-on battery
- For V15/V17 models, use a body with a screw-on battery
- Install by attaching the bin, replacing the battery, and reinstalling the filter
Frequently Asked Questions (FAQ)
Why does my Dyson V11 screen turn on but then go blank?
This usually indicates a power management issue or software glitch. Try performing a power reset by removing the battery, holding the power button for 20 seconds, then reinstalling the battery. If the problem persists, the screen’s ribbon cable might be partially disconnected or damaged.
Can I replace the Dyson V11 screen myself?
Yes, it’s possible to replace the screen yourself if you have basic technical skills. However, the process requires careful disassembly and handling of delicate components. If you’re not confident in your abilities, professional repair is recommended to avoid causing additional damage.
How much does it cost to repair a Dyson V11 screen?
Professional screen replacement typically costs between $100-$200, depending on your location and whether you use Dyson’s official repair service or a third-party repair shop. DIY replacement parts generally cost $40-$80, but require technical skill to install.
Is my Dyson V11 still usable if the screen doesn’t work?
Yes, the vacuum will still function for basic cleaning even without a working screen. However, you won’t be able to see battery life, change cleaning modes, or receive maintenance alerts. The vacuum will likely default to a standard cleaning mode.
How can I prevent screen issues in the future?
To prevent screen issues, avoid dropping your vacuum, keep it away from moisture, ensure filters are completely dry before reinstallation, and store the vacuum in a dry, temperature-controlled environment. Regular cleaning of the exterior and proper battery management also help extend the life of all components.
Conclusion
A non-functioning screen on your Dyson V11 can be frustrating, but many issues can be resolved through proper troubleshooting and repair. Start with the simplest solutions like charging the battery and performing a power reset before moving on to more complex repairs like screen replacement.
Remember that moisture is particularly damaging to electronic components, so always ensure filters and other parts are completely dry before reassembly. If you’re uncomfortable performing repairs yourself, Dyson’s customer support can provide assistance or direct you to authorized repair centers.
With proper care and maintenance, your Dyson V11 should provide years of reliable service, screen included. By following the steps outlined in this guide, you can diagnose and potentially resolve screen issues, saving both time and money on professional repairs.


