
The Dyson V10 is a powerful cordless vacuum cleaner that revolutionized home cleaning with its impressive suction capabilities. However, like any electronic device, it can encounter issues that prevent it from functioning properly. If your Dyson V10 isn’t turning on, don’t rush to replace it just yet. This guide will walk you through the most common causes and provide detailed solutions to get your vacuum up and running again.
Affiliate disclosure: As an Amazon associate, We'll earn a commission for every successful order through our affiliate links in the article. However, you won’t be charged anything for this.
Before diving into complex repairs, it’s worth checking some basic troubleshooting steps that might quickly resolve the issue. Many problems with the Dyson V10 not turning on can be attributed to simple causes like battery issues, trigger malfunctions, or clogged filters. By following the systematic approach outlined in this article, you can potentially save time and money on unnecessary repairs or replacements.
Common Battery-Related Problems
When your Dyson V10 refuses to power on, the battery is often the culprit. Several battery-related issues can prevent your vacuum from starting, each requiring a different approach to resolve.
Depleted Battery
The most obvious reason your V10 won’t turn on is a completely discharged battery. To resolve this:
- Connect your vacuum to its charging dock
- Verify the charging indicator lights up, confirming power transfer
- Allow the battery to charge fully (approximately 3.5 hours)
- Test the vacuum after charging is complete
Overheated Battery
Excessive heat can trigger safety mechanisms that prevent operation:
- Check if the battery feels unusually hot to the touch
- Power off the vacuum completely
- Place it in a cool, well-ventilated area
- Allow at least 30 minutes for cooling
- Avoid using the vacuum in extremely hot environments or for extended periods
Battery Fault Resolution
If your battery shows inconsistent charging behavior or fails to hold a charge:
- Disconnect the vacuum from power
- Press and hold the trigger for 30 seconds to reset the battery
- Reconnect to power and charge fully
For models with removable batteries, try this more comprehensive reset:
- Power off the vacuum completely
- Disconnect from any power source
- Remove the battery (if your model allows)
- Press and hold the power button for 10–20 seconds to discharge residual power
- Reinstall the battery
- Charge fully before testing
If these steps don’t resolve the issue, the battery may need replacement. Contact Dyson customer service for genuine replacement parts.
If you’ve tried all the troubleshooting steps and your battery still isn’t holding a charge or behaving erratically, it might be time for a replacement.
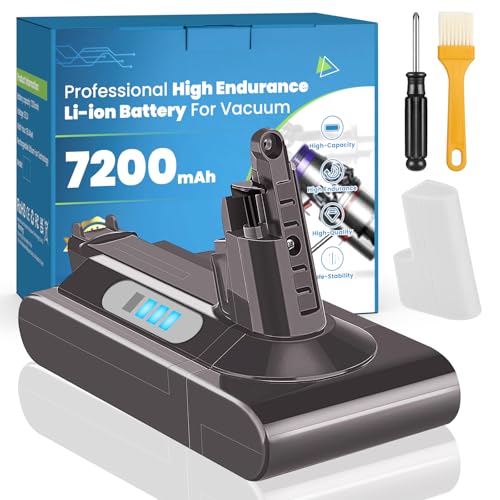
Highest capacity battery with RoHS/CE certification

Longest warranty with quick charging capability
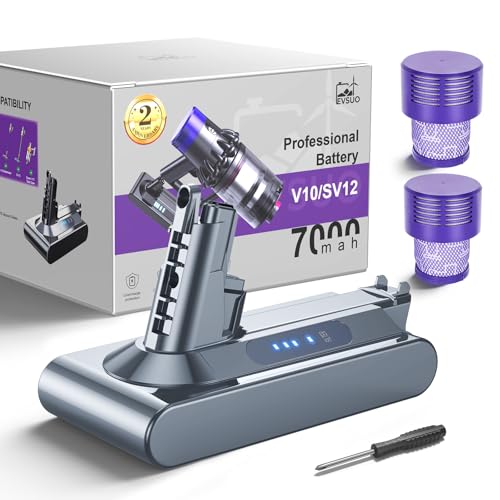
Premium safety features with dual filters included
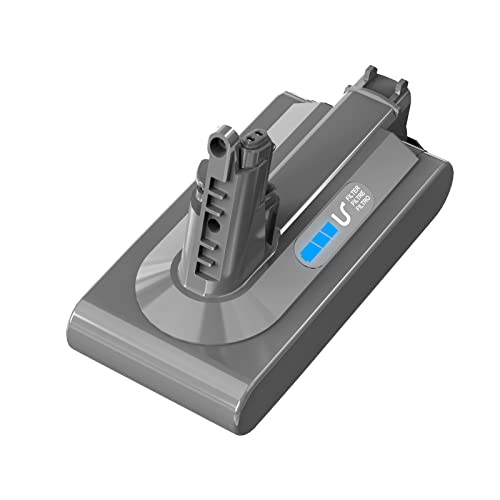
Most affordable with essential safety protections
Diagnosing Trigger and Power Button Failures
The trigger mechanism and power button are critical components that can prevent your Dyson V10 from turning on when they malfunction.
Power Button Troubleshooting
A non-responsive power button often indicates:
- Dirt or debris accumulation around the button
- Button getting stuck in position
- Internal button failure
To address these issues:
- Clean around the power button using compressed air
- Gently work the button back and forth to dislodge any debris
- If cleaning doesn’t help, the button may require professional repair
Fixing Trigger Mechanism Problems
The trigger is the primary control for your vacuum’s operation. Issues include:
- Jammed trigger mechanism
- Debris preventing full trigger movement
- Cracked trigger assembly
For basic trigger problems:
- Inspect the trigger area for visible debris
- Clean thoroughly with compressed air
- Test trigger movement for smoothness
Repairing a Cracked Trigger Assembly
A more serious issue is a cracked trigger assembly that fails to apply proper pressure to the battery switch. This repair requires:
Tools needed: – #1 Phillips screwdriver – #10 Torx screwdriver – Flathead screwdriver – Needle-nose pliers – Crazy glue
Step-by-step repair:
- Remove two front housing screws and five along the main housing
- Detach the battery by removing two screws on the underside and one in the handle
- Remove two Torx screws to access the circuit board
- Carefully pry off the white plastic housing
- Gently bend upward the battery terminal wires
- Remove one Torx screw from the handle’s bottom and two from the plastic housing
- Extract the trigger assembly
- Apply crazy glue to stabilize the crack in the trigger
- Allow adhesive to dry completely
- Reassemble all components in reverse order
This repair should restore proper pressure on the battery switch, resolving the malfunction.
If your trigger is cracked beyond repair, you’ll need a replacement trigger assembly to get your Dyson V10 working again.
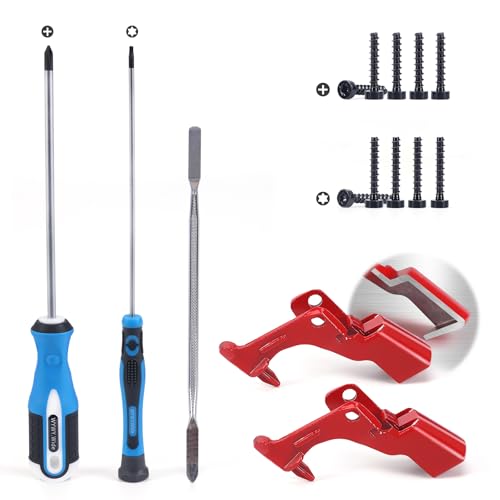
Durable metal trigger with repair tools kit for Dyson V10/V11/SV12/SV14
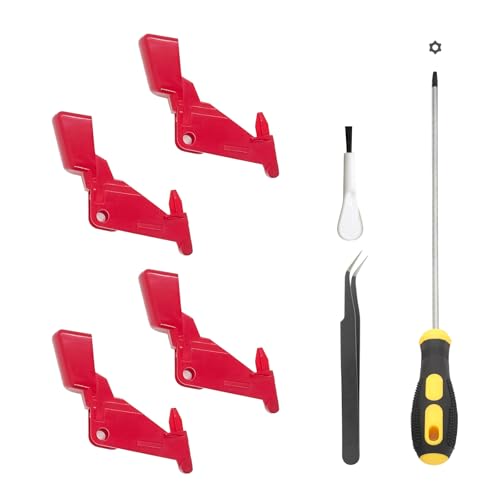
4-pack upgraded metal trigger with extended screwdriver tools

Single upgraded metal trigger with installation video guide
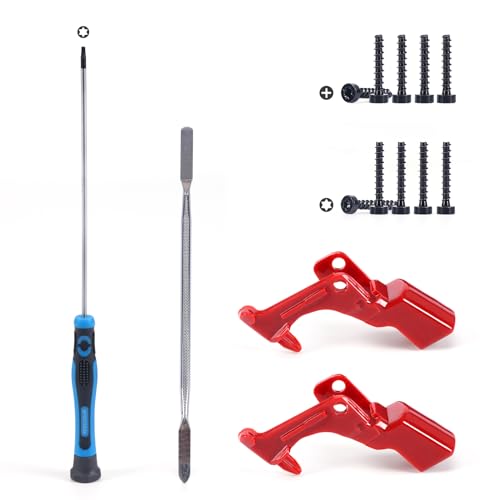
2PCS reinforced trigger with customized repair tools included
Addressing Filter and Blockage Issues
While filter and blockage problems typically affect suction power, severe blockages can cause the vacuum to shut down or fail to start due to overheating protection mechanisms.
Filter Maintenance
Clogged filters restrict airflow and can trigger safety shutdowns:
- Locate and remove both pre-motor and post-motor filters
- Rinse under cold water until water runs clear
- Do NOT use detergents or washing machines
- Allow filters to dry completely for at least 24 hours
- Reinsert fully dry filters before attempting to use the vacuum
Clearing Blockages
Blockages in the airflow path can cause operational issues:
- Disassemble the vacuum into its component parts (wand, hose, cleaning head)
- Inspect each section for visible blockages
- Use a thin, flexible wire or long brush to remove obstructions
- Pay special attention to the connection points between components
- Reassemble and test operation
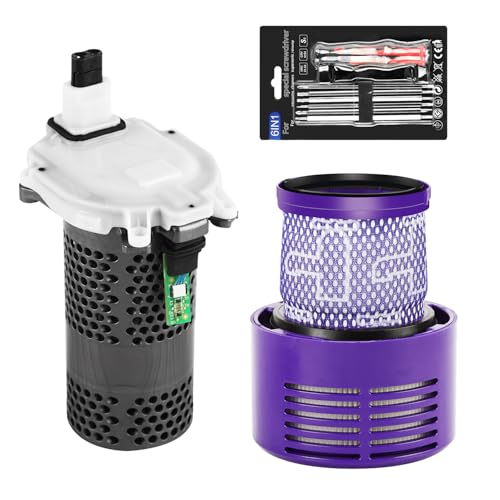
If your Dyson V10 filters are damaged or you want to ensure optimal performance, consider replacing them.

Official replacement filter for Dyson V10 with washable design.
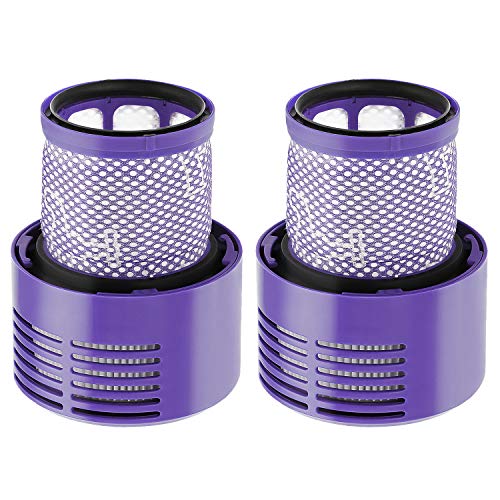
FSC-certified 2-pack filter with cleaning brush for V10.

3-pack filter with brush for V10 models, washable design.
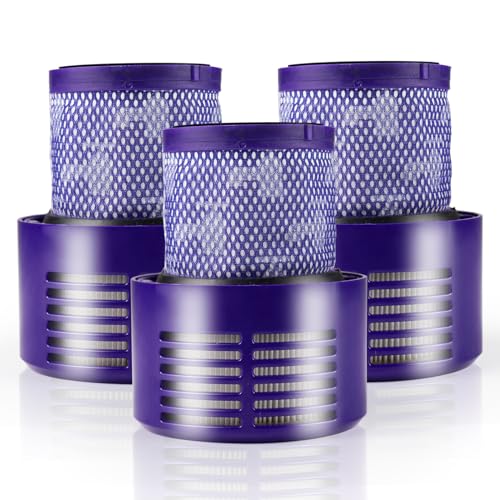
Budget-friendly 3-pack filter for V10, washable and reusable.
Troubleshooting Motor and Internal Component Failures
Motor issues represent more serious problems that often require technical expertise to address.
Motor Fault Diagnosis
If there’s no sound when you pull the trigger, the motor may be at fault:
- Perform a system reset by unplugging the vacuum
- Hold the trigger for 30 seconds
- Reconnect power and test
Quick Motor Test
Before disassembling:
- Remove the wand and look into the main unit
- Use a paperclip to manually press the small switch inside
- If the motor runs with this test but not with the trigger, the issue is in the trigger mechanism
- If the motor doesn’t run with this test, the motor itself may be faulty
Motor Replacement Procedure
For a documented motor failure (more common in older V10 units):
Tools required: – T10 and T8 screwdrivers – Pliers – Paperclip
Replacement steps:
- Remove screws securing the battery, motor cover, and housing
- Carefully disconnect the motor from its housing
- Replace with a compatible V10 motor unit (not interchangeable with newer models like V11)
- Reassemble in reverse order
A replacement motor costs approximately £25 (excluding tools and labor).
If the motor is indeed faulty, replacing it is often the most effective solution.
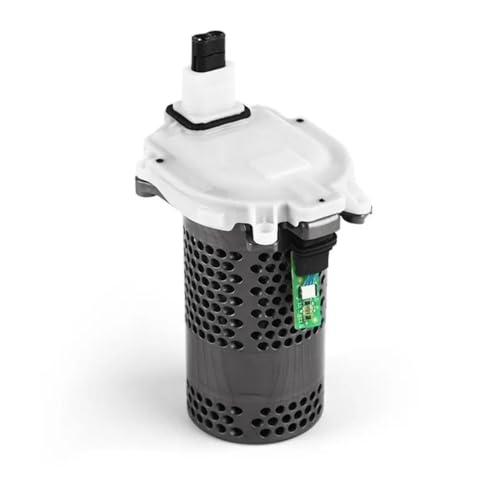
Original motor motherboard restores power and performance
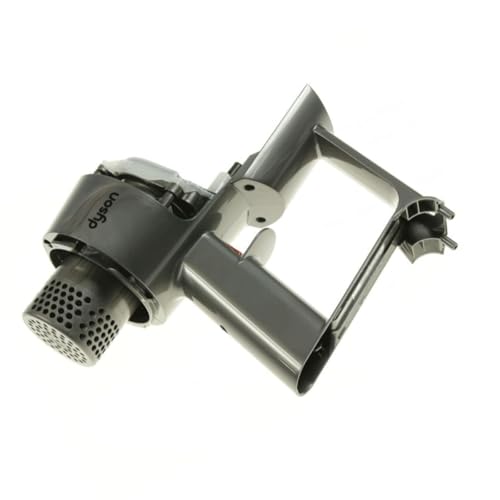
Official Dyson replacement for main body assembly
Premium replacement with built-in diagnostics
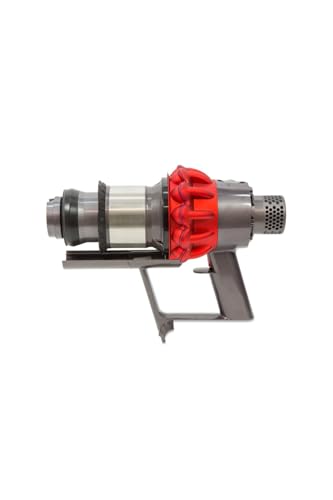
Direct replacement for small bin models
Checking Internal Connections
Loose connections can cause intermittent operation:
- Check all visible connection points for secure attachment
- Pay special attention to battery-to-motor connections
- If you’re uncomfortable performing internal inspections, seek professional help
Software and System Resets
Modern Dyson vacuums contain software that can sometimes encounter issues.
Performing a Full System Reset
- Disconnect the vacuum from power
- Hold the power button for 20 seconds
- Release the button
- Reconnect to power and charge fully
- Test operation
Firmware Updates
If your V10 connects to the Dyson Link app:
- Open the app on your smartphone
- Connect to your vacuum via Bluetooth
- Check for available firmware updates
- Follow prompts to complete any updates
- Ensure the battery remains charged during the update process
Frequently Asked Questions (FAQ)
Why does my Dyson V10 turn on and then immediately shut off?
This typically indicates a battery issue, overheating, or a blockage. First, ensure the battery is fully charged. Next, check for and clear any blockages in the filters, wand, or cleaning head. If the problem persists, allow the vacuum to cool down for 30 minutes before trying again, as thermal protection may have activated.
Can water damage prevent my Dyson V10 from turning on?
Yes, water exposure can damage internal components and prevent the vacuum from functioning. If your V10 has been exposed to water, disconnect it from power immediately, do not attempt to turn it on, and allow it to dry completely for at least 48 hours. In severe cases, professional repair may be necessary.
How long should a Dyson V10 battery last before needing replacement?
The Dyson V10 battery is designed to last for approximately 2-3 years with regular use before showing significant capacity reduction. If your vacuum is less than 2 years old and experiencing battery issues, try the reset procedures outlined in this article before considering replacement.
Is it worth repairing a Dyson V10 or should I replace it?
This depends on the specific issue and the age of your vacuum. Motor replacements and battery replacements are generally cost-effective compared to purchasing a new unit. However, if multiple components have failed or the vacuum is over 5 years old, replacement might be more economical in the long run.
Can I use third-party replacement parts for my Dyson V10?
While third-party parts are available and often less expensive, they may not meet Dyson’s quality standards and could potentially cause additional issues. For critical components like batteries and motors, genuine Dyson parts are recommended to ensure proper fit, function, and safety.
Conclusion
The Dyson V10 is a sophisticated appliance with multiple potential failure points that can prevent it from turning on. By systematically working through the troubleshooting steps outlined in this guide, you can identify and resolve many common issues without professional assistance.
Start with the simplest solutions—checking the battery charge, cleaning filters, and inspecting for blockages—before progressing to more complex repairs involving internal components. For serious issues like motor failure or electrical problems, don’t hesitate to contact Dyson customer service for guidance or professional repair options.
Regular maintenance, including filter cleaning and proper battery care, can prevent many of these issues from occurring in the first place. By following these practices, you can extend the life of your Dyson V10 and ensure it continues to provide the powerful cleaning performance it was designed for.


