
Common Causes of Power Failure in Dyson V11
When your Dyson V11 Torque Drive refuses to power on, it can be frustrating, especially given the premium price tag of these devices. Several key issues typically prevent these vacuums from turning on. The good news is that many of these problems have straightforward solutions you can implement yourself before seeking professional help.
Affiliate disclosure: As an Amazon associate, We'll earn a commission for every successful order through our affiliate links in the article. However, you won’t be charged anything for this.
Battery problems are among the most frequent culprits, but other issues like improper button operation, connection problems, and internal blockages can also prevent your vacuum from powering up. This guide will walk you through a comprehensive troubleshooting process to identify and resolve the specific issue affecting your Dyson V11 Torque Drive.
Battery-Related Problems and Solutions
Depleted or Faulty Battery
The most obvious yet often overlooked cause of power failure is a depleted battery. Ensure your Dyson V11 is properly connected to its charger and given sufficient time to charge fully. The V11 requires a minimum charge level to function at all.
If your vacuum won’t charge despite being properly connected:
- Verify the outlet is working by testing it with another device
- Inspect the charging cable for damage or fraying
- Check the battery connections for dirt or debris
- Remove and reinsert the battery to ensure proper contact
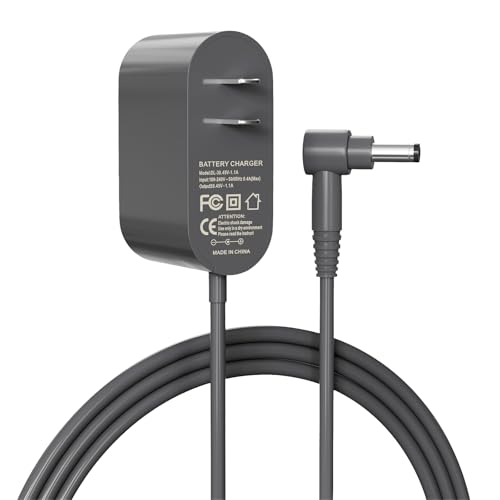
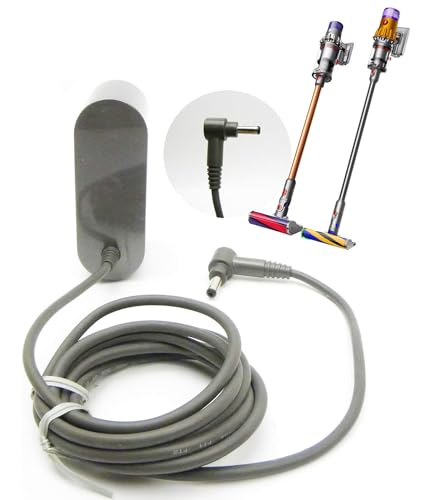
If the charging cable is damaged or not working, it will need to be replaced to properly charge the Dyson V11.

Official Dyson replacement with full safety and compatibility
Affordable third-party option with essential features

Certified third-party with extended safety features
High-quality third-party with premium safety and warranty
Testing Battery Health
A battery that no longer holds a charge likely needs replacement. Here’s how to test it:
- Use a multimeter to check the battery voltage – a healthy battery should read approximately 25V
- Look for physical signs of battery damage such as swelling or leaking
- If possible, test the battery in another compatible Dyson model (V11/V15)
A failing battery is a common issue with cordless vacuums. If your battery isn’t holding a charge or showing signs of damage, replacing it can often restore your Dyson V11 to full power.
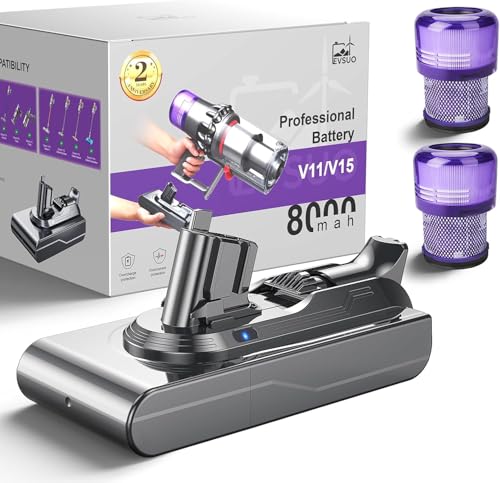
High-capacity battery with 80+ minute runtime and 30% faster charging

Grade A cells with 8.0Ah capacity and military-grade safety certifications
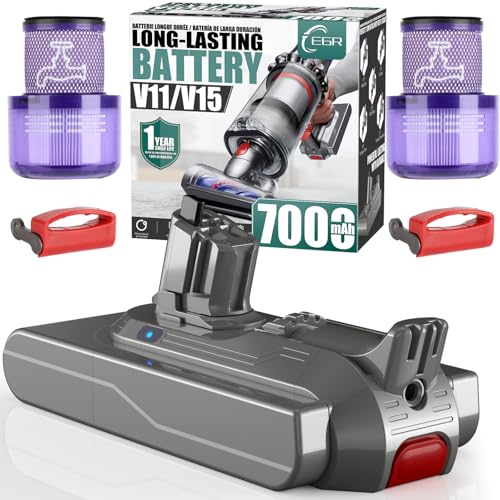
Durable battery with anti-skid design and extended runtime for multi-room cleaning
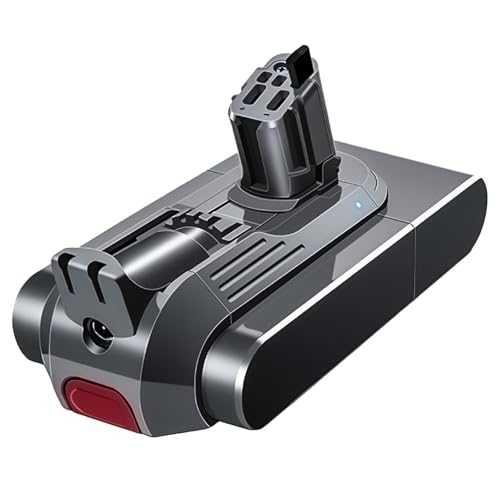
Automotive-grade cells with 75-minute ECO runtime and tool-free 3-second swap
Battery Maintenance Tips
To maximize battery lifespan: – Store your vacuum in a cool, dry place – Charge the battery regularly – Avoid completely draining the battery – Don’t leave the vacuum continuously charging after reaching full capacity
Power Button Techniques
Proper Button Operation
The Dyson V11’s power button requires specific operation techniques:
- Extended Press: Hold the power button for at least 3 seconds to activate the vacuum properly
- Double-Press Method: Some users report success with pressing the button twice in quick succession
- Reset Procedure: Press and hold the power button for 10-20 seconds to discharge residual power, then try turning it on again
This simple adjustment to how you operate the power button often resolves apparent power failures without any further troubleshooting needed.
Motorhead Connection Issues
Checking for Proper Connection
The motorhead must be securely connected for the vacuum to function:
- Disconnect the motorhead completely
- Clean the connection points on both the motorhead and the main unit
- Reattach the motorhead, ensuring it clicks firmly into place
- Try powering on the vacuum again
Testing Without the Motorhead
To determine if the motorhead is causing the problem:
- Disconnect the motorhead completely
- Attempt to turn on the vacuum without it attached
- If the vacuum powers on, the issue lies with the motorhead
- If it still doesn’t power on, the problem is elsewhere in the system
Cleaning Motorhead Contacts
Dirty electrical contacts can prevent proper connection:
- Use a dry cloth to wipe the metal contacts on both the motorhead and main unit
- For stubborn dirt, use a cotton swab lightly dampened with isopropyl alcohol
- Allow contacts to dry completely before reconnecting
- Check for any visible damage to the contacts that might require repair
If the motorhead is damaged or not functioning, it may need to be replaced.

Official Dyson replacement for V11 with anti-tangle technology

Budget-friendly with anti-tangle and flexible rotation
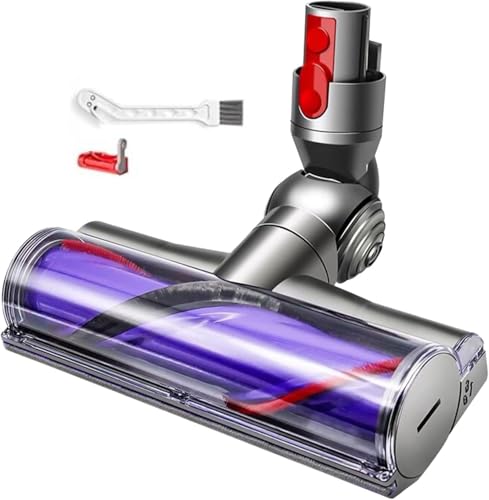
Affordable with upgraded anti-tangle and flexible design

50W motor for powerful cleaning performance
Filter and Airflow Blockages
Inspecting and Cleaning Filters
Clogged filters can trigger safety shutdowns that prevent the vacuum from turning on:
- Remove both the pre-filter and post-filter
- Check for visible dirt and debris
- Rinse filters under cold water until the water runs clear
- Allow filters to dry completely for at least 24 hours before reinstalling
- Never reinstall damp filters as moisture can damage internal components
Clearing Bin and Intake Blockages
A full or blocked dust bin can prevent proper operation:
- Empty the dust bin completely
- Check for debris caught in the cyclone assembly
- Inspect the bin inlet for blockages
- Use a dry paintbrush to clean hard-to-reach areas (do this outdoors to prevent dust spread)
- Ensure the bin is properly reattached before attempting to power on
Checking for Internal Blockages
Even if the bin and filters appear clean, internal blockages can occur:
- Disconnect all attachments
- Look through the wand and hose for visible blockages
- Use a long, thin object (like a straightened coat hanger) to gently probe for and remove blockages
- Check all air pathways for obstructions
Hardware and Software Malfunctions
Performing a Full Reset
A reset can resolve electronic glitches:
- Remove the battery if possible
- Hold the power button for 10-20 seconds to discharge any residual power
- Reinsert the battery
- Connect to the charger and allow to charge fully
- Attempt to power on the vacuum
Checking for Overheating
Thermal protection may prevent the vacuum from turning on:
- If the vacuum was recently used extensively, allow it to cool for at least 30 minutes
- Ensure the vacuum is stored in a cool location, away from heat sources
- Check for any blockages that might impede airflow and cause overheating
- After cooling, attempt to restart the vacuum
Inspecting Internal Components
For advanced troubleshooters comfortable with DIY repairs:
- Check for loose connections on the internal circuit board
- Look for signs of water damage or corrosion
- Inspect the motor for any visible damage
- Test the trigger mechanism for proper function
Professional Repair Options
Warranty Coverage
If your troubleshooting efforts haven’t resolved the issue:
- Check if your Dyson V11 is still under warranty (typically 2-5 years depending on region)
- Gather your proof of purchase and warranty information
- Contact Dyson customer service directly for warranty service
- Dyson often provides free replacements for defective components under warranty
Finding Authorized Repair Centers
For out-of-warranty repairs:
- Locate a Dyson-authorized repair center through the official website
- These centers have certified technicians with specialized knowledge
- They can access genuine Dyson replacement parts
- Professional diagnosis can identify issues beyond DIY troubleshooting
Replacement Parts
Common replacement parts that may resolve power issues:
- Battery replacement (most common solution)
- Main body replacement (necessary if internal water damage has occurred)
- Motor replacement
- Circuit board replacement
Note: When replacing the main body, ensure it matches your specific model (SV11/SV14 for clip-on batteries or SV15/SV17 for screw-in batteries).
If the motor is damaged, it will need to be replaced.

Official Dyson motor assembly for V11, ensuring optimal performance and durability
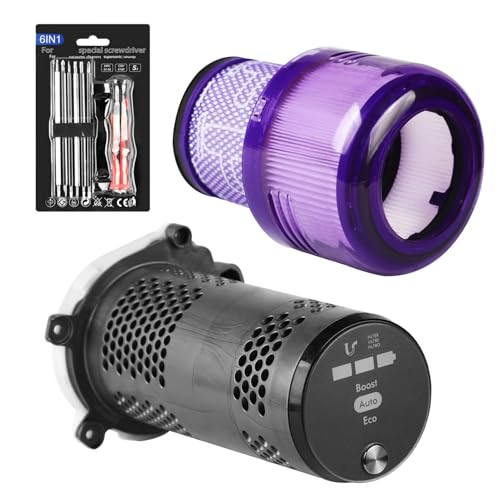
Premium motor assembly for V11 with LED display and robust suction

Genuine replacement motor with seamless integration and enhanced performance
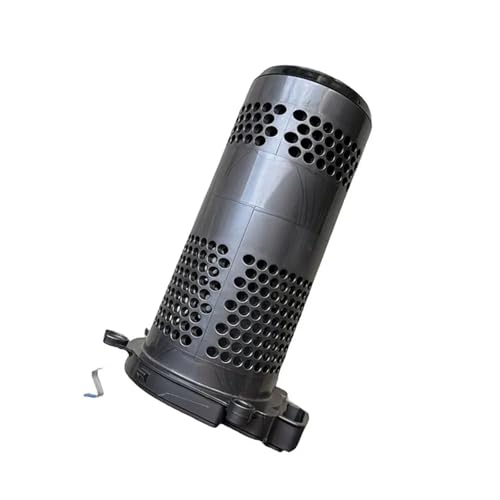
Budget-friendly motor with powerful suction and extended battery life
Frequently Asked Questions (FAQ)
Why does my Dyson V11 flash lights but not turn on?
If your Dyson V11 flashes its LED lights (particularly 10 flashes) but won’t start, this typically indicates a blockage in the bin or filter, internal moisture exposure, or component failure. First, check and clean the bin and filters thoroughly. If the problem persists, inspect for any signs of moisture damage, which often requires main body replacement.
Can a depleted battery prevent the Dyson V11 from turning on even when plugged in?
Yes, the Dyson V11 requires a minimum battery charge to function, even when connected to power. If the battery is completely depleted, it may need to charge for 15-30 minutes before the vacuum will turn on. For severely depleted batteries, a full overnight charge is recommended before attempting to use the vacuum.
How do I know if my Dyson V11 battery needs replacement?
Signs that your battery needs replacement include: significantly reduced runtime compared to when new, failure to hold a charge, the vacuum shutting off shortly after starting, physical swelling of the battery, or if a multimeter test shows voltage significantly below 25V. Most Dyson V11 batteries last 2-4 years with regular use before requiring replacement.
What should I do if my Dyson V11 turns on briefly then shuts off?
This behavior typically indicates a blockage, overheating, or battery issue. First, check and clean all filters and clear any blockages in the bin, wand, and attachments. Allow the vacuum to cool for 30 minutes if it feels warm. If the problem persists, test the battery as described above, as it may need replacement.
Can moisture damage cause my Dyson V11 to stop working?
Yes, moisture is one of the most common causes of permanent damage to Dyson vacuums. If filters were reinstalled while still damp or if the vacuum was exposed to high humidity or liquid, internal components may be damaged. This often requires replacement of the main body assembly, as moisture damage to electronic components is typically irreparable.
Conclusion
The Dyson V11 Torque Drive is a sophisticated piece of technology that occasionally experiences power issues. By methodically working through the troubleshooting steps outlined in this guide, you can identify and resolve most problems that prevent your vacuum from turning on.
Start with the simplest solutions—checking the battery charge, proper button operation, and connections—before moving on to more complex issues involving filters, blockages, or internal components. Remember that moisture is particularly damaging to these devices, so always ensure filters are completely dry before reinstallation.
If DIY troubleshooting doesn’t resolve the issue, don’t hesitate to contact Dyson’s customer service or an authorized repair center, especially if your device is still under warranty. With proper maintenance and timely intervention when problems arise, your Dyson V11 Torque Drive should provide many years of reliable service.


