
The Dyson DC34 is a powerful handheld vacuum, but like any electronic device, it can sometimes fail to power on. When your trusty cleaning companion goes silent, there’s usually a fixable cause behind it. This comprehensive guide walks you through the most common reasons your Dyson DC34 won’t turn on and provides practical solutions to get it running again.
Affiliate disclosure: As an Amazon associate, We'll earn a commission for every successful order through our affiliate links in the article. However, you won’t be charged anything for this.
Before rushing to replace your vacuum, try these troubleshooting steps. Many Dyson DC34 issues can be resolved with simple maintenance or minor repairs, potentially saving you significant money compared to purchasing a new unit.
Battery Problems: The Primary Culprit
When a Dyson DC34 refuses to power on, battery issues are the most likely cause. Here’s how to diagnose and fix battery-related problems:
Dead or Depleted Battery
If your vacuum won’t turn on at all, start with the basics:
- Connect the charger and verify both ends are securely plugged in
- Confirm the power outlet is working by testing it with another device
- Allow the vacuum to charge for at least 30-40 minutes
- Check for indicator lights while charging (flashing green indicates normal charging)
If the Dyson DC34 still fails to charge, the charging adapter may be faulty and need replacement.
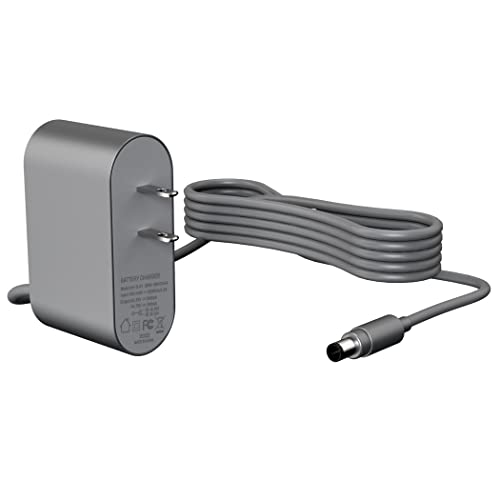
Budget-friendly replacement with original quality
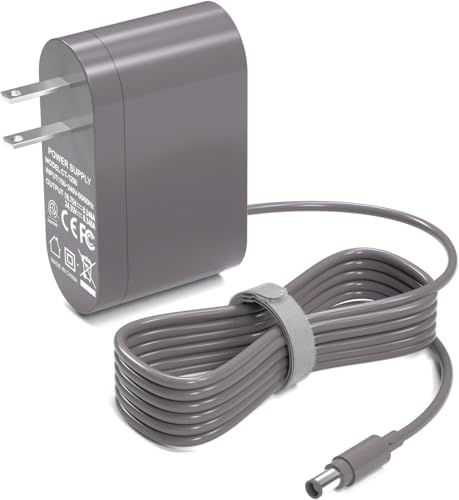
Longer cable with UL safety certification

Extended 12-month warranty
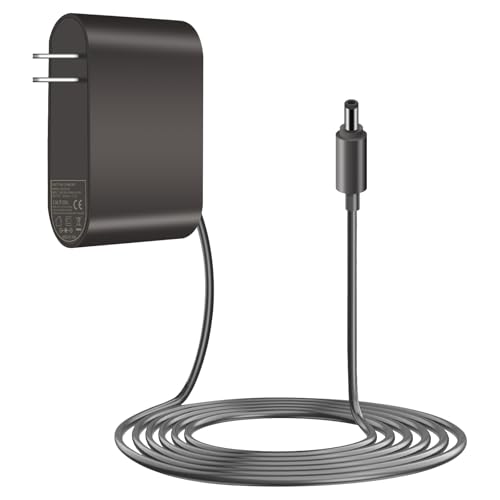
Fast charging with safety features
Battery Reset Procedure
Many users have successfully revived their DC34 with this simple reset:
- Unplug the charger completely
- Press and hold the power button for a full 30 seconds
- Reconnect the charger
- Allow the vacuum to charge for 30-40 minutes
This reset can resolve issues with partially charged batteries that have entered a protection state.
Battery Connector Issues
Over time, the metal connectors in the battery compartment can flatten from repeated use:
- Locate the metal connectors in the battery compartment
- Gently bend them outward to improve electrical contact
- Clean any oxidized connectors with fine steel wool or sandpaper
- Apply a contact cleaner solution if available
Battery Replacement Guidelines
If your DC34 fails to charge fully within one hour, the battery likely needs replacement:
- Purchase a compatible replacement battery ($30-40)
- For DIY advanced repairs, use a 7-cell lithium-ion pack (3.7V per cell, total ~28.4V)
- Ensure proper cell arrangement with alternating polarity
- Properly insulate terminals and maintain temperature-sensing connections
A new battery can significantly extend the life of your Dyson DC34, restoring its original power and runtime.
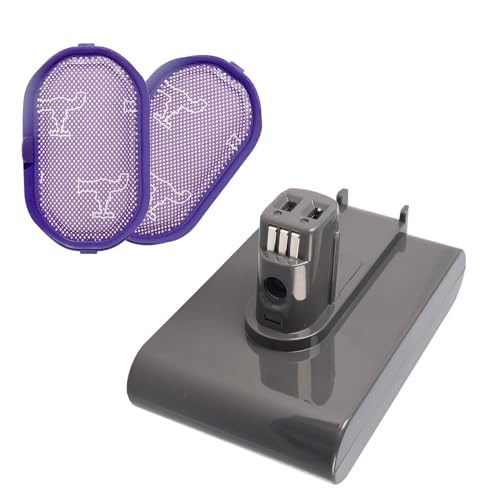
Upgraded high-capacity battery with safety and extended runtime
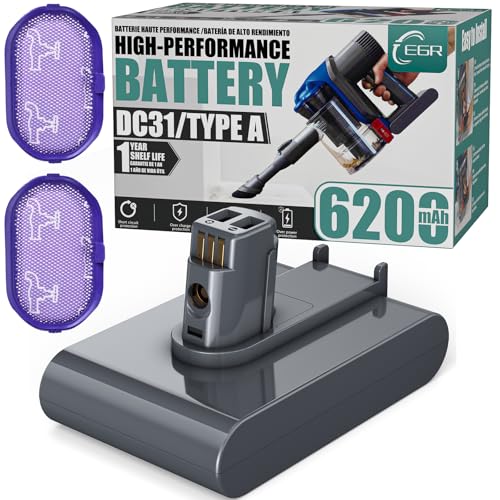
Certified battery with non-slip design and 28-minute runtime

Upgraded battery with 365-day warranty and 20-30 minute runtime

Budget-friendly replacement for Type B models with screw installation
Troubleshooting Mechanical Issues
Power Button Problems
A malfunctioning power button can prevent your Dyson from turning on:
- Examine the power button for visible damage or debris
- If the button appears stuck, carefully use a small tool like a paperclip to gently free it
- Clean around the button using compressed air or a dry cloth
- Test the button’s responsiveness after cleaning
Clearing Blockages and Clogs
Blockages can cause the motor to shut down as a protective measure:
Filter Inspection and Cleaning
- Remove the top filter (has a two-part design with three securing tabs)
- Press tabs over locking slots to disassemble
- Remove debris from both inner and outer filter components
- Rinse the inner filter under warm water for 2-3 minutes
- Water may turn black due to accumulated dirt
- Allow to dry completely for 24 hours before reinstalling
- Reassemble by aligning tabs and pressing until the gasket seals
A clean filter is essential for optimal performance. If your filter is damaged or excessively dirty, consider replacing it.
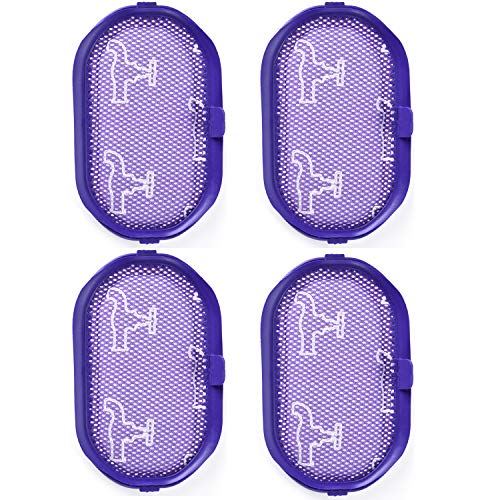
Premium 4-pack offering efficient filtration and extended use
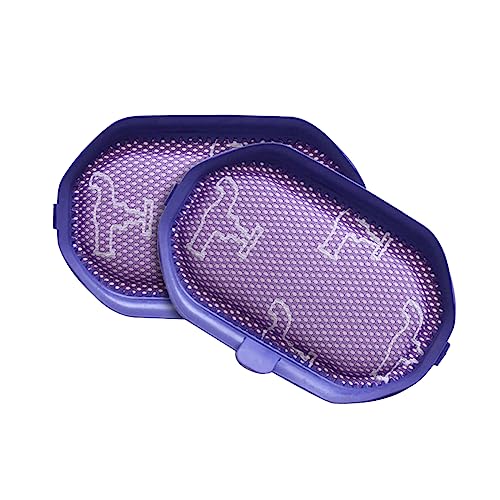
Cost-effective replacement with 2-3 month longevity
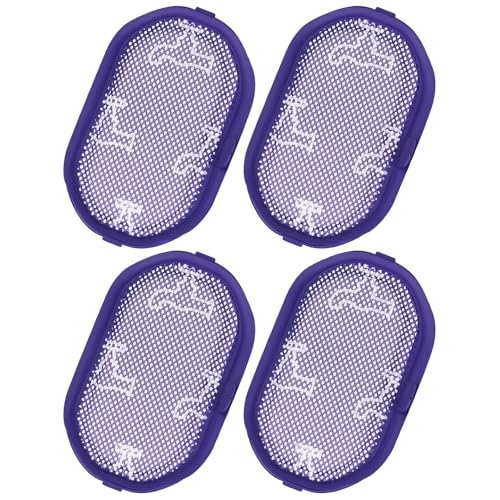
Value pack with premium filtration performance

Affordable replacement with simple installation
Air Pathway Clearing
- Use a flashlight to inspect all air pathways
- Look for hair, dust, or small objects causing obstructions
- Carefully dislodge clogs using appropriate tools:
- Screwdriver
- Butter knife (with caution)
- Chopstick for narrow areas
- Pay special attention to the mesh filter, which may be partially clogged
- Clear debris from both sides of the mesh filter
Addressing Overheating
If your DC34 shuts down during use, overheating might be the cause:
- Allow the vacuum to cool for at least 30 minutes
- Ensure all filters are clean and properly installed
- Check for blockages that might restrict airflow
- Avoid using the vacuum continuously for extended periods
Diagnosing Through LED Indicators
The LED lights on your Dyson DC34 provide valuable diagnostic information:
Interpreting Light Patterns
- Steady blue light: Normal operation
- Flashing red light: Charging issue (battery or charging block malfunction)
- Flashing amber/orange light: Dead battery or clogged system
- Over 12 flashes typically indicates a dead battery
- Blinking blue light suggests a clogged air system or filter
Using LED Diagnostics for Troubleshooting
- Observe the light pattern when attempting to charge or operate
- Count the number of flashes if applicable
- Address the specific issue indicated by the light pattern:
- For charging issues, check connections and try a different outlet
- For filter/clog indications, perform thorough cleaning
- For battery indications, follow battery reset or replacement procedures
Advanced Repair Considerations
Disassembly Challenges
The Dyson DC34 has a tamper-resistant design that requires special care:
- Fully discharge the battery before attempting disassembly
- Use T9 screwdrivers for proper fit with Dyson screws
- Apply significant but controlled force to release internal clips
- Use flathead tools to carefully separate housing components
- Take photos during disassembly to aid in reassembly
Internal Circuitry and Motor Issues
Some problems require more technical intervention:
- Inspect internal wiring for visible damage or disconnection
- Check for burnt components on circuit boards
- Test the motor for resistance using a multimeter if available
- Consider professional repair for motor replacement or circuit board issues
If the motor is damaged, replacing it can restore your Dyson DC34’s suction power.
Original suction motor for Dyson DC34/DC35 with durable high-quality materials
Main engine motor with powerful suction and low-noise design for Dyson DC34/DC35
Tools Required for Repairs
- T9 screwdriver
- Flathead screwdriver
- Soldering iron (for advanced battery repairs)
- Heat-resistant tape
- Fine steel wool or sandpaper
- Contact cleaner solution
Preventive Maintenance Tips
Implement these practices to prevent future issues:
- Regular Filter Cleaning: Clean filters at least monthly for normal use
- Proper Storage: Store in a cool, dry place away from extreme temperatures
- Battery Care: Allow complete discharge occasionally to maintain battery health
- Connector Inspection: Periodically check battery connectors for corrosion
- Avoid Overuse: Give the vacuum rest periods during extended cleaning sessions
Frequently Asked Questions (FAQ)
Why does my Dyson DC34 start then immediately stop?
This typically indicates a blockage or filter issue. Check and clean all filters thoroughly, especially the mesh filter. Also inspect for hair wrapped around the brush bar or blockages in the air pathways. A pulsating operation where the trigger works but there’s no suction is a classic symptom of a clogged filter.
How long should my Dyson DC34 battery last?
With proper care, the battery should last 2-3 years with regular use. If your vacuum fails to charge fully within one hour, it’s likely time for battery replacement. Replacement batteries cost approximately $30-40, significantly less than a new unit.
Can I replace the Dyson DC34 battery myself?
Yes, battery replacement is a relatively straightforward DIY repair. Purchase a compatible replacement battery and follow the manufacturer’s instructions. For advanced users, a 7-cell lithium-ion pack with proper configuration can be used, but this requires soldering skills and careful attention to safety.
Why is my Dyson DC34 flashing red while charging?
A flashing red light typically indicates a charging issue. First, try a different power outlet. If the problem persists, the charging block or battery may be malfunctioning. Try the battery reset procedure (holding the power button for 30 seconds while unplugged) before attempting a replacement.
How do I know if my Dyson DC34 motor is damaged?
Signs of motor damage include unusual noises during operation, significantly reduced suction despite clean filters, or complete failure to turn on despite a fully charged battery. Motor issues often require professional repair, though checking for blockages and proper battery connection should be done first.
Conclusion
The Dyson DC34 is a reliable vacuum that can be brought back to life with proper troubleshooting and maintenance. Battery issues are the most common cause when the unit won’t turn on, but filter clogs, button malfunctions, and internal problems can also be culprits.
By following the steps outlined in this guide, you can diagnose and fix many common problems, potentially saving $100 or more compared to purchasing a replacement. If your troubleshooting efforts don’t resolve the issue, consider consulting Dyson customer support or visiting an authorized service center for professional assistance.
Remember that regular maintenance is key to preventing future issues and extending the life of your Dyson DC34. Clean filters regularly, inspect for blockages, and properly care for the battery to keep your vacuum running at peak performance.


