
The Dyson DC35 is a popular cordless vacuum known for its powerful suction and convenience. However, like any electronic device, it can encounter operational problems, with power issues being among the most common. When your Dyson DC35 won’t turn on, it can be frustrating, especially when you’re in the middle of cleaning. Fortunately, many of these issues can be resolved without professional help.
Affiliate disclosure: As an Amazon associate, We'll earn a commission for every successful order through our affiliate links in the article. However, you won’t be charged anything for this.
This comprehensive guide will walk you through the most common reasons your Dyson DC35 might not be powering on and provide practical solutions to get it working again. From simple battery problems to more complex internal issues, we’ll cover the troubleshooting steps you can take before considering a replacement or professional repair service.
Common Battery-Related Power Issues
The battery is often the culprit when a Dyson DC35 refuses to turn on. Several battery-related issues can prevent your vacuum from functioning properly.
Depleted Battery Charge
The most straightforward reason your Dyson DC35 won’t power on is that the battery is completely discharged. To resolve this:
- Connect your vacuum to a known working power outlet
- Allow it to charge for at least 3 hours
- Avoid using extension cords or power strips, which may not deliver consistent power
- Check that the charging indicator light illuminates when plugged in
If your vacuum doesn’t show any signs of charging after being plugged in for several minutes, the issue might be more complex than a simple discharge.
Faulty Battery Problems
After multiple charging attempts, if your DC35 still won’t power on, you may be dealing with a faulty battery. Here’s how to identify and address this issue:
- Inspect the battery for visible damage such as bulging or leakage
- Test the battery voltage if you have the proper tools – a reading of 0 volts confirms battery failure
- Consider replacing the battery if it’s defective
Replacing a faulty battery can often restore your Dyson DC35 to full power.
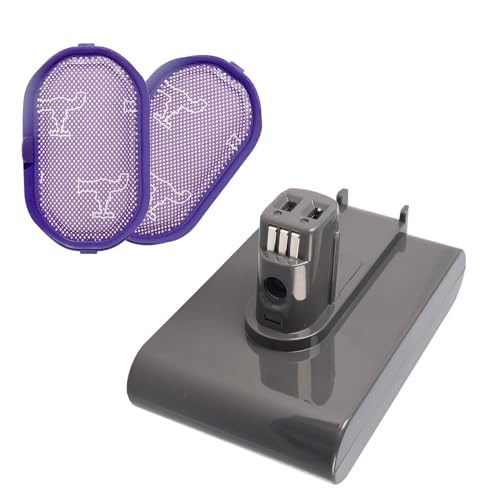
Highest capacity for extended runtime and strong suction
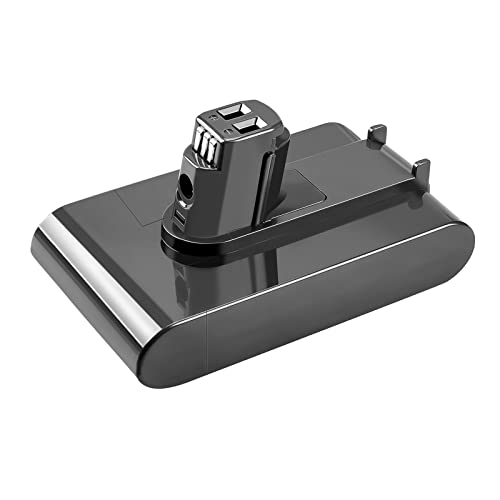
Balanced performance with non-slip design and safety certifications

Budget-friendly option with multi-protection safety system
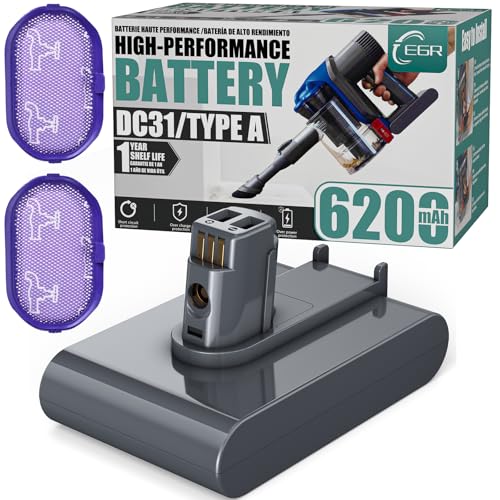
Affordable high-capacity battery with rapid-charge technology
Replacement batteries are available for approximately £15-£20 on platforms like eBay. When purchasing a replacement, ensure it’s compatible with the DC35 model by verifying it has the correct three-prong design. Be aware that some battery replacements may require soldering skills, depending on the specific model.
Battery Terminal Issues
Poor connections between the battery and vacuum can also prevent power-up:
- Access the terminals by pressing the battery release button
- Clean the terminals using a fiber-tipped cleaning pen or soft cloth
- Remove any visible debris with a fine screwdriver
- Gently adjust terminal tension to ensure secure contact
- Reassemble and test the vacuum
Power Supply Troubleshooting
Before assuming there’s an internal problem with your Dyson DC35, check these power supply elements:
Outlet Verification
A non-functioning power outlet can prevent your vacuum from charging:
- Test the outlet with another device to confirm it’s working
- Try charging your vacuum from a different outlet
- Check if any circuit breakers have tripped in your home
- Reset GFCI outlets if applicable
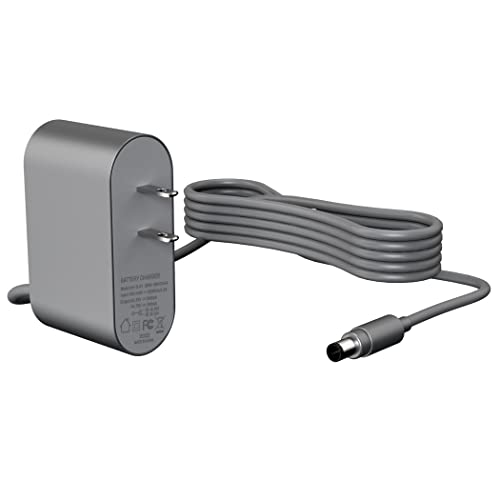
Charging Cable Inspection
Damaged charging cables can prevent proper charging:
- Examine the entire length of the charging cable for:
- Frayed wires
- Bent connectors
- Visible damage to the insulation
- Check both ends of the cable for secure connections
- Replace the charging cable if any damage is found
If you find damage to your charging cable, replacing it is crucial for safe and effective charging.
Budget-friendly replacement with global compatibility

Premium option with extended warranty and certifications
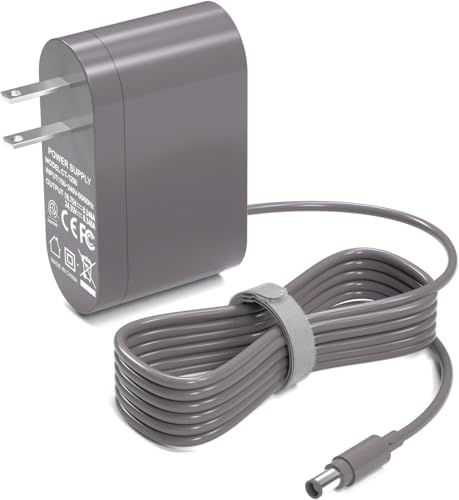
Long-cable premium charger with safety certifications
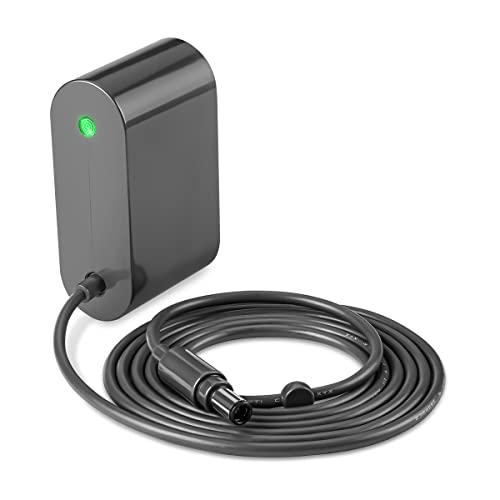
Safety-focused option with extended warranty
Addressing Internal Component Failures
When battery and power supply issues have been ruled out, internal problems may be the cause of your DC35 not turning on.
Overheating Protection
The Dyson DC35 includes safety features that prevent operation when overheating occurs:
- If the vacuum was recently used for an extended period, allow it to cool down for at least 30 minutes
- Store the vacuum in a cool, dry place during this cooling period
- Attempt to power on the vacuum after it has completely cooled
- Avoid using the vacuum continuously for long periods to prevent future overheating
Circuit and Fuse Problems
Internal electrical issues can prevent your vacuum from turning on:
- Listen for any unusual sounds when attempting to power on the vacuum
- Check for burning smells that might indicate electrical damage
- Be aware that internal circuit repairs typically require professional assistance
Clearing Blockages and Obstructions
Blockages can cause your Dyson DC35 to shut down or fail to start as a protective measure.
Filter Maintenance
Clogged filters are a common cause of operational issues:
- Remove the pre-motor filter by:
- Pressing the release button
- Tilting the unit backward
- Lifting the filter out
- Rinse the filter under cold running water until the water runs clear
- Allow the filter to dry completely (minimum 24 hours) before reinstalling
- Never operate the vacuum with a wet filter
- Mark your calendar to clean the filter monthly for optimal performance
If your filter is damaged or excessively worn, replacing it can improve your vacuum’s performance.

Premium 4-pack for DC35 with efficient filtration and long-lasting performance.
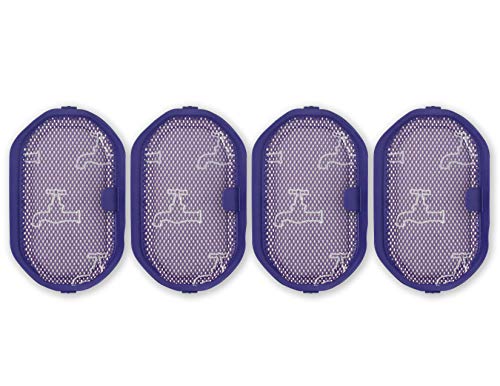
Budget-friendly 4-pack with enhanced vacuum efficiency and eco-friendly reuse.

Affordable 2-pack with easy maintenance and 3-4 month durability.
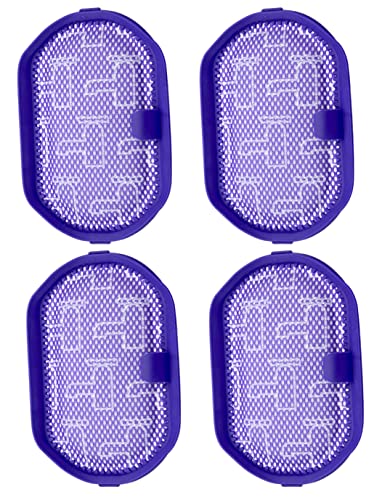
Enhanced suction performance with durable 4-pack for DC35 models.
Airflow Path Clearing
Blockages in the vacuum’s airflow path can trigger shutdown mechanisms:
- Disassemble the vacuum components:
- Remove the cleaning head
- Detach the wand
- Separate the cyclone assembly
- Inspect each component for debris or blockages
- Use a thin, non-metallic object to carefully remove any obstructions
- Reassemble all components securely before testing
Resolving Switch and Trigger Malfunctions
The power switch is a critical component that can fail over time.
Switch Failure Diagnosis
A broken switch can prevent the vacuum from powering on:
- Symptoms include:
- No response when pressing the trigger
- Intermittent power during operation
- Clicking sounds without power activation
- The DC35 switch is soldered to the main circuit board
- Unlike newer models (V10/V11), the DC35 doesn’t have a modular switch design
Switch Repair Options
When facing switch problems, you have limited options:
- Professional repair – requires soldering skills and specific replacement parts
- Complete unit replacement – often more cost-effective given the age of the DC35
- Upgrade to a newer Dyson model with better repairability
Performing a System Reset
Sometimes electronic devices need a reset to clear minor glitches.
Battery Reset Procedure
Follow these steps to perform a complete system reset:
- Power off the vacuum completely
- Unplug from any power source
- Remove the battery by pressing the release button
- Press and hold the power button for 10-20 seconds to discharge residual power
- Reinstall the battery
- Charge fully before attempting to use again
This reset procedure can resolve many software or firmware-related issues that might prevent the vacuum from turning on.
Frequently Asked Questions (FAQ)
How long should my Dyson DC35 battery last before needing replacement?
The typical lifespan of a Dyson DC35 battery is about 2-3 years with regular use. If your vacuum is older than this and experiencing power issues, battery replacement might be necessary. Signs of battery deterioration include significantly reduced runtime and failure to hold a charge.
Can I use my Dyson DC35 without the filter?
While the Dyson DC35 can technically operate without the filter bag (a unique feature of this model), it’s not recommended. Running the vacuum without its filter can allow dust and debris to damage the motor and internal components, potentially leading to permanent damage and voiding any warranty.
Is it worth repairing my Dyson DC35 or should I replace it?
The DC35 is considered a lower-value model for repairs due to its age and lack of modularity. If your DC35 requires significant repairs, especially to the circuit board or switch, replacement is often more cost-effective. While parts may be inexpensive (£15-£20), professional labor costs typically exceed the unit’s value. Newer Dyson models offer better reliability, battery life, and repairability.
Why is my Dyson DC35 difficult to disassemble?
The DC35 was designed with intentionally limited serviceability, making disassembly challenging. This design approach discourages user repairs and reflects older manufacturing philosophies. Newer Dyson models feature more modular designs that facilitate easier repairs and part replacements.
How can I extend the lifespan of my Dyson DC35?
To maximize your DC35’s lifespan: – Clean filters monthly – Empty the dust bin after each use – Store in a cool, dry place – Avoid continuous operation for extended periods – Clean battery contacts periodically – Use only Dyson-approved chargers and accessories
Conclusion
The Dyson DC35 can experience various power-related issues throughout its lifespan, from simple battery depletion to more complex internal failures. By following the troubleshooting steps outlined in this guide, you can identify and potentially resolve many common problems that prevent your vacuum from turning on.
For simple issues like discharged batteries or clogged filters, DIY solutions are often effective and economical. However, for more complex problems involving internal components, particularly in older units, replacement may be the more practical option. The DC35’s design makes comprehensive repairs challenging and potentially not cost-effective compared to investing in a newer model with improved features and repairability.
Remember that regular maintenance, including filter cleaning and proper charging practices, can significantly extend your vacuum’s operational life and help prevent many common power issues before they occur.


