
Common Causes When Your Dyson DC33 Fails to Power Up
When your Dyson DC33 vacuum cleaner refuses to turn on, it can be frustrating, especially when you’re in the middle of cleaning. Before rushing to replace your vacuum or calling for professional help, there are several troubleshooting steps you can take to identify and potentially fix the issue yourself.
Affiliate disclosure: As an Amazon associate, We'll earn a commission for every successful order through our affiliate links in the article. However, you won’t be charged anything for this.
The Dyson DC33 is known for its powerful suction and durability, but like any electrical appliance, it can experience problems. Power issues are among the most common, and fortunately, many of these problems have straightforward solutions that don’t require technical expertise or expensive repairs.
Power Source Problems: First Steps to Check
When your Dyson DC33 won’t turn on, the most obvious place to start is with the power source. This basic troubleshooting can often resolve the issue without any complex repairs.
Checking Your Electrical Outlet
Before assuming there’s a problem with your vacuum, verify that the outlet you’re using is functioning properly:
- Unplug your Dyson DC33 from the current outlet
- Plug another device (like a lamp or phone charger) into the same outlet
- If the test device doesn’t work, the outlet may be the problem
- Try plugging your vacuum into a different outlet that you know works
Examining the Power Cord
A damaged power cord is a common reason for power failure in vacuum cleaners:
- Carefully inspect the entire length of the cord
- Look for visible signs of damage such as cuts, frays, or kinks
- Pay special attention to areas near the plug and where the cord enters the vacuum
- If you find damage, the cord will need replacement
If you find damage to the power cord, it’s essential to replace it to ensure safe and reliable operation.
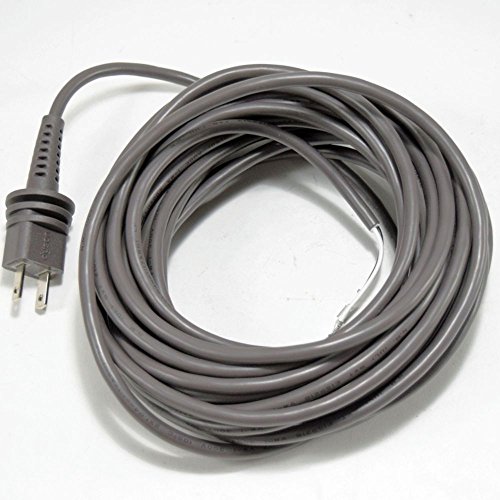
Official Dyson replacement cord for DC33 models

OEM-authorized replacement for DC33 vacuums

36ft UL-certified replacement with warranty
Durable 36ft cord with rubber insulation
Inspecting the Power Plug
Sometimes the issue lies with the power plug itself:
- Check for bent prongs or visible damage to the plug
- Ensure the plug fits securely in the outlet without wobbling
- Look for signs of burning or discoloration around the prongs
- If the plug appears damaged, it may need replacement
Overheating Protection: A Common Shutdown Cause
The Dyson DC33 has built-in safety features that can cause it to shut down automatically when it overheats. Understanding this protection mechanism can help you address the underlying issues.
Recognizing Overheating Signs
If your vacuum was working and suddenly stopped, it might have overheated:
- Feel the body of the vacuum – if it’s unusually hot, overheating is likely
- Allow the vacuum to cool down for at least 30 minutes
- Try powering it on again after the cooling period
- If it works, take steps to prevent future overheating
Preventing Future Overheating
To avoid overheating issues:
- Clean or replace filters regularly
- Check for and clear any blockages in the airflow path
- Avoid using the vacuum for extended periods without breaks
- Empty the dust bin frequently to maintain optimal airflow
Clogged Filters: Restoring Airflow
Clogged filters can restrict airflow and cause your Dyson DC33 to stop working. Regular maintenance of the filters is essential for keeping your vacuum running efficiently.
Locating and Removing Filters
The Dyson DC33 has two main filters that require regular cleaning:
- Pre-motor filter: Located under the clear dust bin
- Post-motor HEPA filter: Located on the side of the vacuum
To access these filters:
- Ensure the vacuum is unplugged
- Remove the dust bin by pressing the release button
- For the pre-motor filter, twist and lift it out from under the bin
- For the HEPA filter, press the release button on its housing and pull it out
Proper Filter Cleaning Technique
For optimal performance:
- Rinse both filters under cold water until the water runs clear
- Do not use detergents or wash in a dishwasher
- Gently squeeze out excess water
- Allow filters to dry completely for at least 24 hours
- Ensure filters are completely dry before reinstalling to prevent motor damage
If cleaning the filters doesn’t improve performance, it may be time to replace them.
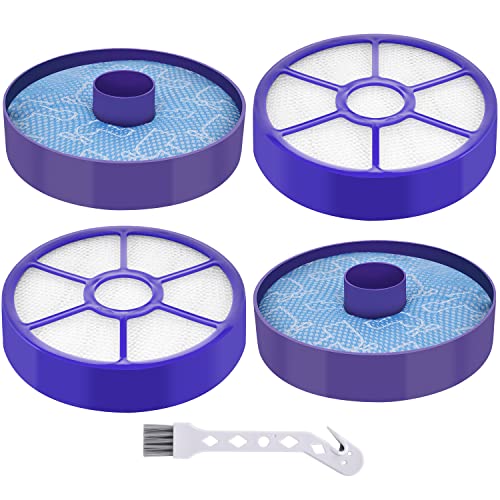
Comprehensive set for Dyson DC33 with enhanced filtration and cleaning brush included
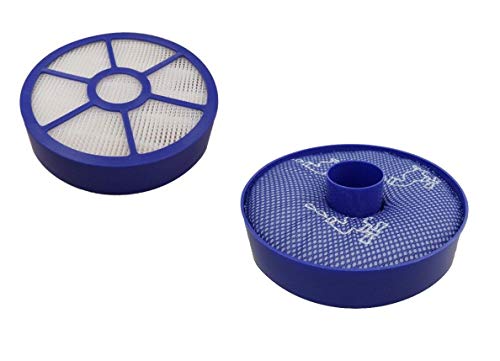
Budget-friendly set with 30-day money-back guarantee

High-quality set with enhanced filtration and durability
Troubleshooting Blockages: Clearing the Air Path
A blocked air path can prevent your Dyson DC33 from turning on or cause it to shut down during use. Thoroughly checking for blockages throughout the vacuum is crucial.
Checking the Main Suction Path
To inspect the main suction path:
- Remove the dust bin and empty it completely
- Press the purple button to access the suction tube
- Look through the tube for any visible blockages
- Use a long, thin object (like a broom handle) to gently dislodge any debris
- Check that the cyclone assembly is free from obstructions
Inspecting the Hose and Wand
The hose and wand are common places for blockages:
- Detach the hose from both ends of the vacuum
- Look through the hose to check for blockages
- Drop a small coin through the hose to verify it’s clear
- Check the wand for obstructions
- Reconnect all components securely after clearing any blockages
If you find that your hose is damaged beyond repair or is consistently clogging, consider replacing it.
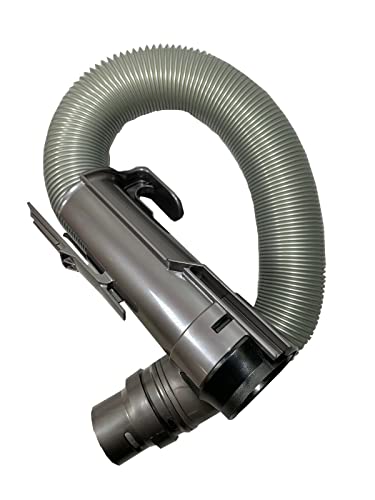
Official OEM replacement for Dyson DC33 with part #920232-01
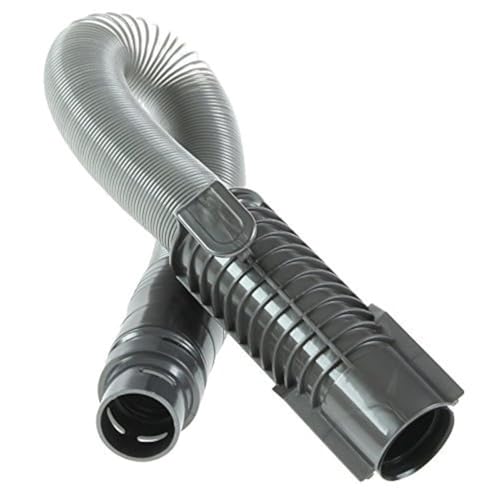
Complete hose assembly with 8ft reach and includes hose cuffs
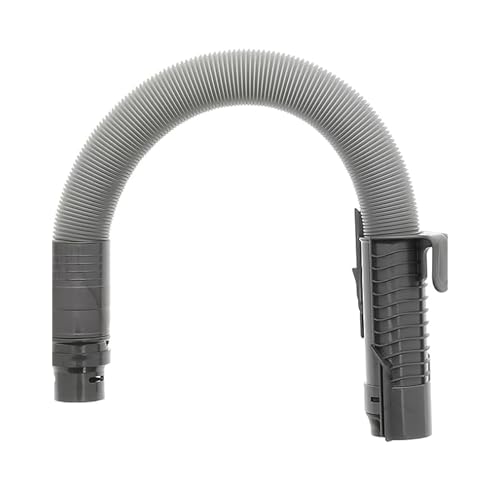
Flexible hose with 8x stretch for tight spaces

Equivalent to OEM 920232-01 with 8x stretch
Examining the Brush Bar
A jammed brush bar can affect the vacuum’s operation:
- Turn the vacuum over and locate the brush bar
- Remove any tangled hair, string, or debris
- Check that the brush rotates freely
- Ensure the belt connecting to the brush bar is intact and properly positioned
Motor and Electrical Component Issues: Advanced Diagnostics
When basic troubleshooting doesn’t resolve the power issue, the problem may lie with the motor or electrical components. These issues often require more technical knowledge or professional assistance.
Identifying Motor Problems
Signs of motor issues include:
- Unusual noises when attempting to start the vacuum
- A humming sound without the motor actually running
- Burning smell during operation
- Intermittent starting and stopping
Checking the Power Switch
A faulty power switch can prevent the vacuum from turning on:
- Listen for a clicking sound when toggling the switch
- Check for visible damage to the switch
- If the switch feels loose or doesn’t click, it may need replacement
Resetting the Vacuum
Sometimes a simple reset can resolve electrical issues:
- Unplug the vacuum from the power source
- Leave it unplugged for at least 5 minutes
- Plug it back in and attempt to turn it on
- This can sometimes reset internal electrical components
Power Plug Replacement: A DIY Solution
If you’ve determined that a faulty power plug is causing your Dyson DC33 not to turn on, replacing it is a relatively straightforward repair that you can do yourself.
Required Tools and Materials
To replace the power plug, you’ll need:
- Wire stripper
- Wire cutter
- Screwdriver (typically Phillips head)
- Electrical tape
- New replacement plug compatible with your Dyson model
- Wire ties (optional)
Step-by-Step Replacement Process
Follow these steps carefully:
- Unplug the vacuum and cut the cord near the damaged plug
- Strip about 1 inch of the outer insulation from the cord, exposing the inner wires
- Strip about 1/2 inch of insulation from each of the three inner wires
- Open the new plug housing according to its design (usually by unscrewing)
- Thread the cord through the plug housing
- Connect each wire to its corresponding terminal:
- Green or green/yellow wire to the ground terminal (usually marked with G or ⏚)
- Black or brown wire to the hot terminal (usually marked with L)
- White or blue wire to the neutral terminal (usually marked with N)
- Tighten the terminal screws securely
- Tie a simple knot in the cord inside the plug housing to prevent pull-through
- Close the plug housing and tighten any screws
- Test the vacuum to ensure it powers on correctly
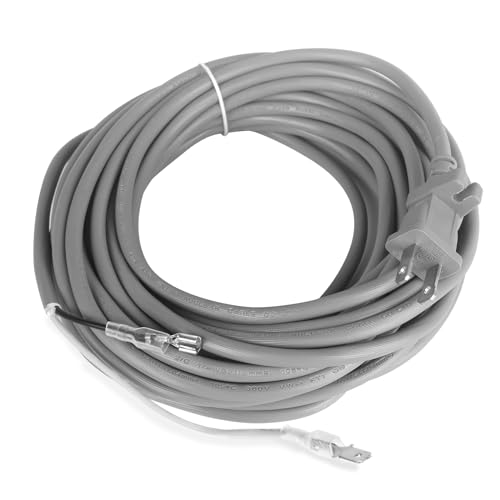
Replace the power cord with a Dyson-certified replacement cord if the entire cord needs replacement.
If you need to replace the entire power cord, ensure you get the correct one for your model.
Genuine Dyson OEM power cord for DC33 vacuum
Authorized OEM replacement for Dyson DC33
UL-listed replacement with extended reach
Rubber-coated cord with polarized plug
Beater Bar and Clutch Mechanism Repairs
If your Dyson DC33 powers on but the brush roll (beater bar) doesn’t spin, the issue might be with the clutch mechanism rather than the power system.
Diagnosing Clutch Problems
To determine if the clutch is the issue:
- Set the vacuum to carpet mode
- Turn on the vacuum
- Manually stop the brush roll with your hand
- Listen for a ratcheting sound
- If you don’t hear this sound, the clutch may be defective
Clutch Replacement Process
This is a more advanced repair that requires:
- Remove the beater bar and inspect it for wear
- Disconnect the drive belt and extract the brush bar
- Access the clutch housing by removing necessary screws
- Extract the clutch assembly using snap ring pliers
- Note the order of components (spring, washers, bearings, plates)
- Install the new clutch assembly in the correct order
- Reassemble all components and test functionality
If the clutch is indeed defective, replacing it can restore the brush roll’s functionality.
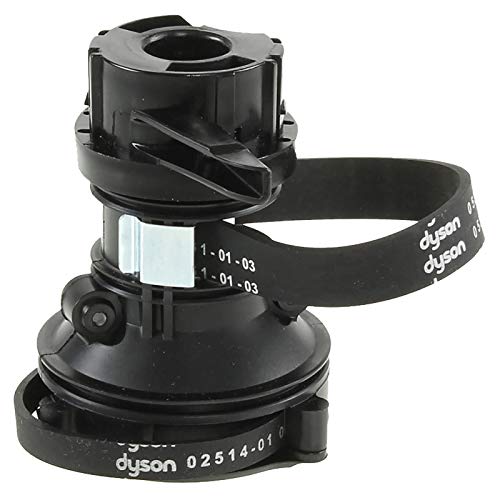
Official replacement clutch for DC33 with complete assembly and belts

OEM-authorized clutch assembly with matching Dyson part number
Official replacement belt for DC33 clutch system
Frequently Asked Questions (FAQ)
Why does my Dyson DC33 turn on briefly then shut off?
This is typically caused by overheating protection or a blockage. Check all filters and air pathways for blockages, clean them thoroughly, and allow the vacuum to cool down completely before restarting. If the problem persists, there may be an issue with the motor or thermal cut-out switch.
How often should I clean the filters on my Dyson DC33?
Dyson recommends washing the pre-motor filter monthly and the HEPA filter every three months. However, if you vacuum frequently or in dusty environments, you may need to clean them more often. Always allow filters to dry completely (at least 24 hours) before reinstalling them.
Can a full dust bin prevent my Dyson from turning on?
Yes, an extremely full dust bin can restrict airflow, causing the vacuum to overheat and shut down. Always empty the dust bin when it reaches the MAX line. For optimal performance, consider emptying it after each use, especially if you’re vacuuming a large area or picking up a lot of debris.
Is it worth repairing my Dyson DC33 or should I replace it?
This depends on the specific issue and the age of your vacuum. If the problem is simple (like a clogged filter or minor blockage), repair is definitely worth it. Even for more complex issues like motor problems, repair might be cost-effective if your vacuum is relatively new. However, if your DC33 is very old and has multiple issues, replacement might be more economical in the long run.
How can I tell if my Dyson DC33’s motor has failed?
Signs of motor failure include unusual burning smells, smoke, excessive noise, or the vacuum not turning on at all despite checking all other possible causes. If you suspect motor failure, it’s best to consult with a Dyson service center or authorized repair shop, as motor replacement often requires specialized tools and expertise.
Conclusion
The Dyson DC33 is a reliable vacuum cleaner, but like any electronic device, it can experience power issues. By systematically working through the troubleshooting steps outlined in this guide, you can identify and often resolve the problem without professional help. From simple checks like verifying the power outlet and inspecting the cord to more advanced repairs like replacing the power plug or clutch mechanism, many issues can be addressed with basic tools and patience.
Remember that regular maintenance is key to preventing power problems. Cleaning filters, emptying the dust bin, and checking for blockages should be part of your routine vacuum care. If your troubleshooting efforts don’t resolve the issue, don’t hesitate to contact Dyson customer service or a certified repair technician for additional assistance.
With proper care and timely repairs, your Dyson DC33 can provide many more years of effective cleaning performance.


