
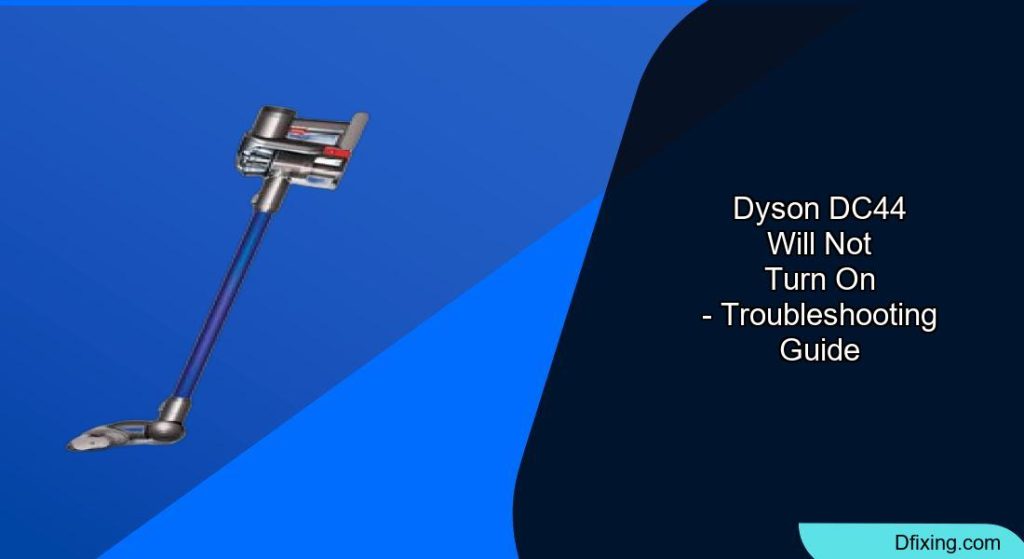
The Dyson DC44 Animal is a powerful cordless vacuum that can experience startup issues, especially in older models. If your DC44 suddenly refuses to power on or cuts out during use, don’t rush to replace it. This comprehensive guide walks you through effective troubleshooting steps to diagnose and resolve the problem, potentially saving you the cost of a new vacuum.
Affiliate disclosure: As an Amazon associate, We'll earn a commission for every successful order through our affiliate links in the article. However, you won’t be charged anything for this.
Before diving into complex repairs, it’s important to understand that most Dyson DC44 power issues stem from a few common sources: clogged filters, battery problems, or charging system failures. With methodical troubleshooting, you can identify the specific cause and implement the appropriate solution, often without professional assistance.
Common Reasons Why Your Dyson DC44 Won’t Start
When your Dyson DC44 refuses to turn on, several potential culprits could be responsible. The most frequent causes include a dirty filter restricting airflow, a depleted or damaged battery, faulty charging components, or internal blockages affecting the vacuum’s performance.
The age of your DC44 can also be a factor. Older models naturally experience battery degradation over time, with most lithium-ion batteries showing significant capacity reduction after 2-3 years of regular use. Additionally, the DC44’s design makes it susceptible to dust accumulation in critical areas, which can interfere with proper functioning.
Signs of a failing DC44 include: no response when the trigger is pressed, the vacuum starting briefly before shutting down, unusual noises during operation, or battery lights showing irregular patterns. By recognizing these symptoms early, you can often prevent complete failure through proper maintenance.
Essential Troubleshooting Steps for Dyson DC44
Filter Inspection and Cleaning
A clogged filter is one of the most common reasons for DC44 power issues. Even filters that appear clean can harbor microscopic dust particles that restrict airflow:
- Remove the filter from your vacuum
- Separate the two-part design by carefully pressing the clips over the three plastic tabs
- Wash the inner “sock” portion with warm water for 2-3 minutes
- Continue rinsing until water runs completely clear
- Allow the filter to air-dry thoroughly for at least 24 hours
- Reassemble the filter, ensuring all three tabs click securely into place
- Reinstall the filter in your vacuum
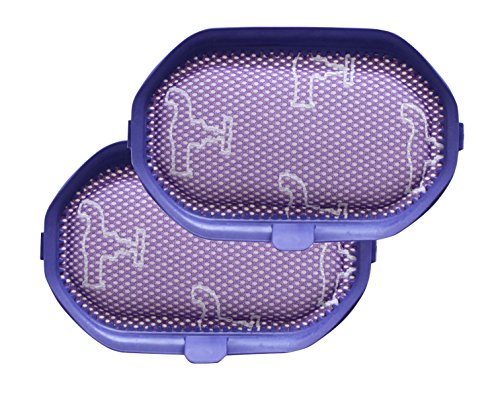
If any tabs break during separation, you’ll need to replace the filter entirely. For optimal performance, clean your filters monthly, or more frequently if you vacuum fine dust or use high suction settings regularly.
If any of the filter tabs break during separation, it’s time to get a new filter.
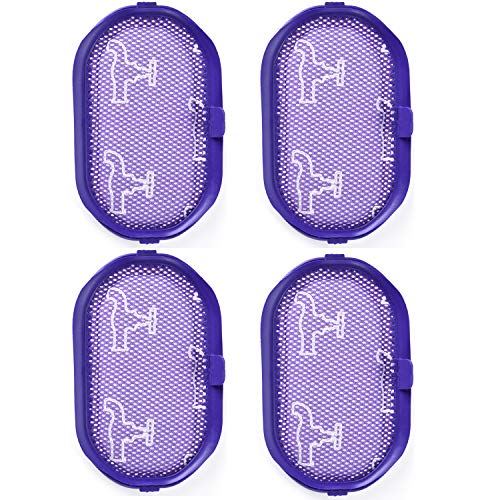
Premium 4-pack with enhanced filtration and durability
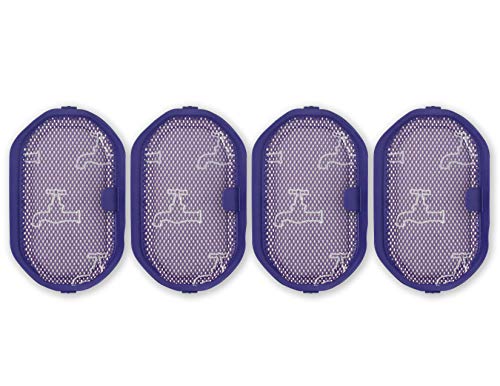
Value-packed 4-pack with eco-friendly design

Affordable 2-pack with simple maintenance
2-pack with monthly cleaning recommendation
Battery System Diagnostics
If filter cleaning doesn’t resolve the issue, examine the battery system:
Check the battery light indicators:
Blinking light:
- Indicates a connection issue or internal fault
No light: Suggests problems with the charging cable or power outlet
Perform a battery reset:
- For models with removable batteries, hold the power button for 10-20 seconds to discharge residual power
Reinstall the battery and charge fully
Test battery health:
- Use the vacuum until it completely dies
- Charge it fully and note both charging time and usage duration
- Significantly decreased performance indicates a degraded battery
Charging System Verification
A faulty charging system can prevent your DC44 from powering on:
Inspect the charging port:
- Look for visible damage or debris
- Clean gently with a soft, lint-free cloth
- Use a small brush or compressed air to dislodge stubborn debris
Test the power source:
- Verify the outlet works by testing another device
Try charging from a different outlet
Examine the charging cable:
- Check for frayed wires or damaged connectors
- Wiggle the cable while plugged in to detect intermittent connections
- Replace if damage is found
Reset the charging system:
- Unplug the charging cable
- Wait 5 minutes
- Reconnect and observe the battery light
Test the charger with a multimeter (if available):
- Place the black probe on the outer sheath (earth)
- Place the red probe on the inner sheath
- Incorrect or absent voltage readings indicate a faulty charger
- If the charging cable is damaged, it will need to be replaced.
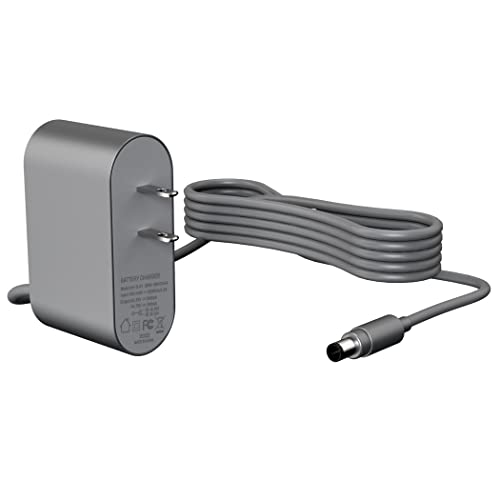
Affordable replacement with 1.85m cable

High-quality with 12-month warranty
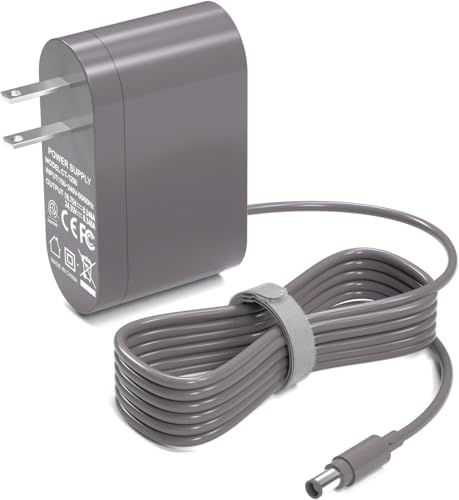
Longer 6FT cable with ETL certification
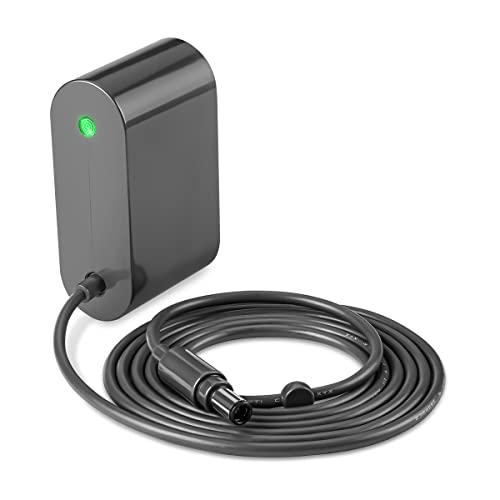
Extended warranty and 60-day money back
Replacing the Dyson DC44 Battery
If your troubleshooting points to a dead battery, replacement may be necessary. Since Dyson has discontinued support for the DC44 model, finding original batteries can be challenging. However, aftermarket options are available:
Accessing the battery:
- Depress the top lever
- Remove the two screws securing the battery
- Note that two battery types are compatible: A-style (standard without tab) and B-style (features a tab)
Installing the new battery:
- Attach through the housing bottom
- Secure with screws (longer screw at the rear)
- Reassemble the air filter
Battery compatibility note:
- Many aftermarket batteries lack compatibility with the wall mount charging system
- Verify compatibility before purchasing
If the battery is faulty it’s best to replace it with a new one.
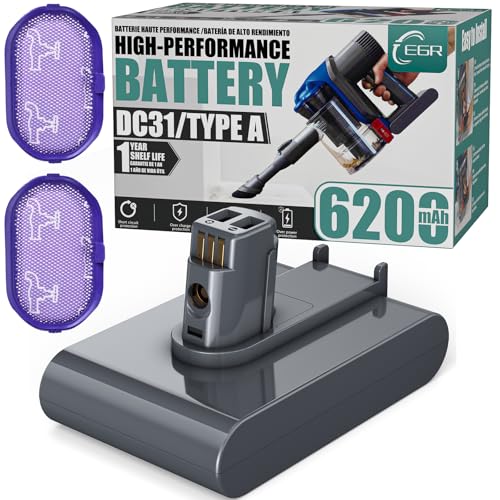
High-capacity battery with non-slip design for Dyson DC44 Type A models

Max capacity battery with screw-in compatibility for Dyson DC44 Type B models

Affordable high-capacity battery with extended warranty for DC44 Type A

Type B-specific battery with rapid-charge technology and 365-day warranty
Addressing Temperature-Related Issues

Extreme temperatures can cause your DC44 to malfunction:
- Cold temperature protection:
- An amber light flashing 7 times indicates the vacuum is too cold (below 3°C)
Move to a warmer environment and allow to acclimate
Overheating protection:
- 8 amber flashes signal excessive heat (above 40°C)
Move to a cooler location and allow the vacuum to cool down
Storage recommendations:
- Keep your DC44 in moderate temperatures (3°C-40°C)
- Avoid direct sunlight and heat sources
Clearing Blockages in Your Dyson DC44
Hidden blockages can prevent proper operation:
Internal airflow path inspection:
- Use a flashlight to examine internal channels
- Look for hair, small objects, or debris
- Pay special attention to the mesh filter area with the black rim
Wand and inlet examination:
- Disconnect the wand to check for obstructions
Remove any debris and reattach securely
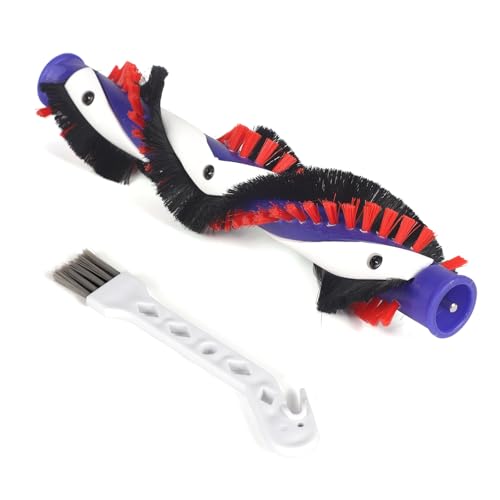
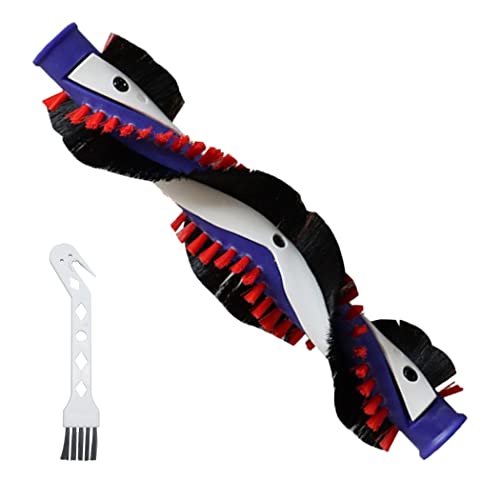
Brush bar cleaning:
- Remove the motor head
- Use a flathead screwdriver or coin to remove the brush bar cap
- Clear debris from the brush bar
- Reassemble components
If the brush bar is damaged or worn, consider replacing it.
Affordable replacement for DC44 with enhanced dirt removal
Includes cleaning brush for extended performance
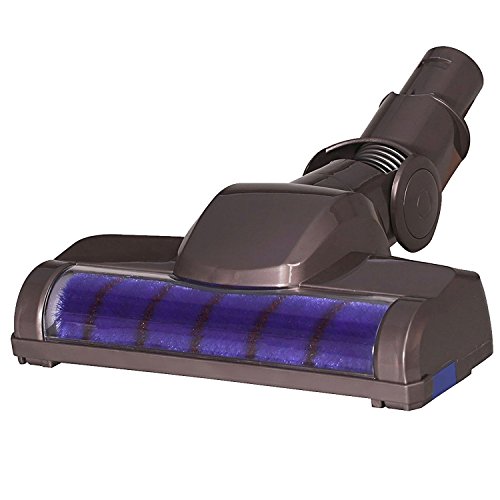
Universal fit for DC44 and V6 cordless models
Frequently Asked Questions (FAQ)
How long should my Dyson DC44 battery last?
A healthy DC44 battery typically provides 15-20 minutes of continuous operation on standard power mode and 6-8 minutes on max power. After 2-3 years of regular use, you may notice a gradual reduction in runtime. If your fully charged vacuum runs for significantly less time, battery replacement is likely needed.
Why does my Dyson DC44 start and then immediately stop?
This common issue usually indicates a blockage in the filter system or internal airways. Clean your filter thoroughly, check for blockages in the wand and brush head, and ensure the dust bin isn’t overfilled. If the problem persists after clearing all potential blockages, the battery may be failing and unable to maintain sufficient power.
Can I use my Dyson DC44 while it’s charging?
No, the DC44 is designed to be used cordlessly and cannot operate while connected to the charger. This is a safety feature and differs from some newer Dyson models. Always disconnect your DC44 from the charging dock before attempting to use it.
What do the different colored lights on my Dyson DC44 mean?
Steady blue lights during charging indicate normal operation. Flashing red lights suggest charging or battery issues. Amber/orange lights signal battery health status. If you see more than 12 amber/orange flashes when pulling the trigger on a fully charged vacuum, your battery is likely dead. Blinking blue lights typically indicate a clogged air system or filter.
How often should I replace my Dyson DC44 filter?
With proper maintenance, your DC44 filter can last several years. However, if you notice decreased suction even after thorough cleaning, or if the filter shows signs of damage (tears, cracks, broken tabs), replacement is necessary. For optimal performance, clean your filter monthly and replace it annually if you use your vacuum heavily.
Conclusion
The Dyson DC44 is a reliable vacuum that can experience power issues due to various factors, from simple filter clogs to battery degradation. By following this systematic troubleshooting guide, you can identify and resolve most problems without professional help.
Regular maintenance is key to preventing future issues. Clean filters monthly, empty the dust bin after each use, inspect for blockages regularly, and store your vacuum in appropriate conditions. If all troubleshooting steps fail, consider seeking assistance from a vacuum repair specialist, as some internal components may require professional attention.
With proper care and timely interventions, your Dyson DC44 can continue providing efficient cleaning performance for years to come, even as an older model.


