
The Dyson DC07 is a powerful and reliable vacuum cleaner, but like any electronic device, it can sometimes encounter issues. One of the most frustrating problems is when your Dyson DC07 simply refuses to turn on. This can happen suddenly, leaving you with a non-functional vacuum cleaner and a cleaning task that remains unfinished. Fortunately, many of these power issues can be diagnosed and fixed at home with the right guidance.
Affiliate disclosure: As an Amazon associate, We'll earn a commission for every successful order through our affiliate links in the article. However, you won’t be charged anything for this.
In this comprehensive guide, we’ll walk through the common reasons why your Dyson DC07 might not be turning on and provide detailed, step-by-step instructions for troubleshooting and repairing the problem. Whether it’s a faulty power switch, wiring issues, or other electrical components causing the trouble, you’ll learn how to identify the culprit and implement the appropriate fix. With some basic tools and careful attention to detail, you can potentially save yourself the cost of a professional repair or replacement.
Common Reasons Your Dyson DC07 Won’t Power On
When your Dyson DC07 vacuum cleaner fails to turn on, several potential culprits could be responsible. Before diving into disassembly and repairs, it’s helpful to understand what might be causing the issue. The most common reasons include:
Power Supply Issues
The most basic cause of power failure is often related to the electricity supply. Before assuming internal damage, check if the vacuum is properly plugged into a functioning power outlet. Try plugging another device into the same outlet to verify it’s working correctly. Also, inspect the power cord for any visible damage such as fraying, cuts, or burn marks that might interrupt the electrical flow.
Faulty Power Switch
The power switch is a frequently used component that can wear out over time. When you press the switch and nothing happens, or if the vacuum only powers on intermittently when you manipulate the switch, this is a strong indicator that the switch itself has failed and needs replacement.
If the power switch is indeed the problem, replacing it with a new, compatible switch is essential to restore functionality.
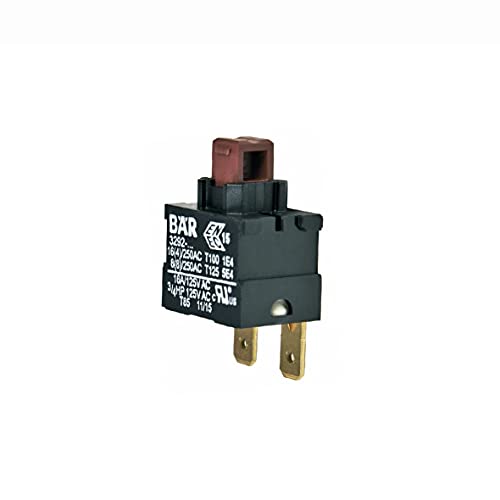
Official replacement ensures perfect compatibility
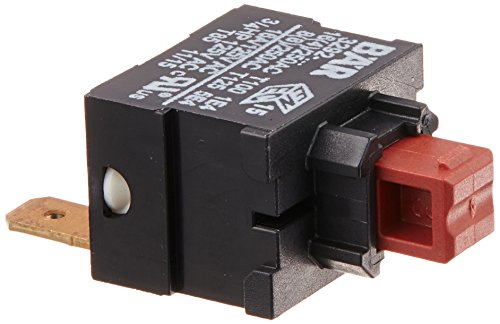
Authorized OEM part with wide model compatibility
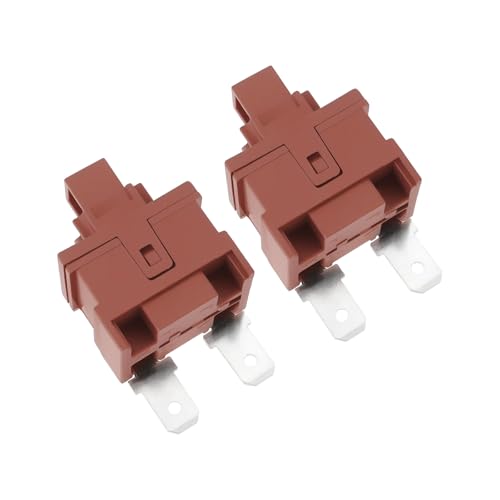
Dual-pack with enhanced electrical safety
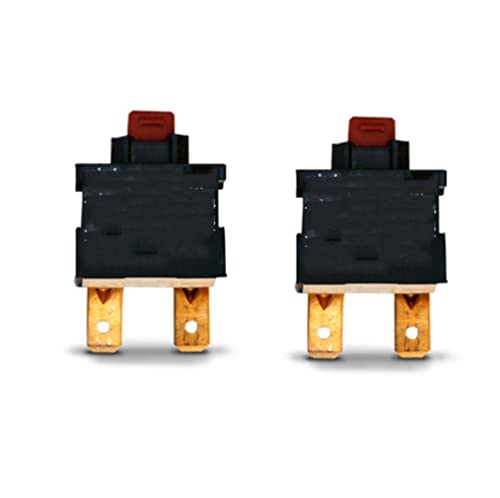
High compatibility with extended warranty
Wiring Problems
Internal wiring can become loose, disconnected, or damaged over time, especially with regular use and movement of the vacuum. Loose connections between the power cord, switch, and motor can prevent electricity from flowing properly through the system.
Circuit Board Malfunctions
More complex issues might involve the vacuum’s circuit board. While less common than switch or wiring problems, circuit board failures can prevent proper power distribution throughout the device.
Motor Issues
If your Dyson makes unusual noises when you attempt to turn it on or if it briefly starts and then stops, the motor might be damaged or burnt out. Motor issues often develop gradually, with changes in operational sound preceding complete failure.
Tools and Materials Needed for Repair

Before beginning any repair work on your Dyson DC07, gather these essential tools and materials:
- Phillips and flathead screwdriver set
- Torx head screwdriver (for certain components)
- Replacement power switch (if needed)
- Needle-nose pliers
- Electrical tape or heat shrink tubing
- Multimeter for testing electrical components
- Wire cutters
- Soldering iron and solder (for more complex repairs)
- Good lighting
- Clean, spacious work area
Having all necessary tools prepared before you start will make the repair process smoother and help prevent damage to your vacuum’s components during disassembly and reassembly.
Safety Precautions Before Starting Repairs
Working with electrical appliances requires careful attention to safety. Follow these important precautions:
- Always unplug the vacuum completely from the power source before beginning any repair work.
- Work in a well-lit, dry area to avoid electrical hazards and to clearly see all components.
- Keep track of all screws and small parts during disassembly, perhaps using small containers or a magnetic tray.
- If you’re uncomfortable working with electrical components, consider consulting a professional repair service.
- Wear protective gloves if handling sharp components.
- Allow the vacuum to cool completely if it has been recently used.
Diagnosing Power Switch Issues
The power switch is often the culprit when a Dyson DC07 won’t turn on. Here’s how to determine if your switch is the problem:
Visual Inspection
First, examine the power switch without disassembling the vacuum. Does it feel loose or different when pressed? Is it stuck in one position? These can be signs of internal damage.
Testing Switch Continuity
To definitively diagnose a faulty switch, you’ll need to test its continuity using a multimeter:
- Set your multimeter to the continuity testing mode (usually indicated by a sound wave or diode symbol).
- With the vacuum unplugged, access the switch connections.
- Touch one probe to each terminal of the switch.
- Press the switch to the “on” position. If the multimeter beeps or shows a low resistance reading, the switch has continuity and is likely working.
- If there’s no continuity when the switch is “on,” the switch is faulty and needs replacement.
Step-by-Step Power Switch Replacement
If you’ve determined that the power switch is the problem, follow these detailed steps to replace it:
Accessing the Power Switch
- Ensure the vacuum is completely unplugged from the power source.
- Remove the dust canister by pressing the release button and lifting it away from the main unit.
- Remove the Cyclone assembly and set it aside carefully.
- Locate the single screw securing the switch cover, typically near the handle area, and remove it using a Phillips screwdriver.
- Carefully lift off the switch cover to expose the power switch mechanism.
Removing the Old Switch
- Observe how the switch is connected before removing it, taking photos if necessary for reference during reassembly.
- Depending on your specific model, you may need to disconnect wires by:
- Carefully cutting the wires near the switch connections if you plan to solder the new switch
- Or disconnecting any quick-connect terminals using needle-nose pliers
- Extract the faulty switch from its housing, noting its orientation.
Installing the New Switch
- Insert the new switch into the same position as the old one, ensuring correct orientation.
- Reconnect the wires to the new switch:
- If soldering, strip a small portion of the wire insulation, tin the ends with solder, and connect to the appropriate terminals
- If using quick-connect terminals, firmly press them onto the switch contacts
- Secure any loose wiring with electrical tape if necessary.
- Test the switch’s movement to ensure it depresses and returns properly before reassembling the casing.
- Replace the switch cover by clicking it into place.
- Reinsert and tighten the screw that secures the switch cover.
- Reattach the Cyclone assembly.
- Replace the dust canister.
The entire switch replacement process typically takes less than 5 minutes once you have access to the component.
Troubleshooting Wiring and Plug Issues
If the power switch isn’t the problem, wiring issues might be preventing your Dyson DC07 from turning on:
Inspecting the Power Cord and Plug
- Examine the entire length of the power cord for any cuts, frays, or exposed wires.
- Check the plug for burn marks, bent prongs, or other damage.
- Gently flex the cord near the plug and where it enters the vacuum to check for intermittent connections.
- If damage is found, the cord may need replacement. Depending on your skill level, this might be a repair best left to professionals.
If the power cord is damaged, replacing it is crucial for safety and proper operation.
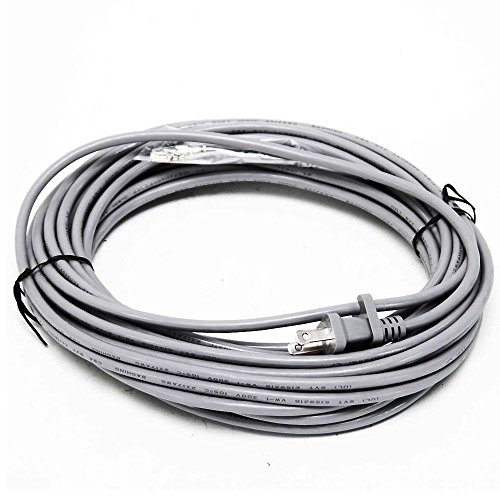
Official Dyson replacement ensures perfect compatibility and reliability
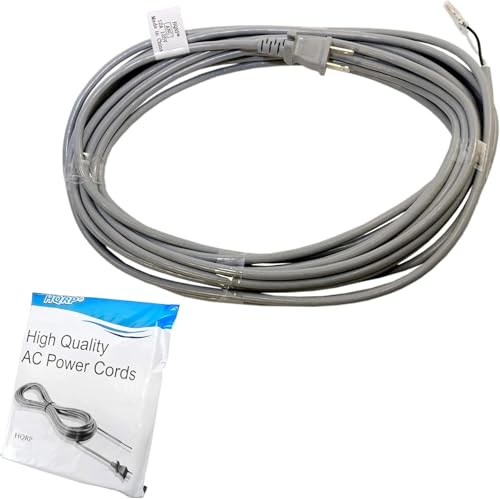
Affordable third-party replacement with extended warranty
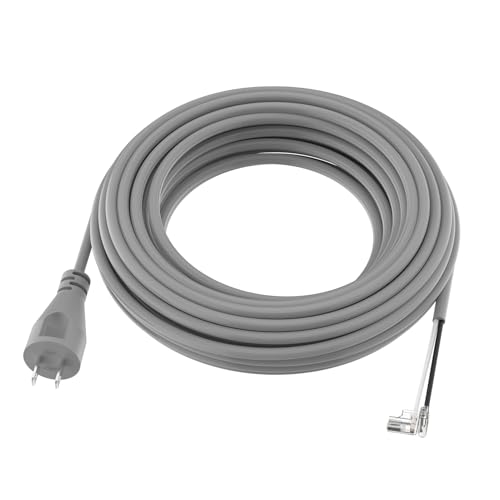
Durable third-party option with reinforced wiring
Checking Internal Wiring
- Access the internal wiring by following the disassembly steps described earlier.
- Look for any disconnected, loose, or damaged wires, particularly those connecting the power cord to the switch and the switch to the motor.
- Reconnect any loose wires or repair damaged connections using electrical tape or by soldering, depending on the severity of the damage.
- Ensure all wire connections are secure and properly insulated before reassembling the vacuum.
Circuit Board Diagnostics
For more complex electrical issues, the circuit board might be the culprit:
Identifying Circuit Board Problems
- Access the circuit board by following the disassembly instructions, which may require removing additional components.
- Visually inspect the circuit board for any obvious signs of damage:
- Burnt components
- Bulging capacitors
- Corrosion or water damage
- Broken traces or connections
- Use a multimeter to test for proper voltage at various points on the board.
Circuit Board Solutions
- For minor issues like loose connections, carefully resolder the affected areas.
- If there’s significant damage to the circuit board, replacement is usually the best option.
- Circuit board replacement often requires specific technical knowledge and skills. Consider consulting a professional repair service if you’re not comfortable with this level of repair.
Addressing Motor Problems
When other components check out but your Dyson still won’t turn on, motor issues might be the cause:
Signs of Motor Failure
- Unusual or burning smells when attempting to start the vacuum
- Strange noises like grinding, rattling, or humming when the power button is pressed
- The vacuum briefly starts and then stops
- Changes in the pitch of the motor sound before complete failure
If the motor is failing, a replacement motor is necessary to restore the vacuum’s functionality.

Affordable replacement motor for DC07/DC14 models
Motor Repair or Replacement
- Accessing the motor requires more extensive disassembly of your Dyson DC07.
- Once exposed, check for obvious damage or obstructions that might prevent the motor from turning.
- Test the motor windings with a multimeter to check for shorts or open circuits.
- Motor replacement is feasible for DIY repair, with replacement motors available on online marketplaces like eBay.
- The process involves careful handling of plastic tabs and snap fittings.
- A belt tool can be helpful for removing and replacing the drive belt if needed.
- Numerous video tutorials are available online that provide visual guidance for this more complex repair.
Frequently Asked Questions (FAQ)
How do I know if my Dyson DC07’s motor is burnt out?
A burnt-out motor typically exhibits several warning signs. You might notice a burning smell when attempting to turn on the vacuum. The vacuum might make unusual noises like grinding or humming but fail to start properly. In some cases, the vacuum might briefly turn on before shutting off immediately. If you’ve ruled out power supply, switch, and wiring issues, a motor problem is likely the culprit. Testing the motor with a multimeter can confirm if the windings have failed.
Can I replace the power cord on my Dyson DC07 myself?
Yes, you can replace the power cord yourself if you have basic electrical knowledge and the right tools. The process involves disassembling the vacuum to access the cord’s connection point, disconnecting the old cord, and connecting the new one. However, this repair requires careful attention to electrical safety and proper wire connections. If you’re uncomfortable working with electrical components, it’s safer to consult a professional repair service. Always use a manufacturer-approved replacement cord to ensure safety and compatibility.
Why does my Dyson DC07 turn on intermittently?
Intermittent power issues often indicate a loose connection or a partially damaged component. The most common causes include a failing power switch that makes inconsistent contact, loose internal wiring connections that make and break contact as the vacuum moves, or damage to the power cord that creates an intermittent connection when the cord is flexed in certain positions. To troubleshoot, try wiggling different parts of the cord while the vacuum is plugged in (being careful not to touch any exposed wires) to see if this triggers the vacuum to turn on or off, which would indicate the location of the problem.
How often should I replace the filters on my Dyson DC07?
While not directly related to power issues, proper filter maintenance is crucial for overall vacuum performance. The pre-motor filter should be washed approximately every 3-6 months, depending on usage. This filter is washable and reusable – simply rinse it under cold water until the water runs clear, then allow it to dry completely for at least 24 hours before reinstalling. The post-motor HEPA filter should be replaced (not washed) approximately once a year. Neglecting filter maintenance can lead to reduced suction and potentially cause motor strain that might eventually result in power issues.
Is it worth repairing an older Dyson DC07, or should I replace it?
The Dyson DC07 is known for its durability and repairability, making it often worthwhile to fix rather than replace. Consider these factors when deciding: Replacement parts for the DC07 are still widely available and relatively affordable. Most common issues (power switch, cord, even motor) can be repaired for significantly less than the cost of a new vacuum. The DC07’s design allows for straightforward DIY repairs compared to some newer models. However, if your vacuum has multiple failing components or has already undergone several repairs, replacement might be more economical in the long run. A new vacuum will also offer updated technology and possibly improved energy efficiency.
Conclusion
The Dyson DC07 is a durable and repairable vacuum cleaner that can provide many years of reliable service with proper maintenance and timely repairs. When faced with a DC07 that won’t turn on, systematic troubleshooting often leads to a straightforward solution. In many cases, the culprit is a worn-out power switch that can be replaced in just a few minutes with basic tools.
By following the detailed steps outlined in this guide, you can diagnose and repair most power-related issues yourself, saving the expense of professional repair services or premature replacement. Remember to always prioritize safety by unplugging the vacuum before attempting any repairs and working in a well-lit, dry environment.
Whether your repair involves a simple switch replacement or a more complex motor issue, the satisfaction of successfully fixing your Dyson DC07 and extending its useful life is well worth the effort. With proper care and occasional maintenance, your restored vacuum can continue to provide powerful cleaning performance for years to come.


