
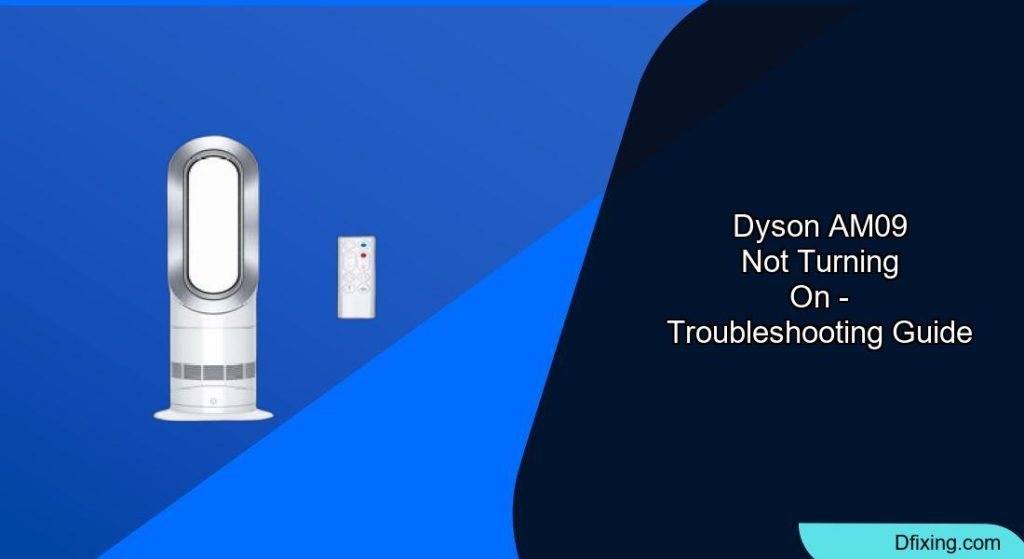
When your Dyson AM09 fan heater refuses to turn on, it can be frustrating, especially during extreme weather conditions when you need it most. This sophisticated appliance combines both heating and cooling functions in Dyson’s signature bladeless design, but like any electronic device, it can experience operational issues over time.
Affiliate disclosure: As an Amazon associate, We'll earn a commission for every successful order through our affiliate links in the article. However, you won’t be charged anything for this.
In this comprehensive guide, we’ll walk through both simple fixes and advanced troubleshooting techniques to get your Dyson AM09 working again. From basic power connection problems to complex circuit board repairs, we’ll cover the most common reasons why your unit might not be powering on and provide detailed solutions based on real repair experiences. Whether you’re technically inclined or just looking for quick fixes before calling a professional, this article will help you diagnose and potentially resolve your Dyson AM09’s power issues.
Quick Power Checks for Your Dyson AM09

Before diving into complex repairs, always start with these fundamental checks that often resolve power issues:
Verify the power connection – Ensure the power cord is firmly plugged into both the wall outlet and the base of your Dyson AM09. Sometimes, the connection can become loose due to movement or cleaning.
Test your electrical outlet – Plug another device into the same outlet to confirm it’s providing power. If the outlet isn’t working, check your circuit breaker or try a different outlet.
Inspect the power cord – Look for any visible damage along the entire length of the cord. Fraying, cuts, or bent sections can prevent proper power flow.
If you find any damage to the power cord, it’s important to replace it to ensure safe and reliable operation.
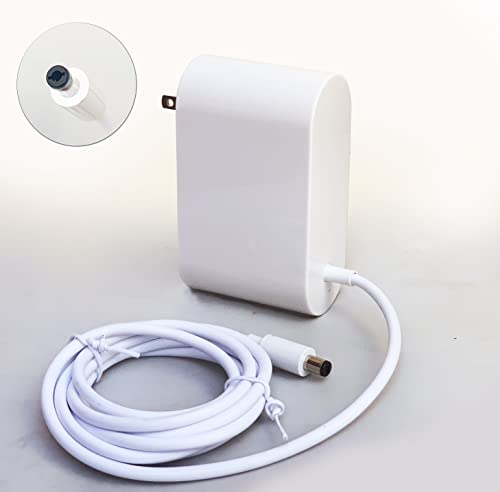
Third-party replacement power supply for Dyson AM09/AM10 humidifiers with voltage safety and global compatibility
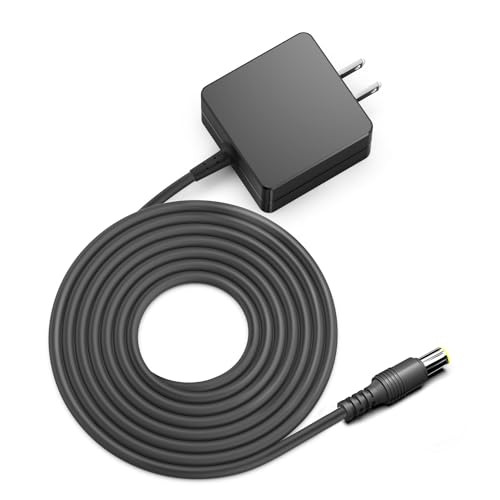
Multi-model compatible power adapter with global voltage and safety certifications for Dyson AM09 devices
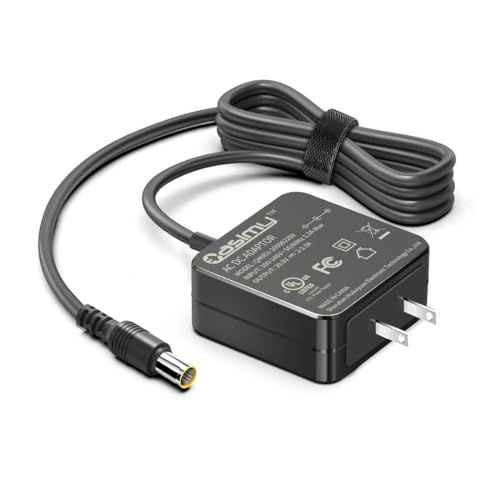
International voltage adapter with safety protections for Dyson AM09 air purifier and humidifier models
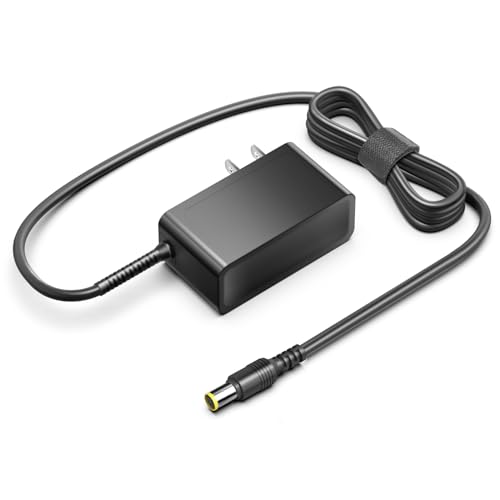
Safety-certified power converter with comprehensive protection features for Dyson AM09 devices
-
Press the power button correctly – The power button should illuminate with an LED light when pressed properly. Sometimes the button requires firm pressure to activate.
-
Perform a basic reset – Unplug your Dyson AM09 from the power source, wait for at least 10 seconds to allow the internal components to fully discharge, then reconnect it and try powering it on again.
These simple checks resolve approximately 40% of “not turning on” issues with the Dyson AM09. If your device still won’t power on after these steps, we’ll need to investigate more complex potential causes.
Diagnosing Blown Fuses in Your Dyson AM09
A blown internal fuse is one of the most common reasons why a Dyson AM09 suddenly stops working, particularly after being knocked over or experiencing a power surge. Here’s how to identify and address this issue:
Identifying a Blown Fuse
-
Disconnect power – Always unplug your device before any internal inspection.
-
Access the circuit board – You’ll need to disassemble the base of your Dyson AM09 to access the main circuit board where the fuse is located.
-
Locate the main fuse – On the circuit board, look for a component labeled “F1.” This is typically a small rectangular component with metal caps on each end.
-
Check for continuity – Using a multimeter set to continuity or resistance mode, place the probes on each end of the fuse. A working fuse should show continuity (near zero ohms), while a blown fuse will show infinite resistance.
Replacing the Blown Fuse
If you’ve confirmed the fuse is blown, you’ll need a replacement with these exact specifications:
- Fuse type: T1.6A 250V (slow-blow)
- Part number: 46211600000 (Dyson reference)
- Dimensions: 10.5mm x 4.5mm x 4.5mm
Replacing the fuse requires a specific type to ensure safety and proper function of your Dyson AM09.
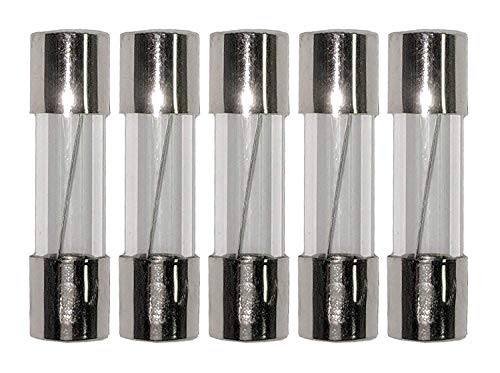
Budget-friendly 5-pack with time-delay protection

Mid-range pack with storage case included

High-safety ceramic option with global certifications
Miniature DIP-mounted version for compact circuits
You can source this fuse from:
– Electronics suppliers like Digikey
– Online marketplaces like eBay (ensure the physical dimensions match)
Installation Steps:
Prepare the board – Clean the area around the old fuse with isopropyl alcohol.
Remove the old fuse – Carefully desolder the blown fuse from the circuit board.
Install the new fuse – Position the new fuse in the same orientation as the original. If you’re not comfortable with soldering directly to the board, you can lay the new fuse sideways and bend the pins to make contact with the end caps of the old fuse, then secure with solder.
Test before reassembly – Before fully reassembling your Dyson AM09, connect it to power and test whether it turns on.
Resolving Display and Control Panel Issues
If your Dyson AM09 has power but the display isn’t functioning correctly or the controls aren’t responding, the issue might be with the LED display or control panel:
LED Display Problems
When one or more LEDs on your Dyson AM09 display aren’t working:
Inspect for physical damage – Look for cracks or impact damage on the display panel.
Check internal connections – The ribbon cables connecting the display to the main board can become loose. Ensure they’re properly seated.
Clean the contacts – Gently clean the connection points with isopropyl alcohol and a cotton swab.
Test individual LEDs – If you have electronics experience, you can test whether individual LEDs have failed using a multimeter.
Control Panel Responsiveness Issues
If the buttons on your Dyson AM09 aren’t responding:
Perform a 10-second reset – Hold the power button for 10 seconds to force a system reset. This can often resolve temporary electronic glitches.
Clean the button contacts – Dust and debris can interfere with button functionality. Carefully clean around the buttons with compressed air.
Check the temperature settings – If your fan works in heat mode but not in cool mode, try setting the thermostat to the lowest temperature setting. Increasing the temperature even slightly can cause the fan to stop working in cool mode.
Remote control troubleshooting – If using the remote, try replacing the batteries. Also, ensure there’s a clear line of sight between the remote and the sensor on the Dyson AM09.
If replacing the batteries doesn’t solve the issue, the remote itself might be faulty and need replacing.
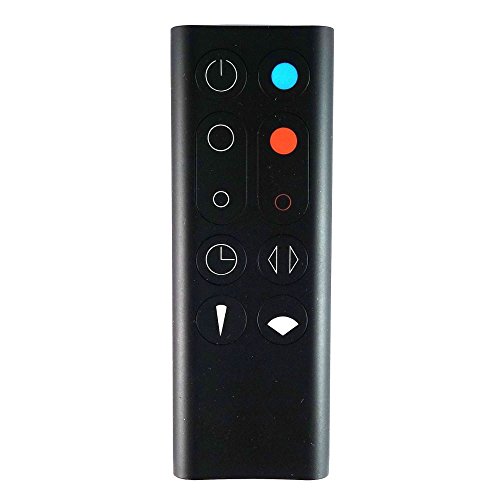
Official Dyson replacement for AM09 with full functionality
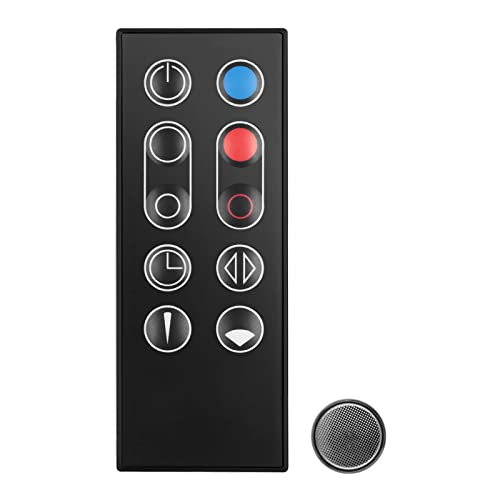
Magnetic third-party remote with included battery
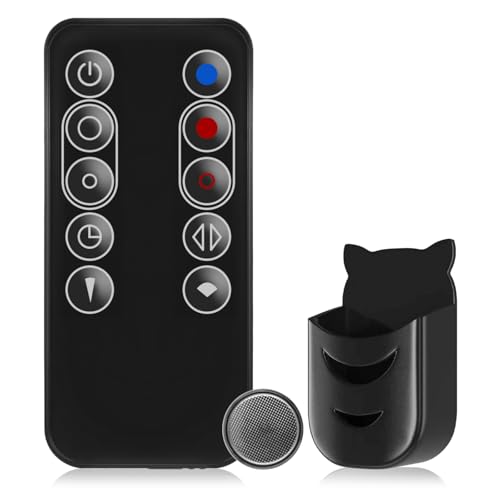
Budget option with included storage holder
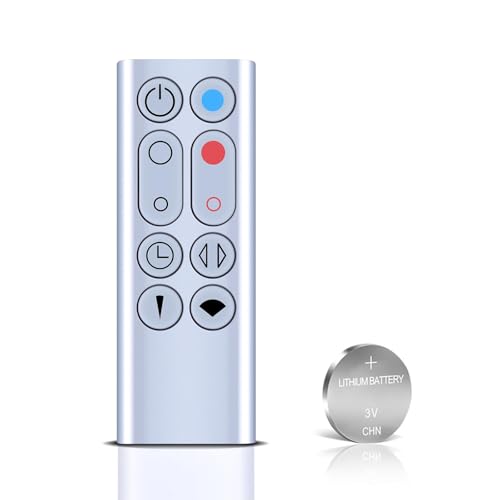
Enhanced third-party option with included battery
Addressing Microprocessor and Sensor Failures
More complex electronic issues can prevent your Dyson AM09 from turning on or functioning properly. These typically involve the microprocessor or temperature sensors:
Symptoms of Microprocessor Issues
- Device turns on but immediately shuts off
- Fan works intermittently
- Error codes appear on the display (particularly E8 errors)
- Controls respond inconsistently
Diagnostic Steps
Error code identification – The E8 error code specifically indicates a potential issue with the heating element or related components.
Component inspection – Carefully examine the circuit board for any signs of damage, including:
- Burnt components
- Bulging capacitors
- Corrosion or water damage
Loose solder joints
Sensor testing – The Dyson AM09 contains multiple temperature sensors. Using a multimeter, check the resistance values of these sensors against expected specifications.
Renaissance chip evaluation – In some models, the Renaissance microcontroller chip is prone to failure. This can be identified by measuring unusually low resistance between certain pins.
Potential Solutions
Component replacement – If you have electronics repair experience, individual components like capacitors can sometimes be replaced.
Microcontroller replacement – This is typically beyond DIY repair capabilities and may require professional service.
Board-level repair – For those with advanced electronics skills, repairing damaged traces or replacing small components might restore functionality.
Circuit board replacement – In many cases, replacing the entire circuit board is the most reliable solution, though Dyson rarely sells these components separately.
If the circuit board is damaged beyond repair, replacing it might be the only option to restore functionality.
Fixing Mechanical Problems in the Dyson AM09
Sometimes the issue preventing your Dyson AM09 from turning on is mechanical rather than electrical. The oscillation mechanism, in particular, can cause problems:
Oscillation Mechanism Failure
The Dyson AM09’s ability to rotate and distribute air can be compromised by mechanical failures:
-
Identify unusual noises – Grinding, clicking, or buzzing sounds when attempting to oscillate indicate mechanical problems.
-
Check for obstructions – Foreign objects can become lodged in the base mechanism.
-
Inspect the plastic posts – The oscillation mechanism contains plastic posts that can snap, causing the motor to jam.
-
Motor assessment – The oscillation motor itself can fail, particularly if the fan has been used extensively in heater mode.
Repair Options
-
Disassembly and cleaning – Remove the base cover and clean out any dust or debris that might be interfering with mechanical movement.
-
Plastic post repair – Broken plastic posts can sometimes be repaired using high-strength epoxy or hot glue reinforcement.
-
Lubrication – Apply a small amount of silicone-based lubricant to moving parts that show signs of friction.
-
Motor replacement – In severe cases, the oscillation motor may need replacement, which typically requires professional service.
If the oscillation motor is faulty, replacing it can restore the fan’s ability to rotate properly.
Maintenance Practices to Prevent Future Issues
Regular maintenance can significantly extend the life of your Dyson AM09 and prevent power issues:
-
Clean air intake vents regularly – The tapered airflow holes in Dyson fans are prone to clogging. Use compressed air (ideally 120 psi) to blow out dust and debris.
-
Deep cleaning procedure:
- Disassemble the unit according to manufacturer guidelines
- Use compressed air to remove loose debris
- Apply mild kitchen cleaner with a soft brush for stubborn buildup
-
Rinse thoroughly and allow to dry completely before reassembly
-
Avoid prolonged heater operation – Extended use in heater mode puts additional strain on electronic components and can accelerate wear.
-
Handle with care – Physical impacts can damage internal components. Always place your Dyson AM09 on stable surfaces away from high-traffic areas.
-
Proper storage – When not in use for extended periods, store your Dyson AM09 in a clean, dry environment, preferably covered to prevent dust accumulation.
Frequently Asked Questions (FAQ)
Why does my Dyson AM09 work in heat mode but not in cool mode?
This is typically related to temperature settings. The Dyson AM09 will not run in cool mode if the ambient temperature is already below your set temperature. Try setting the thermostat to its lowest setting. Additionally, check that the airflow paths aren’t obstructed by dust or debris, as this can cause the unit to overheat and disable the cooling function.
Is my Dyson AM09 covered under any recall programs?
While the Dyson AM09 specifically isn’t part of a recall program, the similar AM04 and AM05 models were recalled due to persistent issues. You can check if your model is affected by visiting the Dyson Recall website (dysonrecall.com). Even if your model isn’t officially recalled, Dyson customer service may offer assistance for known issues.
Can I purchase replacement parts directly from Dyson?
Dyson typically doesn’t sell internal replacement parts directly to consumers for the AM09 model. For units under warranty, Dyson will usually offer repair or replacement. For out-of-warranty units, Dyson generally recommends purchasing a new device rather than attempting repairs. However, third-party repair services may have access to compatible parts.
How long should a Dyson AM09 last before experiencing problems?
With proper maintenance, a Dyson AM09 should function reliably for 3-5 years. However, some users report issues developing shortly after the warranty period expires (typically 2 years). Regular cleaning and careful handling can significantly extend the lifespan of your device.
Why does my Dyson AM09 keep displaying error codes?
Error codes indicate specific internal issues. The most common codes include:
– E1: Electronic fault requiring professional service
– E8: Heating element or temperature sensor issue
– F3: Airflow obstruction or fan motor problem
If your device consistently displays error codes, document which code appears and under what circumstances to help with troubleshooting.
Conclusion
The Dyson AM09 is a sophisticated piece of technology that combines heating and cooling functions in an elegant design. While its complexity can make troubleshooting challenging, many common power issues can be resolved through the methods outlined in this guide.
For simple problems like power connection issues or basic electronic glitches, DIY solutions are often effective. More complex issues involving circuit boards, microprocessors, or mechanical failures may require professional assistance or, in some cases, replacement of the unit.
Remember that regular maintenance—particularly keeping the air pathways clean and handling the device with care—is the best way to prevent problems and extend the life of your Dyson AM09. By following the diagnostic steps and repair options detailed in this guide, you can potentially save both money and the hassle of replacing your fan heater prematurely.


